
Mail Designer 365 comes with a selection of built-in effects which you can easily apply to your images. Here's how you can make the most of them...
How to access image effects in Mail Designer 365
Drag an image into an image area:
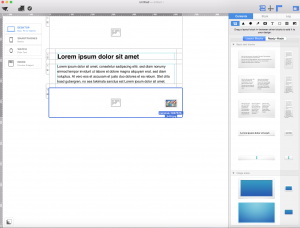
Use the re-size tools to adjust your image to fit the image area:
Click on your image - notice how this will bring up the 'Style' tab on the menu to the right of your page. In this tab you will be able to see the full list of image adjustment effects and filters:
Applying filters
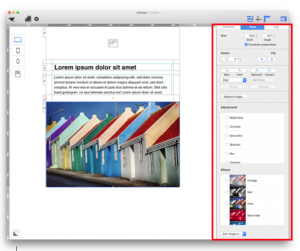
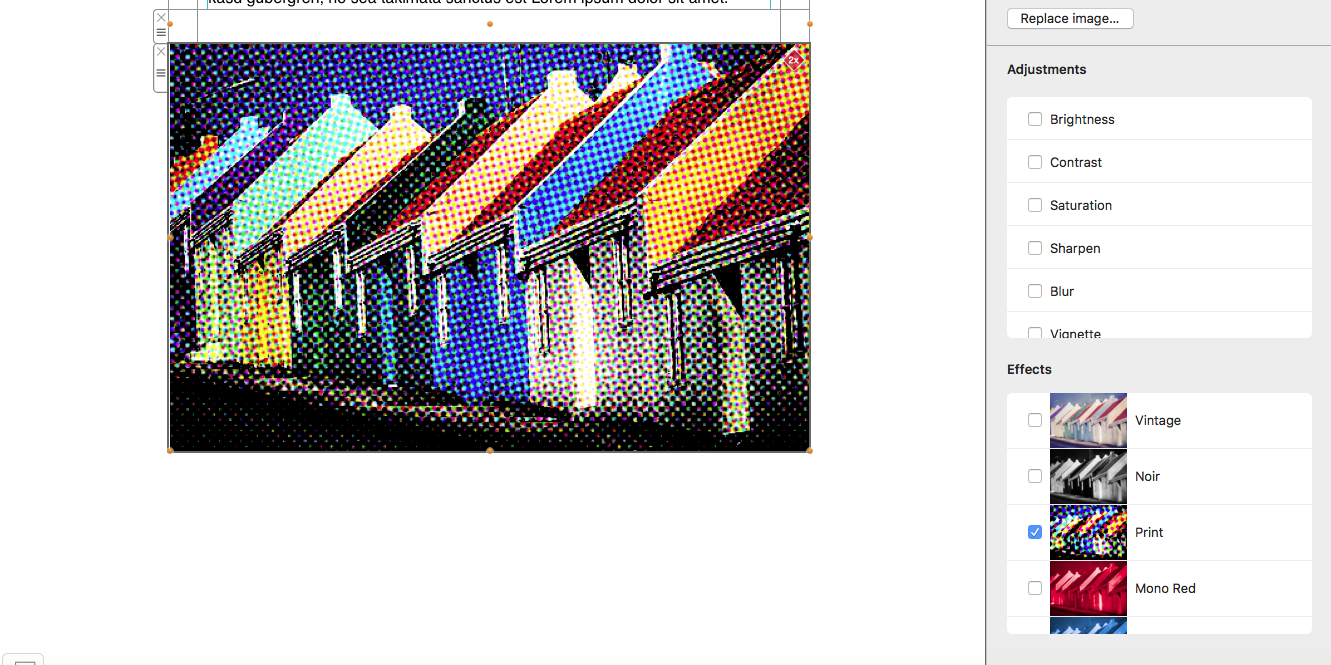
Click on your image and the 'Style' tab will open. Under 'Effects' you will find multiple filters:
To apply a filter, simply check the box next to your chosen filter:
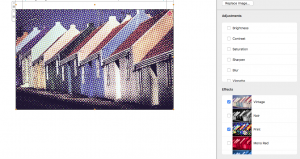
You can also apply more than one filter at once. To do this, just check multiple boxes to create mixed filter effects:
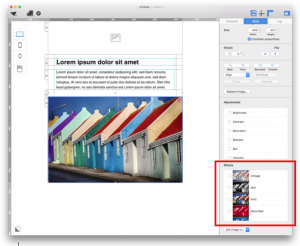
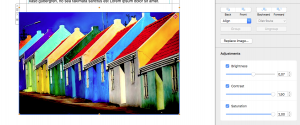
Using the image adjustment tools
To adjust your image, click on the image and once again you will see the 'Style' tab. Under 'Adjustments' you can find multiple effects:
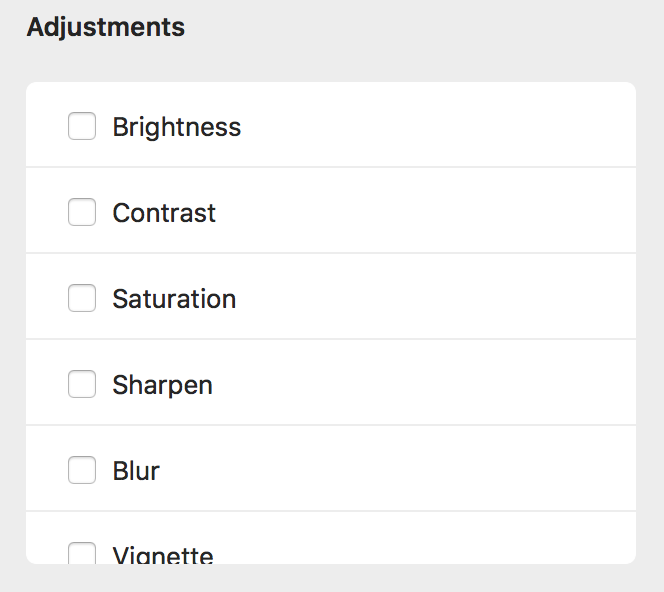
To change an element of your image's appearance, check the box next to the effect and use the toggle bar to increase or decrease the desired effect:
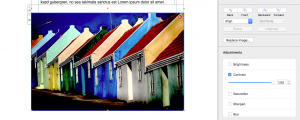
You can edit as many elements of your image as you like:
How Can We Help?