
Before you can send your email campaign, you'll need to add your contacts to Mail Designer 365 Delivery Hub. You can add contacts manually via copy & paste or using a CSV file (e.g. when exporting contacts from another service.)
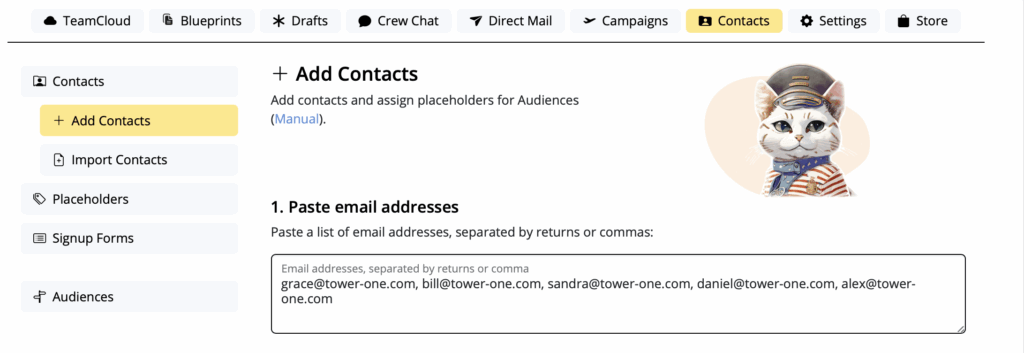
To get started, log into your my.maildesigner365 account and go to Contacts.
Manual import
Under Paste email addresses, paste your list of email addresses into the space provided, ensuring that each address is separated with a comma (,) or line break:
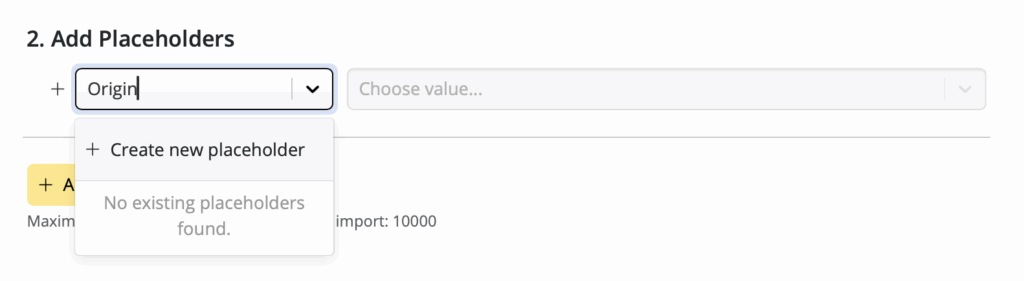
Next you have the option to assign placeholders to your new contacts. Placeholders represent different characteristics (e.g. language, interest, country, etc.) and tell you more about the contacts you are adding. This step is important for setting up an audience later.
Just enter a value (e.g. "Origin") into the placeholder field and click on Create new:
 Then, enter a sub value (e.g. Website") and click on Create:
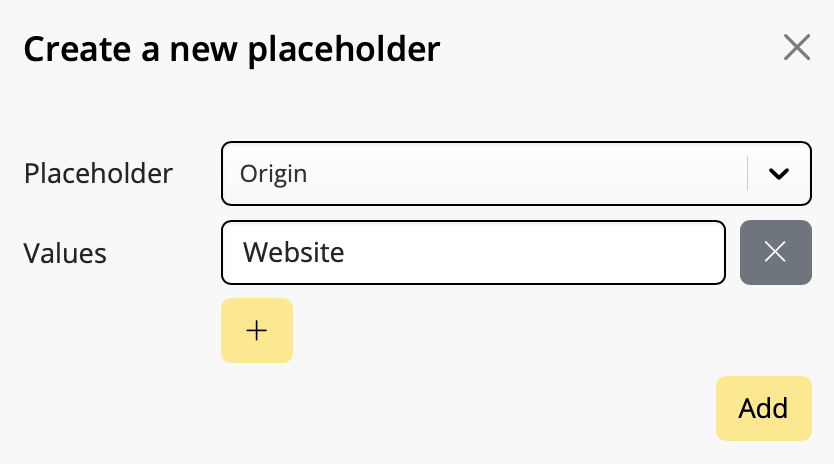
In this case, all the new contacts you've added will be tagged as originating from your website:

Repeat this process to add as many attributes and sub values as you like.
Then, once you are done adding attributes, hit + Add contacts to save your new contacts.
CSV import
If you have a .csv file containing email contacts, you can upload this under Import contacts by file or service:
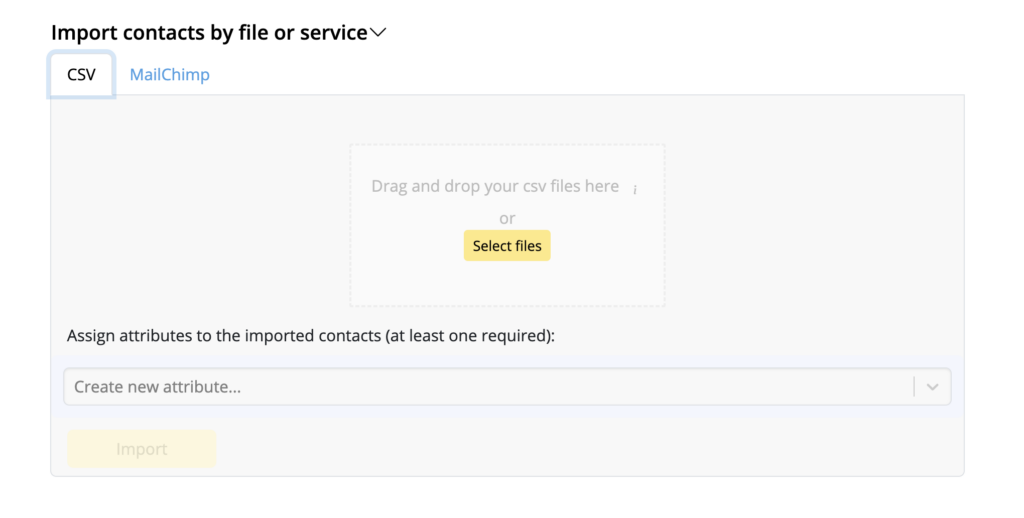
During this step, you can also assign attributes to your contacts as described in this guide.
Adding Email Contacts: Tutorial Video
More of a visual learner? We've got you. Check out this video tutorial for a step by step walkthrough.
How Can We Help?