
Advanced design techniques
Let’s look at some of the slightly more advanced layout and design techniques you can apply to your email designs.
Align single objects
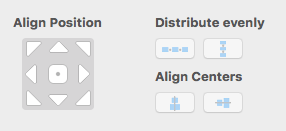
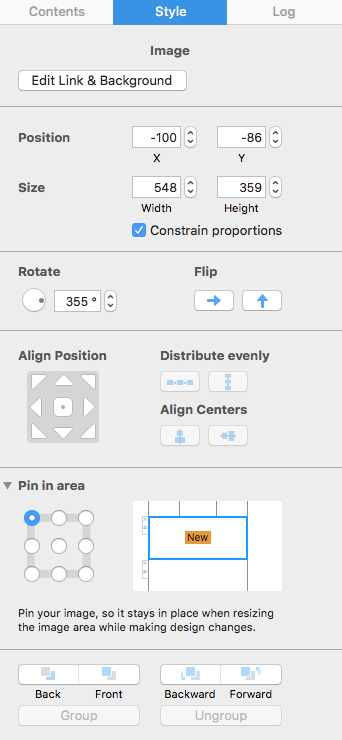
Mail Designer 365 makes it easy to align a single object to certain positions in an image area. Simply click the object you want to align and choose the ”Align” drop down menu from the sidebar. Choose between different aligning options. Combining multiple aligning options makes it easy to center an object such as an image or text box to the center of an image area.
Align a group of objects
You can align multiple objects simultaneously as long as the objects are within the same image area.
Group the different elements together.
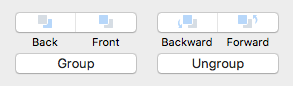
Under "Align Position," choose how you want to align the elements.
Align objects from different layout blocks
With Mail Designer 365, you can easily arrange multiple objects from different layout blocks using alignment guides.
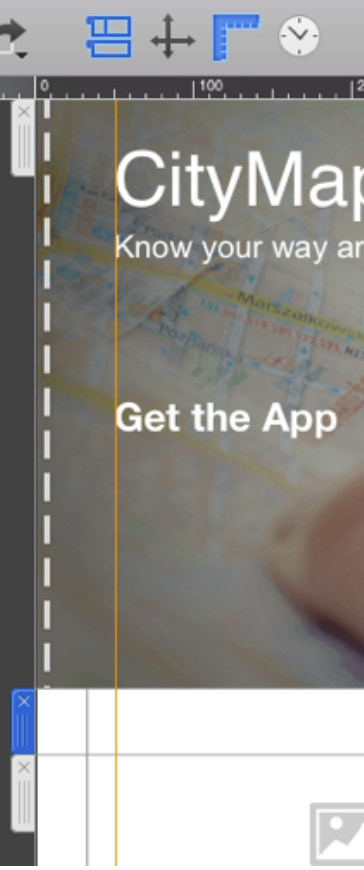
Simply drag an alignment guide from the ruler on the left into your template and position it.
Drag certain objects to the alignment guide for a professional look of your templates. You can also resize text and image areas by clicking a border and dragging it to the alignment line.
Keyboard shortcuts:
Check out this appendix for keyboard shortcuts for alignment tools.
How Can We Help?