
Go to Mail Designer 365 > Settings

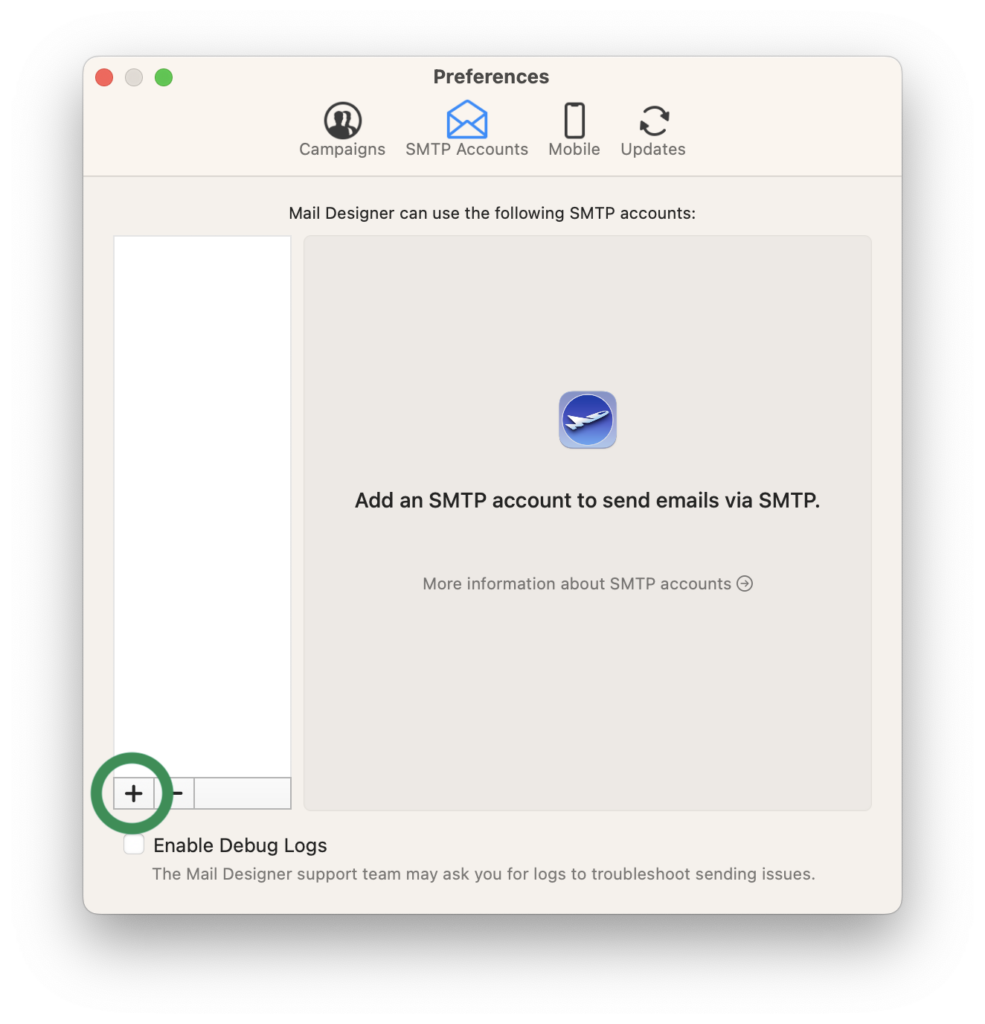
Choose SMTP Accounts and click on the + in the bottom left corner to configure a new SMTP account:
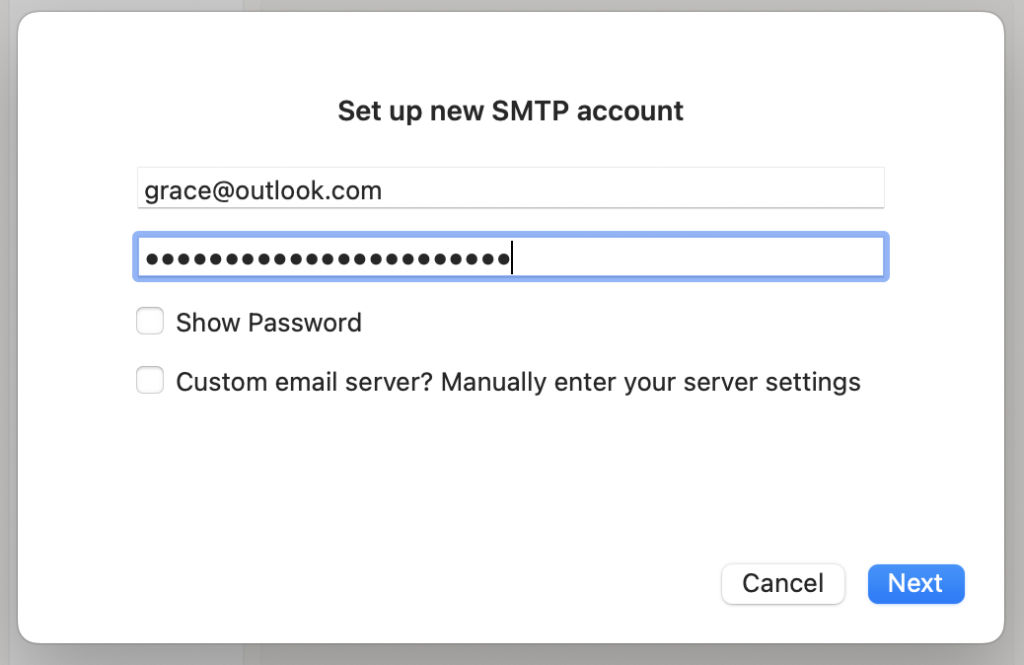
Enter your email address and password in the fields provided:
Note that for custom/internal email accounts (i.e a work account), your network administrator may have to provide you with the information which you can enter by ticking Enter custom server settings:
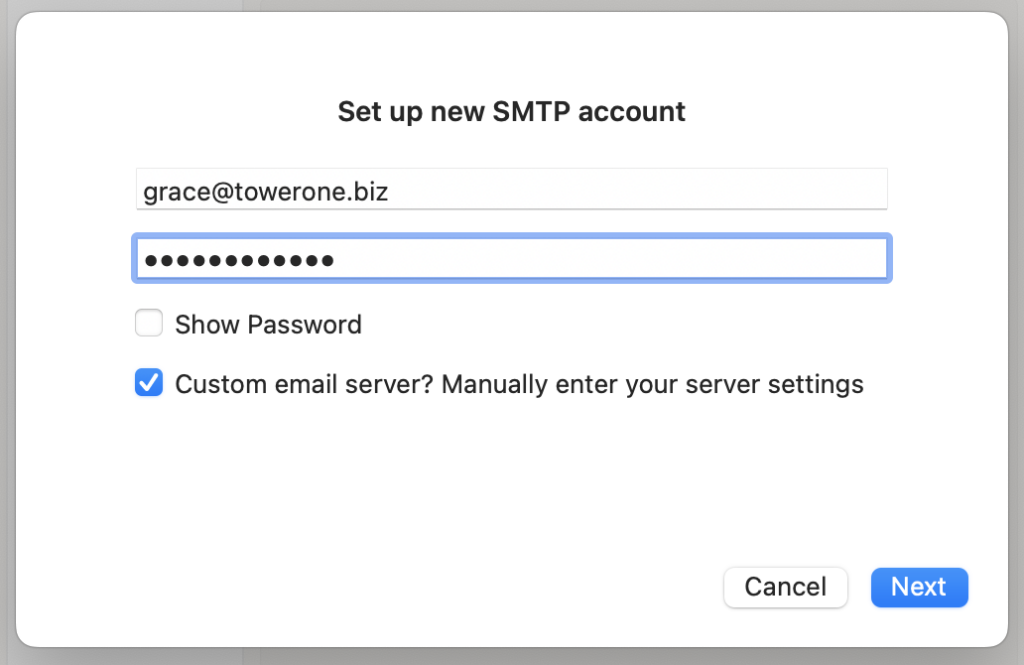
Click Next to set up the rest of your account's settings:
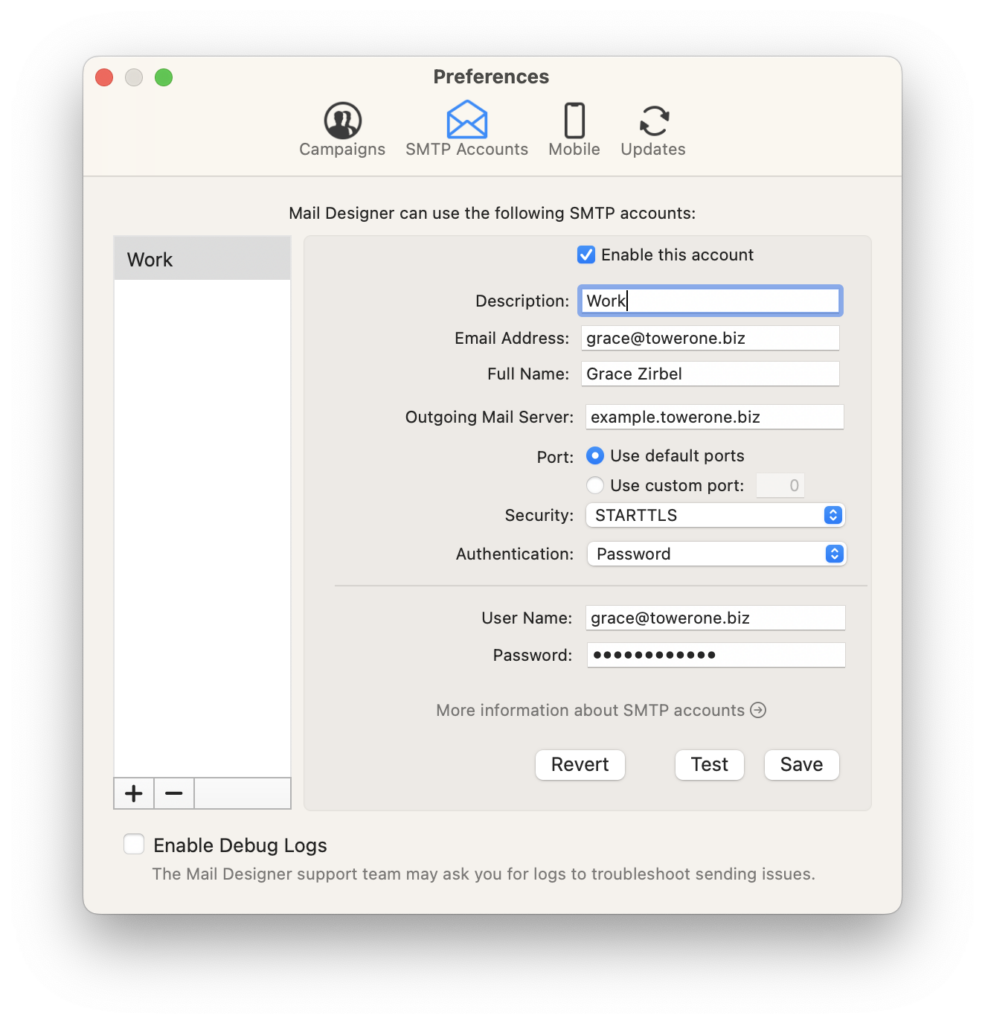
Tip: Click the Test button to check your mail server is reachable.
How Can We Help?