
Mail Designer 365's Testmail feature allows you to test your design before sending to your recipients.
To get started, click on the Test icon in the Mail Designer 365 toolbar:
You can now choose who to send your test email to: yourself or your team:
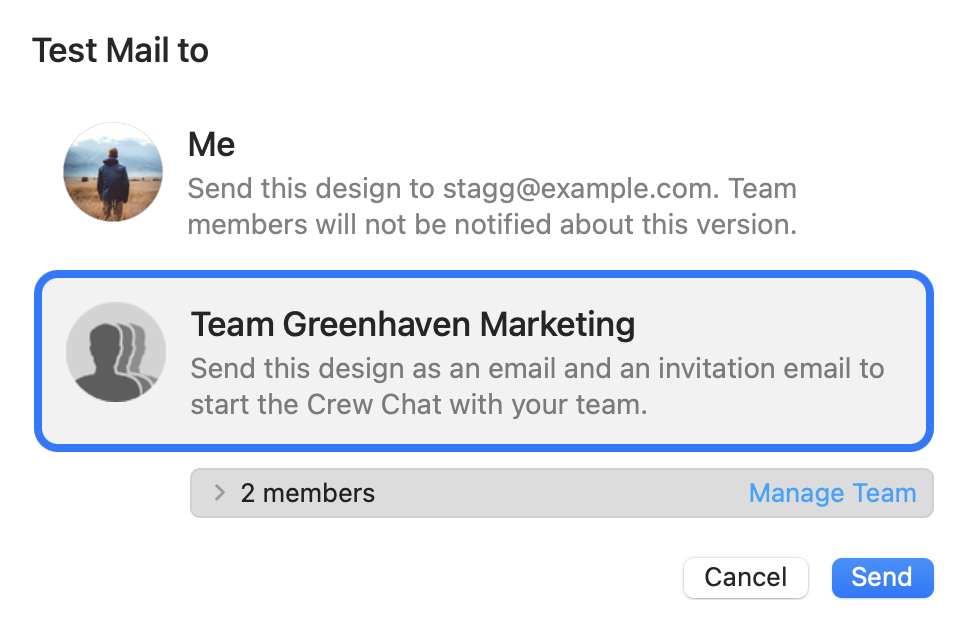
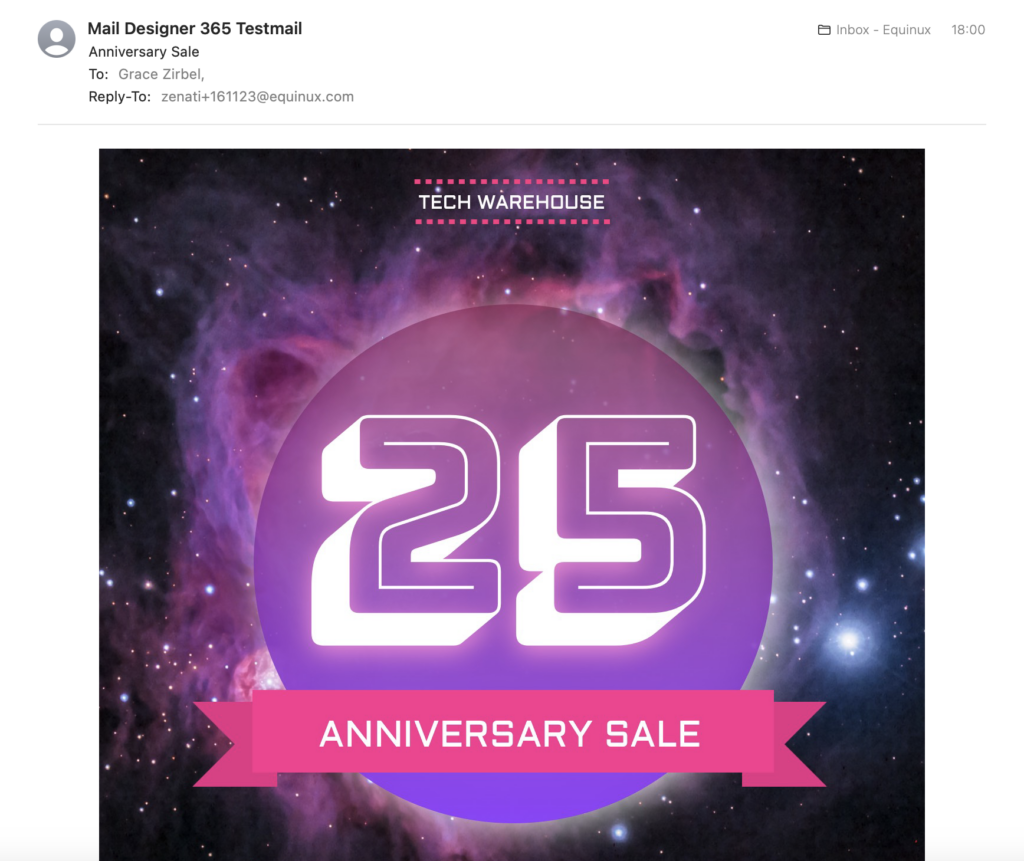
Once you've selected the recipients of the test mail, click Send to share the latest version of your design.
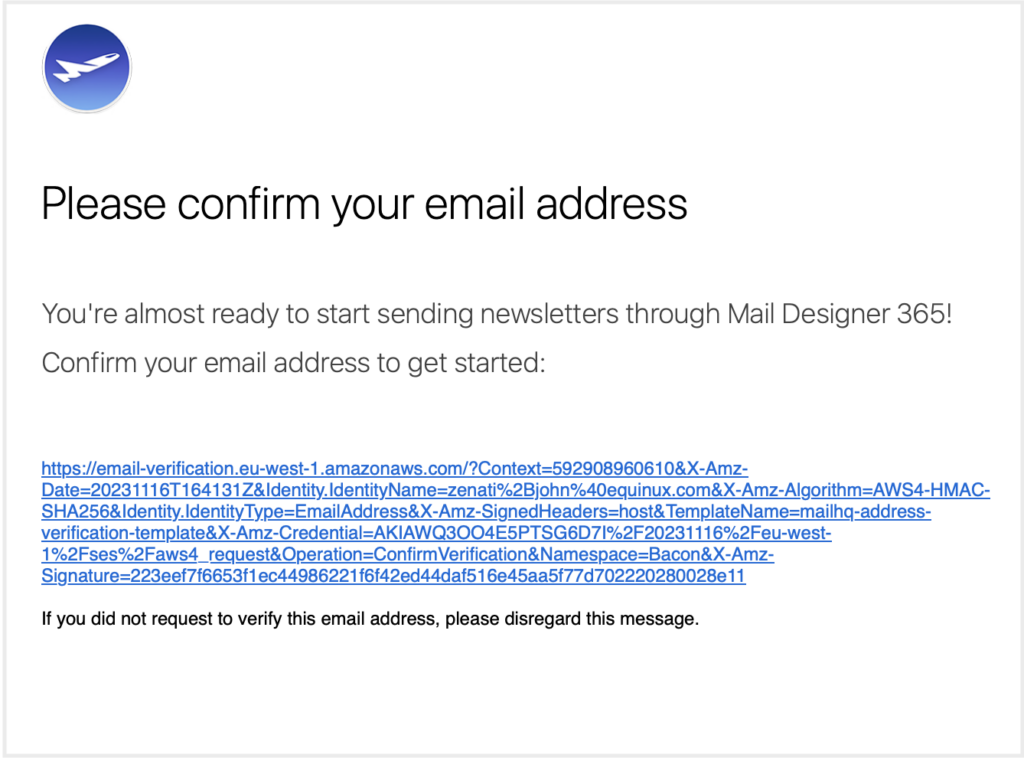
During this process, you will also receive a verification email used to verify your email address for sending in Delivery Hub. Click the link in the email to confirm your email address for sending:
How Can We Help?