
The Tables feature offers you a lot of flexibility when it comes to configuring your table and its contents.
Configuring your table layout
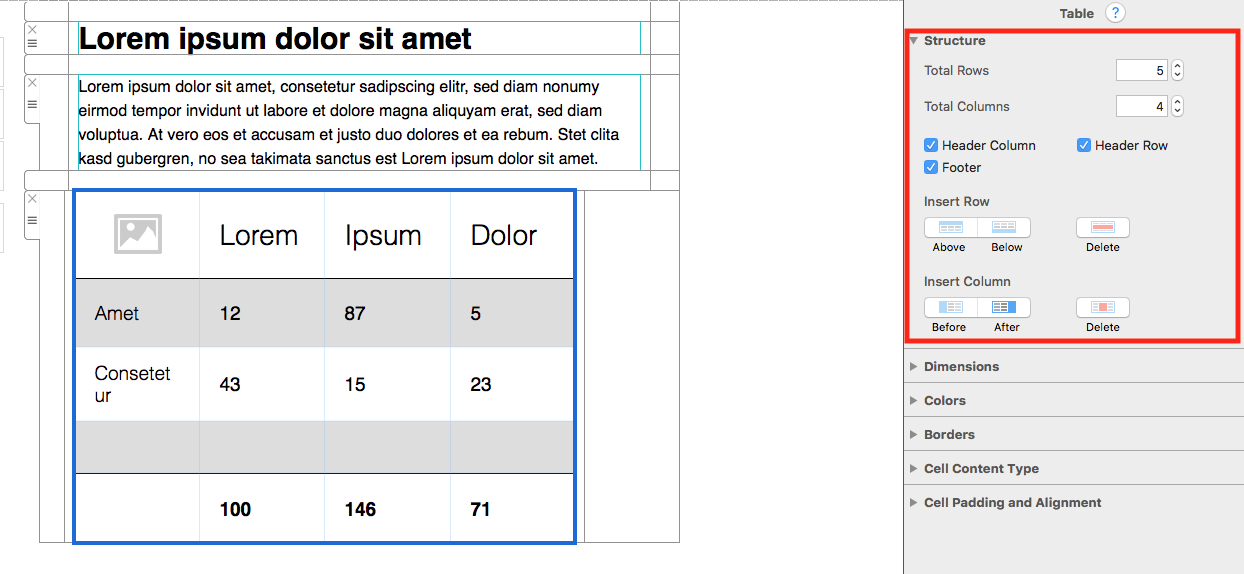
To get started, you can determine how many rows and columns you want to include in your table. Don't worry if you change your mind later on - you can adjust this at any time.
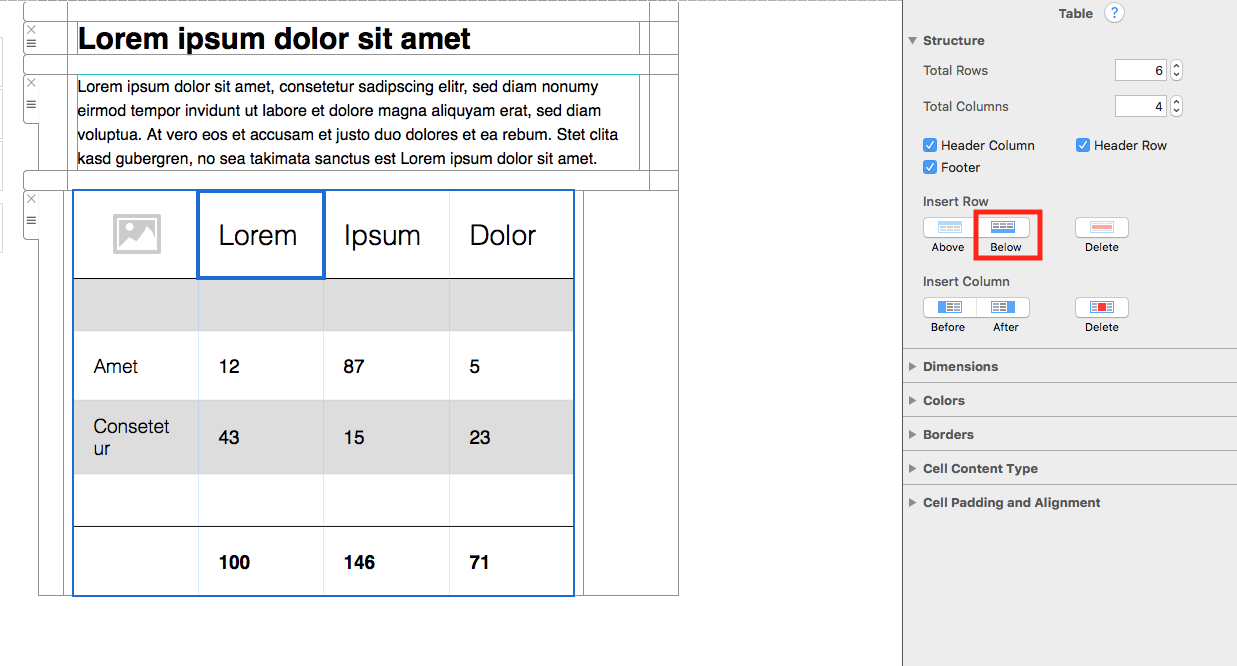
Click on the table. This will open the "Style" menu. Under "Structure", you can increase/decrease the number of rows and columns using the arrows. You can also use the selection tools to manually select (cmd + click) a cell in your table and insert a row or column above or below.
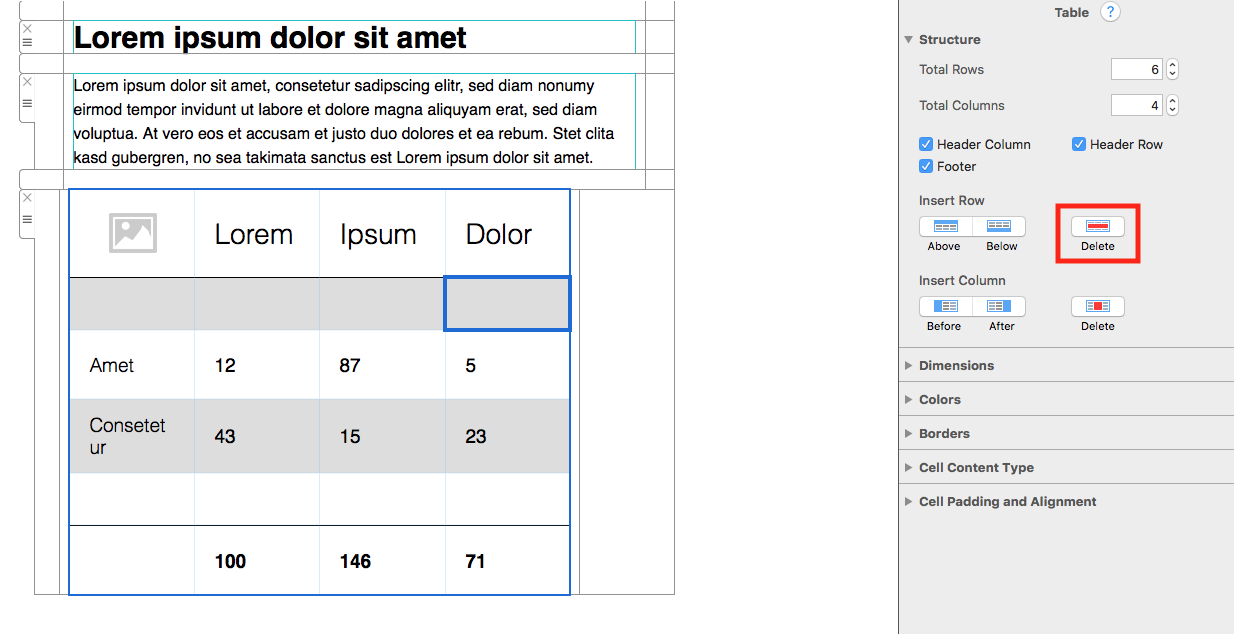
To delete a row or column, select (cmd + click) the cells and click on the delete button in the "Structure" menu.
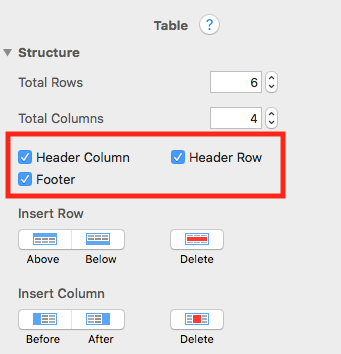
To activate different features in your table (e.g. headers, footers), you can check the tick boxes next to each feature:
Resizing your table
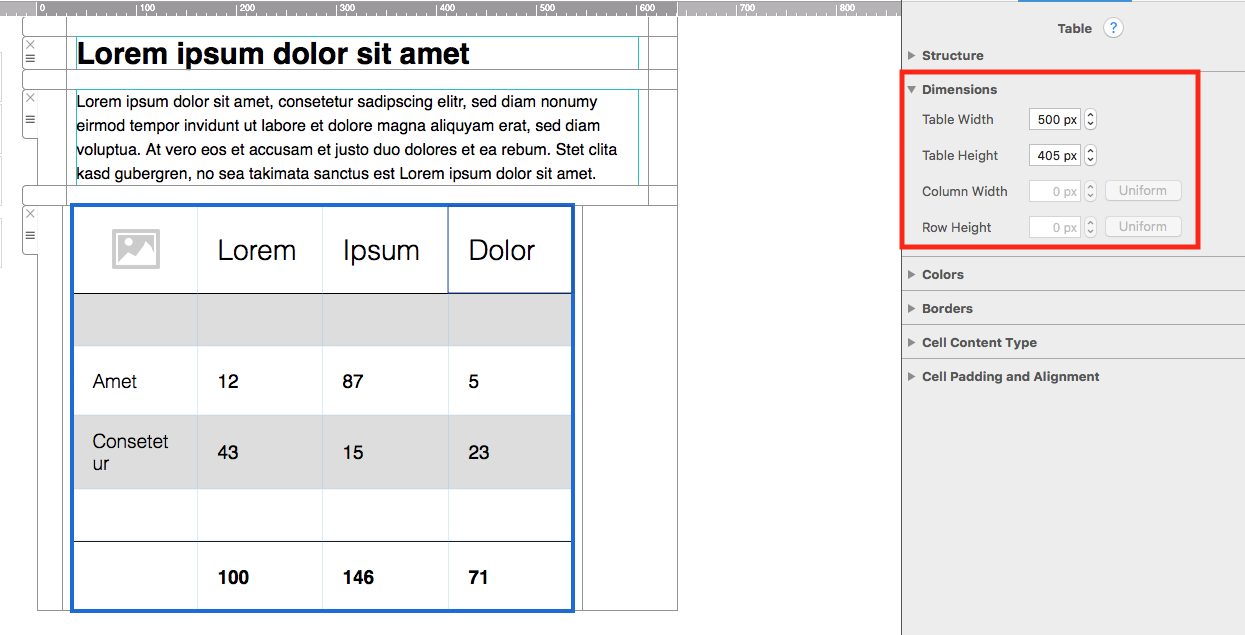
You can easily adjust the dimensions of your table by using the control panel. Click on your table and go to "Dimensions" under the "Style" menu. Next to each field (e.g. Table Width) you can enter a precise value, or manually adjust the dimensions using the arrow controls:
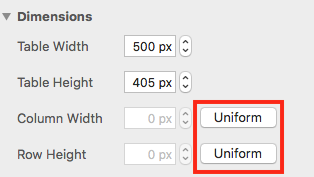
Click on the "Uniform" button to make all columns/rows equal in width/height.
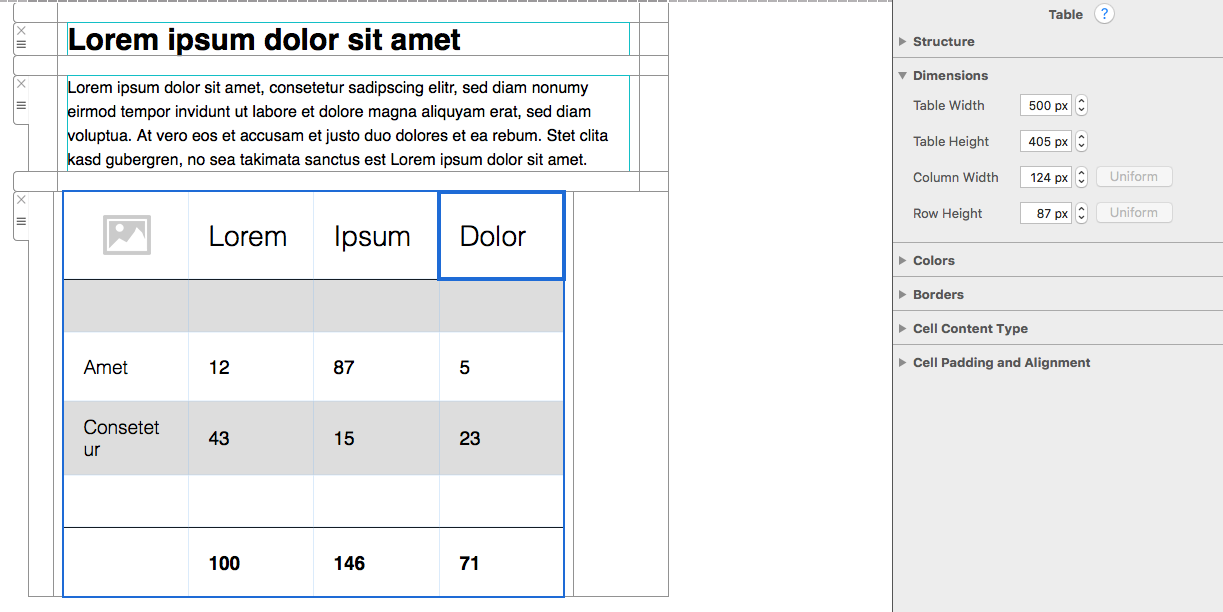
To change the dimensions of an individual cell within your table, click on the cell and use the controls as instructed above.
Once you're happy with the layout of your table, you can now go on to edit the style in the next step.
How Can We Help?