
To fill an image mask in Mail Designer 365, add a mask to your layout and drag a photo directly onto its placeholder. You can then zoom and reposition the image while the mask keeps the selected decorative shape.
Choose a mask for your photo
Open the Mail Designer 365 sidebar and browse the available mask designs. Choose a shape that suits the subject, the surrounding content, and the amount of space available in the layout. A wide landscape photo usually works best with a wider mask, while a portrait or face may suit a taller frame.
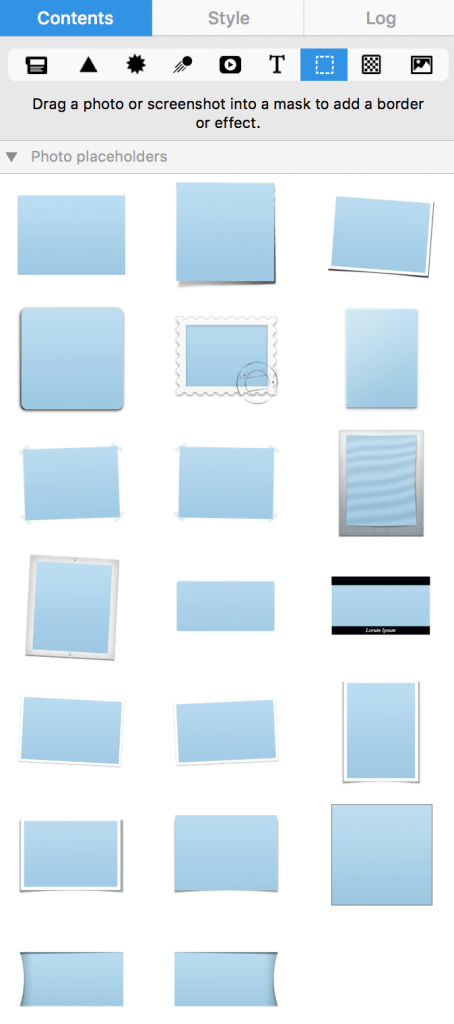
If you have not placed a mask yet, follow the overview for adding image masks before continuing.
How to fill an image mask
- Insert the chosen mask into your email design.
- Open your image library or locate the photo you want to use.
- Drag the photo directly onto the mask placeholder.
- Release it when the mask highlights as the destination.
- Review the automatic crop and adjust it before moving on.
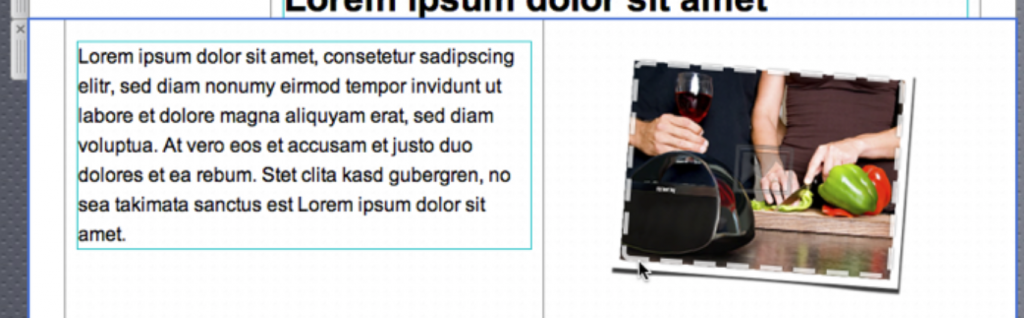
The photo is placed inside the mask rather than beside it. The original image file is not permanently cropped, so you can refine the visible area or replace the photo later.
Zoom and position the photo
Double-click the filled mask to activate the image controls. Use the zoom slider to enlarge or reduce the photo inside the fixed shape. Drag the image to reposition the subject and keep the most important area visible.
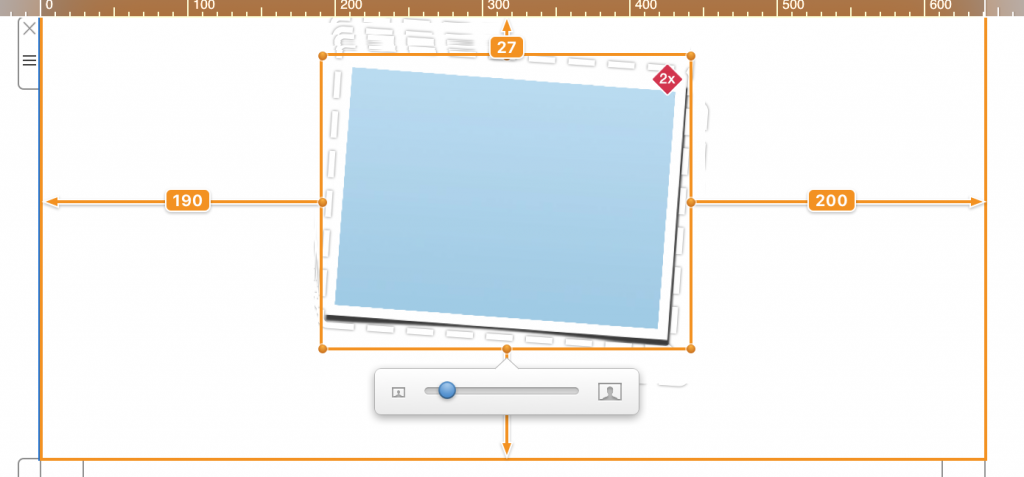
Start with the lowest zoom level that fills the complete mask. Then move the photo until faces, products, logos, or other focal points sit comfortably within the frame. Leave a little space around the subject when possible so the crop does not feel cramped.
Protect image quality
Heavy zooming can make a small source image look soft or pixelated. Use a photo with enough resolution for the displayed size and avoid enlarging it more than necessary. If the crop still does not work, choose a source image with a better aspect ratio or select a different mask.
Before sending, review the image at its actual desktop and mobile display sizes. The guide to the image optimisation tool can help you balance visual quality and file size.
Replace the photo or change the crop
To use a different photo, drag the replacement directly onto the existing filled mask. Double-click it afterward and adjust zoom and position again, because each image has a different focal point.
If you resize the mask itself, inspect the crop once more. A size change can reveal or hide parts of the photo even when its position was correct before. Keep proportions consistent unless the design calls for a different shape.
Check readability and accessibility
Make sure the masked image supports the surrounding headline and body copy instead of competing with them. Avoid placing essential text inside the photo, since image blocking or scaling can make that information unavailable. Keep necessary wording as live email text whenever possible.
Use a concise, descriptive alt text that communicates the image’s purpose when the photo does not load. Decorative imagery can use a simpler description, while product or instructional images should identify the useful subject. Also verify that any link associated with the image points to the intended destination.
Preview desktop and mobile layouts
Open both previews and confirm that the subject remains visible at narrower widths. Check spacing, alignment, image quality, and the balance between the mask and nearby content. If a decorative crop becomes unclear on mobile, use a simpler mask, a wider source photo, or a separate mobile arrangement.
Send a test email and inspect the result in at least one desktop and one mobile email client. This helps catch rendering differences that may not be obvious on the design canvas.
Troubleshoot a mask that will not fill
If the photo appears next to the mask, undo the action and drag it directly over the placeholder until the destination highlights. If the mask remains empty, confirm that you selected a supported image file and that the placeholder is not covered by another object.
When the subject is cut off, reduce zoom or reposition the photo. When the image looks blurry, use a higher-resolution source or avoid excessive enlargement. Finish by checking the complete campaign after you fill an image mask so its crop, alt text, spacing, and visual weight work together with the rest of the design.
How Can We Help?