Creating a border for your design

Search through the manual

Creating a border for your design

With Mail Designer 365 you can create a custom border for your email design.

To get started, click on the background of your design. This will open the borders tool.

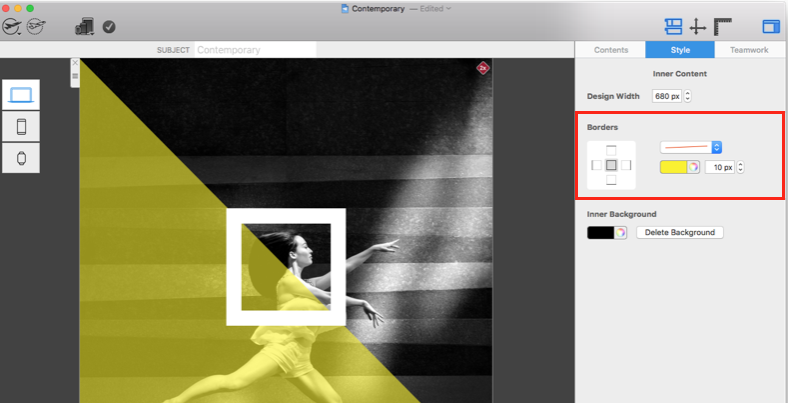
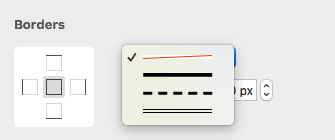
Choose from three border styles. Click on a style from the drop down menu to apply it to your design:

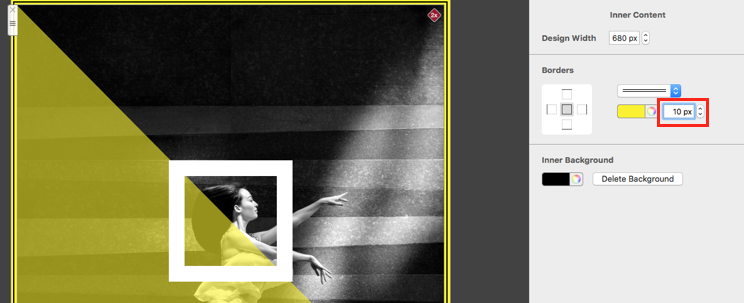
You can increase the thickness of your border by clicking on the upwards arrow. Alternatively, you can manually enter your desired pixel value and hit enter.

Use the color tool to change the color of your border.

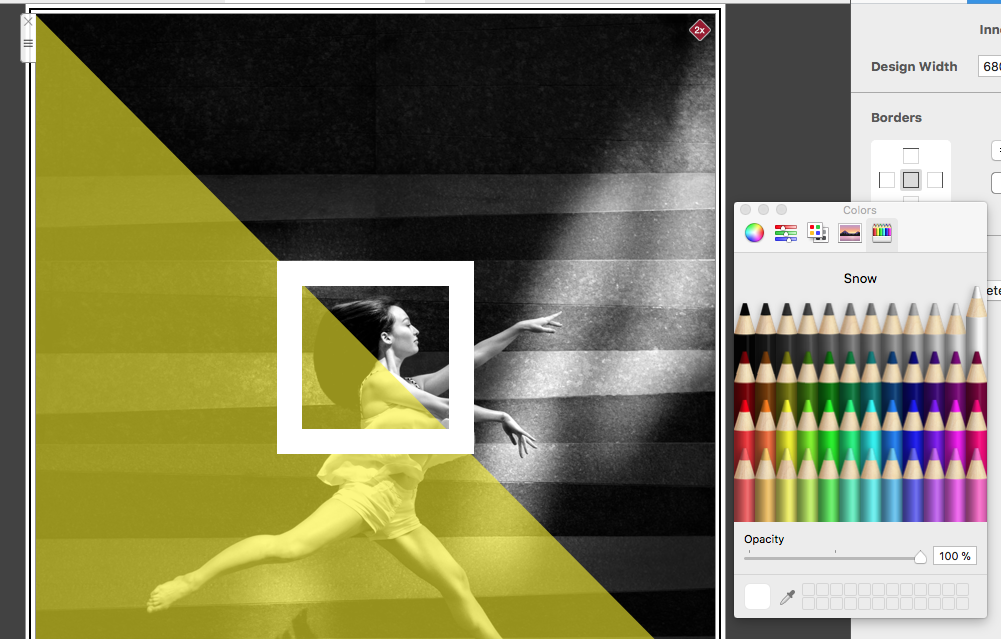
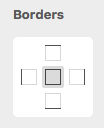
Editing border edges separately

For really unique borders, Mail Designer 365 gives you the option to separately edit each edge of your border. Click on the display panel to select which edge you want to edit and your changes will only be applied to this section of the border.

Search through the manual

A Quick Tour of Mail Designer 365

Advanced Design Techniques

Appendix: Compatibility

Appendix: Keyboard Shortcuts

Approval

Background

Blend Modes

Creative Tools

Exporting a Design to Campaign Monitor

Exporting a Design to Mailchimp

Graphics and Other Objects

HTML Export

Image Areas

Images

Layout Blocks

Optimizing your Template for Mobile

Plain Text

Preparing your Design for Sending

Preview your Design

Send via Mail Designer 365

Sharing your Designs

Tables

Teamwork

Text Styles

The Inbox View

Using Retina Images with your Design

Working with Links and Buttons

Working with Text

Account

  • Articles coming soon

Privacy Settings / Datenschutz-Einstellungen