
One image area only allows you to add one link.
Remember, one image area only allows you to add one link. Even though you can have different graphic elements within one image area, the entire image area will only link to a single destination. When you send your email templates, an image area with different elements will be rendered as a single image. This is why you can only add one link within one image area.
Multiple image areas
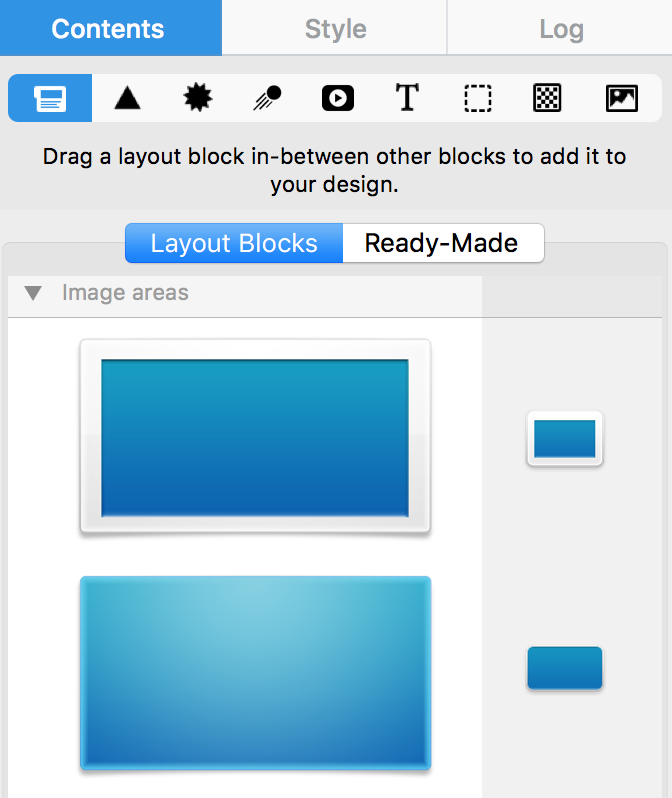
In order to add different buttons with different links, you need to use a layout blocks with multiple image areas. Within Mail Designer 365, you have multiple choices of different layout blocks with multiple image areas.
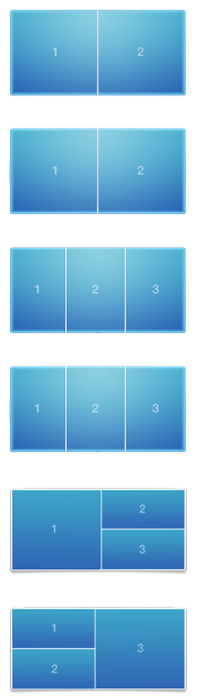
You can choose which layout you want. Within each image area, you can add a single link. Therefore, you have the freedom to add a button with a unique link within each image area. The different image areas will be rendered as their own individual images.
Adding buttons with different links
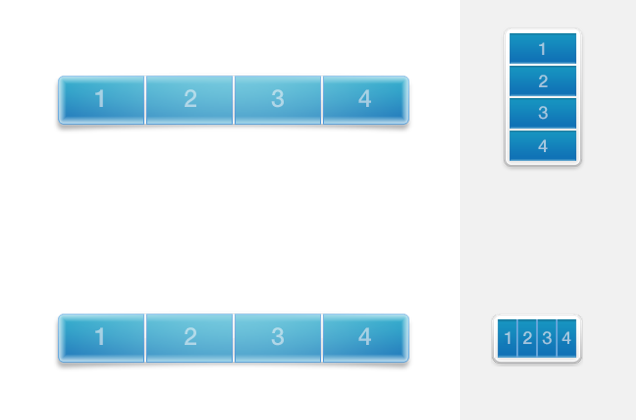
In this example, we are using a layout block with 4 image areas:

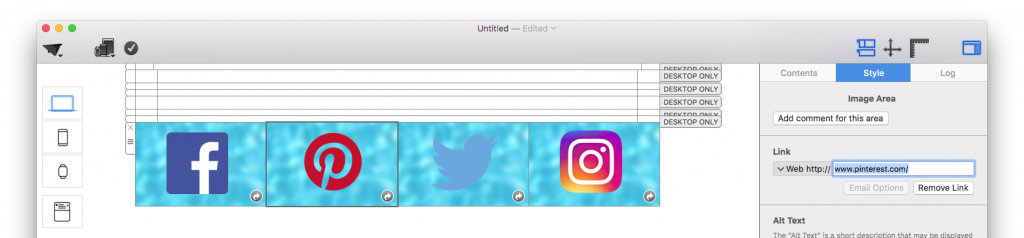
Then, we are adding a unique icon as buttons within each image area:

Afterwards, we are adding a different link within each image area. For the Facebook icon, we will add a link to the Facebook page:

On the second image area, we will add a Pinterest icon. Then, we will add a link to the Pinterest page:
For the third image area, we will place a Twitter icon. Then, we will add a link to the Twitter page:
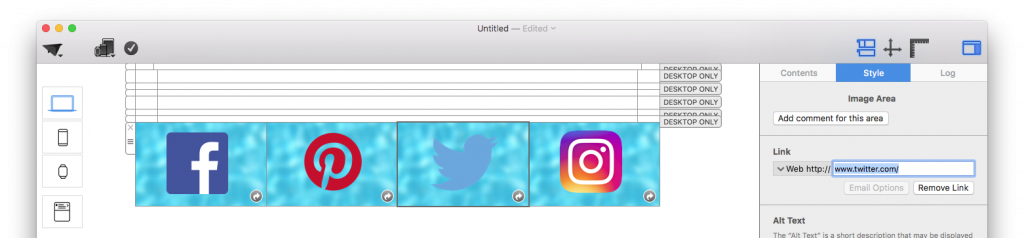
On the fourth image area, we will add the Instagram icon. Afterwards, we will add a link to the Instagram, page:

When the email template is rendered, the four different image areas will become four different images with their individual links.
Correct vs. Incorrect:
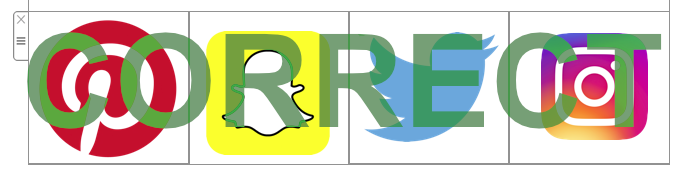
Correct because: 4 different icons in 4 different image areas. You can add 1 link per 1 image area. Therefore, you can add 4 different links total.
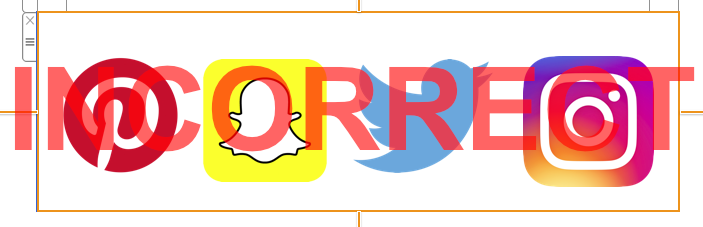
Incorrect because: 4 different icons in 1 image area. You can only add 1 link per 1 image area. Therefore, 4 icons will only lead to 1 landing page.
How Can We Help?