Accessing the tables feature

Accessing the tables feature

The Tables feature in Mail Designer 365 offers you a practical way to summarize and organize important information for your readers within your email design.

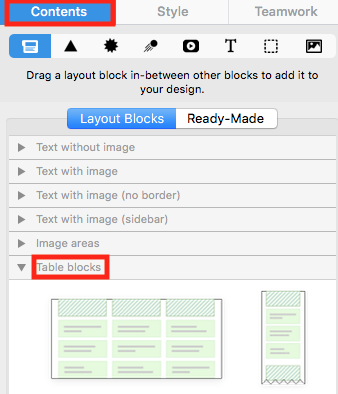
To add a table to your email design, go to the "Contents" menu and click on the "Layout blocks" tab. Then, scroll down to the tables section:

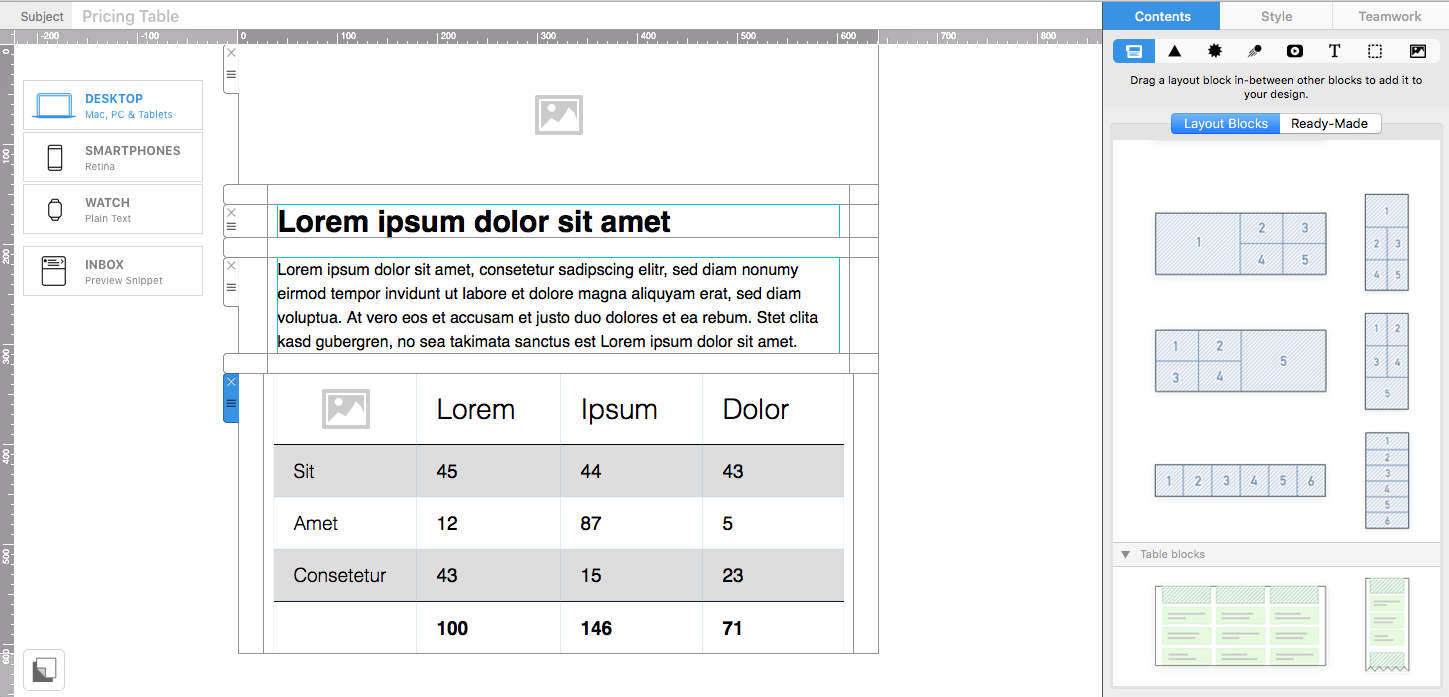
Drag and drop the table block of your choice into your design area:

Now you can get ready to start building your table in the next step...

Search through the manual

A Quick Tour of Mail Designer 365

Advanced Design Techniques

Appendix: Compatibility

Appendix: Keyboard Shortcuts

Approval

Background

Blend Modes

Creative Tools

Exporting a Design to Campaign Monitor

Exporting a Design to Mailchimp

Graphics and Other Objects

HTML Export

Image Areas

Images

Layout Blocks

Optimizing your Template for Mobile

Plain Text

Preparing your Design for Sending

Preview your Design

Send via Mail Designer 365

Sharing your Designs

Tables

Teamwork

Text Styles

The Inbox View

Using Retina Images with your Design

Working with Links and Buttons

Working with Text

Privacy Settings / Datenschutz-Einstellungen