
Mail Designer 365's Direct Mail feature allows you to send your stunning email creations directly to customers via the Mail Designer 365 app.
To get started, click on Direct Mail in the Mail Designer 365 toolbar:
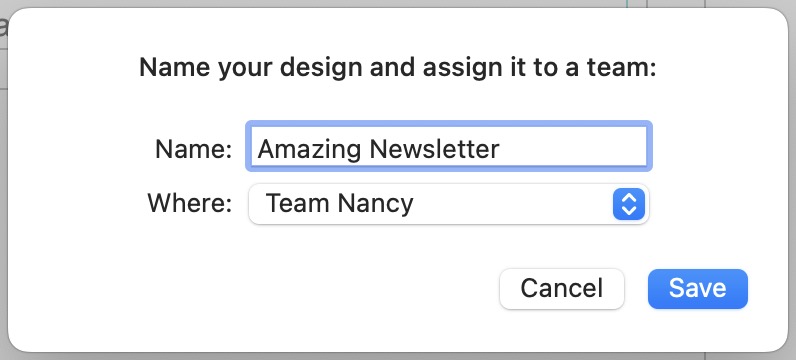
The latest version of your design will be saved, here you can choose a name and your Team for your design.
Afterwards the Direct Mail Window will open:
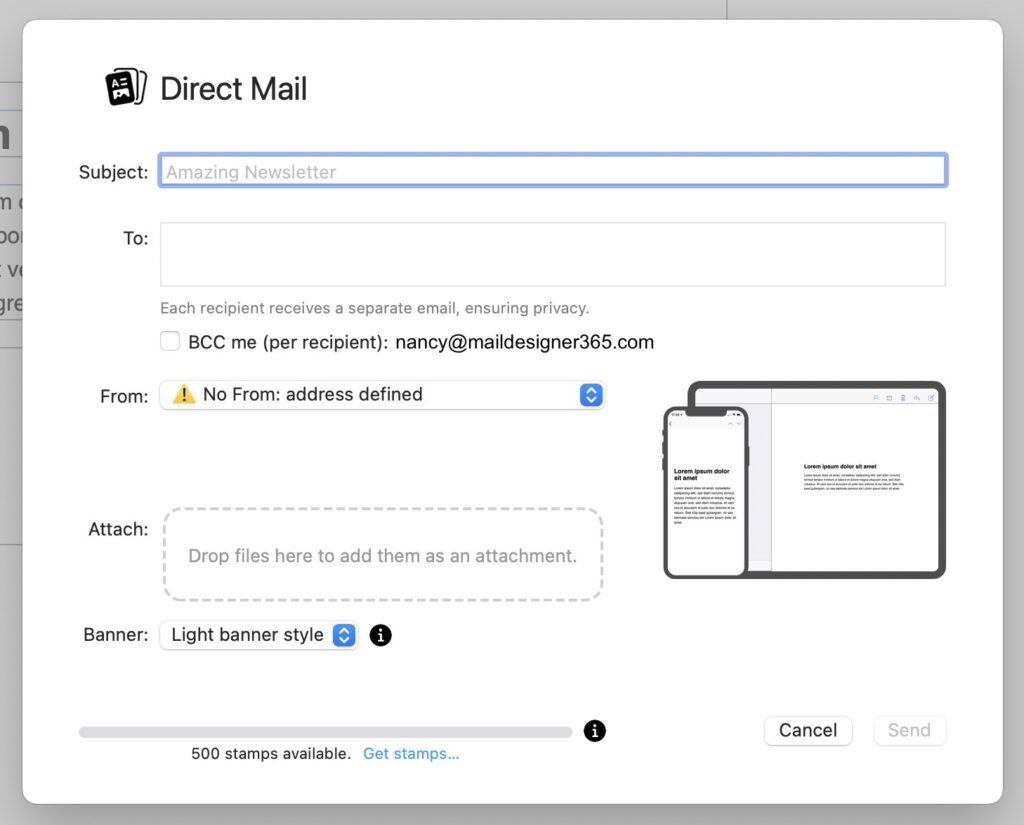
Subject
First check your email's subject. This is the email subject message that will be displayed in the recipient's inbox

To: Field
In the To: field you can enter your recipient addresses. Either copy paste them from a list, manually type them into the field. Contacts can be separated by: Comma ","; Semicolon ";"; "Enter" or "Tab".

Each recipient will receive a separate email. Recipients will not see each other.
BCC option
For each Direkt Mail you send, you have the option to BCC yourself. You can use this to keep track of emails send out. Just select the checkmark next to "BCC me". You will receive one email for each recipient delivered to your own inbox.

From: Address
This is the address your email will be sent from. If you have already set up a From Address in your Team, it will show up here.
- If the field says "No From: address defined"
 ,
, - open up the dropdown and select "Manage From: Addresses":
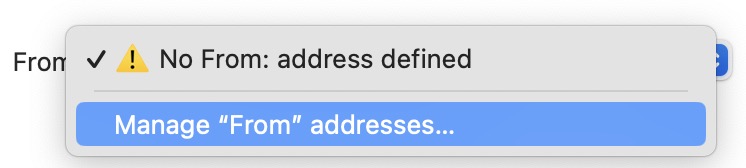
- This will take you to the web interface, where you can configure the From: Addresses for your team.
Once your From: Address is set up, select it in the dropdown menu.
Please note: You need to confirm your email address in order to be able to send your Direct Mail
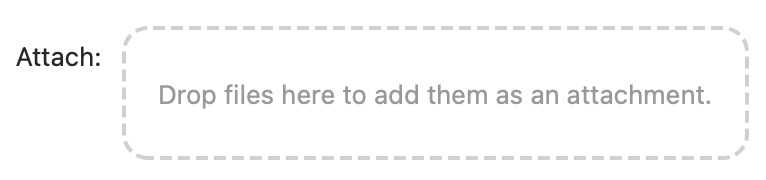
Attachments
You can add attachments to your Direct Mail by dragging them into the indicated box
There is a limit of three attachments per Direct Mail and the size is limited to 20MB total.
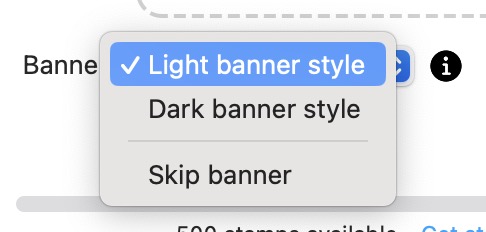
Banner
By default your Direct Mail will include a Banner for Mail Designer.
You have the option to select between a light and a dark banner, depending on your design. You also have the option to remove the banner. #
Tip: Including a Banner in your Direct Mail will allow you to save Stamps!
Stamps
The stamps bar will show you how many stamps you will need for your Direct Mail and how many stamps you have available.

Send your Direct Mail
To send your Direct Mail, press the Send Button and your Mail will be sent.
Not using Mail Designer 365 yet?
How Can We Help?