
HTML Email Button Design in Mail Designer 365
A clear call-to-action helps readers understand what to do next. This guide explains HTML email button design with the ready-made graphical buttons in Mail Designer 365: how to add a button to an image area, customize its label and appearance, connect it to the correct landing page, and check it before sending.
This workflow is intended for the prebuilt buttons available in the Contents panel. If you want to create a flexible CTA from an editable text object instead, use the separate text button guide. Keeping those two methods separate prevents styling instructions from becoming confusing.
Add a Call-to-Action Button
Open the Contents section on the right side of Mail Designer 365 and choose the triangle control to expand the available content elements. Scroll to the buttons section. Select a button whose shape suits the visual hierarchy of your email; the wording and styling can be adjusted after placement.
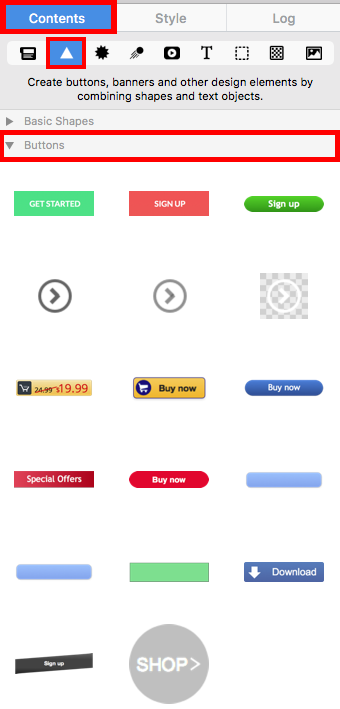
Drag the chosen button into an image area in the email design. Place it close to the message it supports so readers can connect the offer or instruction with the action. Avoid adding several competing buttons to the same short section. A single clear primary action is usually easier to scan.
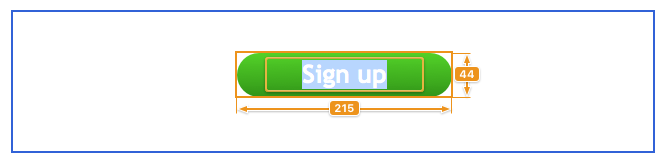
Customize the Button Label and Style
Double-click the button text and replace it with a concise action label such as “View plans,” “Reserve a seat,” or “Read the guide.” The label should describe what happens after the click. Generic wording can work, but a specific action often gives the recipient more confidence about the destination.
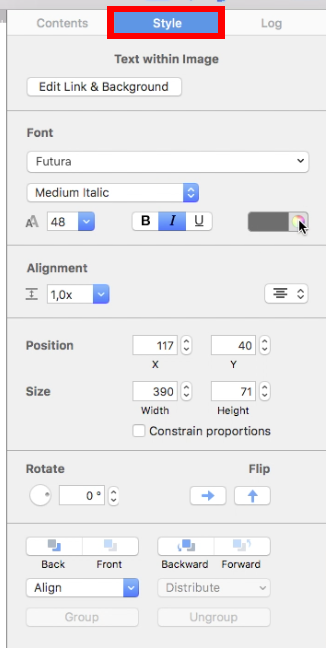
With the button selected, use the Style section on the right to adjust the font, font size, font style, and text color. Keep the label readable against the button background and make sure the button remains visually distinct from surrounding content. Review both desktop and mobile layouts after changing the size because longer labels may wrap or need more space.
Add the Button Link
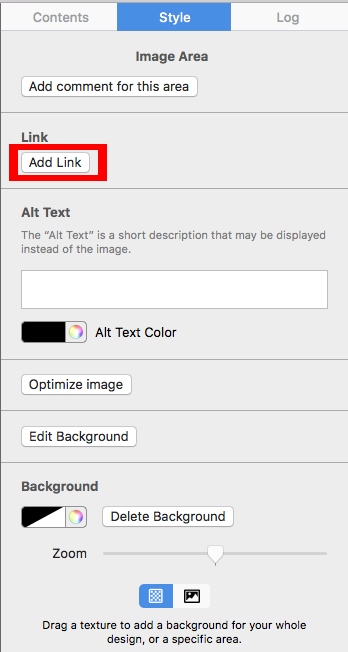
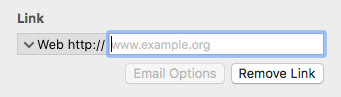
Select the button and click Edit Link & Background. This opens the controls used to assign the destination. Choose Add Link, then enter the full landing-page URL, including https://. Link directly to the page promised by the label rather than to a general homepage when a more relevant destination exists.
For a graphical button, the destination applies to the entire image area—not only to the visible button artwork. Use one destination per image area. If the design needs multiple buttons with different URLs over one visual background, divide it into separate image areas and follow the multiple links to an image guide.
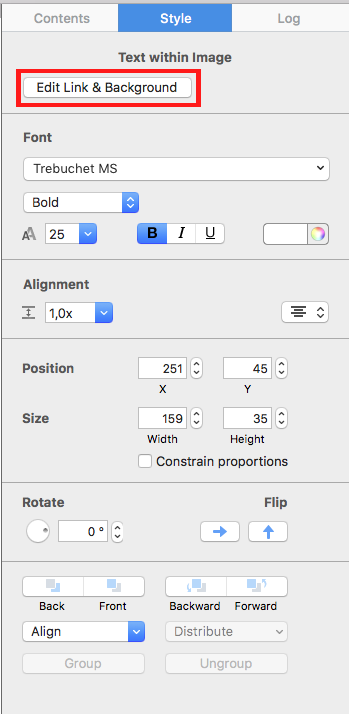
Click Add Link to create the destination for the selected image area.
Enter the desired landing-page address and confirm the change. Repeat the process for any other graphical button placed in its own image area, checking that each area has the correct destination.
Check Your HTML Email Button Design
Before sending the campaign, preview the email at desktop and mobile widths. Confirm that the button is easy to identify, the label is not clipped, and the surrounding spacing makes it comfortable to select. Then send a test email and click the button from the received message. Verify that the destination loads successfully, uses HTTPS, and matches the action described by the button label.
Also review the email without relying only on color. The wording should still make the purpose of the CTA clear. If the campaign contains more than one button, keep their visual priority consistent: one primary action can be prominent, while secondary actions should not compete with it.
Common Button Problems
- The button opens the wrong page: select it again and replace the saved URL.
- The label wraps: shorten the wording or allow more room around the button.
- The button is hard to see: increase the contrast between the button, its label, and the surrounding section.
- The mobile layout feels crowded: review spacing and placement in the mobile version before sending another test.
A good HTML email button design combines a specific label, a readable style, an accurate destination, and a successful test from the delivered email.
How Can We Help?