
Saving custom layout blocks in Mail Designer 365
Saving custom layout blocks helps you reuse a finished email section in future designs. Instead of rebuilding the same header, footer, contact area, product feature, or social media links for every campaign, store the block in My Instant Blocks and drag it into another design when you need it.
This workflow is useful for maintaining consistent branding and reducing repetitive editing. Before saving a block, make sure it contains only the elements you want to reuse and that the content can be adapted safely for future campaigns.
Prepare the layout block
Review the block in the design and remove campaign-specific content that should not be copied. Check links, dates, prices, names, legal text, and tracking parameters. You can keep placeholders or neutral sample content when that makes the saved block easier to update later.
Confirm that the block works in both desktop and smartphone views. A reusable block should have clear spacing, a logical reading order, and image areas that can accept new assets without breaking the layout.
Open the layout block library
- Open the design that contains the block you want to save.
- Choose the Content section.
- Click the layout blocks icon to open the block library.
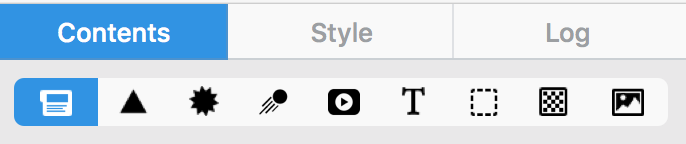
The library shows the available block categories and your personal collection. Keep the design visible while the panel is open so you can drag the finished section into the correct destination.
Choose Ready-Made and My Instant Blocks
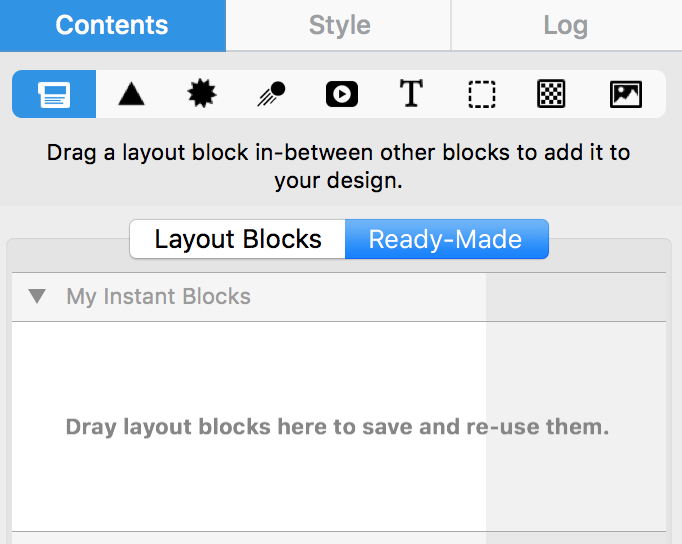
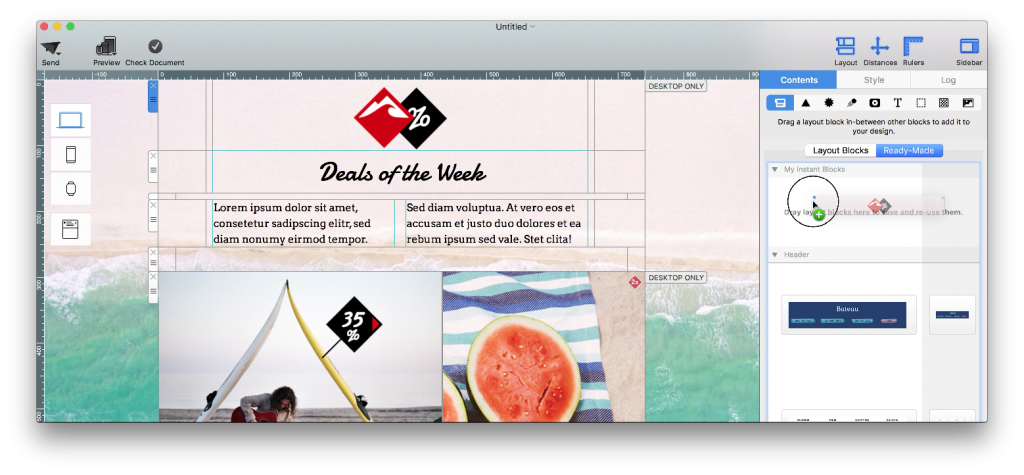
Select Ready-Made in the layout block panel. Then locate My Instant Blocks, which stores the custom sections you save for later use.
Save the custom block
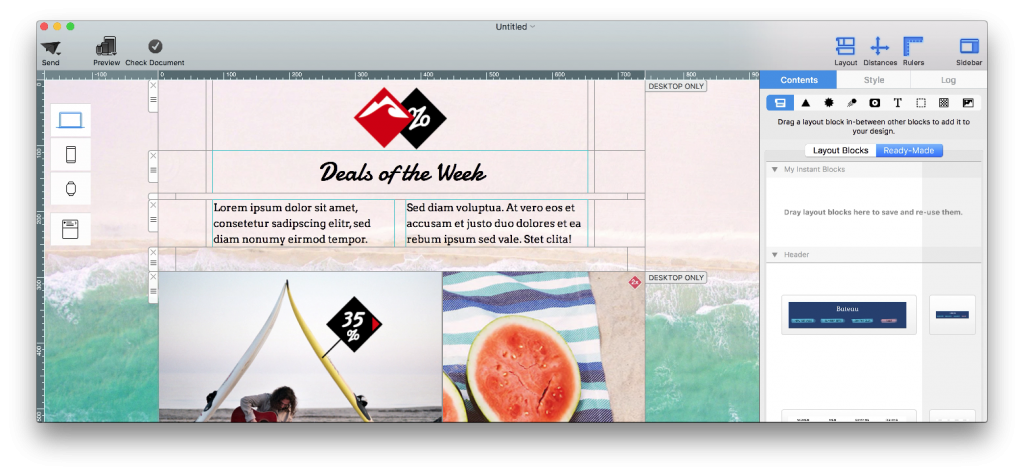
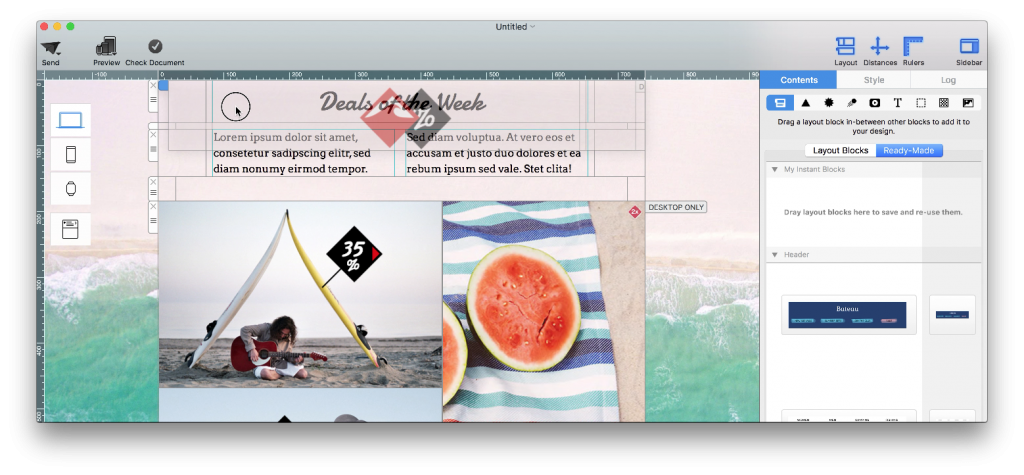
Drag the completed layout block from the email design into the My Instant Blocks area. Watch for the visual indication that the panel is ready to accept the block, then release it. Mail Designer 365 creates a reusable copy while leaving the original section in the current design.
Identify and organize saved blocks
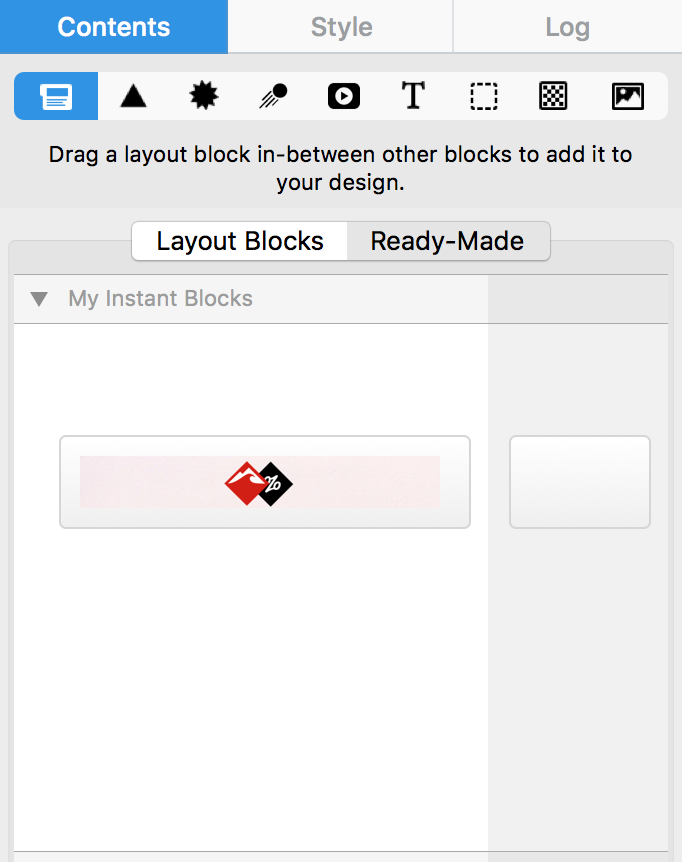
Use a clear preview and, where the app offers naming or organization options, choose a description that reflects the block’s purpose. Names such as “Brand footer,” “Two-column product feature,” or “Event registration CTA” are easier to recognize than campaign-specific labels.
A small, curated collection is usually more useful than many nearly identical blocks. Remove outdated versions and keep the most flexible option for each repeated section.
Reuse a saved layout block
Open another design, return to Ready-Made > My Instant Blocks, and drag the saved block into the email. Replace sample copy, images, and links with campaign-specific content. Check every reused link rather than assuming it still points to the correct destination.
If you no longer need a saved item, see deleting saved custom layout blocks.
Keep reusable blocks current
Review My Instant Blocks whenever branding, contact details, social profiles, or legal requirements change. A saved block is a copy, so editing a block already placed in one campaign may not update the stored version or other designs automatically. Create a revised reusable block when the standard content changes, test it, and remove the obsolete version once the replacement is ready.
When several team members create campaigns, agree on which blocks are approved and what must be customized after insertion. Clear ownership and simple names reduce the risk of using an outdated footer or call to action. Record the date or version in your internal workflow if the block contains regulated or frequently changing information.
Verify the block before sending
- Preview desktop and smartphone versions.
- Check text, images, links, and tracking parameters.
- Confirm that old campaign details have been replaced.
- Send a test email and review the block in key email clients.
Saving custom layout blocks provides the most value when each block is treated as a reusable starting point, not as finished campaign content. A short review after every insertion keeps the design consistent while preventing outdated information from reaching recipients.
How Can We Help?