
Frequently Asked Questions
Below, you will find easy-to-follow instructions on how to link out to events created with Google, Apple and Outlook calendars in your Mail Designer 365 email designs.
Google Calendar
If you've created a Google Calendar event which you want to share with your email subscribers, you will need to create an event link to include in your email.
Here's how:
- Set up your event in your Google Calendar.
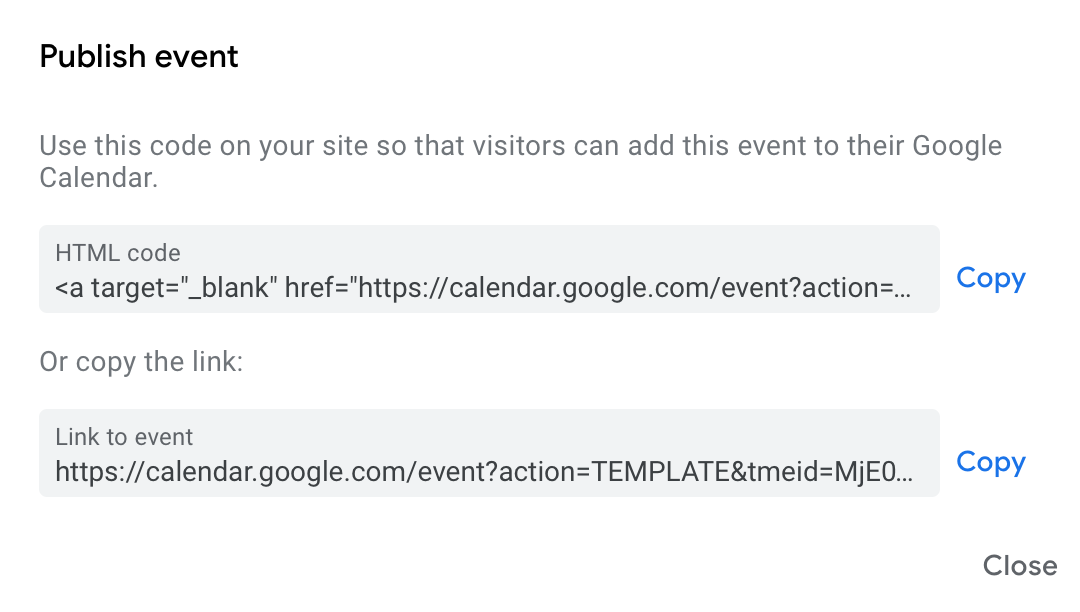
- Click on "Options" > "Publish Event"
- Copy the event link to include in your email template. Important: Make sure your calendar is set to public to ensure all recipients will be able to view the event.
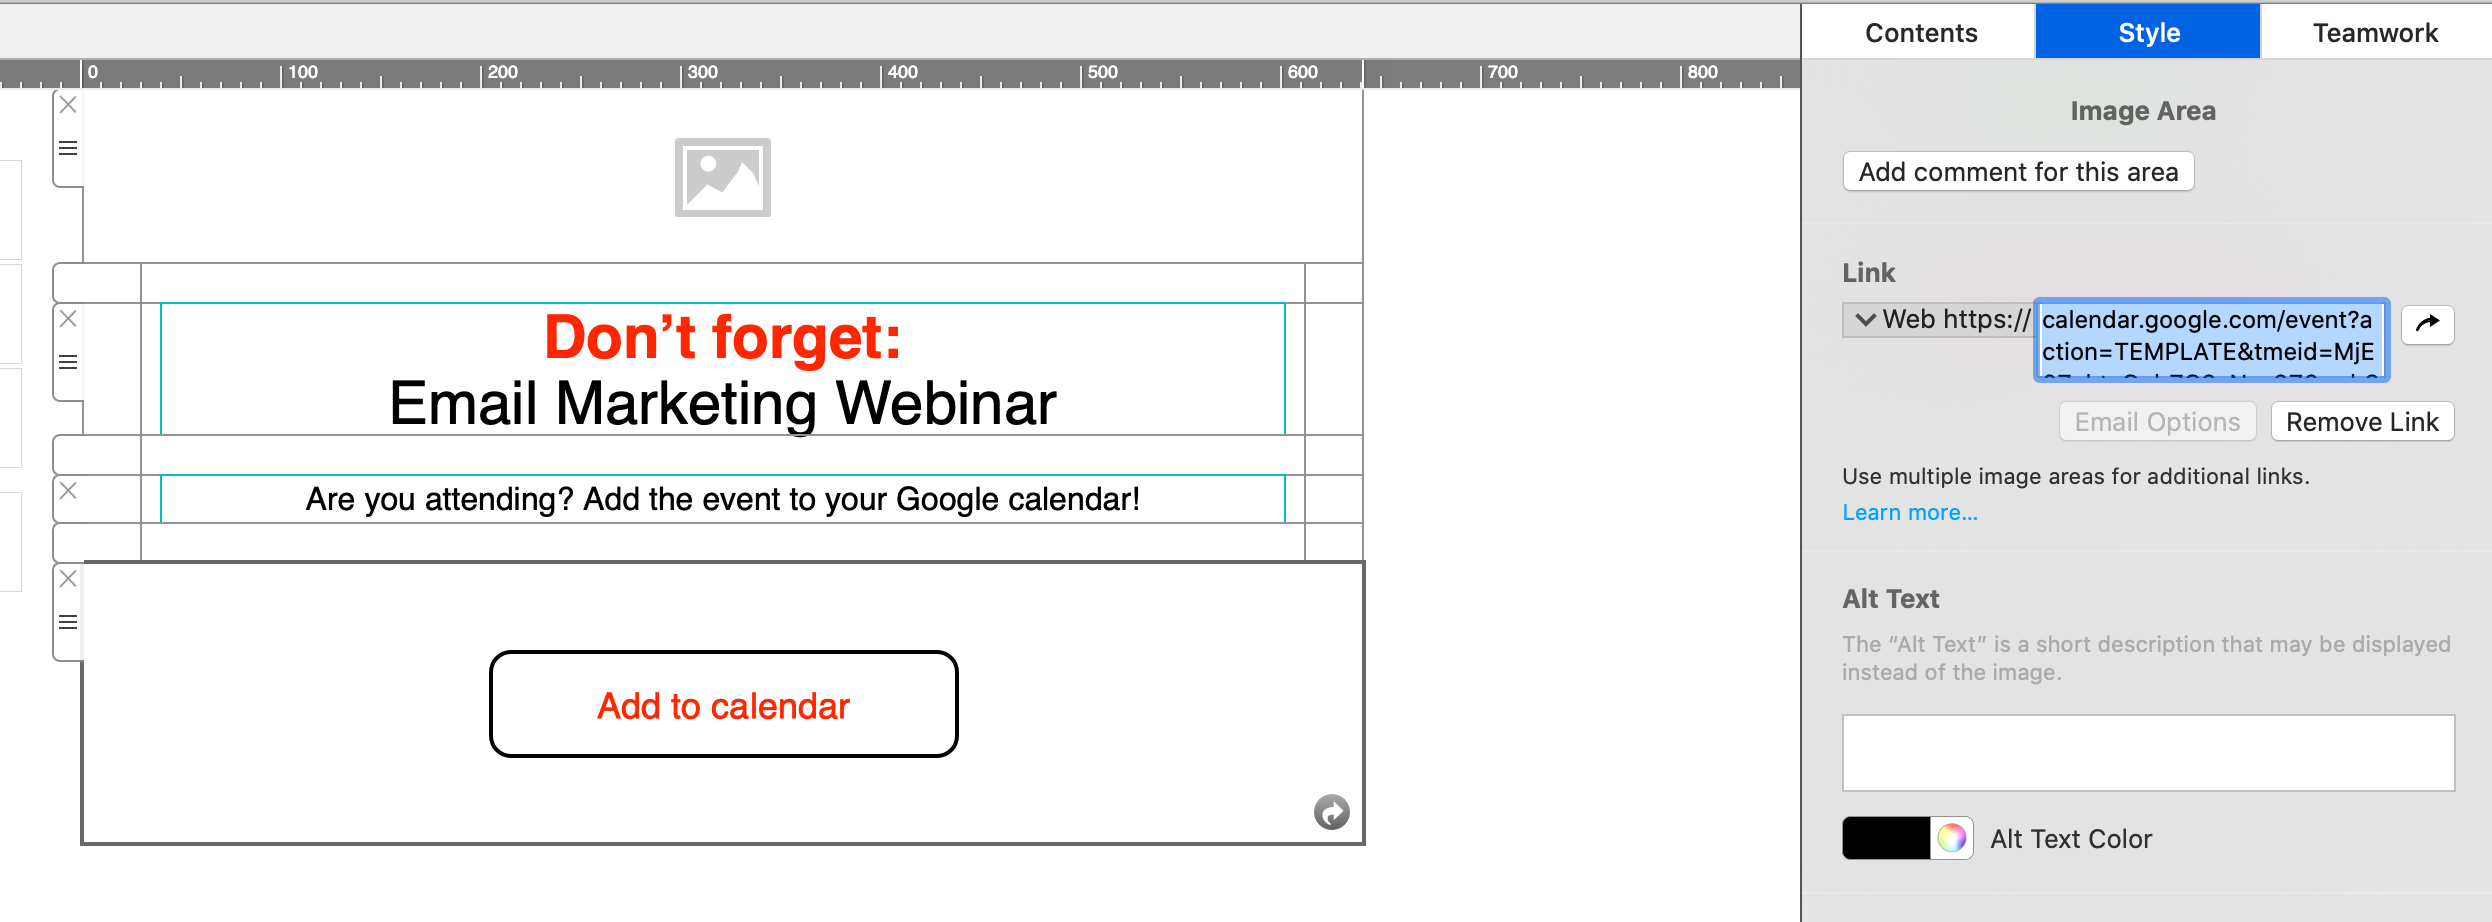
Now you can insert the link into your Mail Designer 365 template; either as a text link, or attached to a call to action button:
Apple and Outlook Calendar
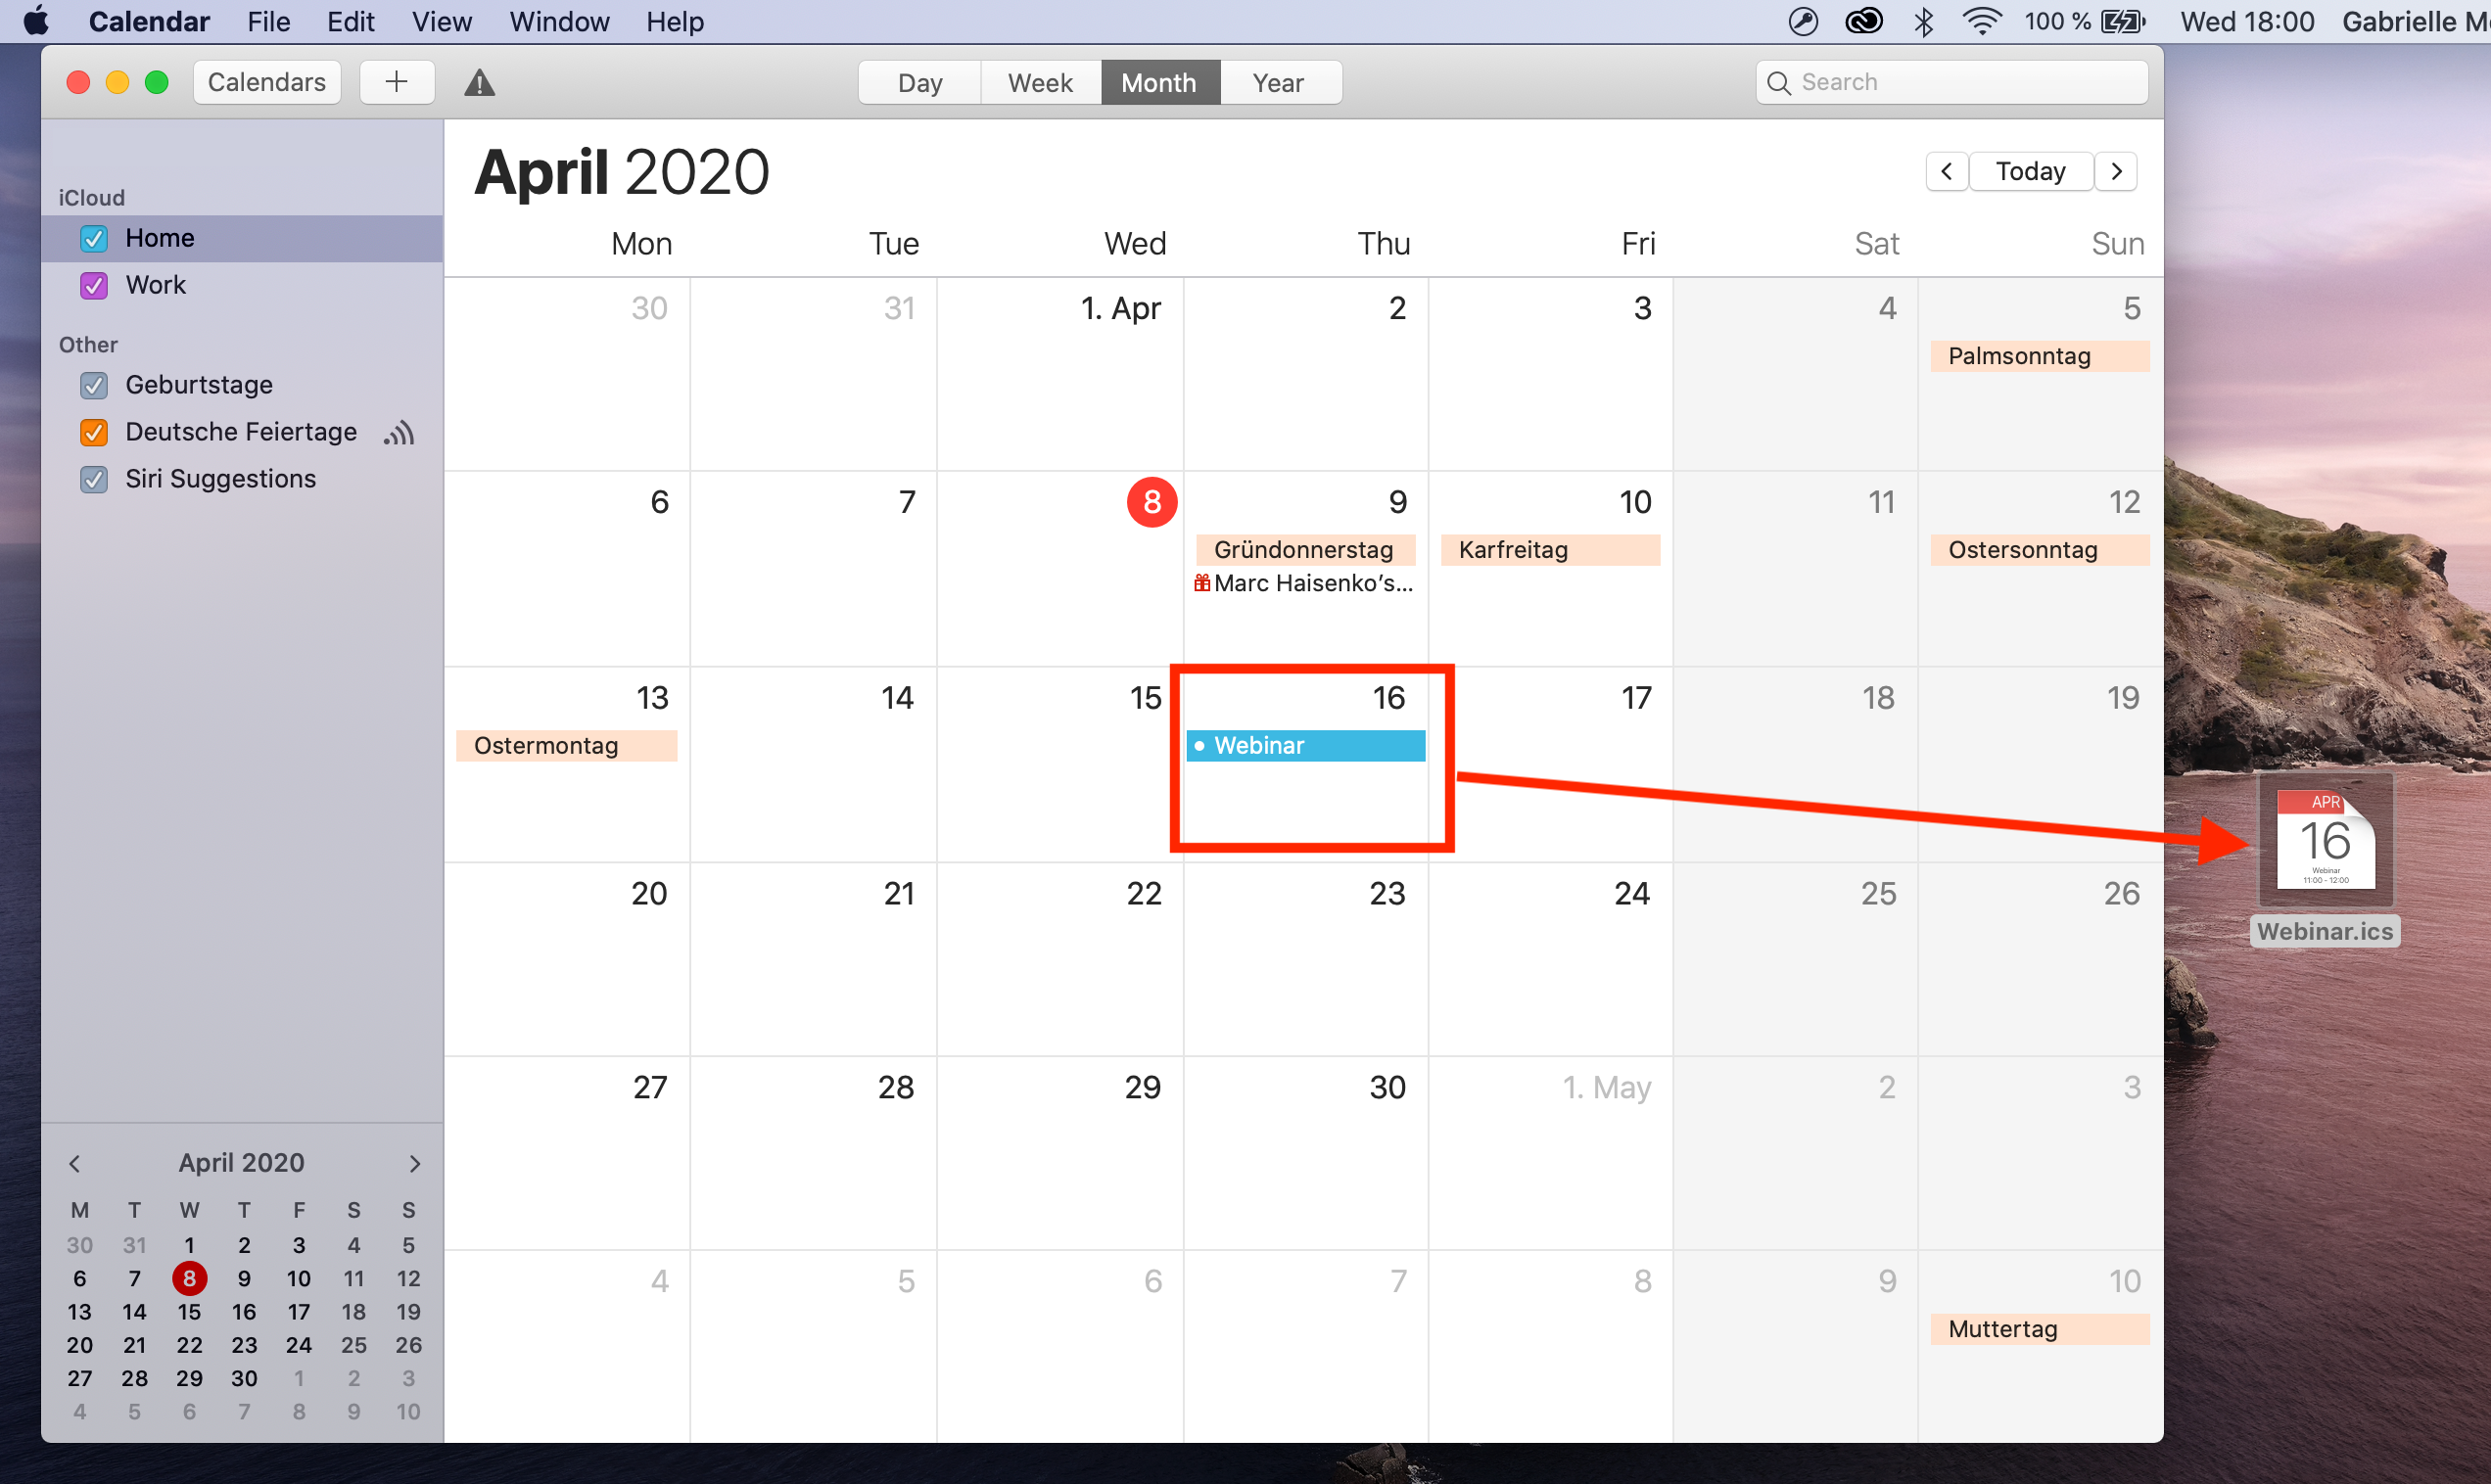
For Apple and Outlook calendars, you will need to create an .ics file for the calendar event.
Simply set up your event in the calendar, then drag it on to your desktop to create the file:
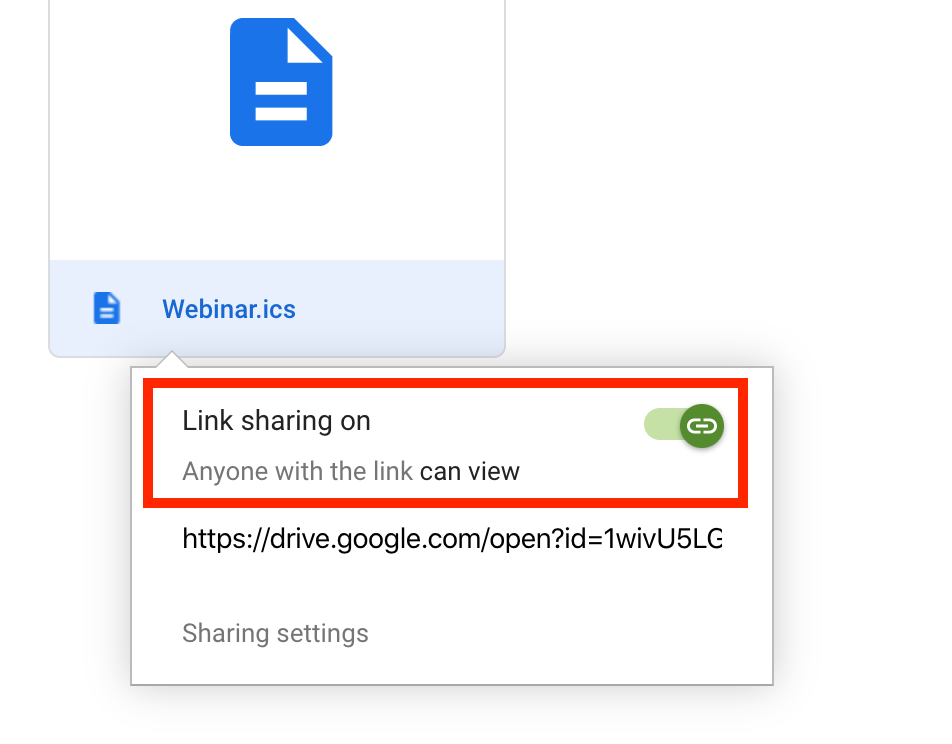
Now, upload the file to an online file hosting service (in this example, we will use Google Drive.) Right click the file to create a shareable link which you can insert into your email design:
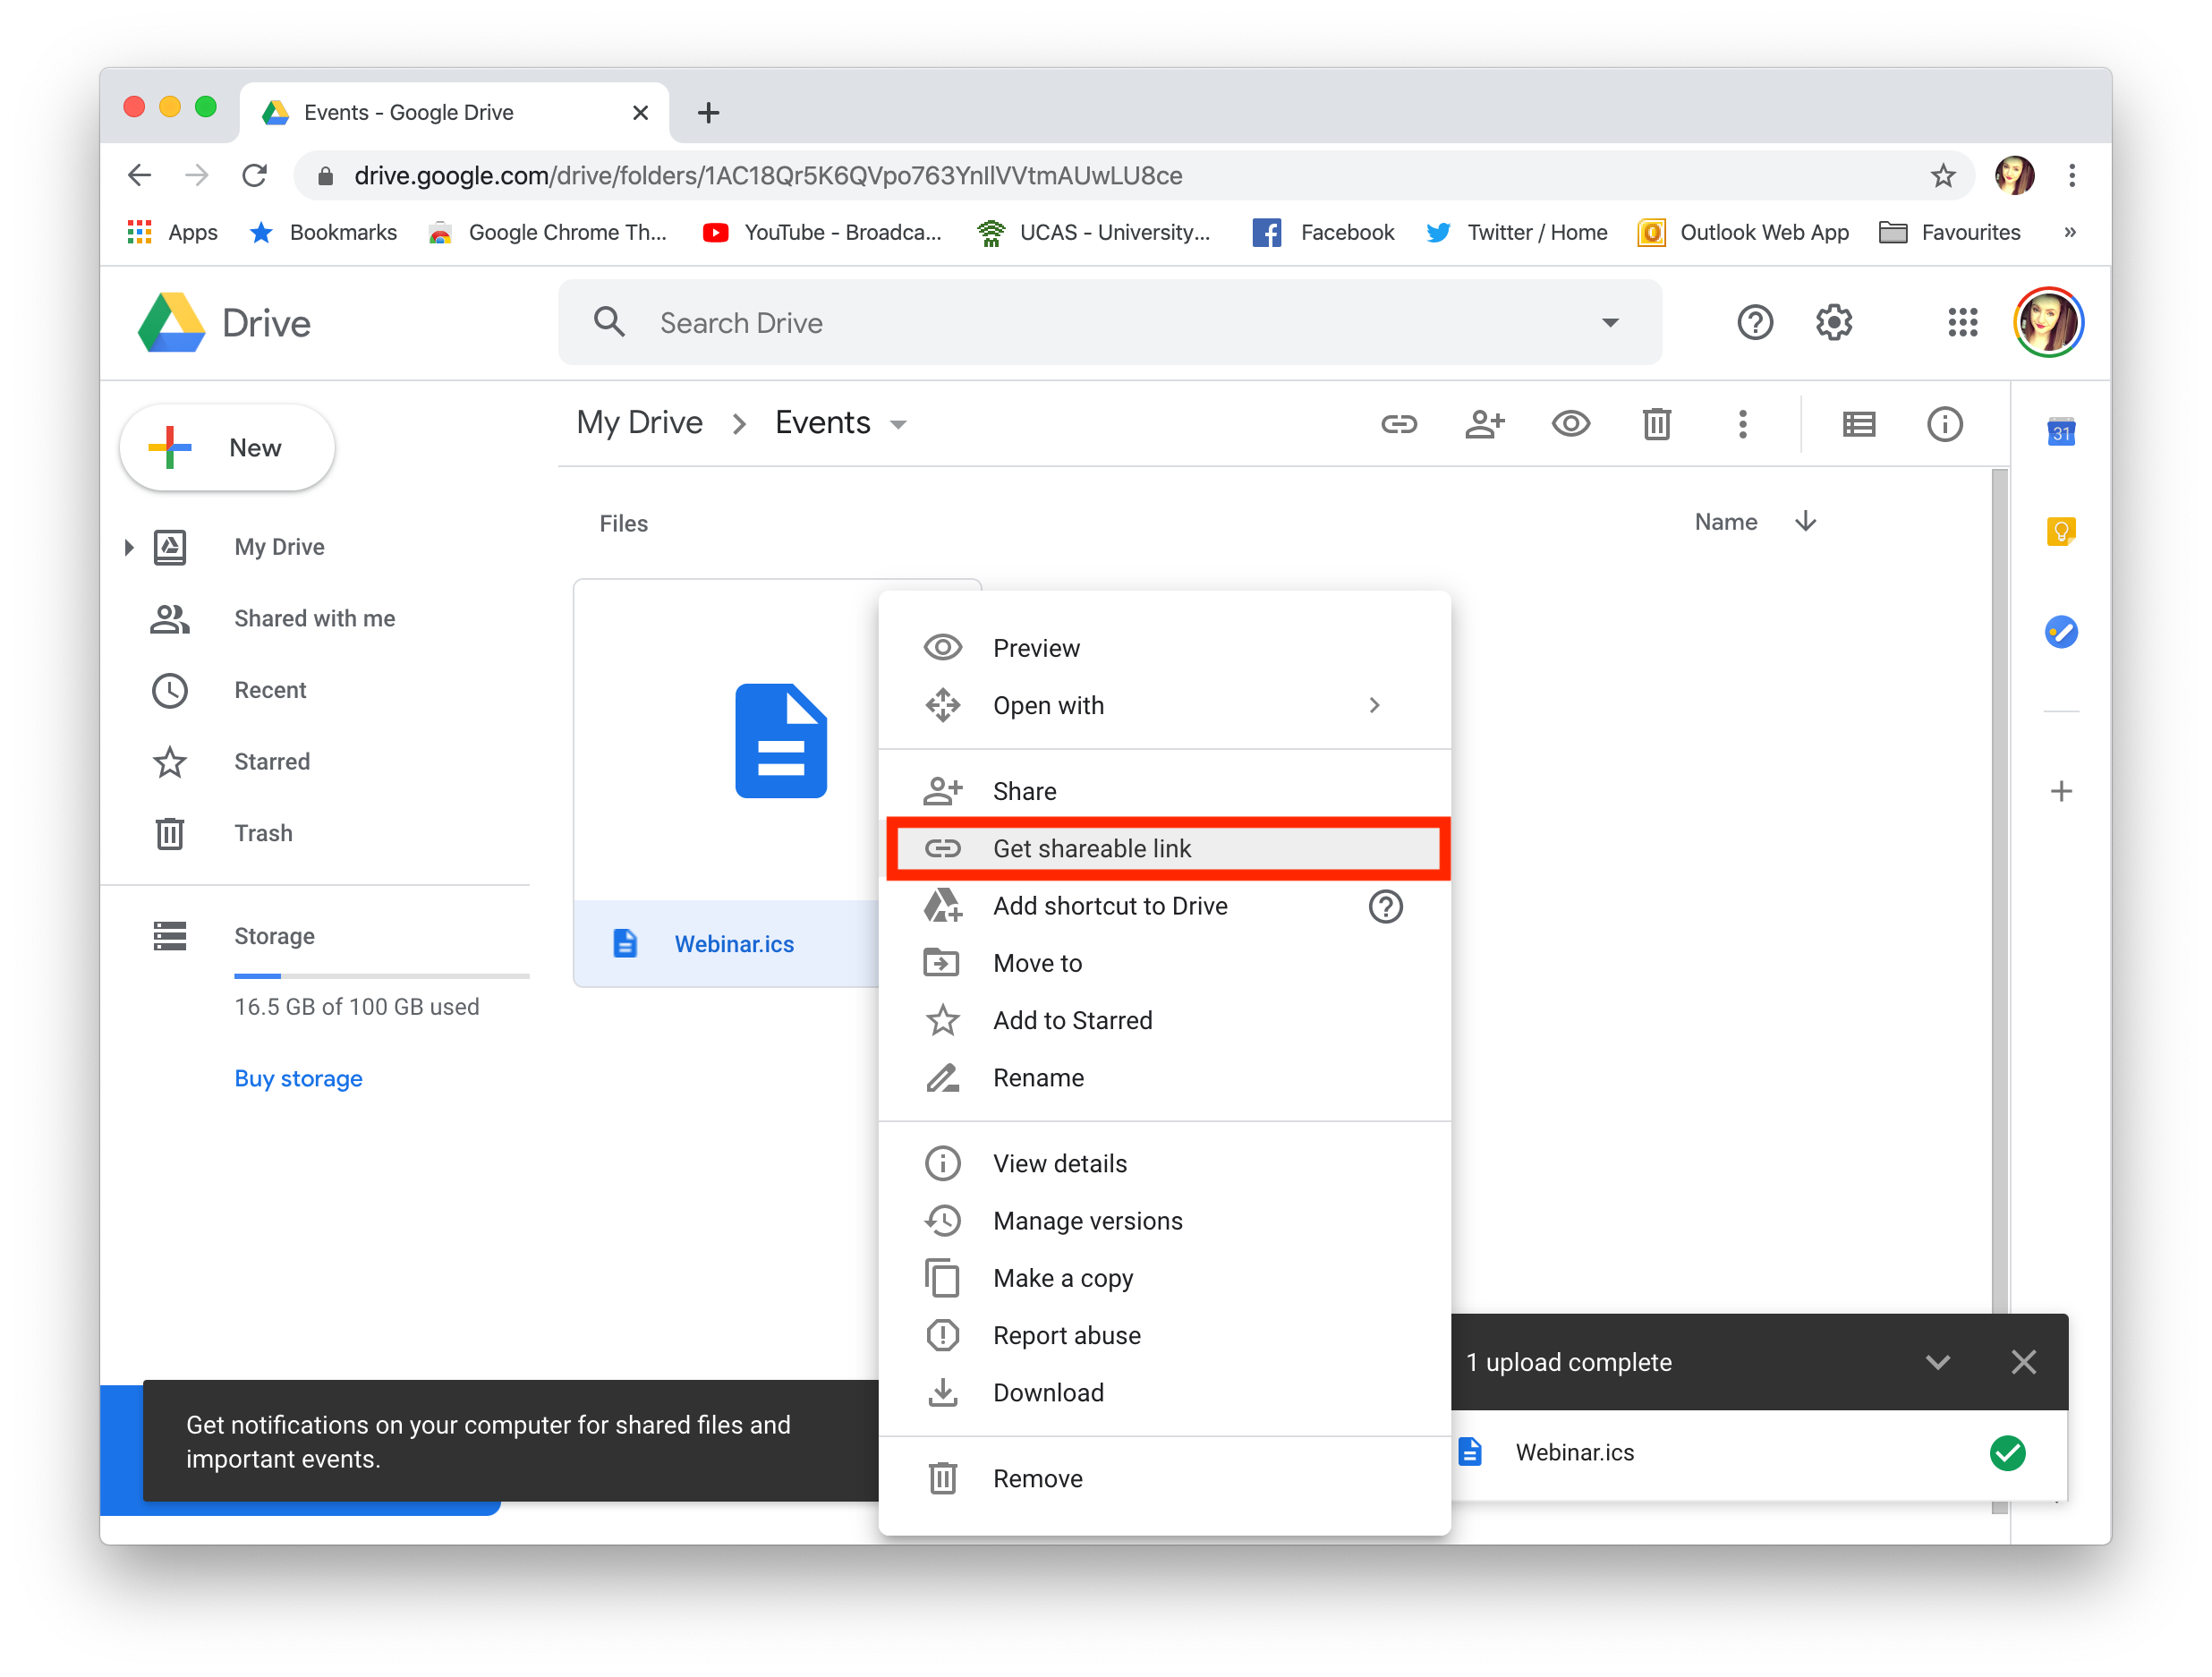
Remember to set the file to public if you are sharing it:
You can now send a link to the calendar event to your subscribers, who can simply download the .ics file to add to their own calendar.
Tip: This tool is another great way of creating custom add to calendar links. Fill out your event's details and select the calendar service you wish to generate a link for (i.e. Google, Office 365, Outlook or Yahoo.) You can then copy the result to use in your Mail Designer 365 design.

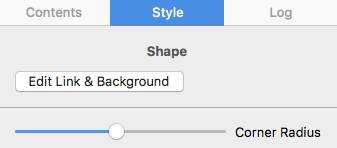
Adjust the size of the image area as well as the size of the shape to fit your needs. You can also change the color of the shape. On right side, you can adjust the corners by moving the corner radius slide.
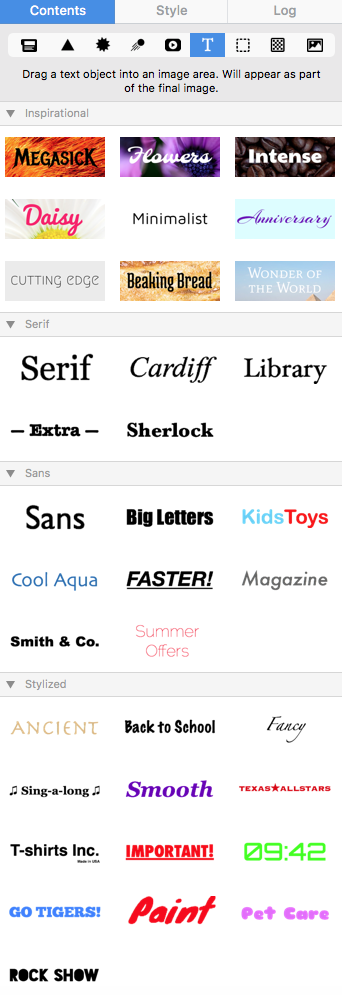
Then, drag a text object into the image area to create a text box effect. You can find text objects under "T" icon within the "Contents" tab. Feel free to position the text box and change its font style, font weight, font size, font color, etc. to fit your needs.
Please refer to the following page for further information on how to create the effect of having rounded text box corners:
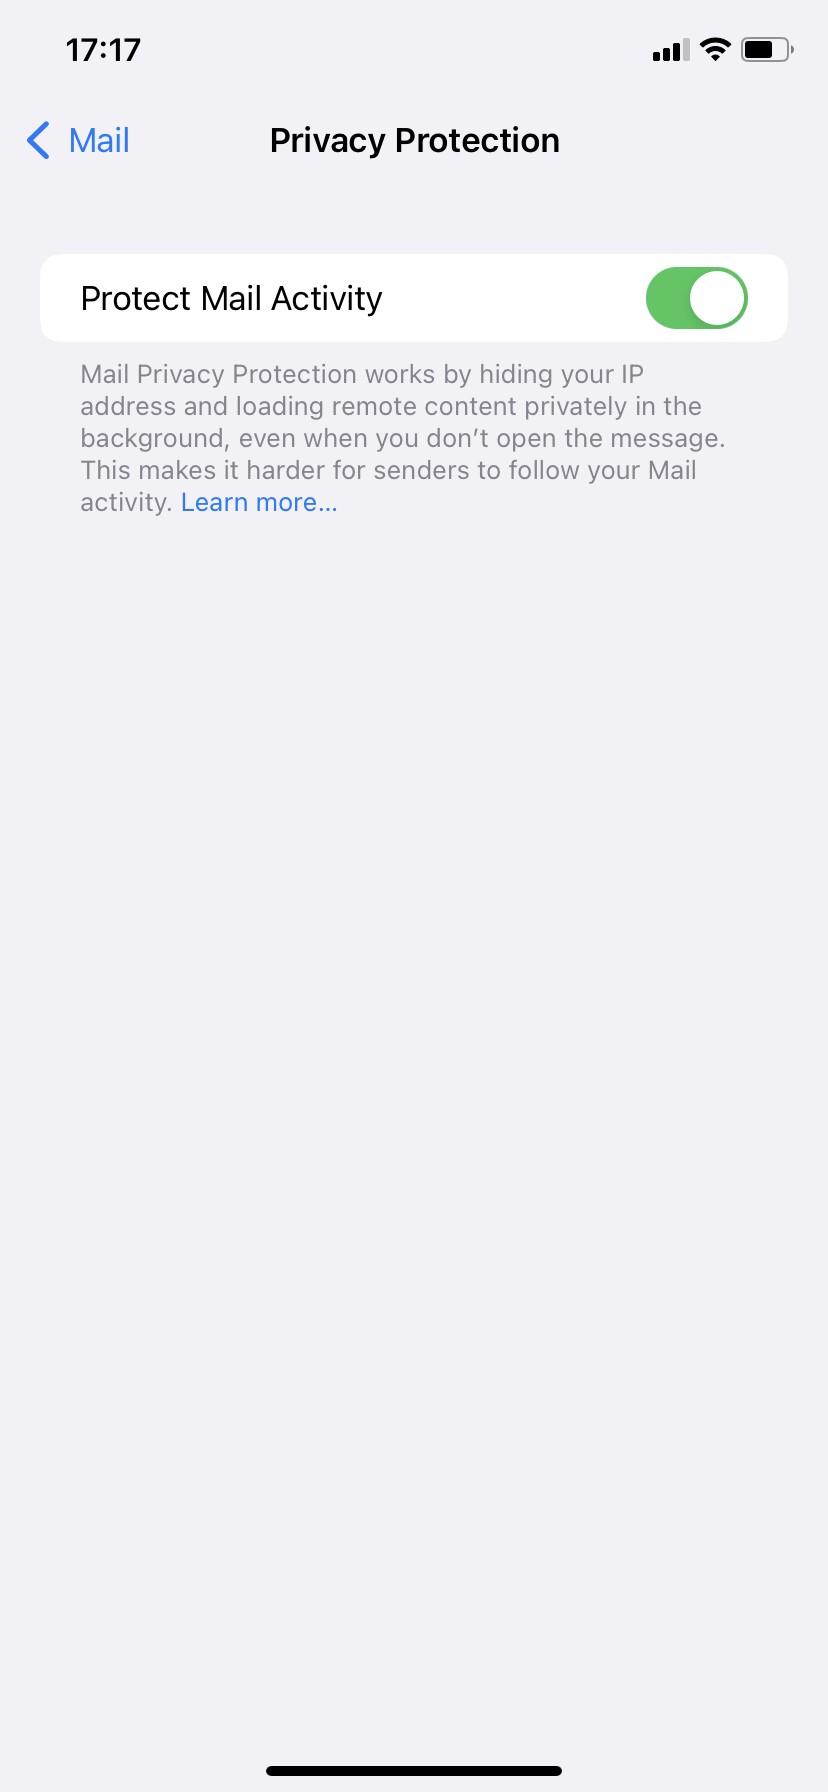
In our testing, this has occasionally caused certain mail images to not load correctly at all (you should see a hint at the top of the Mail app):
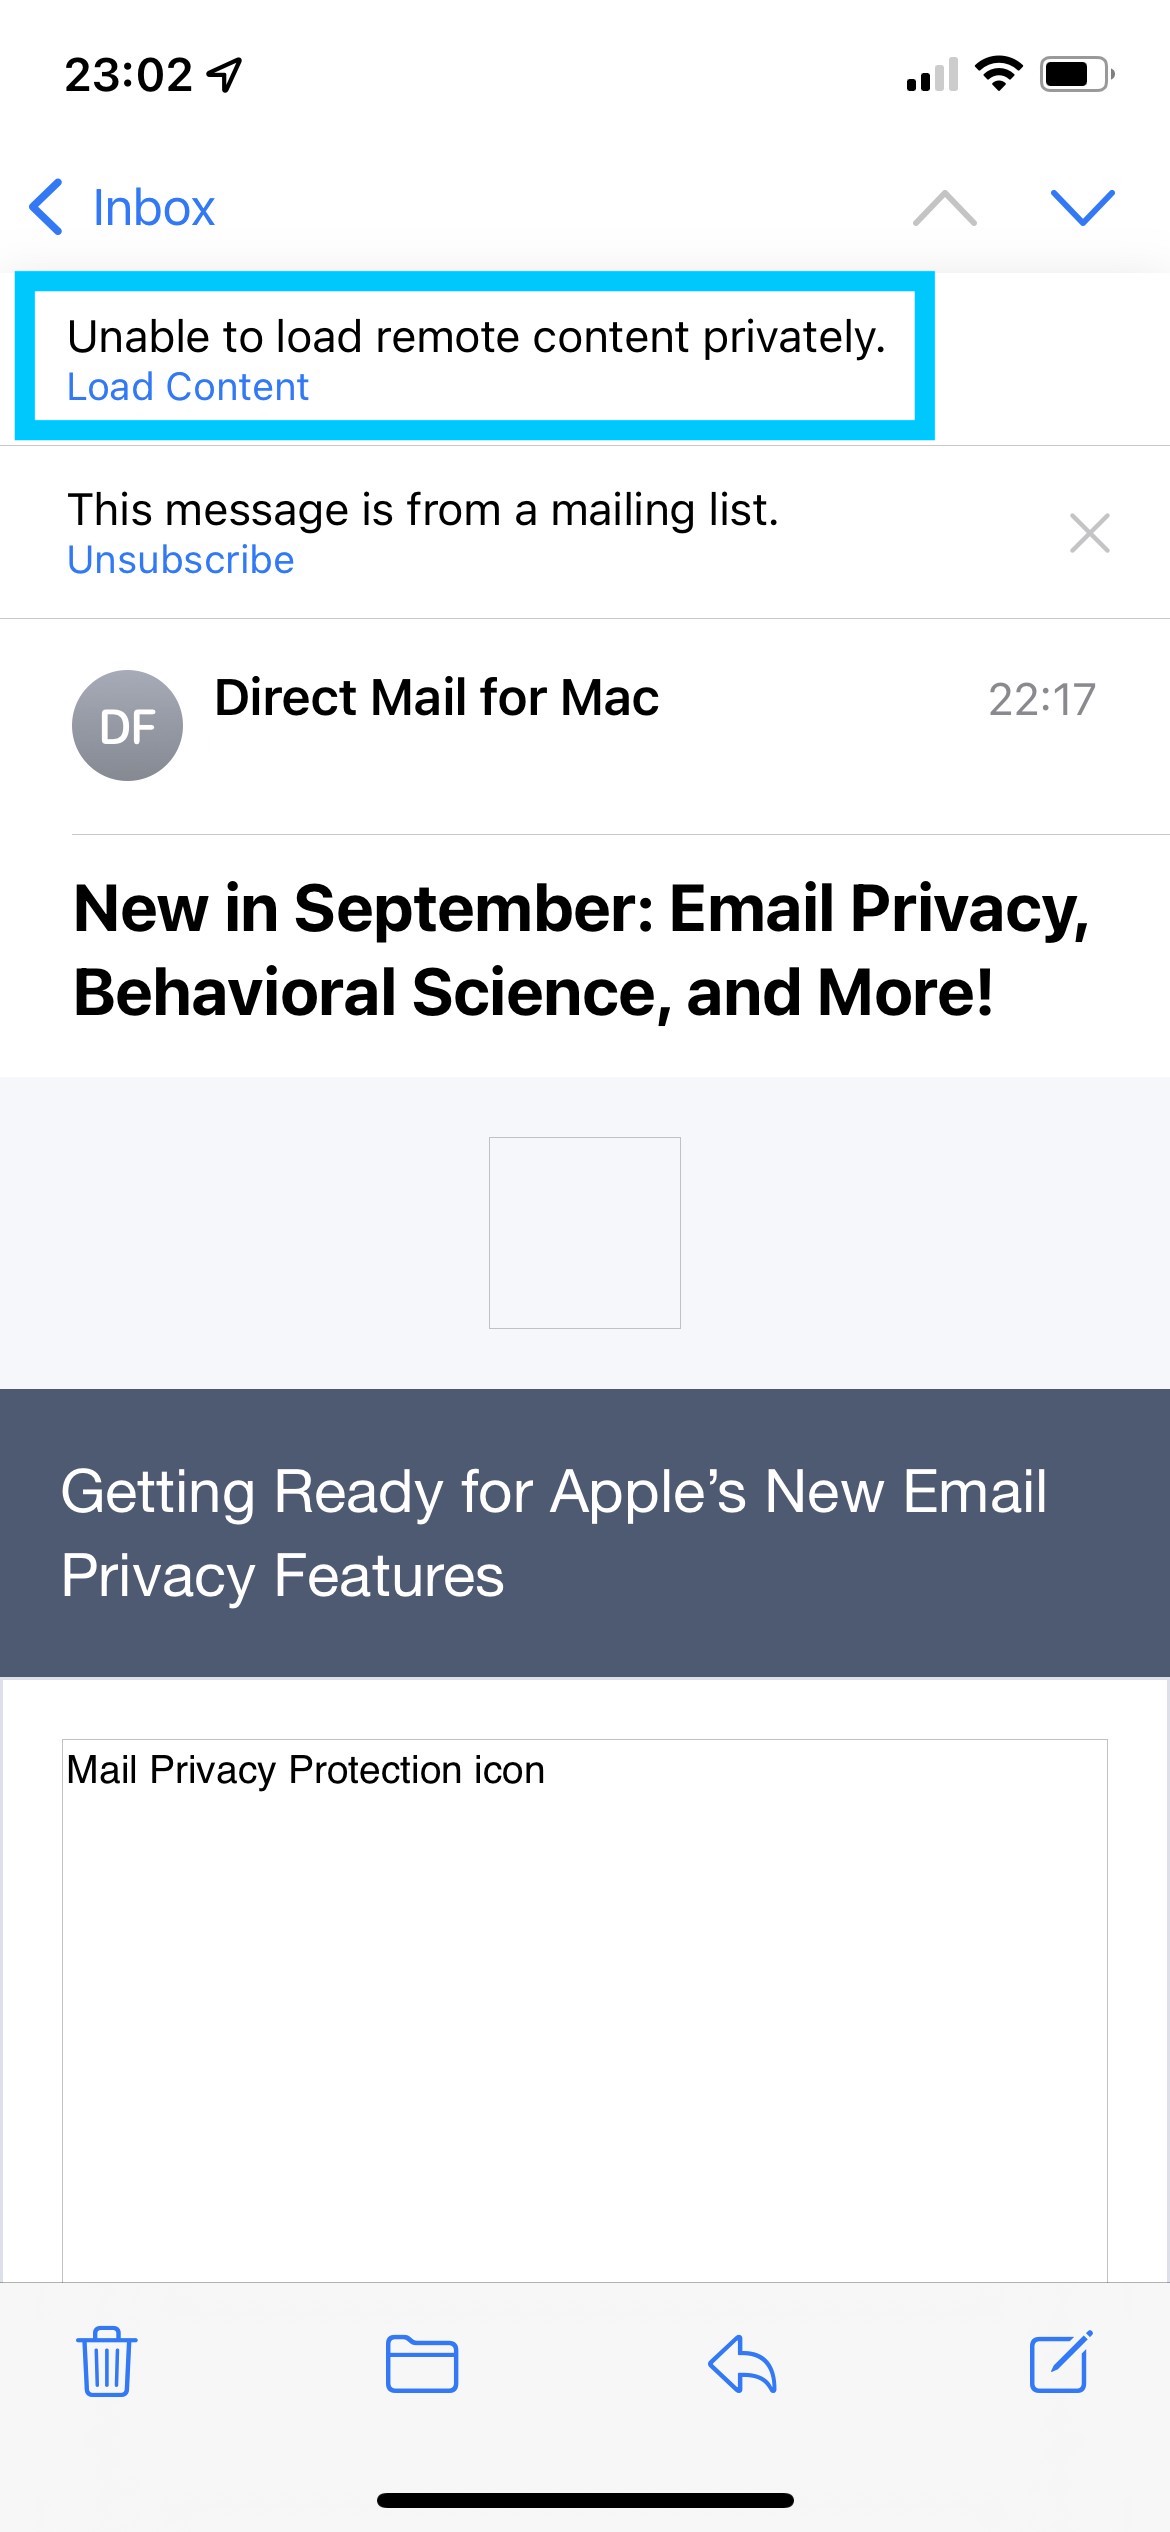
If you are unable to load the images in your email, try deactivating this feature and sending your email again.
To deactivate Mail Privacy Protection, open the Settings app on your iPhone, and choose Mail > Privacy Protection > Protect Mail Activity
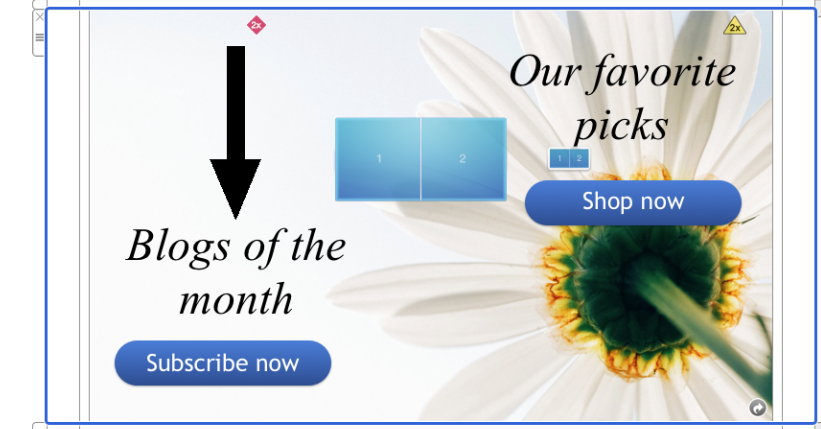
However, if you want to create the effect of having one image with multiple links, then check out our video tutorial:
Watch our video tutorial here:
Also, please refer to the following page for a step-by-step guide on how to create the effect of having one image with multiple links:
If you're trying to set up your email account in Mail Designer 365 and your password is being rejected, you may need to set up an app-specific password.
What is an app-specific password for? Many email providers now require a separate password to be used in 3rd party apps, in order to increase your overall account security. This may be required, even if you do not use 2-factor authentication to sign in to your email.
This means that you may need to create a separate password and use that in Mail Designer 365 in order to send emails directly from Mail Designer 365.
Please refer to your email provider's security or account settings, or visit your email provider's help pages on how to set up a 3rd party email app.
Links for selected email providers
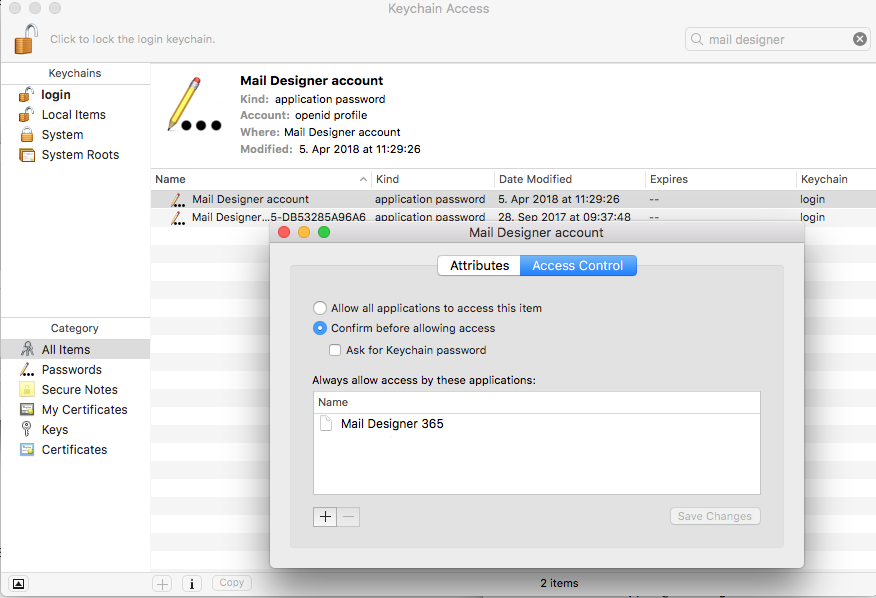
However, despite this, it can sometimes be the case that your Mac doesn't store your login details in the Keychain. To manually fix this problem and stop the app prompting you to sign in every time you open it, please do the following:
- Quit the Mail Designer 365 app.
- Open the "Keychain Access.app"
- Search for "Mail Designer" using the search field in the upper right corner of the window.
- Here you should find the entry "Mail Designer account." Double click on this entry to get details.
- Go to the "Access Control" tab and check to see if Mail Designer 365 is located under the "Always allow access to these applications" list.
- If you cannot see Mail Designer 365 on the list, please press the "+" underneath the list, find Mail Designer 365, and add it.
- Restart the app and login if prompted.
Your login details for Mail Designer 365 should now be stored on your Mac. If you are still experiencing problems, please send us your debug logs and let us know via support@maildesigner365.com.
What happens when you use the normal forwarding button is that the mail client will need to modify the email newsletter, so you, the user, will be able to add your own content. This typical whenever you forward a message - the forward action will prompt the mail client to give you space to write an additional message to the person you are forwarding the email to. Unfortunately, with this process, most mail clients can break the email layout and there is nothing we can do to prevent that from happening. So when you want to forward your email template to someone, our best email design practice is to use your mail client's "Forward as Attachment" or "Redirect" feature.
Quick summary of what to avoid when using Unsplash photos:
- ✘ people's faces are recognizable (unless you can get model release of those people)
✘ photos that show logos, trademarks, brands
✘ images that put people in a bad light
✘ photos of private property (e.g. private homes and buildings)
Is the Unsplash license the same as the CC0 license?
When it comes to using images that you did not take, create, or do not own, you should stay mindful of the laws and licensing types that guide images. Many image libraries are published under "CC0,” which means “no rights reserved." A CC0 license is also a way for photographers and artists to publish their work and give permission to the public to use their work for free.
Curators who publish their works under CC0 and waive copyright of their works place them for public use. An image that has CC0 that carries this designation has “No Rights Reserved” and is free of copyright restrictions, and likely other restrictions (i.e., moral, publicity, and privacy rights). This is a very broad designation and it is clearly understood within the Creative Commons community that no work carries this designation unless it is explicitly marked as a CC0 work. As a result, anyone can use them, edit them, etc. without restriction of copyright law.
Unsplash is similar to a CC0 license with one difference: the Unsplash license does not include the right to compile images from Unsplash and then use them to create a similar or competing service.
While the Unsplash license give people a lot of freedom, keep these exceptions in mind before using an image:
- ‣ Are people’s faces identifiable? If they are, you will require their individual consent – and not just the consent of the artist or photographer who took the picture. Only use these photos if you are able to get model release from each person whose face is showing on the image.
‣ Does the photo show people in a negative way or can be interpreted in a negative way? If yes, then avoid using these photos. Otherwise, you will need to get model release from each person whose face is showing on the image.
‣ Does the picture show other products, trademarks, or logos? Refrain from using these types of photos because they may suggest that the other brand or product is endorsing your product or service.
‣ Do you see landmarks, buildings, homes, automobiles, etc. that are actually private property within the photos? If yes, avoid these pictures unless you can acquire the permission of the owner of the private property. Make sure that the photos you use do not show valuable information about other people's property like the address, license plate, etc.
The Unsplash license and the CC0 license have these in common:
- ‣ They are both sub-licensable (so you can use them)
‣ They are non-revocable, which means that you are able to use them forever.
‣ They allow users to use the photos for free.
‣ They allow you to modify and/or distribute, perform the photos for free.
‣ They allow users to use the images for personal and commercial purposes.
‣ They do not require attribution, although it would be nice.
Although you are not legally obligated to follow the list below, these are still good practice suggestions:
- ‣ You can use Unsplash photos for commercial use. However, try to edit or add to the photo creatively through image editing or other methods.
‣ Unsplash photos are non-revocable. However, if a photographer decides to remove his or her photo, it is good practice that you respect the photographer's wishes and refrain from using the photo.
To get more detailed information, please make sure you read the terms and conditions of Unsplash here.
At the moment, Mailchimp are serving the images exported from Mail Designer 365 over http. If your browser blocks mixed http and https content on web pages, this will explain why you are unable to see the images when you preview your templates via the Preview Mode.
We are aware of this issue and are currently working with the Mailchimp team to get it rectified.
Workaround
As a workaround, you can update your browser preferences to allow mixed content or switch to a different browser such as Safari, which by default allows mixed content.
What can I do?
The latest Mail Designer 365 version includes support for the new image upload API. Templates uploaded using this version will not be affected.
What about older email templates?
If you need assistance with older designs that you've previously uploaded to Mailchimp and are now not working, please contact the Mailchimp team directly to report the problem. We generally suggest to re-upload the old template.
Older Mail Designer versions
Mailchimp no longer supports older versions of Mail Designer, such as Mail Designer 2 and Mail Designer Pro 2. For this reason, if you try exporting a design created using an older version of Mail Designer, you may notice that images are missing from your design.
To ensure compatibility with Mailchimp and other leading email service providers, you should consider upgrading to Mail Designer 365.
If you want to use your AOL email account to send email designs via Mail Designer 365, you will need to generate a special password. Here's how:
- Log in to your AOL account and go to your account settings
- Go to the "Account Security" tab and choose "Manage app passwords."
- From the dropdown menu, select "Other" and give the app a name (i.e. Mail Designer 365)
- Click "Generate" to create a new password. This will appear on your screen
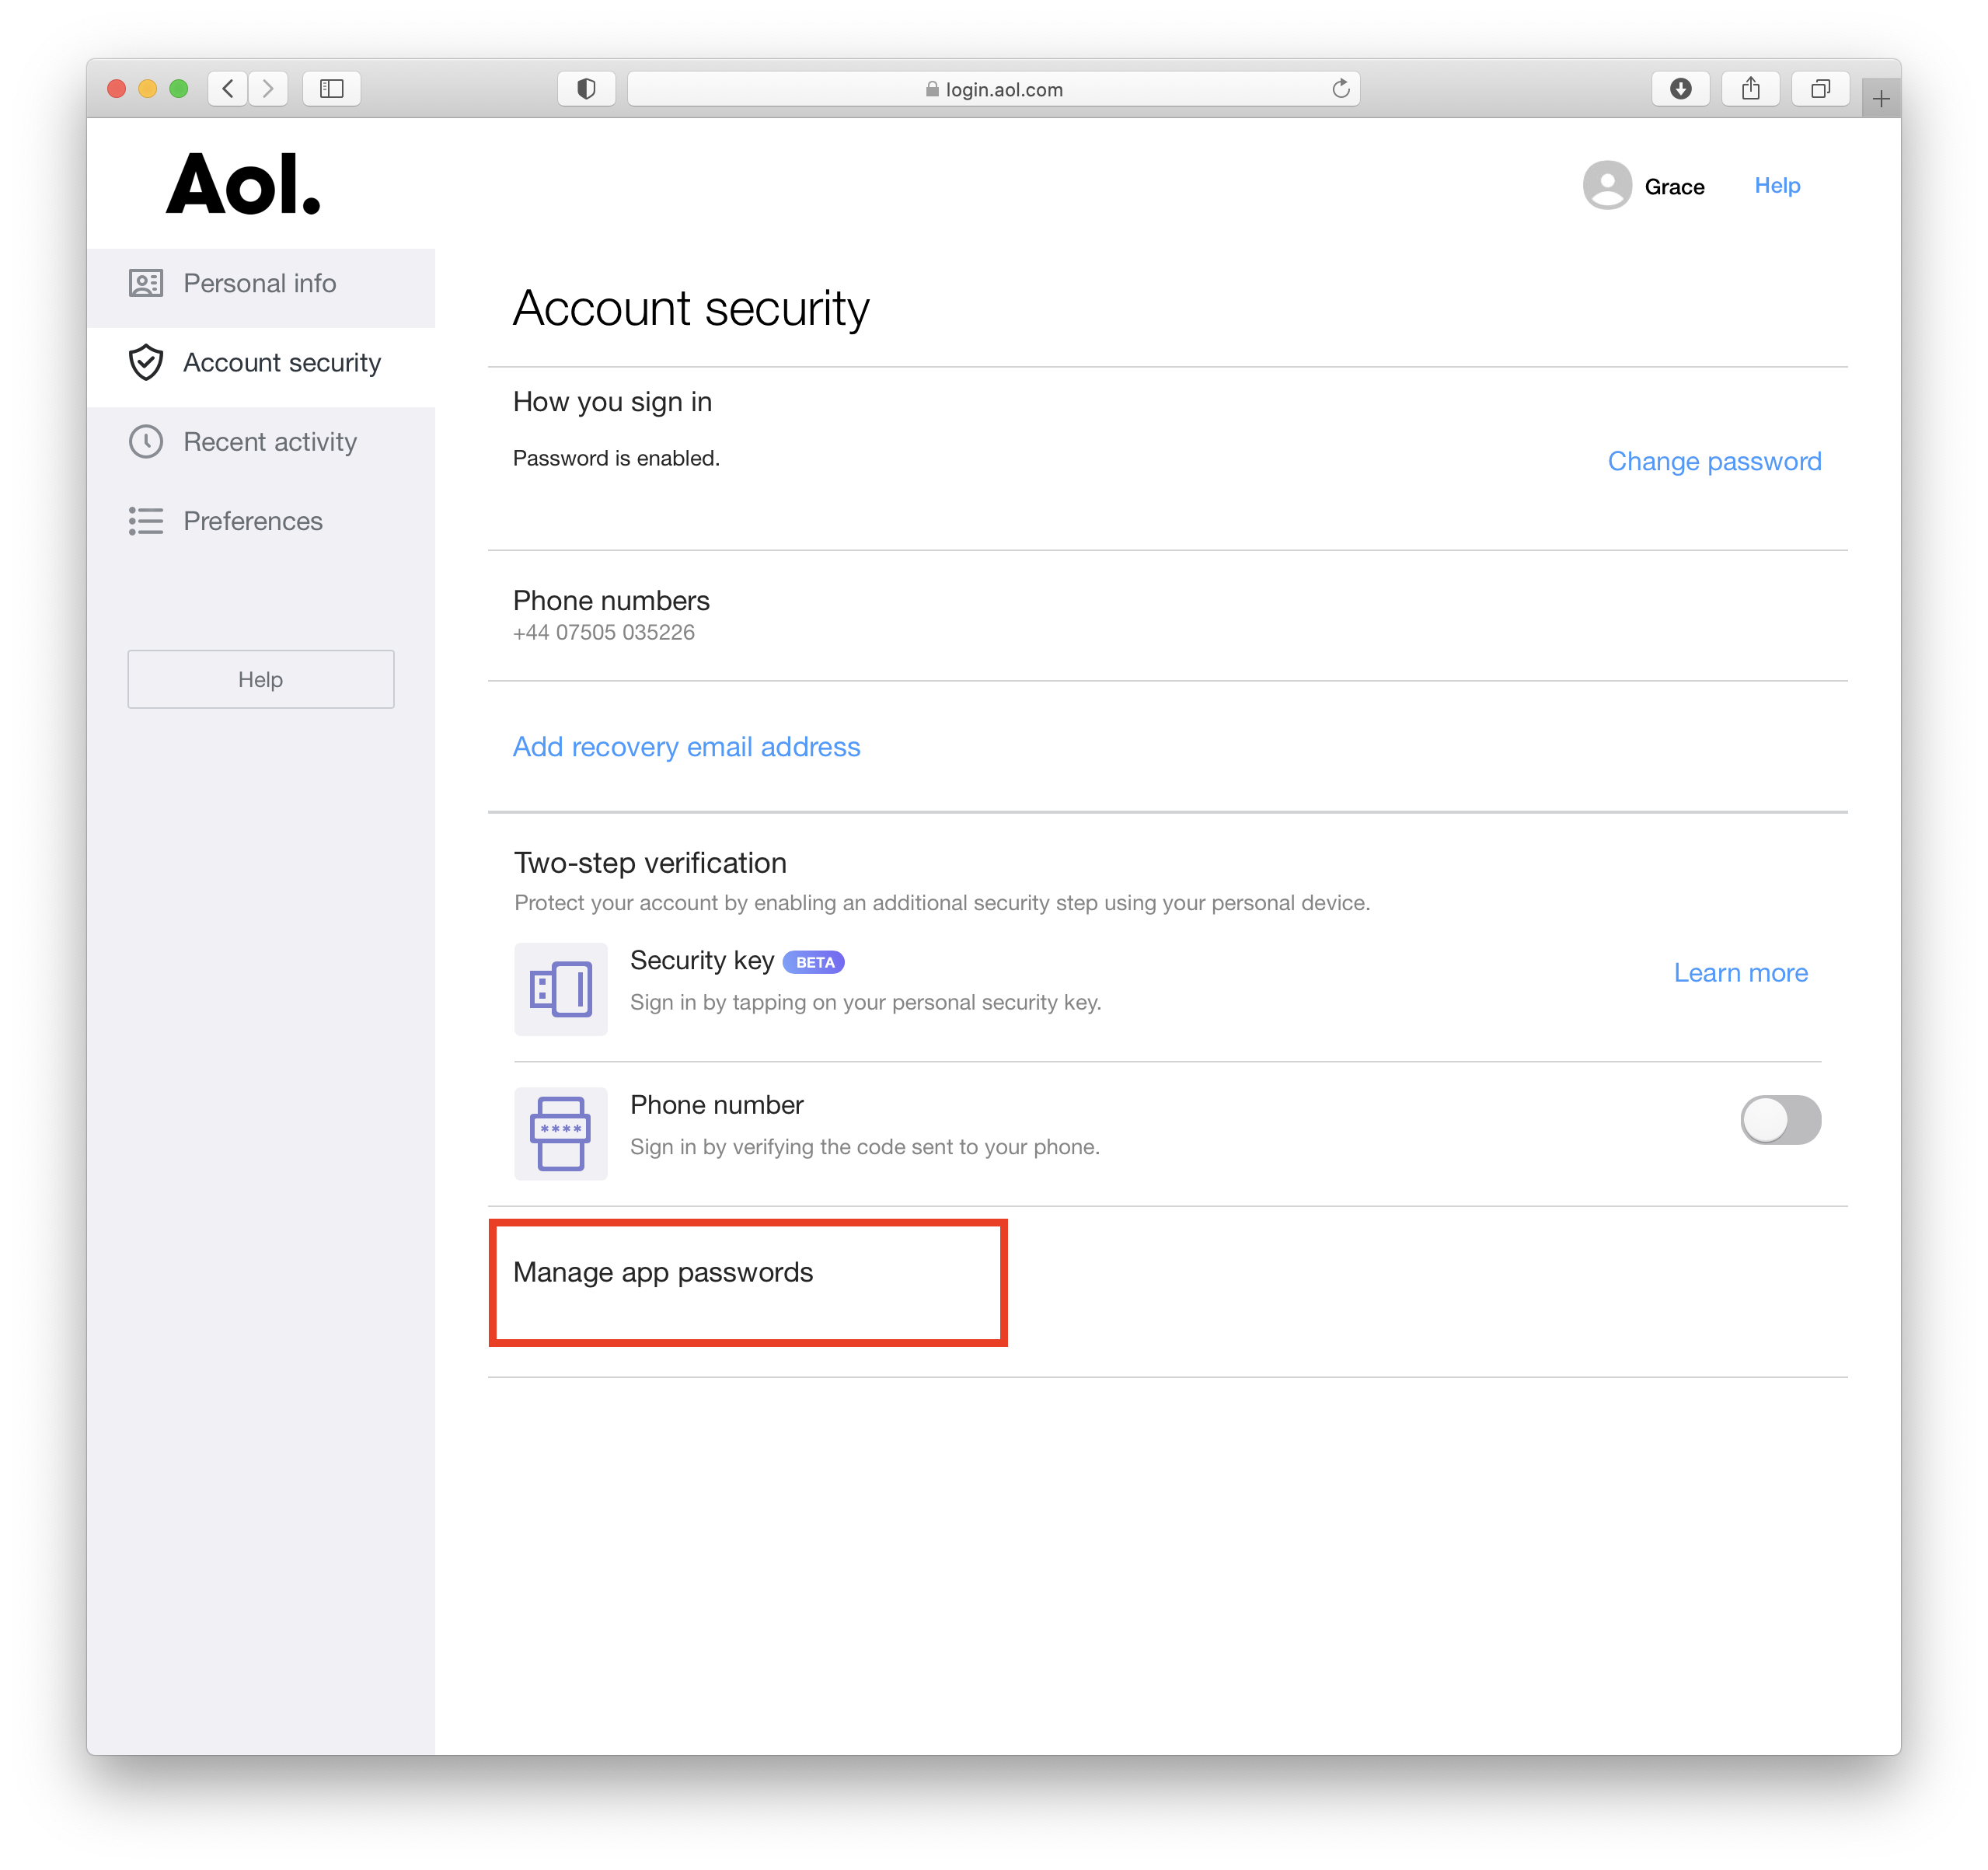
This password you have just created is the password you will need to use to set up your AOL account in Mail Designer 365.
We have put together a list of the best known providers including a link to the corresponding DNS setup guide.
If you cannot find your provider in the list please do not hesitate to contact our support team for assistance.
For this reason, you may sometimes receive a warning message like this when inserting a low quality image into your design:
In order to ensure that your images are displayed properly on all devices, you should always try to use images with high resolution. An alternative would be to resize lower-resolution images to be smaller so they remain crisp.
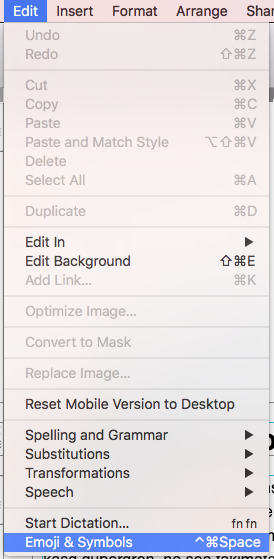
To add special characters:
‣ Open your email template if it is not already opened.

‣ Choose “Edit" > "Emoji & Symbols”
You have different options from different categories like emojis, arrows, bullet points, stars, currency symbols, latin alphabet, trademark symbols, other letterlike symbols, math symbols, parentheses, pictographs, and punctuations.
Please refer to the following page for more information on how to add emojis and special characters in Mail Designer 365:
You can insert standard variables such as store name, customer email address, order number, etc. into a Mail Designer 365 text layout block to personalise your templates for Shopify.
Find a full list of Shopify's notification variables here.
Please note, for longer and more complex variables, such as discount properties which run over multiple lines, you may run into some difficulty with your layout.
For this reason, we advise avoiding these where possible. If you are confident with HTML, you can try to edit the exported code yourself, however, please be aware we cannot provide support for designs edited outside of Mail Designer 365.
Currently, Outlook 2007, 2010, and 2013 are known to have this issue but the very latest versions of Outlook 365 now finally offer GIF support.
- In general, try to reduce the number of layout blocks used. Each layout block has a HTML structure that adds to the total size of your newsletter and by reducing the number of blocks you reduce the amount of space needed for these structures.
- Avoid repeating blocks and try to find solutions for “merging” blocks. For example, don't add two or more consecutive spacer blocks. Instead, use just one spacer block and change its height accordingly.
- Sometimes you can avoid using spacer blocks altogether, for example by adding the space to a nearby image block instead, using the “spacing before/after” feature in “Styles” or simply adding blank lines.
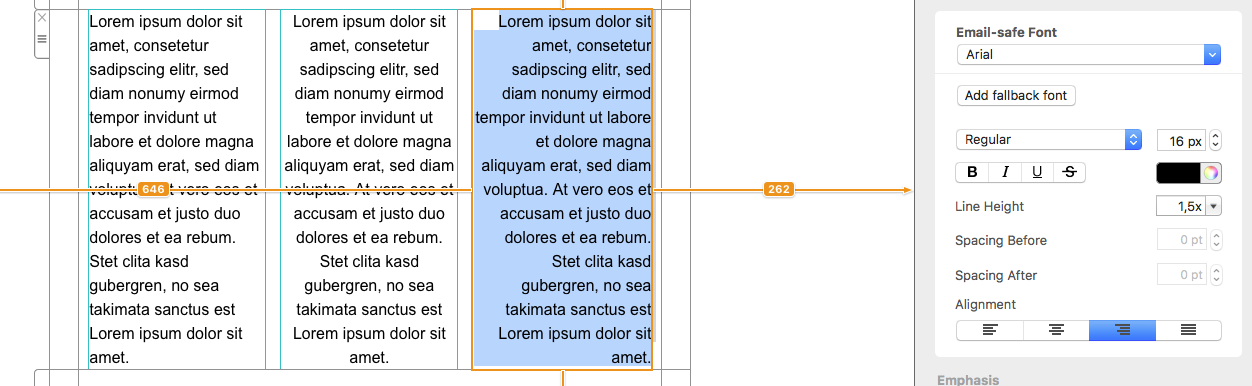
- Instead of using several consecutive text blocks, use just one and style the paragraphs using the “Styles” feature.
- Avoid detaching blocks (that is, avoid doing modifications that only affect the mobile or desktop version). A detached block results in two blocks in the document: one for desktop and another one for mobile, which uses more space than if the same block can be used for both mobile and desktop.
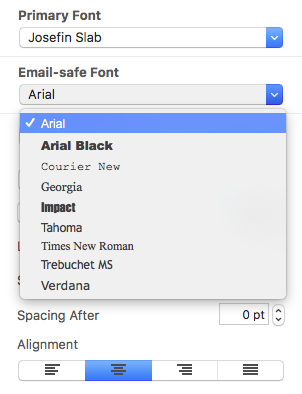
Email-safe fonts are the basic fonts installed on everyone's devices. If you have selected a font that is available on macOS but not on iOS, there will be a visible difference on the corresponding devices. If both devices have the font installed, then the email template will look the same on both platforms. You can use Web Fonts which the recipient's e-mail client can downloaded on demand. Most e-mail clients except Outlook support Web Fonts.
This link will directly take you to your profile administration:
https://apple.co/2Th4vqI
You will find all running subscriptions under "Subscriptions." You can also disable the automatic extension of your subscriptions.
To set up a team, head to your my.maildesigner365 account and sign in with your equinux ID and password.
New users are automatically created a team which you can start adding members to straight away.
The Settings icon takes you to your team's overview page:

From here, go to the "Members" tab and click "Invite members."
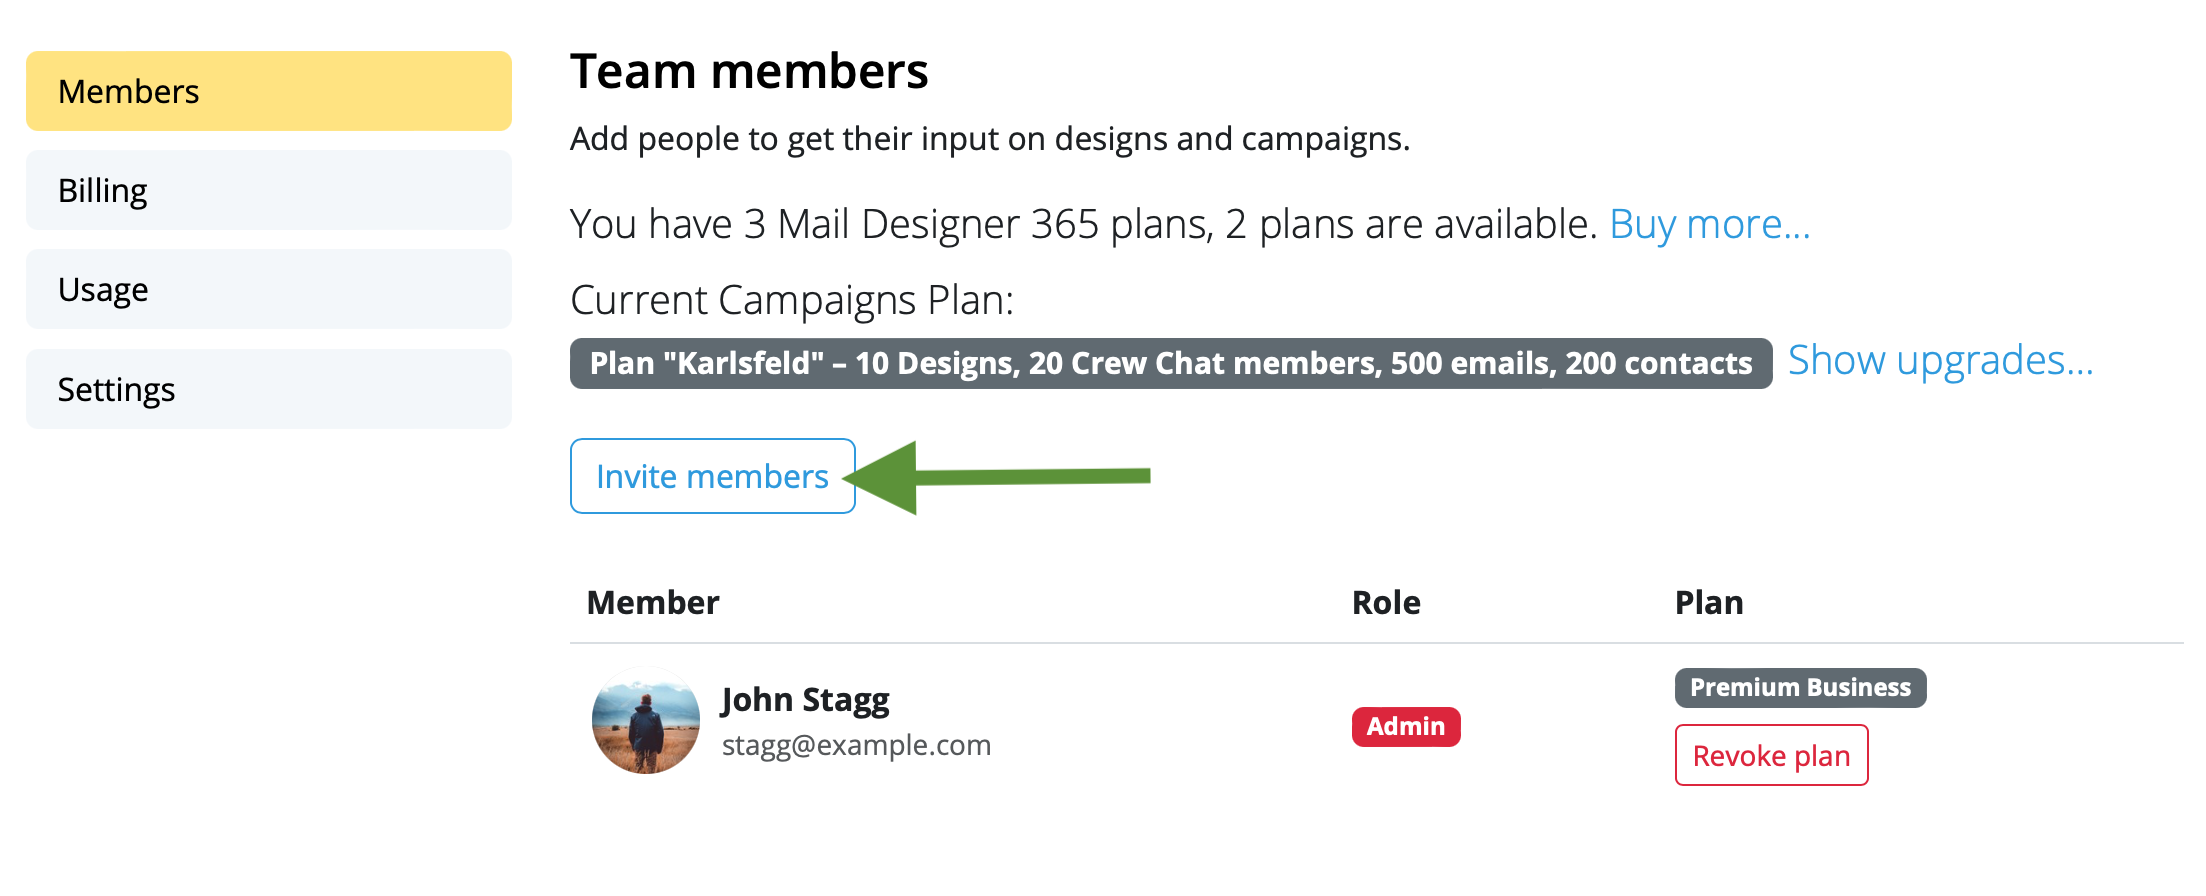
Enter the email address(es) of the colleague(s) you want to invite to your team and click "Invite". You can invite up to 10 team members free!
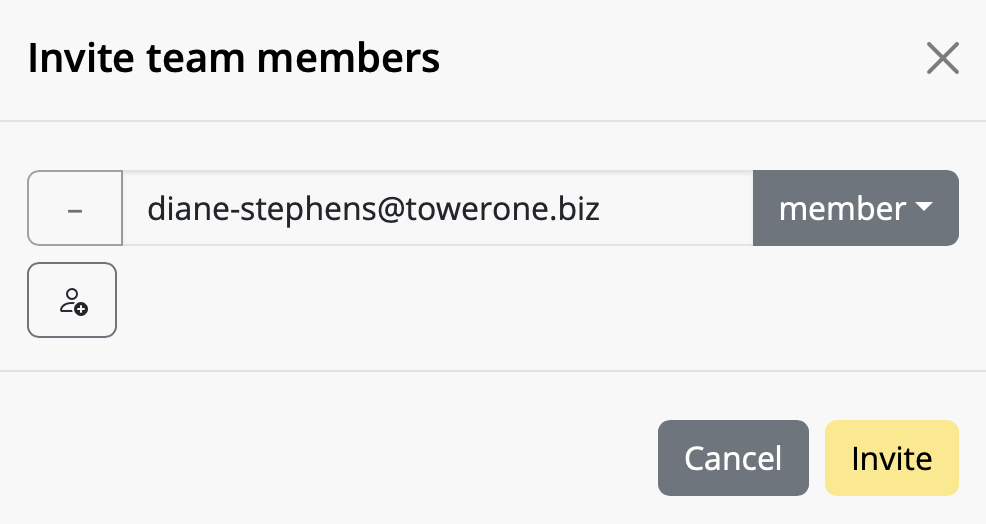
Team members can accept your invitation by clicking on the link in the email.
Once you've invited new team members, start using Mail Designer 365 Campaigns to discuss, approve and schedule email campaigns for your audience. Try it out free!
As this is determined by Mailchimp, there is no option to remove the badge within Mail Designer 365. However, you can control where the badge is inserted by clicking a text area and selecting "Insert > Mail Chimp > Rewards" to insert the Monkey Rewards placeholder.
For more information on how to remove the Monkey Rewards badge, visit their website.
In some circumstances, Mail Designer may not be able to store your account login credentials in your Keychain.
To fix this issue, please try the following:
- The easiest way to fix this problem is to restart your Mac.
If the problem still pops up, try this:
- Quit Mail Designer
- Open Keychain Access from Applications > Utilities
- Select your login keychain
- Choose File > Lock Keychain “login”
- Then choose File > Unlock Keychain “login”
Now re-open Mail Designer and try signing in again.
This can currently happen in Gmail and Outlook mobile apps.
We have filed bug reports with the app makers that do this and have requested a better way of coordinating when they auto-switch between light & dark mode.
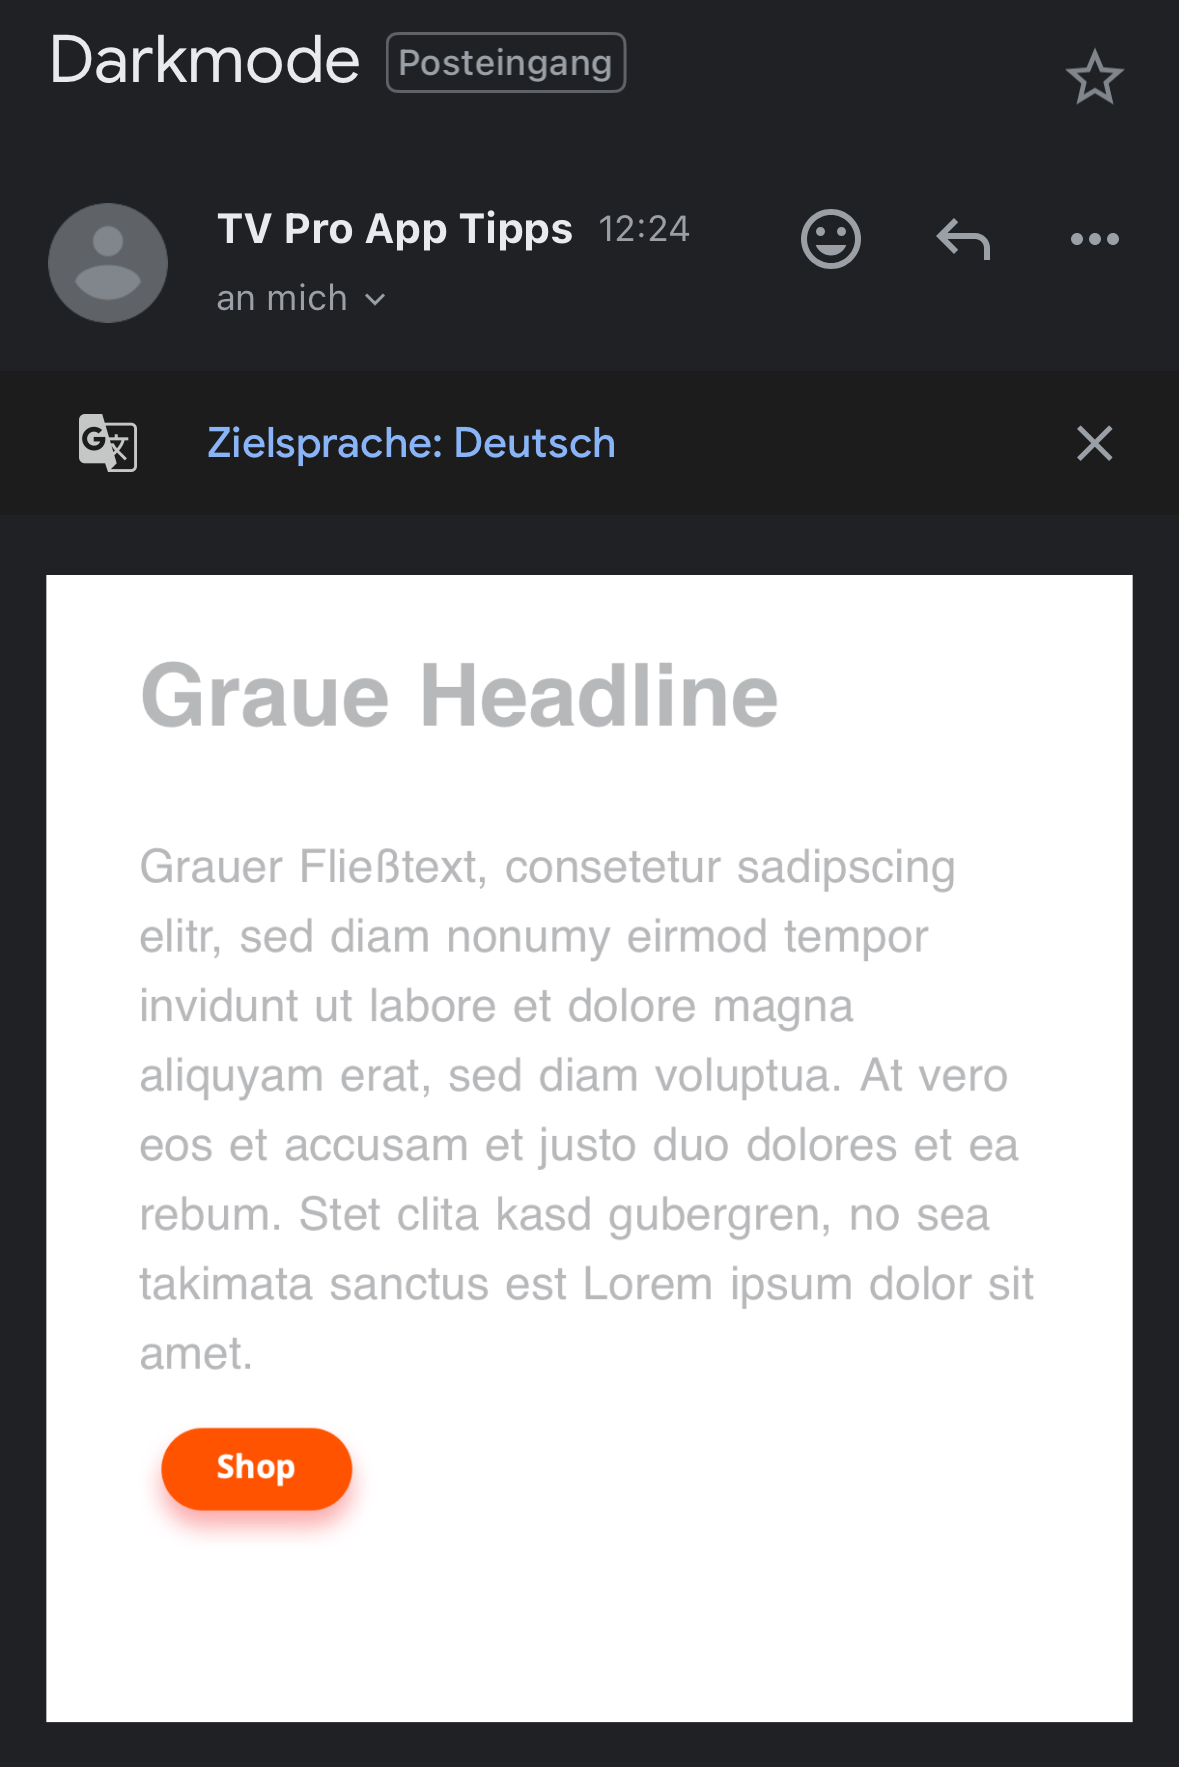
One possible solution in terms of your design is to find a color combination that will remain readable in all situations: For example, instead of black text color, a dark gray with 25% brightness.

In dark mode, email apps display this as a readable shade of gray.
Further reading:
https://litmus.com/blog/the-ultimate-guide-to-dark-mode-for-email-marketers
For detailed information of how you can add placeholders for MailChimp, please visit the following page:
For detailed information of how you can add placeholders for Campaign Monitor, please visit the following page:
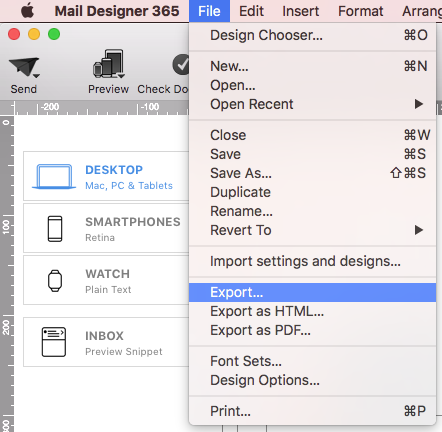
‣ Choose “File" > "Export…”
‣ Save your file.
‣ Then, find your saved file in the location that you saved it to.
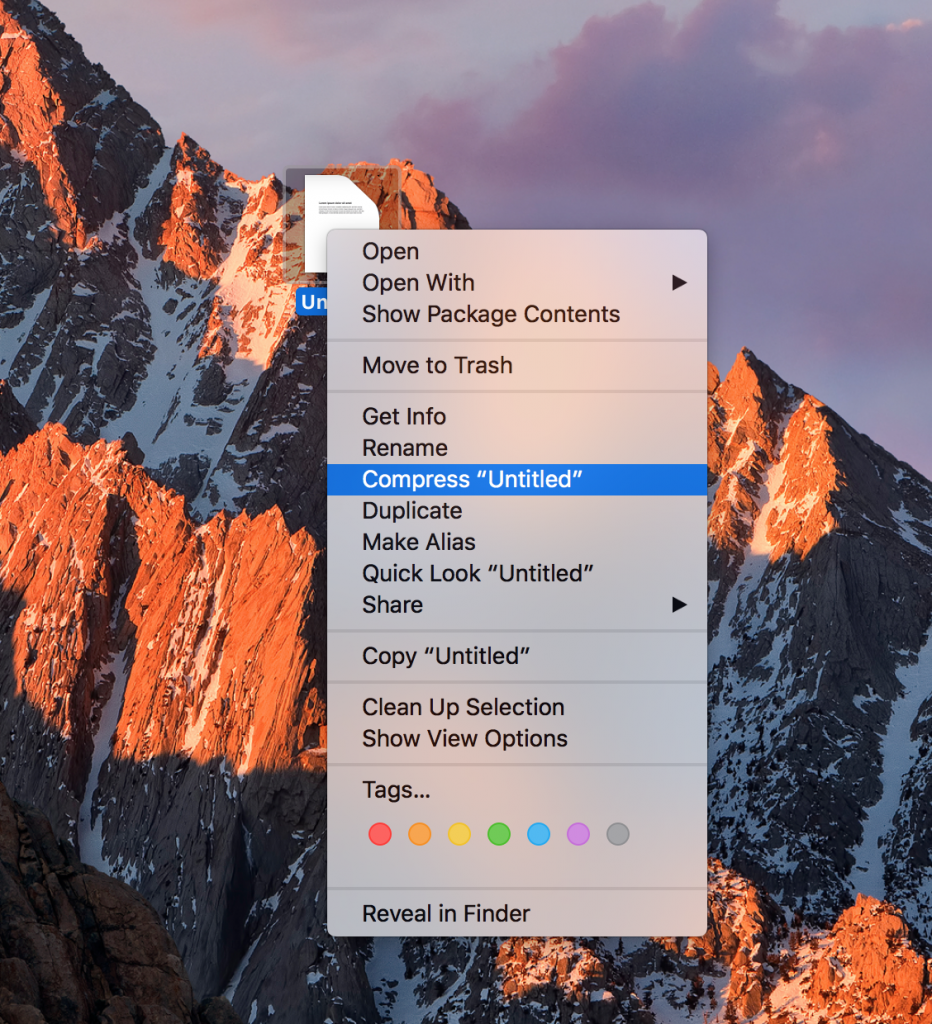
‣ Right-click the file and choose "Compress “YOUR FILE NAME”" in the menu bar:
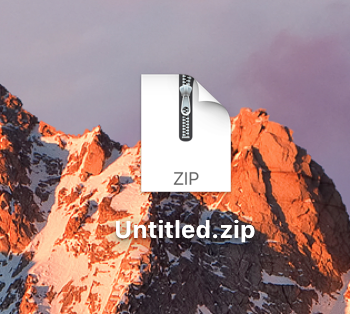
‣ This will create a .zip file:
Please refer to the following page for further information on how to export your email design as a .zip file:
To get started, go to “Mail Designer 365” > “Preferences” > “Mail Accounts.”
Then, click on the “+” in the bottom left corner to configure a new email account.
Enter your email address and password (not required for all email services e.g. Gmail) in the space provided:
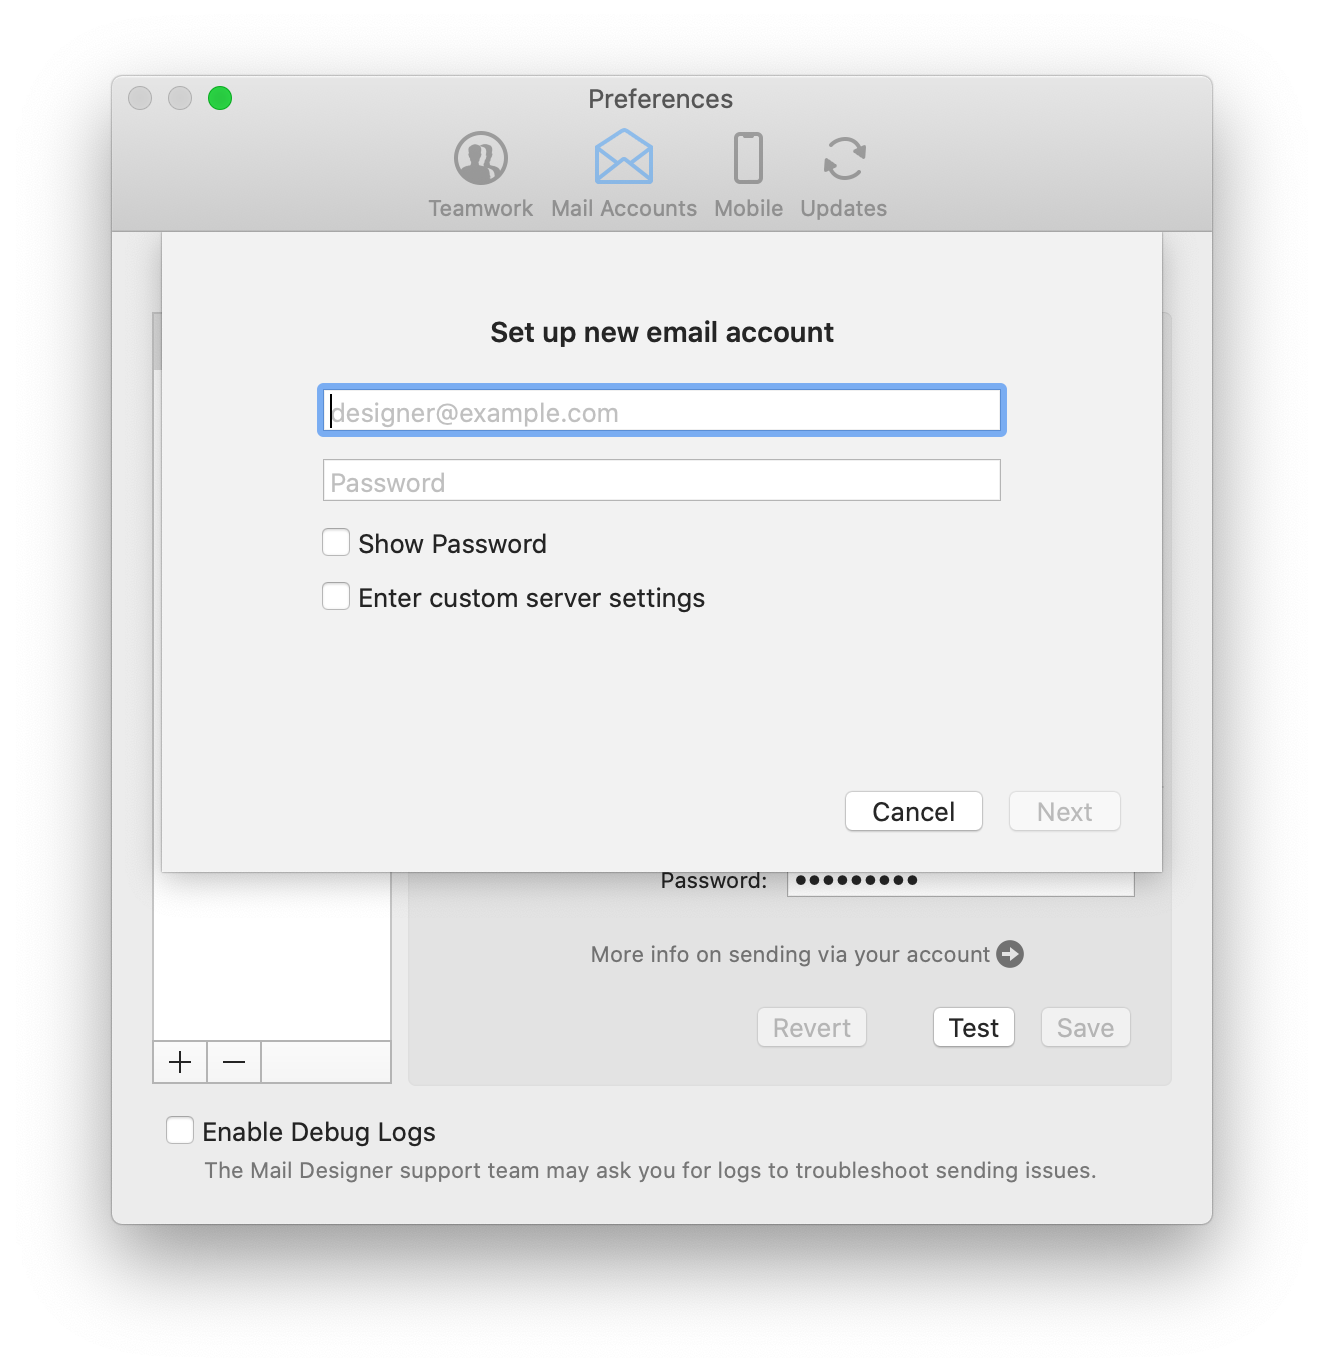
Note: This will work for most generic email accounts (e.g. Outlook, Hotmail, Gmail, etc.) by taking you to the external login page for the respective email client. For custom/internal email accounts (i.e a work account), your network administrator may have to provide you with the information which you can enter by ticking “Enter custom server settings.”
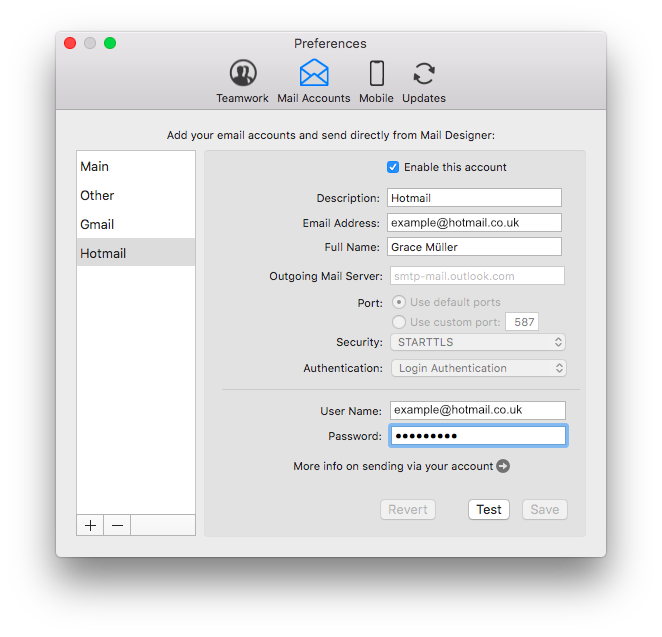
Click “Next” to set up your account. You will now see that your email account’s settings have been automatically detected by Mail Designer 365:
You are now free to use your personal email address to send email designs from directly within the app.
You can also download your invoice in settings under "Purchases and Plans" of your my.maildesigner365 account.
Mac App Store purchases are processed by Apple, you should receive your invoice by email.
Mail Designer 365 Business is our alternative plan option, designed for everyday email newsletters which aren't time critical. This plan offers the basic support tier (email response within 72 hours.)
Interested in purchasing a plan or upgrading? Get your Mail Designer 365 plan here.
Sending test emails
Mail Designer 365's Testmail service is designed for sending internal test emails to yourself or to your team – i.e. to preview how your finished email design will look in the inbox. Test emails will be sent from the Mail Designer 365 Testmail service via our secure servers.
How it works
To get started, click the Test icon in the Mail Designer 365 toolbar.
Now choose from the following test mail options:
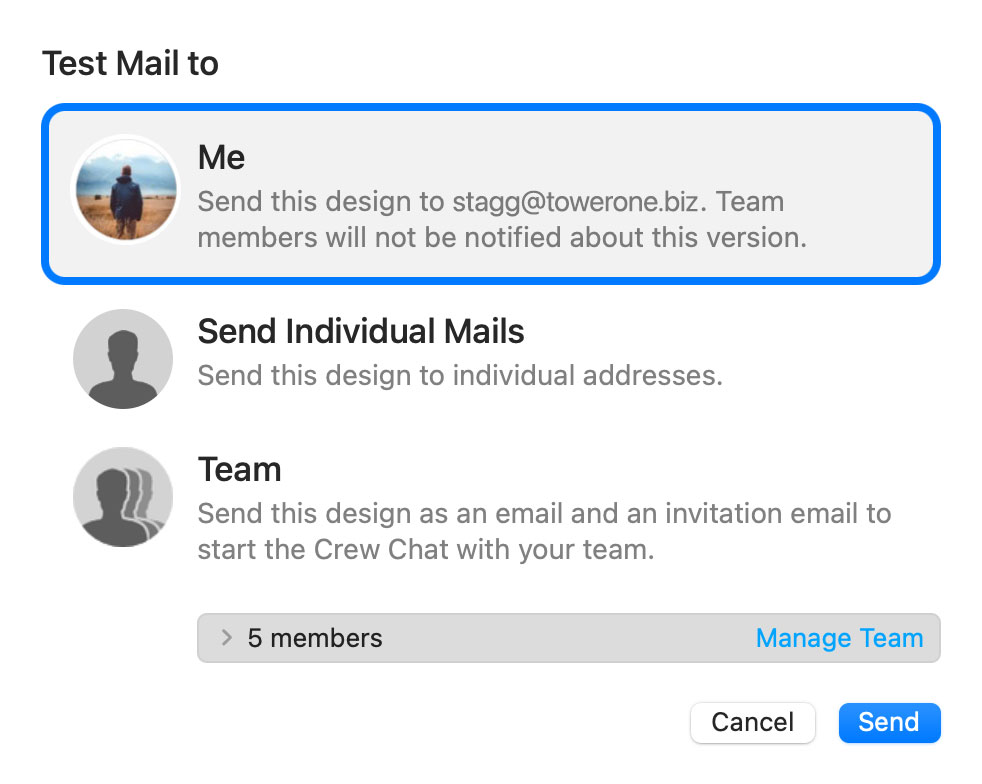
The latest version of your email design will be uploaded via TeamCloud and sent to the selected recipient(s):
Sending individual emails
You also have the option to send your email design as a single email via Delivery Hub. This email will be sent from your own email address.
This option is designed for external emails (i.e. sending emails to contacts who are not part of your Mail Designer 365 team) and replaces the legacy "Send via your email account" option.
How it works
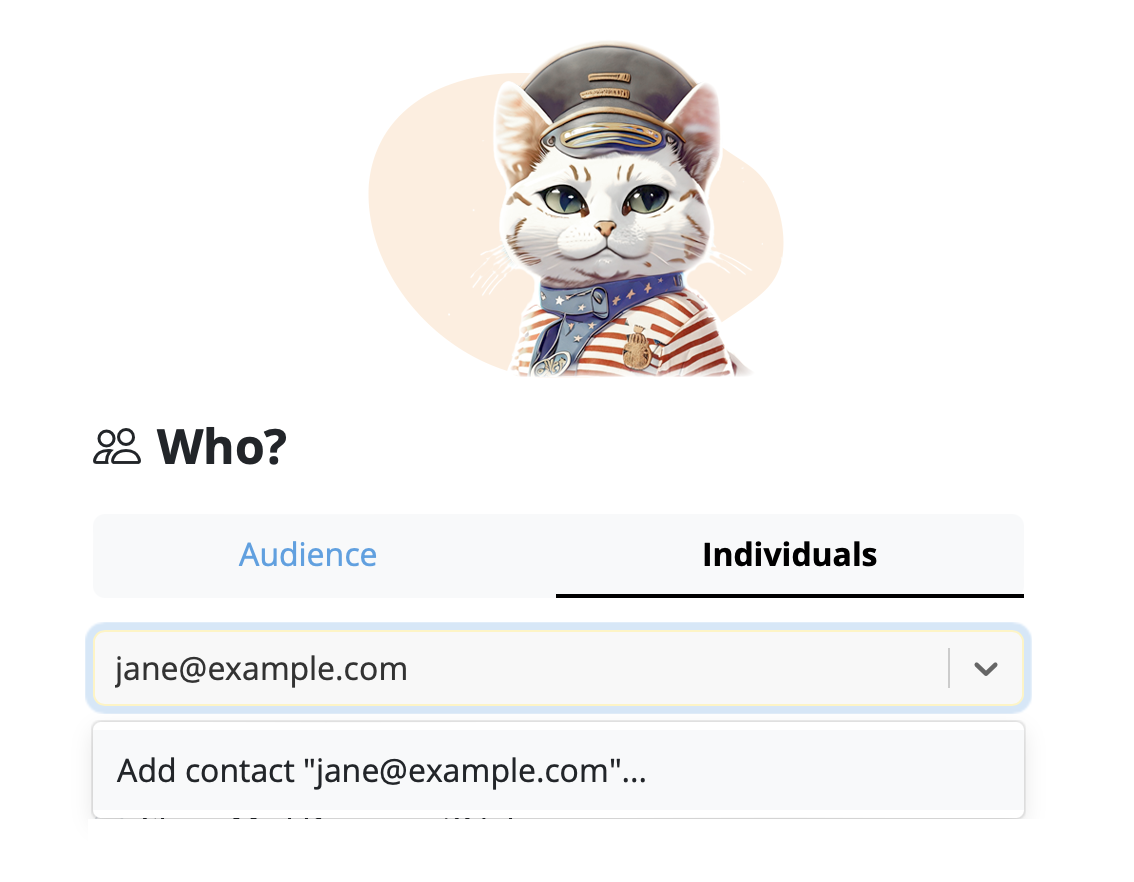
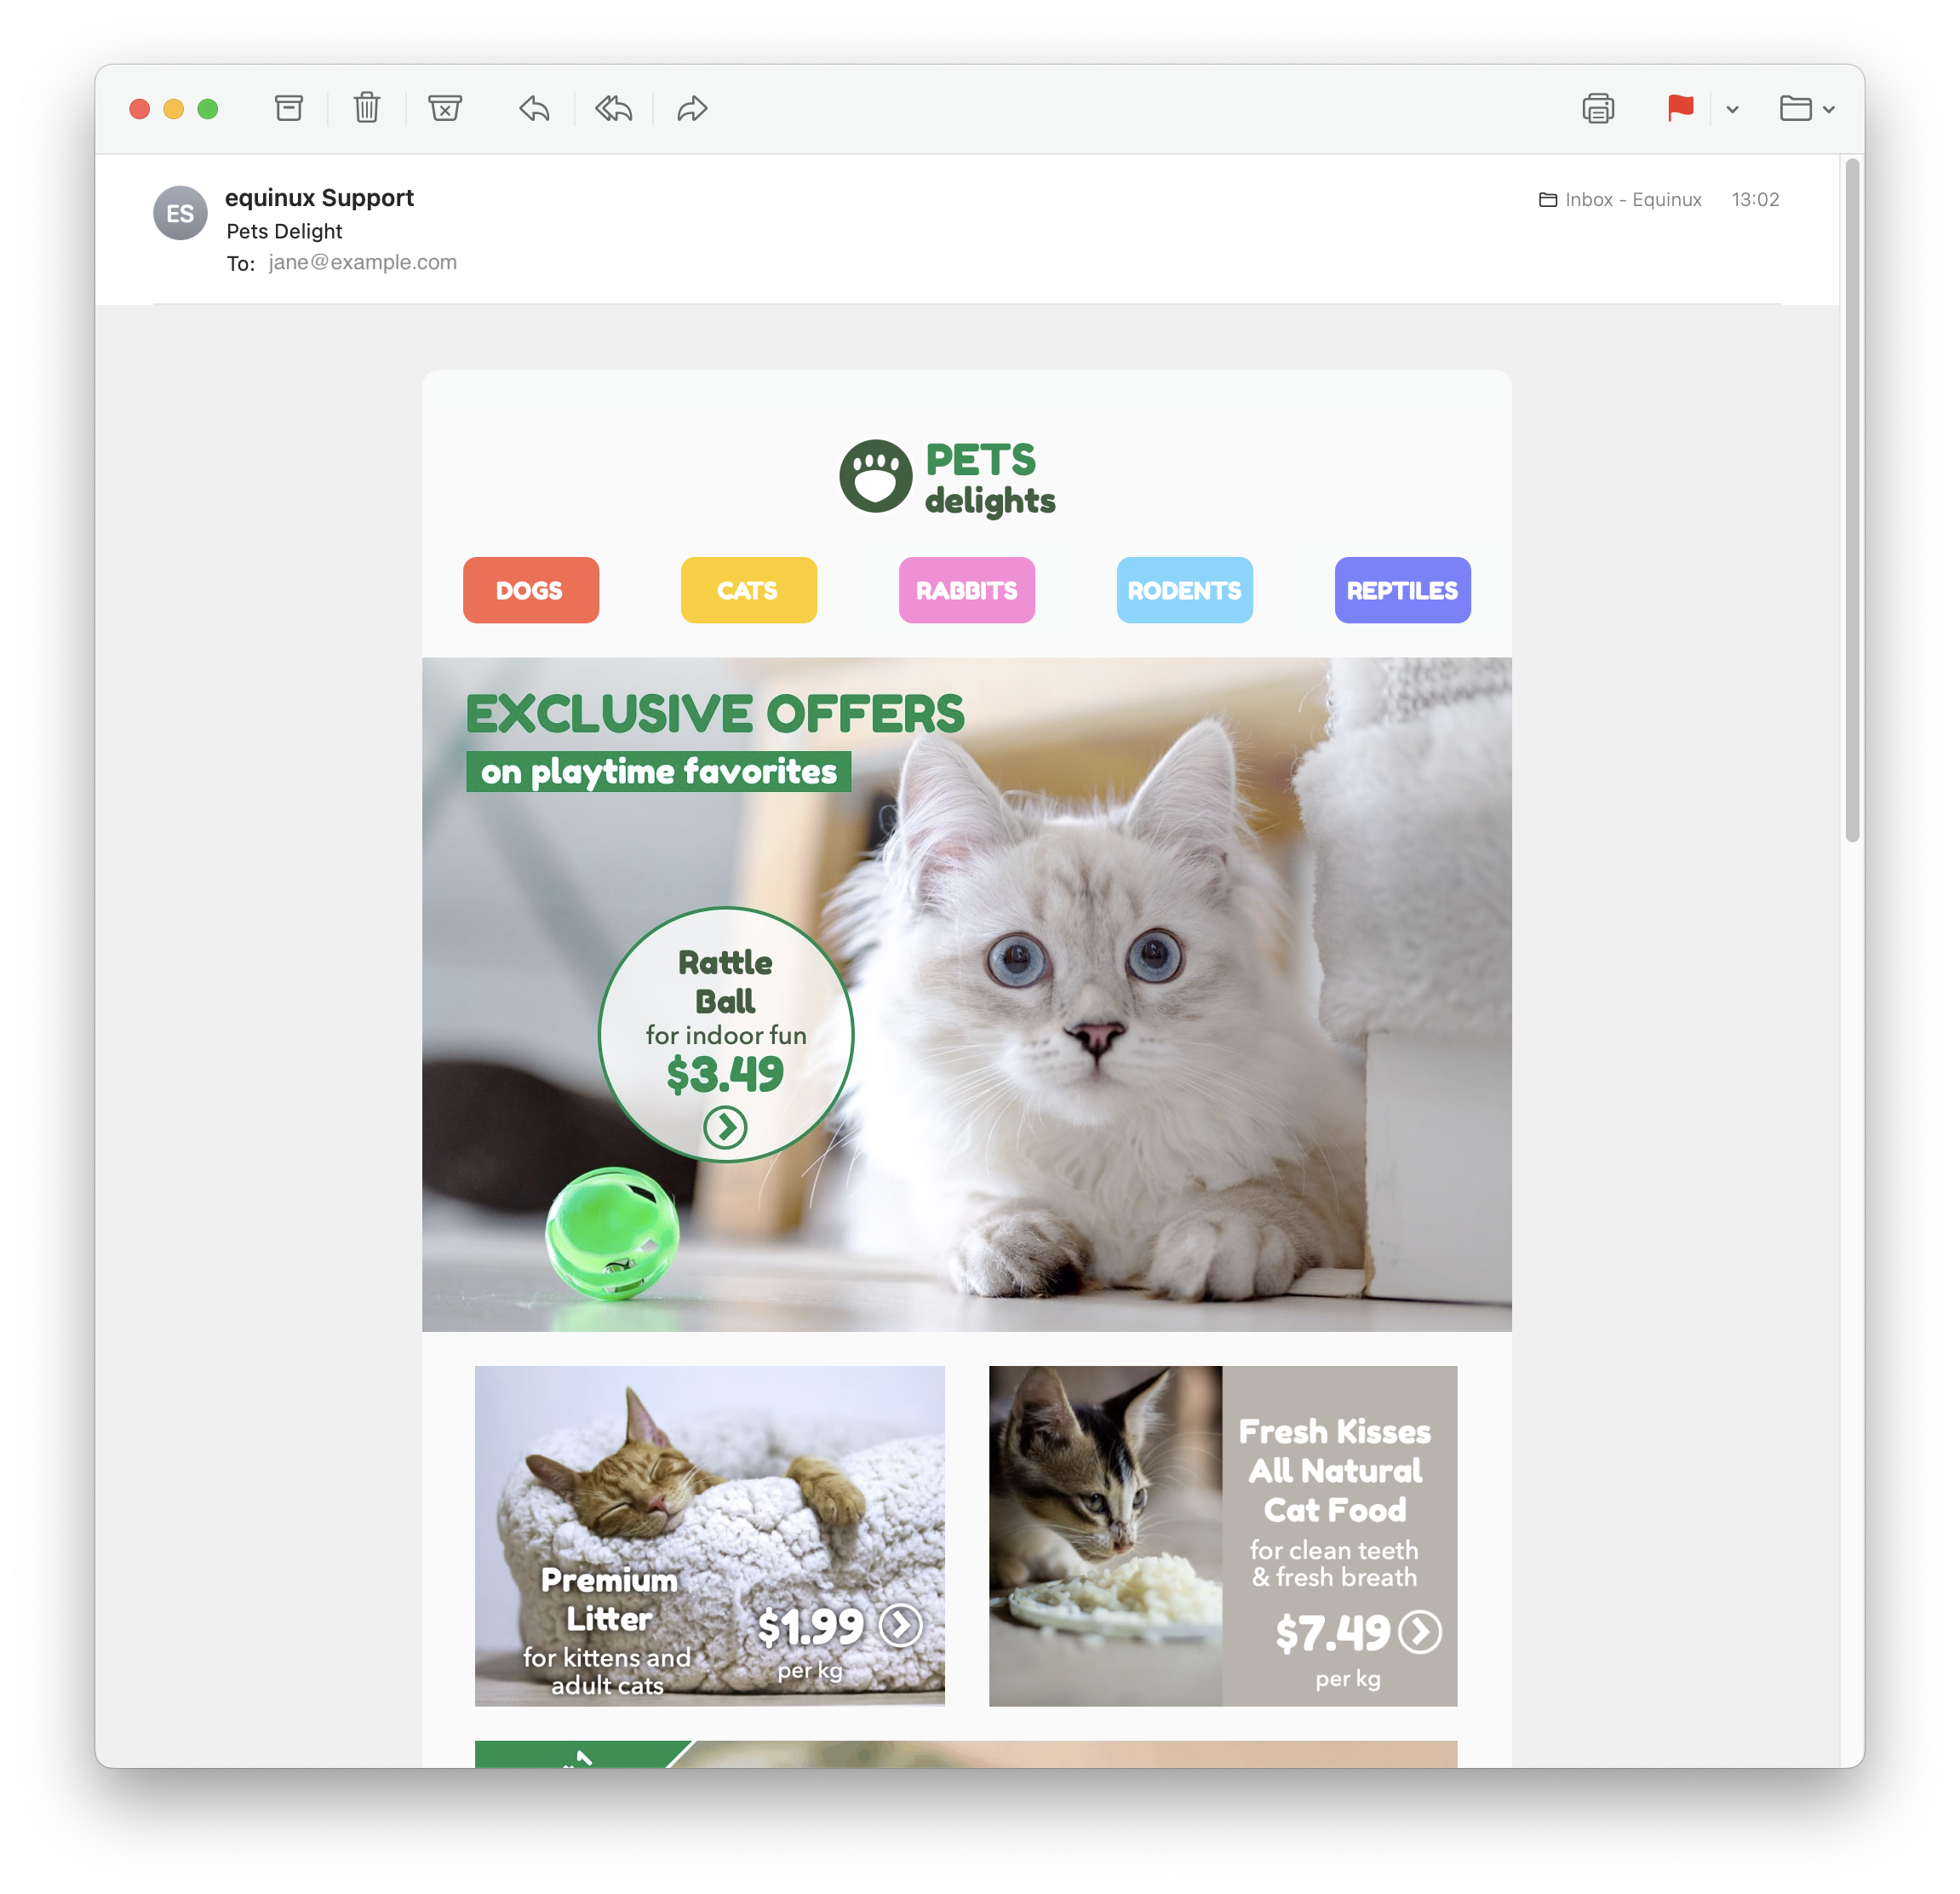
In this view you can add one or more recipients for your email (e.g. your client's email) and send them your design from your own email address.
On the left of the setup window, you can choose your from address:
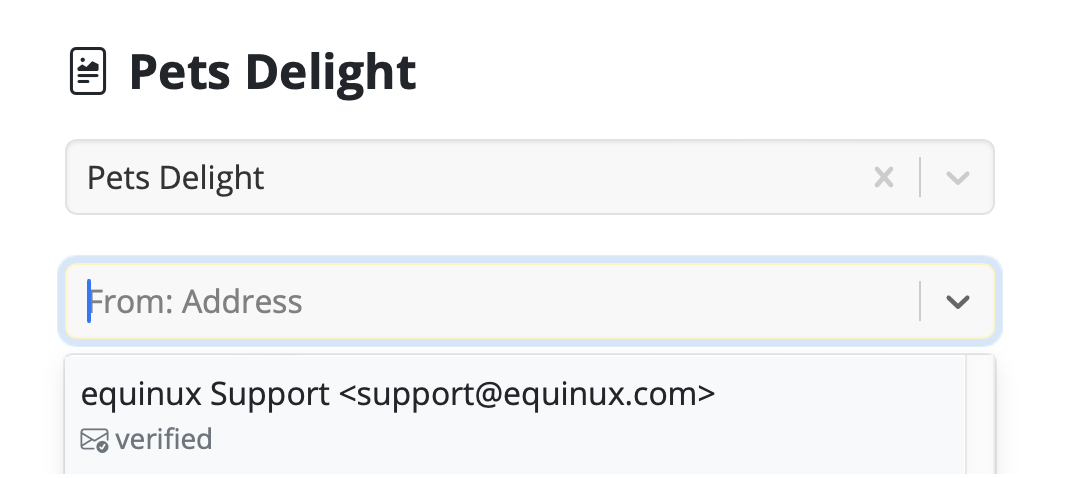
Tip: If you have not done so already, follow this guide to set up your "from address" for sending.
Finally, send your email by clicking the green "Send" button. It will go directly to your recipient via your email server:
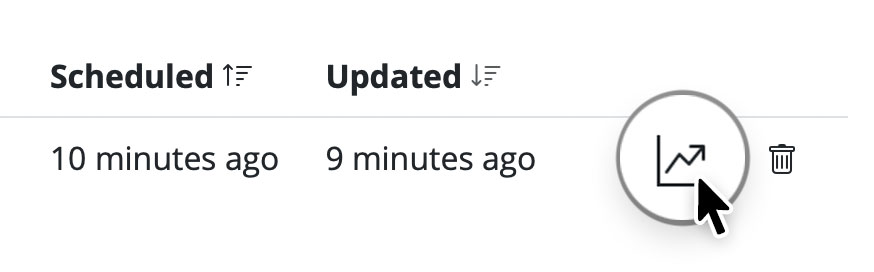
Good to know: Following send, you can easily check if your recipient has received and opened your email by clicking the analytics icon:
This points to an error while authenticating your email account. Try checking the following:
- The username is wrong/incomplete. For example, iCloud accounts sometimes work with "username" but most times need the whole email address as a log in.
- The password is wrong.
- If you're trying TLS, try STARTTLS instead.
- Maybe your server is using a custom port - though this is unlikely.
If you have a Mail program you use (e.g. Apple Mail) try comparing the outgoing mail settings there and use the same settings in Mail Designer.
If you are trying to send via your iCloud account with 2-factor authentication set up, you will need to set up an app-specific password for Mail Designer. The same may apply to other email providers with 2-factor authentication.
Apple's support page has more information on how to set up an app-specific password.
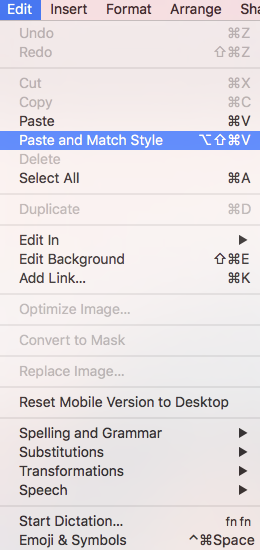
‣ Copy text that has formatting you want to preserve

‣ Choose “Edit" > "Paste and Match Style” from the menu bar


This will preserve the style of the original text that you copied.
Please refer to the following page for further information on how to copy and paste text, while preserving its style:
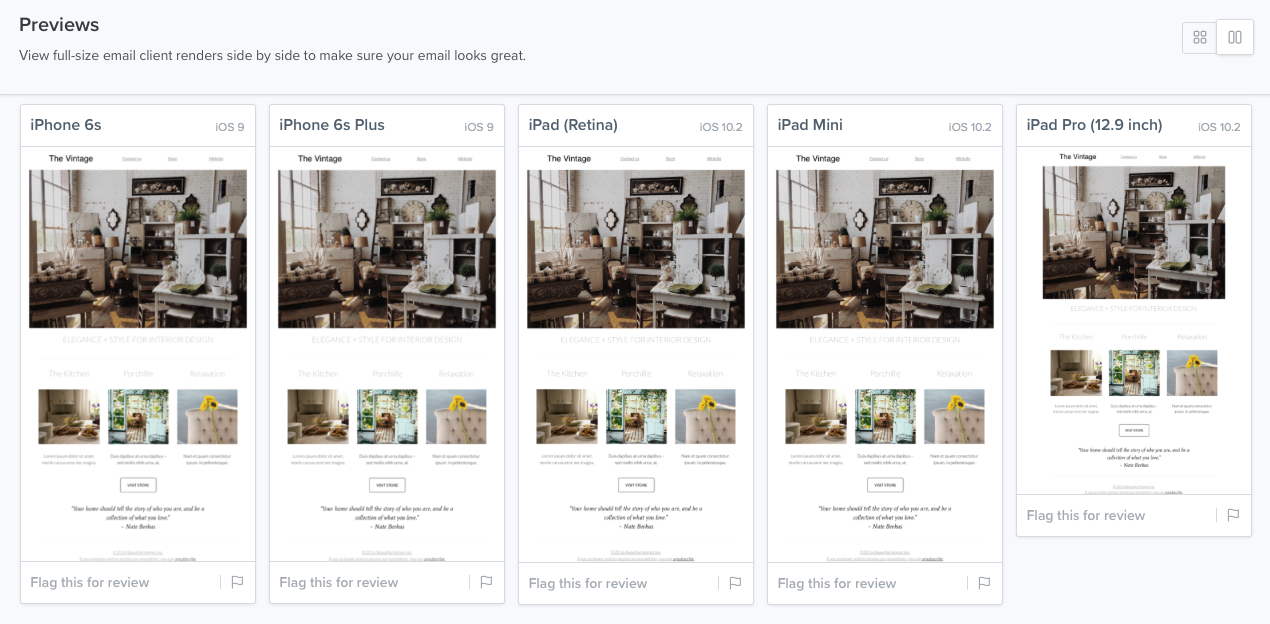
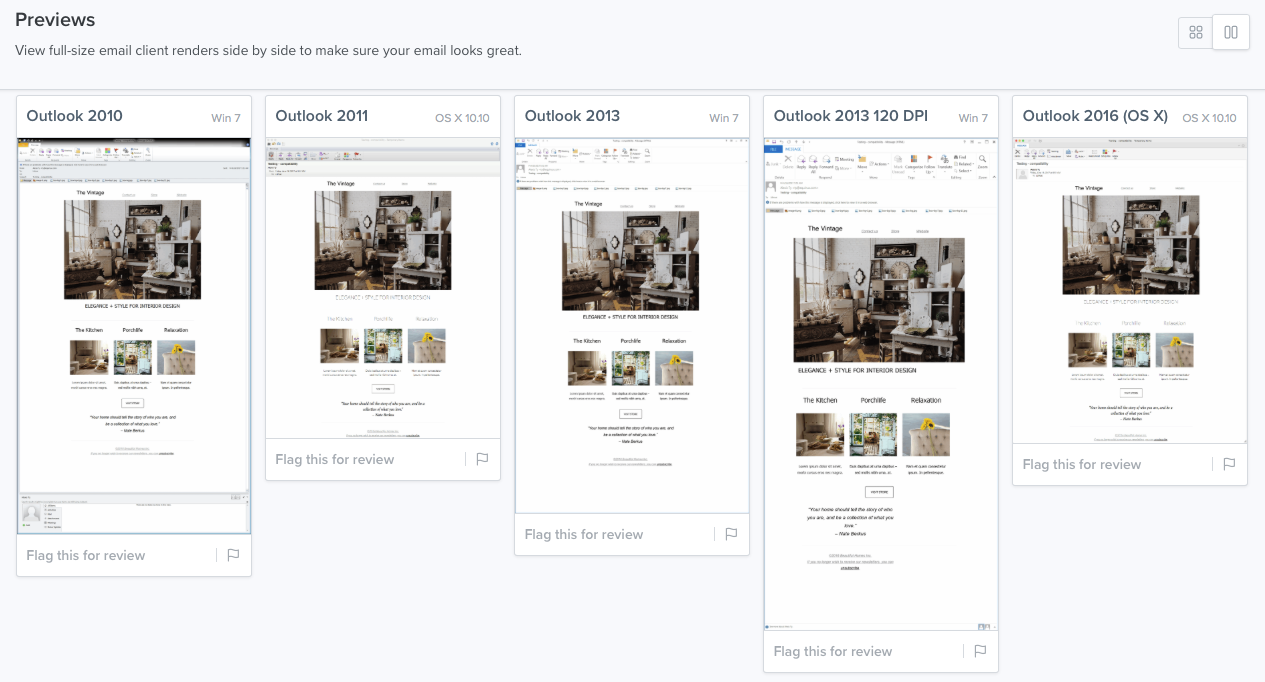
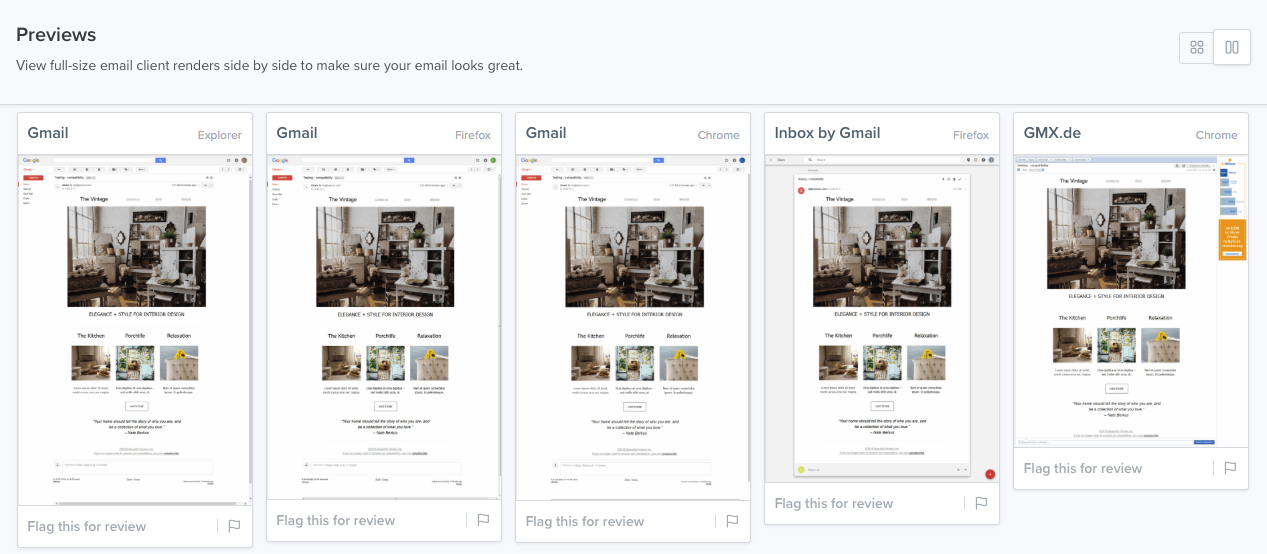
Mail Designer 365 does provide a preview for mobile devices. Keep in mind that this is only for the sole purpose of providing a rough idea of how the newsletter may look like on mobile devices. The actual rendering may be different, depending on the email client.
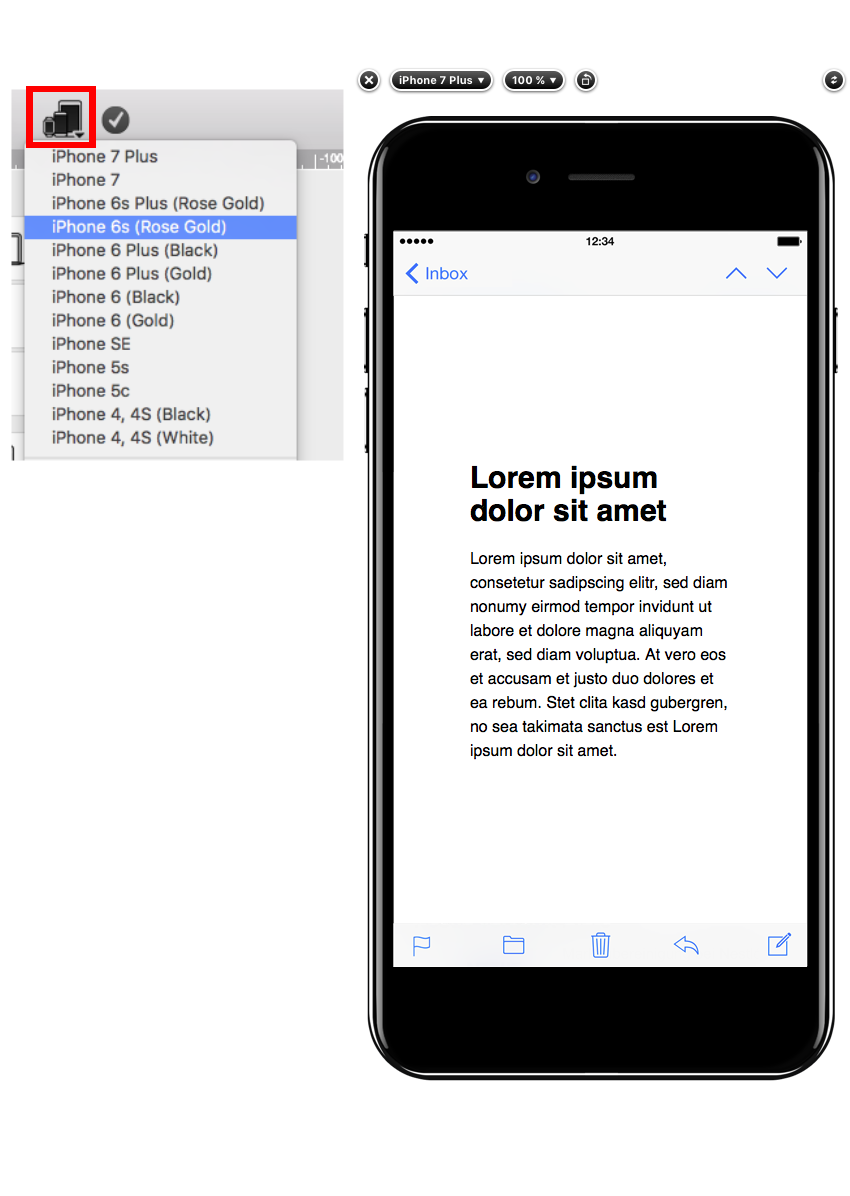
Please visit this page for further information on how to preview your design for different email clients:
email templates / stationery, so Mail Designer 365 is unable to send designs
directly from Mail. But not to worry: You can add your email account directly to
Mail Designer 365 to send emails from your own address:
- Open Mail Designer 365 > Preferences
- Choose Mail Accounts…
- Click + to add a new account
- Enter your email account details
Tip: Find your email account settings in Apple Mail under Mail >
Preferences > Accounts > Server Settings > Outgoing Mail Server. Visit the Mail
Designer 365 Manual for a
step-by-step guide.
Alt text and Apple WebKit
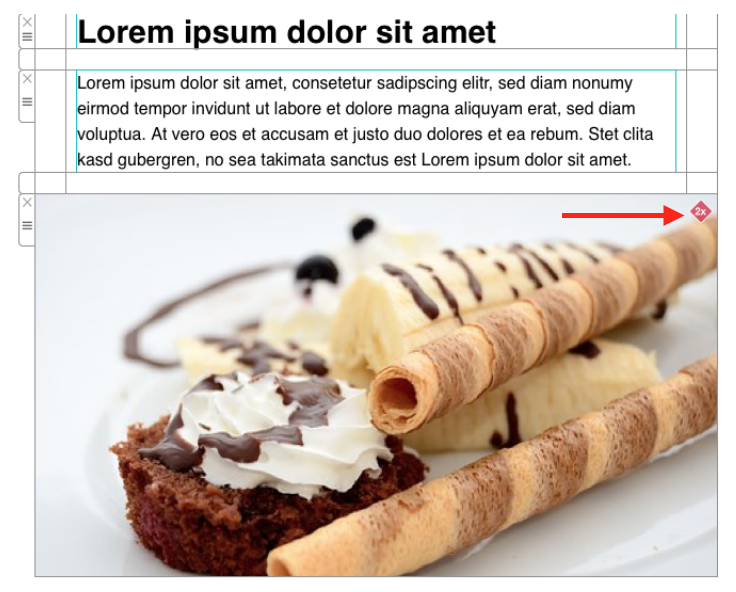
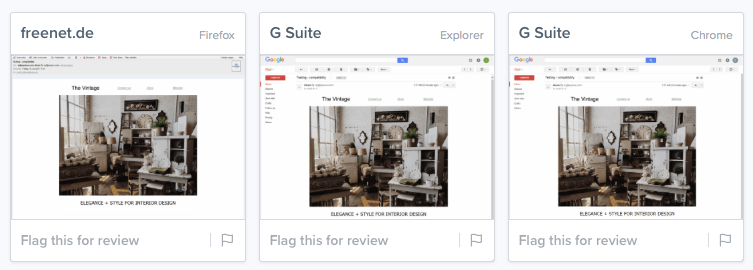
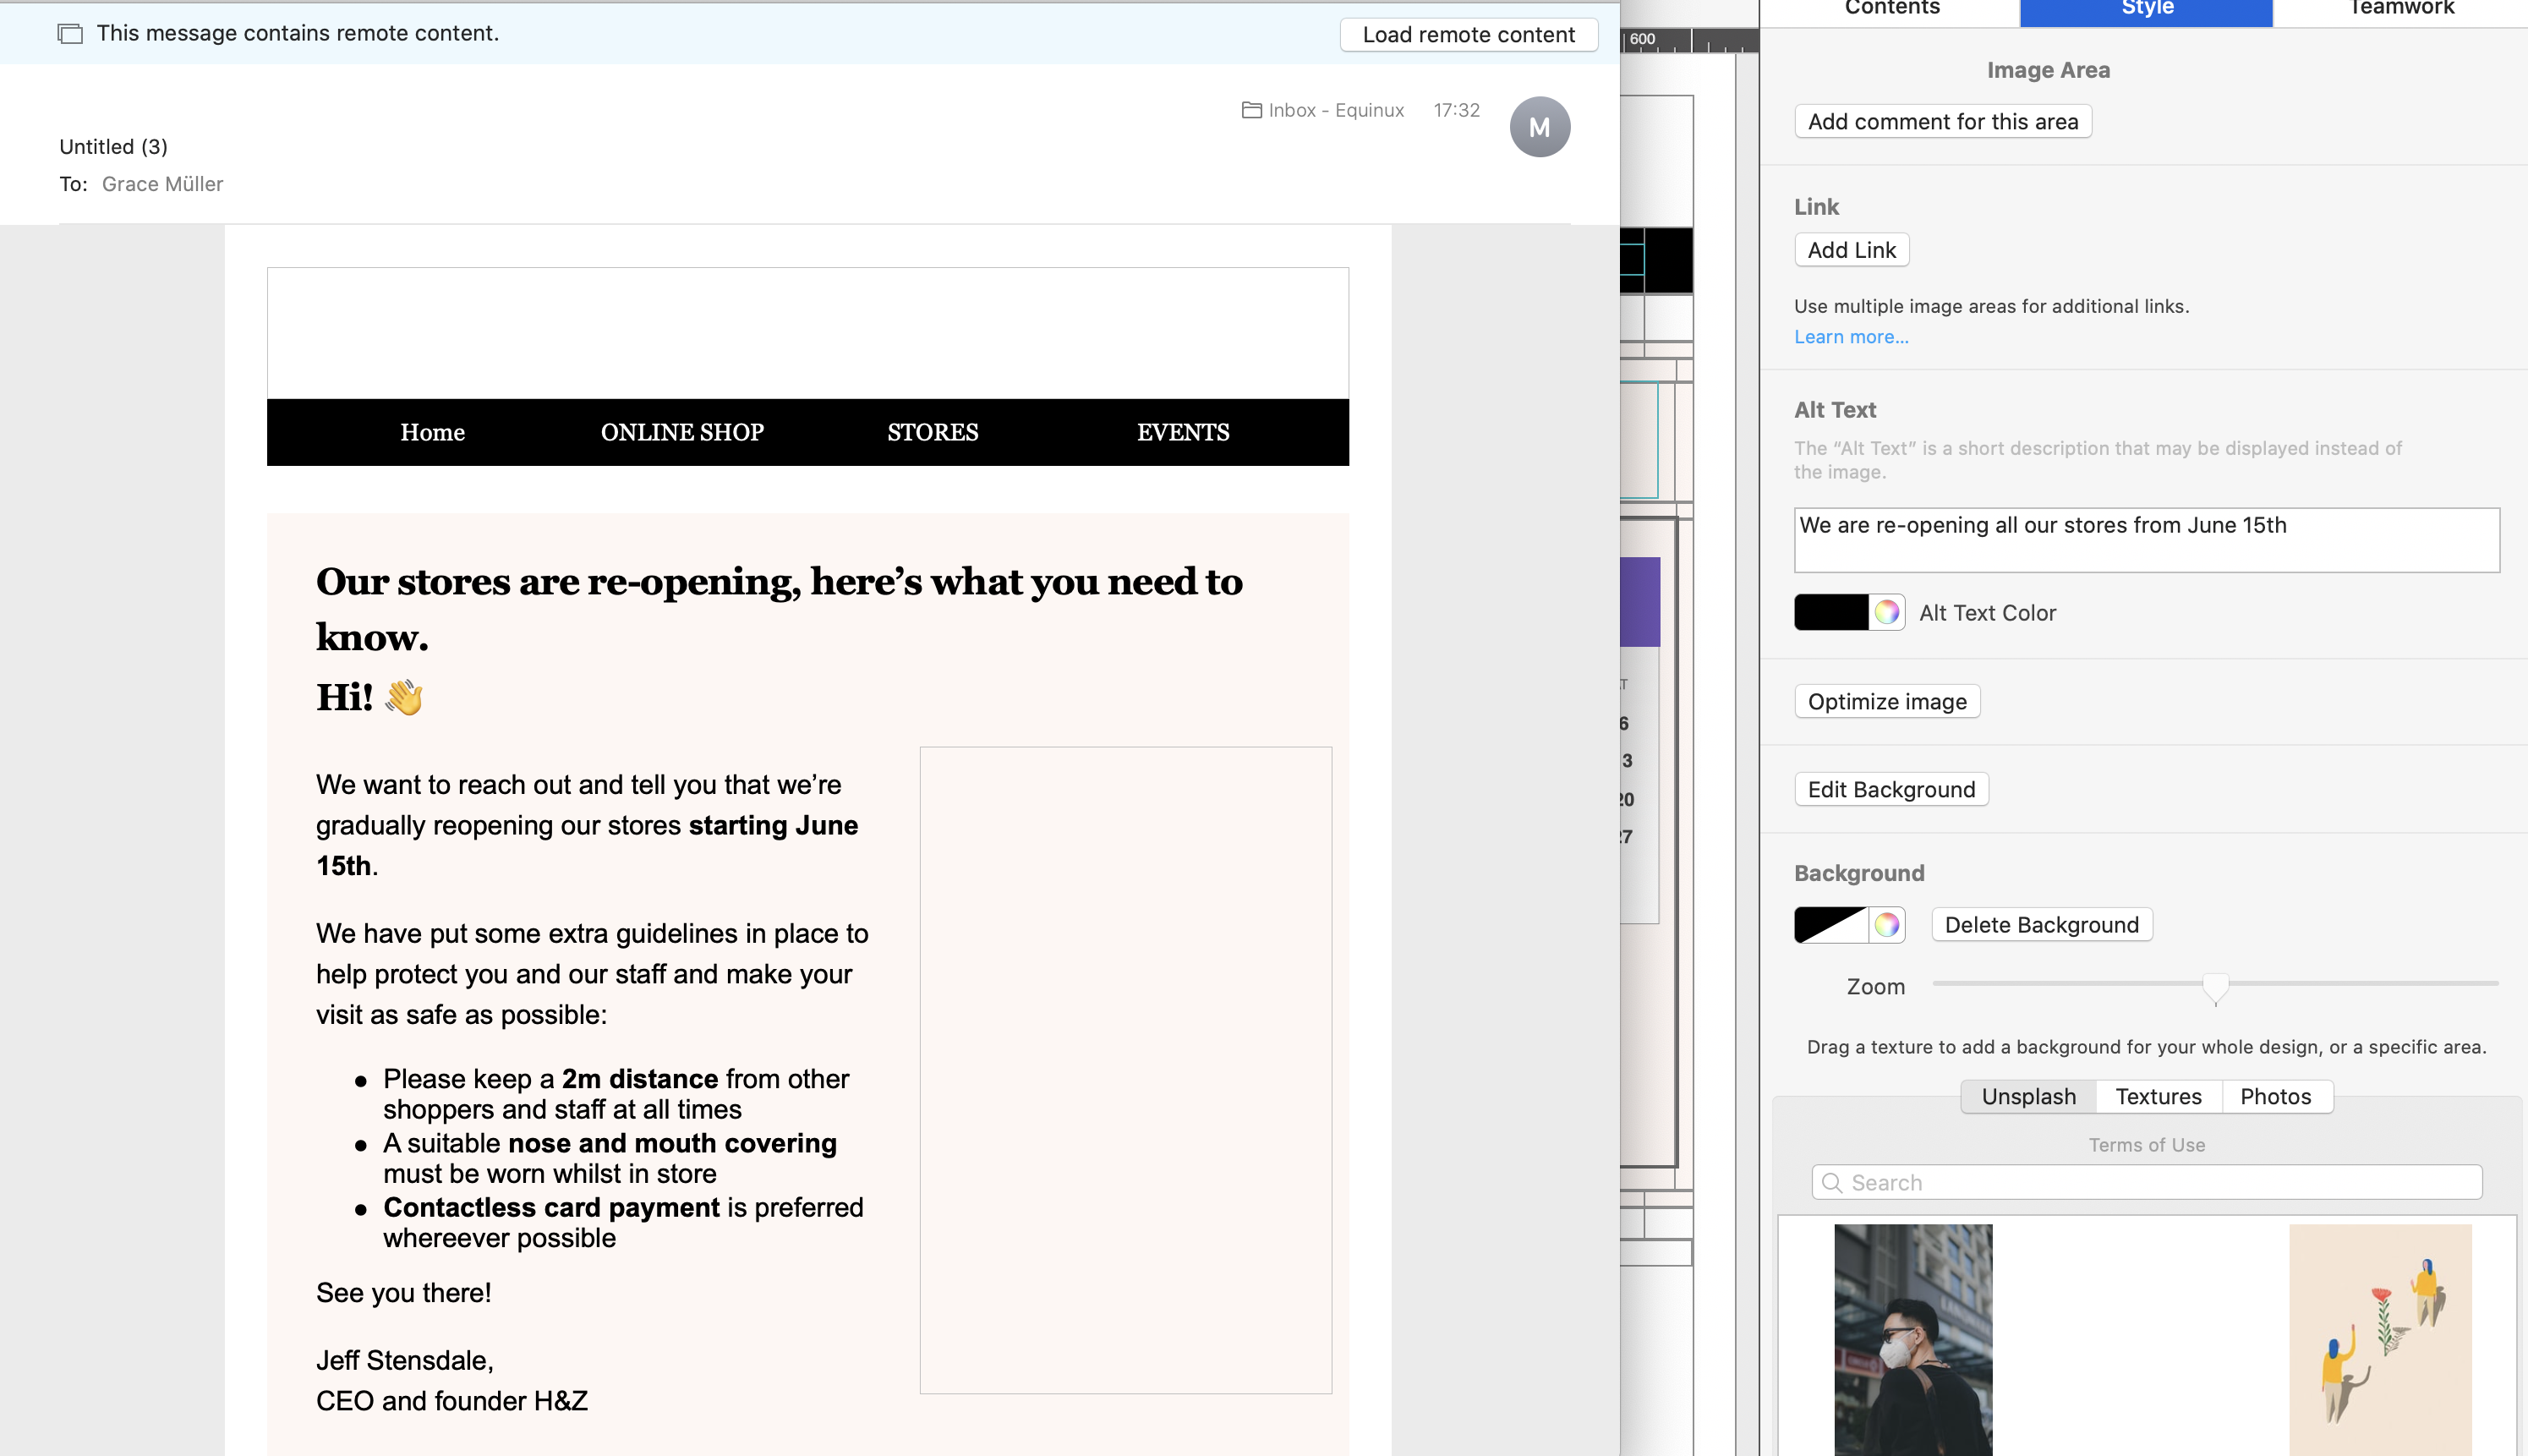
Email services using Apple's WebKit (Apple Mail & email clients accessed via Safari) only display image alt text when the alt text is short enough to fit in the first "line" of the image area:
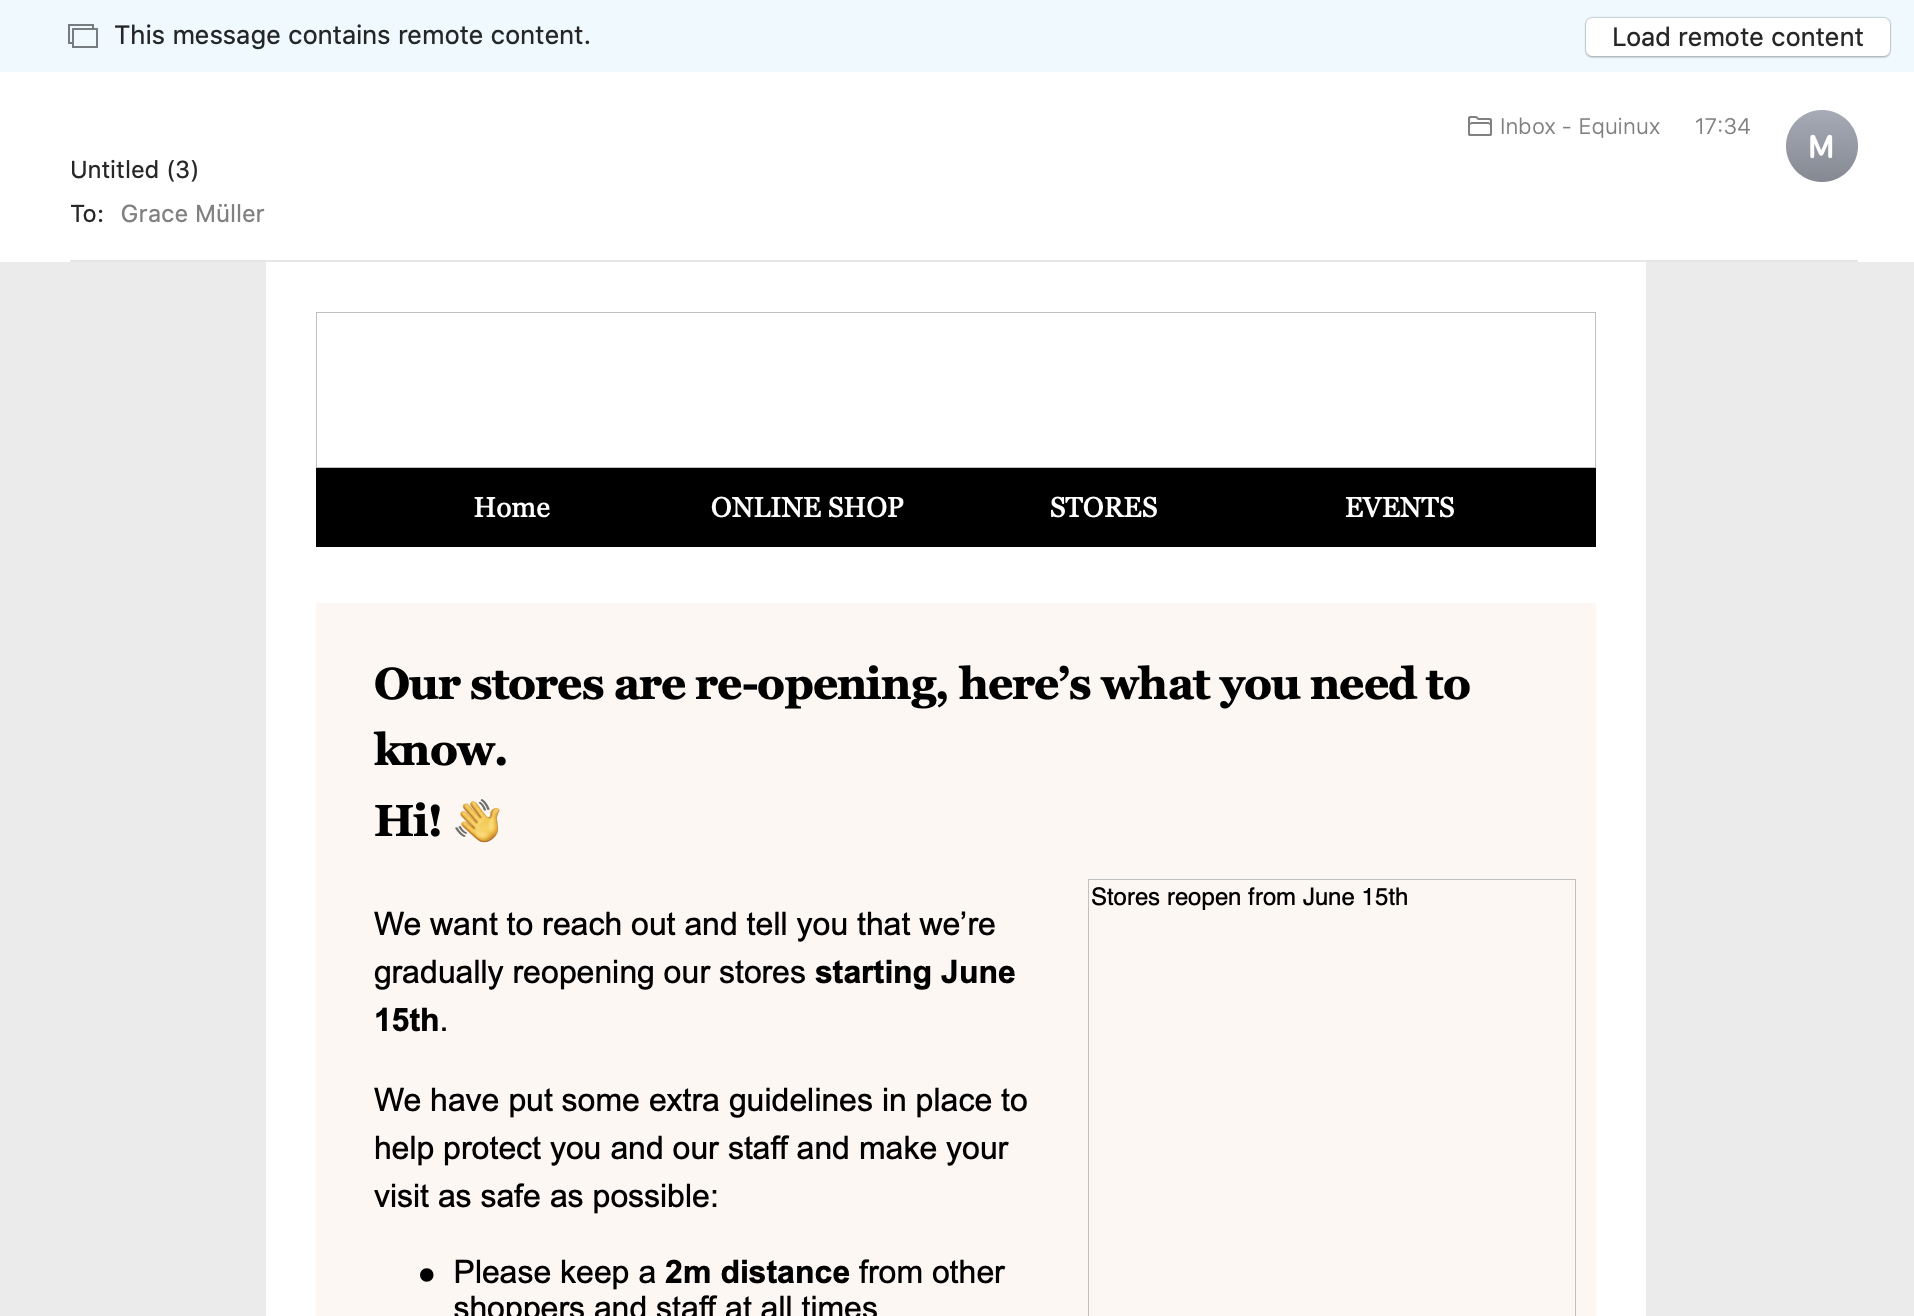
If the alt text is longer than this, Apple will display no alt text for the image area at all:
Other issues to be aware of
When you are working with a design in Mail Designer 365 where image areas in the desktop and mobile versions are attached, your desktop alt text will also be used for the mobile version of your email.
As image blocks in the smartphone view aren't as wide, this means the cut-off point for your alt text will come sooner, so the alt text will need to be even shorter if the design versions are paired.
Ways to resolve this issue
We appreciate this is a difficult issue and unfortunately, there is no one-size-fits-all approach that can be applied to your alt text length. This is mainly due to the fact that the size of image areas can vary massively in different email designs, as well as the mobile issue mentioned above.
Ideally, the optimal solution would be for Apple to change things behind the scenes. However, until this happens, the best workaround is to keep your alt text as short as possible and TEST TEST TEST!
To test the length of your alt text is suitable before you send, carry out the following steps:
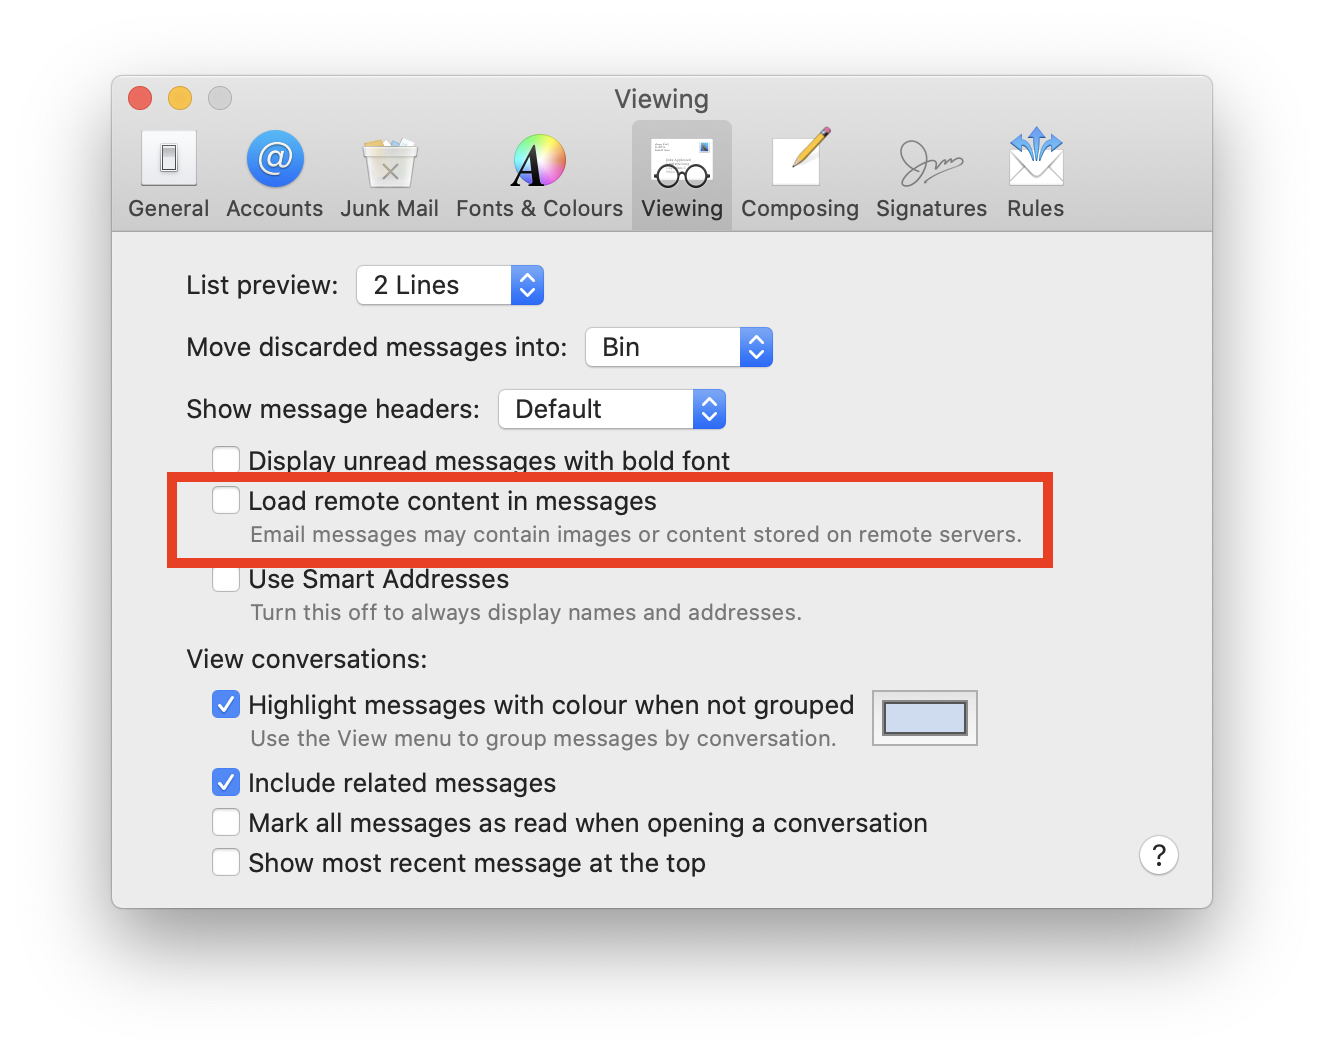
- Go to Mail > Preferences > Viewing and uncheck the box by "Load remote content in messages."
- In Mail Designer 365, use the Testmail service to send yourself a test version of your design.
- Open the email in Mail and check through all the image areas to see if the alt texts appear. Then, do the same on an iPhone to check the mobile version.
- Navigate to the folder:
Your username/Library/Group Containers - In this folder you will see a Folder ending in
.Mail Designer - Navigate to
Documents/MD365within this folder - Restore the
MD365folder to your new Mac
After you have restored the directory, simply open Mail Designer 365 and select "File" > "Import settings and designs" to import the documents to your new library.
Tip: To quickly view the location of your designs, click your chosen template whilst holding "Ctrl" and then select "Show in Finder."
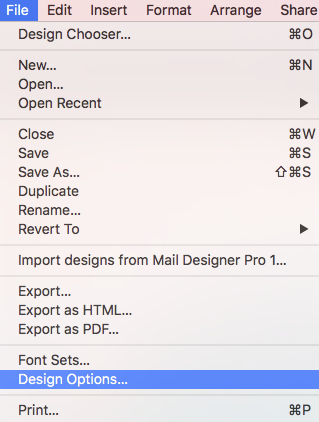
‣ Go to "File" > "Design Options."
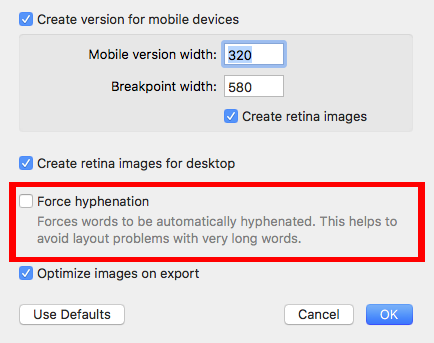
‣ Remove the check mark from the "Force hyphenation."
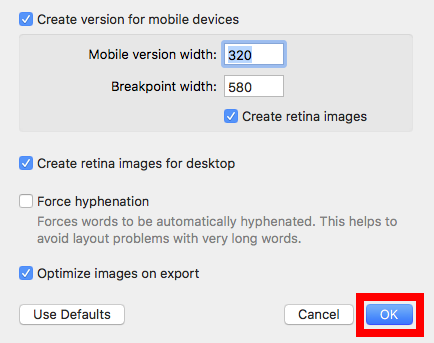
‣ Click "Ok."
Please refer to the following page for further information on how to turn on and off text hyphenation:
- View, comment on and approve email design drafts
- Receive test emails
- Manage email contacts and audiences
- Schedule and send email campaigns
- Access post campaign analytics
Get your team started today with a free Campaigns plan for up to 10 team members!

This will allow you to rotate the object freely. You can rotate shapes, graphic elements, and image masks. You will be able to tell how many degrees you have rotated the object by the label that pops up during rotation:

If you want to rotate both the text and the object, hold the Command ⌘ key and click on both the shape and the text. You will see that the two things are now selected. Click “Group” on the right side.
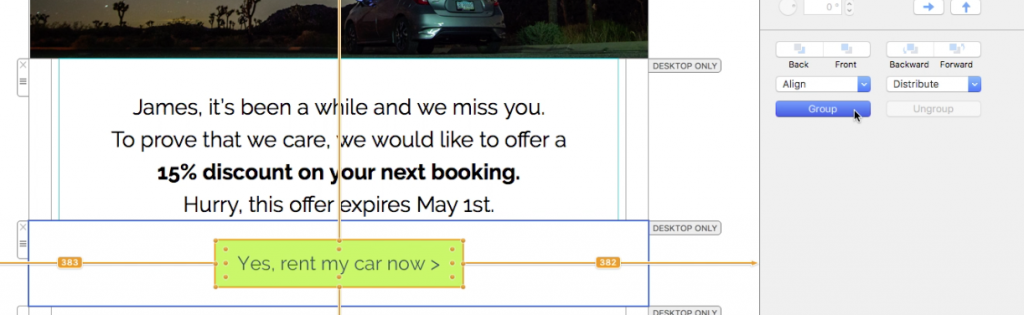
Once you have grouped the two things together, hold the command key and click on the resize controls. Again, you will see that the cursor will turn into a rotate icon. Then, feel free to rotate the selected items to your liking.
Please refer to the following page for further information on how to rotate objects:
As we have no means of testing the custom code which customers edit themselves, we cannot guarantee that email designs with custom code will look as intended after they have been sent. For this reason, Mail Designer 365 does not support importing HTML code, as it needs to have full control of the code being used in the app.
However, if there are certain design elements (such as layout blocks) which you wish to edit, you can do so by saving them to your desktop and editing the Content.html file. Learn more.
Again, if you are not 100% confident in your understanding of HTML and CSS code, we would strongly advise against this, as we cannot guarantee your code will be compatible with our software and other email clients.
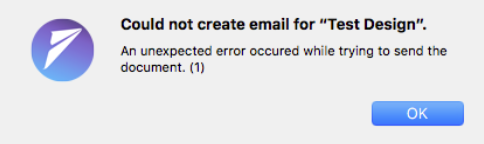
In this case, you can view the log of the last sending attempt in the error dialog using the “SMTP Log” button. Finder will then display a file that you can open with any text editor.
You can read the raw error reported by the SMTP server in that file. This could, for example, be information about maintenance or problems with your email account, such as exceeded sending limits.
invalid_grant: Bad Request (-10)
Please carry out the following steps:
- Go to Mail Designer 365 > Preferences > Mail Accounts.
- Remove your Gmail address from the list using the "-" icon.
- Then, click the "+" icon to re-add your Gmail account. You will be prompted to sign in with your Gmail credentials again.
Once you have re-added your account, you should be fine to start sending emails again.
Mail Designer 365 allows you to send emails directly from within the application using the SMTP procotol.
In order to add your email account, please open the "Mail Accounts" tab in the preferences of Mail Designer, click "+" and enter the information for the account you want to configure. After you have entered all the required information, save the changes and choose this account in the send window.
Follow this step-by-step guide for more information.For this reason, we always recommend using our convenient direct export tool to share your email design to Mailchimp. All you need for this is the API key for your account. This step-by-step guide shows you how to retrieve this and get set up:
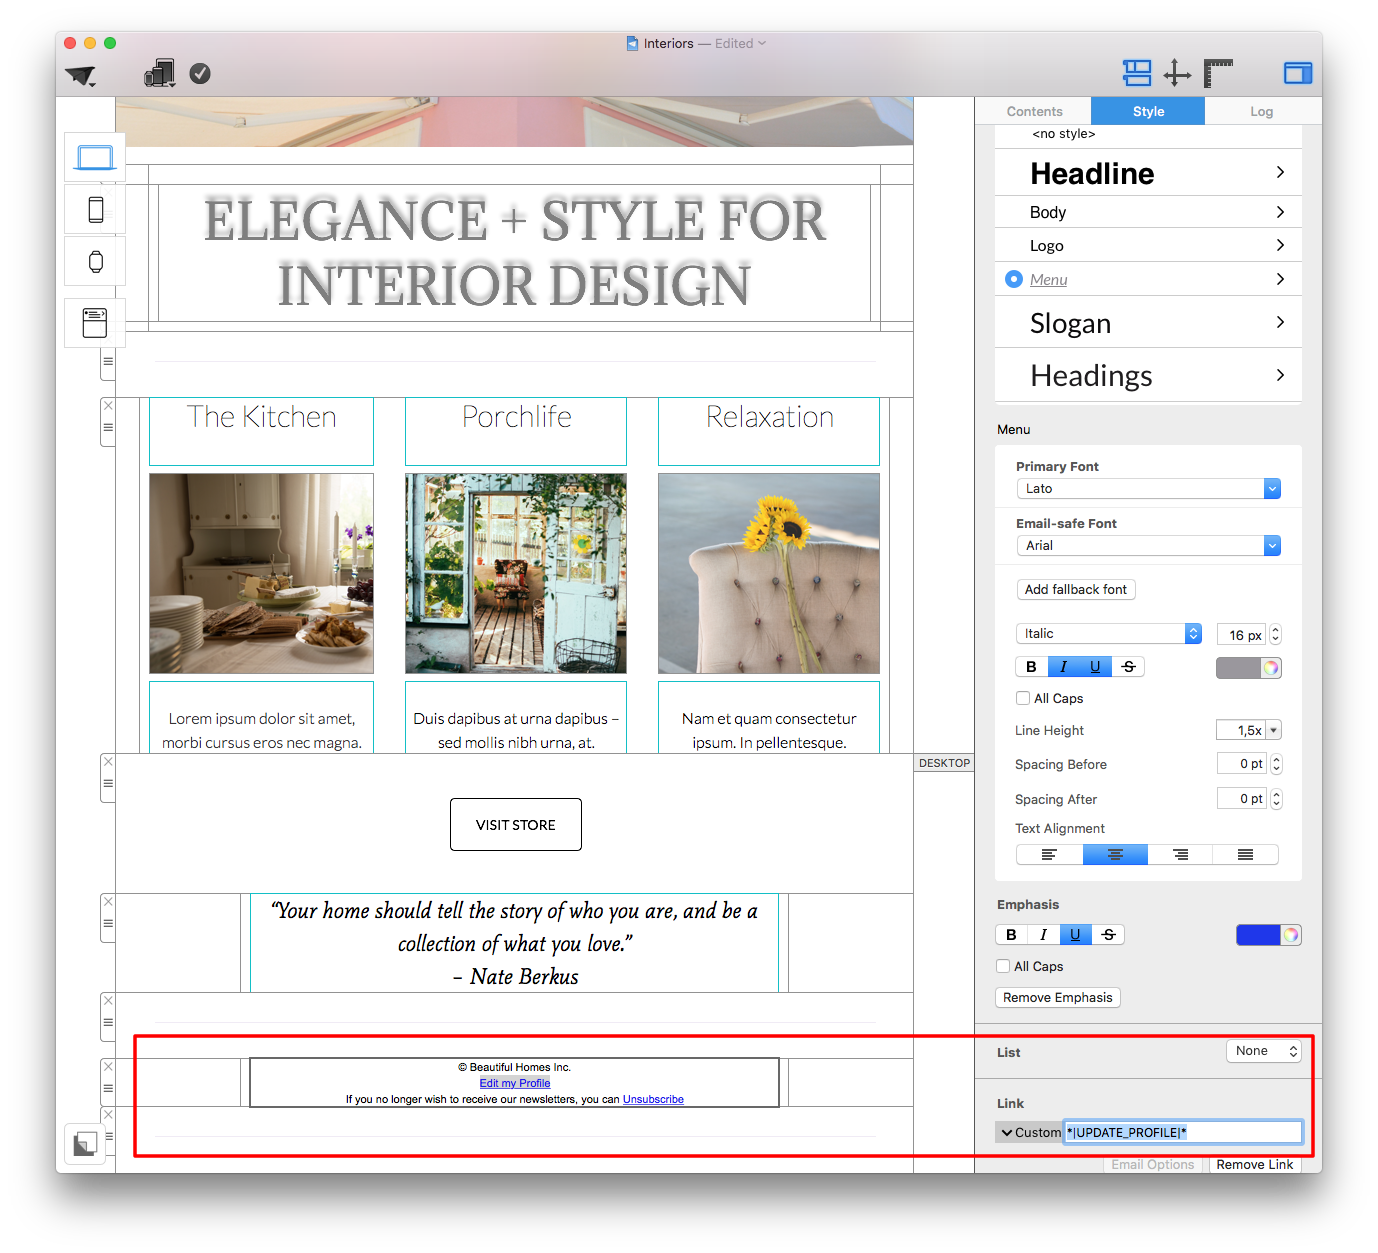
- In a text layout block, type the text you want readers to see (i.e. "Edit my Profile.")
- Highlight your selected text, then, in the sidebar, select "Add Link" from the "Style" tab.
- Choose link type "Custom."
- Enter your placeholder into the space provided (e.g. *|UPDATE_PROFILE|*)
If you are unsure of how to label your placeholders, use Mailchimp's cheatsheet to find the correct label for any merge tag they support.
You can access the most important placeholders directly, as explained here, for other placeholders and custom merge tags.
Creating an email link in Mail Designer is really straightforward. Simply follow the instructions below to get started:
- Type your desired text in a text layout block e.g. "Email me."
- From the sidebar select "Add link" and choose "Email mailto" as the type of link from the drop down menu.
- Add your email address.
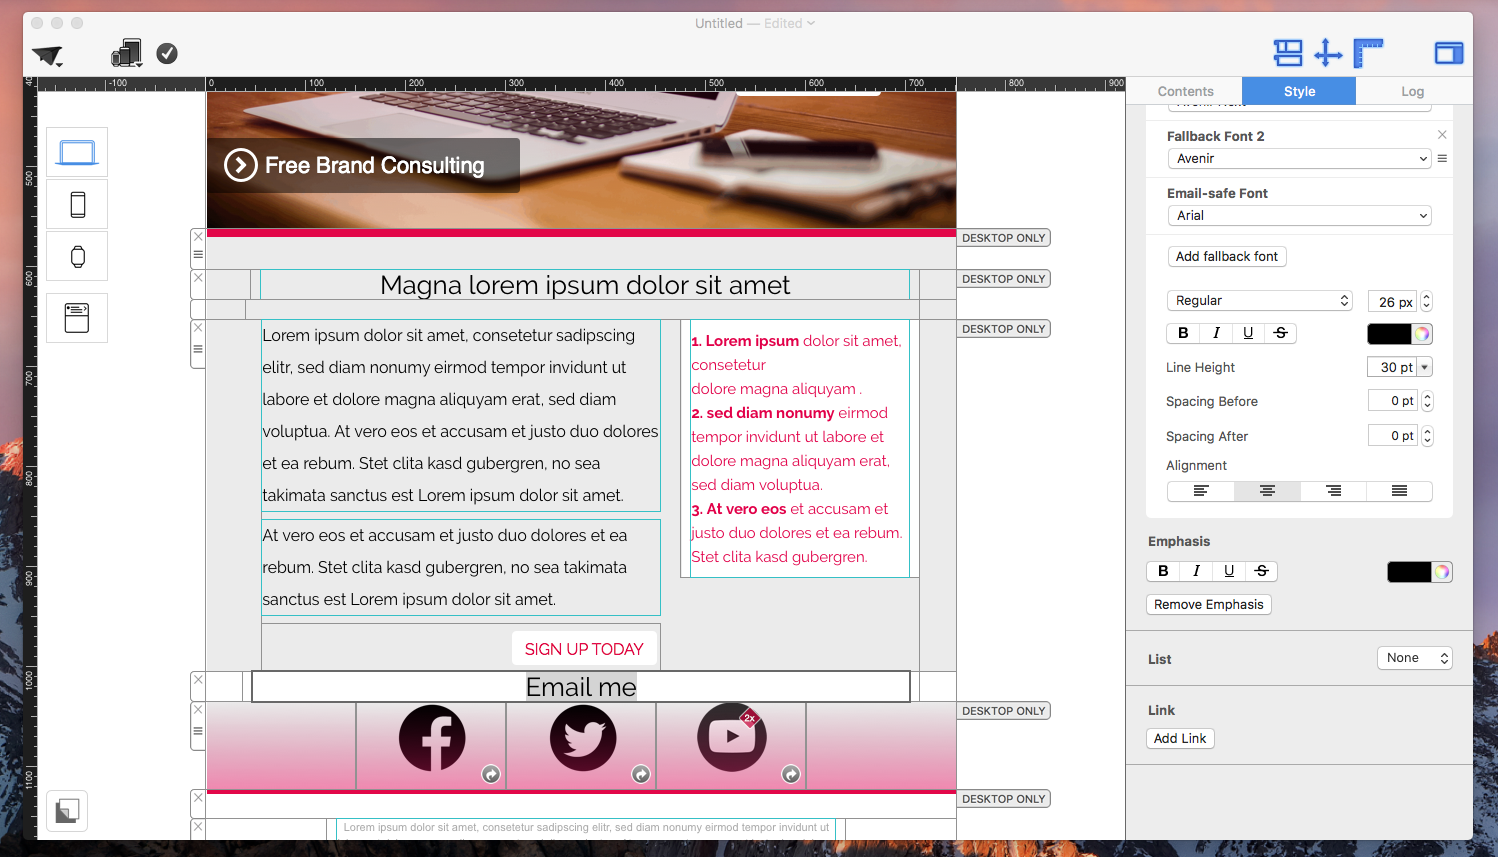


Now your chosen text will appear as a link and when a customer clicks the link it will open a new email to you.
If you already have Mail Designer 365 and you have purchased it in the equinux Store, please download the latest version at:
http://www.equinux.com/goto/HPdownload/maildesigner365
If you already have Mail Designer 365 and you purchased in the Mac App Store, the latest version is available as an Update in the Mac App Store. Please update install it from there.
If you have Mail Designer Pro 3, please log in under my.equinux.com to download the most current version.
In case you you have an older version of Mail Designer, now is a great time to make the switch to Mail Designer 365 and profit from all new features and optimisations.
Make sure the hostname and port are correct. Also check the “Security” setting.
Click the “Test” button to let Mail Designer verify that the server accepts a connection using your settings.