
Want to make your email campaigns more interactive and engaging? Creating an image link lets you turn any image in your email design into a clickable element that directs your recipients to a website, product page, or promotion. In this guide, we’ll show you step-by-step how to easily add an image link in Mail Designer 365, helping you boost clicks and conversions in your email marketing efforts.
What are Image Links?
You can create a link for an image area, so the image area will be clickable in your email. Remember that entire image areas will be displayed as a single image in your email. Also, you can only assign one link per image area.
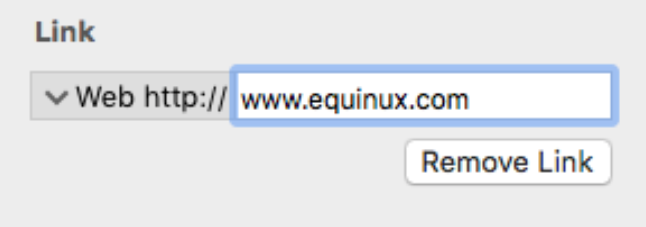
To create an image area link, choose an image area in your design. Then click the "Add Link" button from the Style section of the sidebar. Afterwards, enter your desired URL. The entire image area will be “hot.” Readers will be able to click it in your final message.
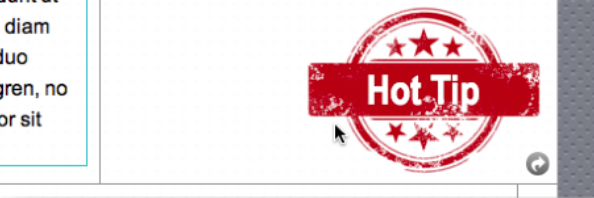
A little link icon will show you for which image areas links has been embedded:
You can only link to one landing page per one image area. These layout blocks have a single image area:
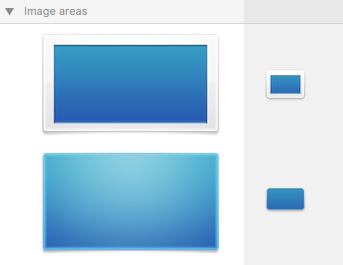
With these layout blocks, you can only link to one landing page. It does not matter whether you add multiple graphics within the same image area. The entire image area will be rendered as a single image.
Adding multiple image links
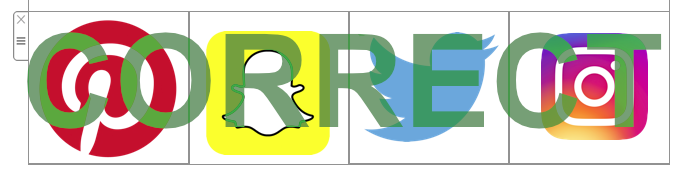
We’ve included several layout blocks that contain several image areas. Each image area can have its own links. If you want to link to 2 social media platforms, then use a layout block with 2 image areas. If you want to link to 3 different landing pages, then use a layout block with 3 image areas and so on...
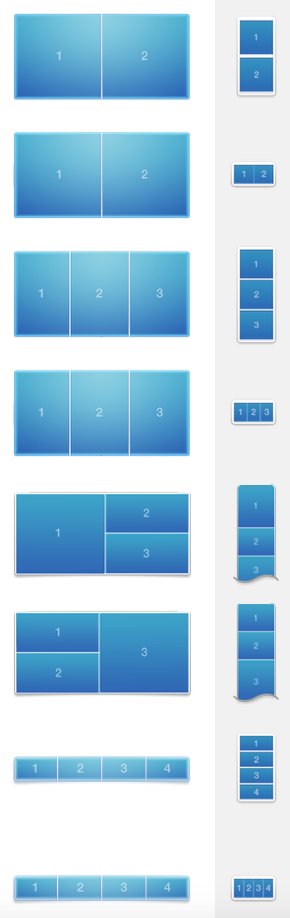
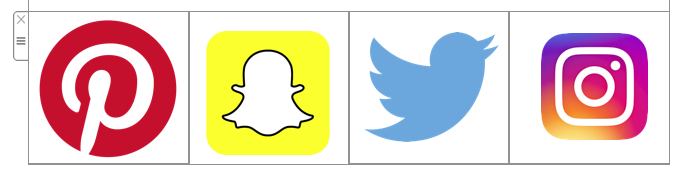
You can use these blocks to create multiple image area links, e.g. in order to use multiple buttons with links to social media sites. With this layout block, you can potentially link up to 4 different landing pages/social media platforms:

This is what it will look like after you drag this layout block onto your template:

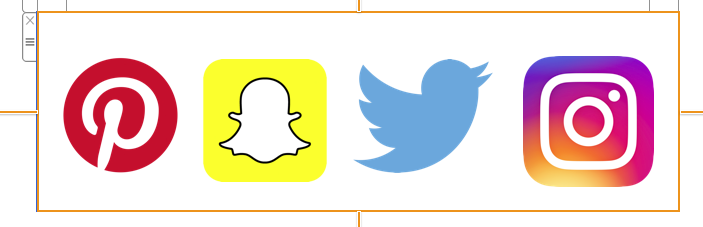
You can adjust the size of each individual image areas:

Here is an example of what it will look like when you add 4 different icons:
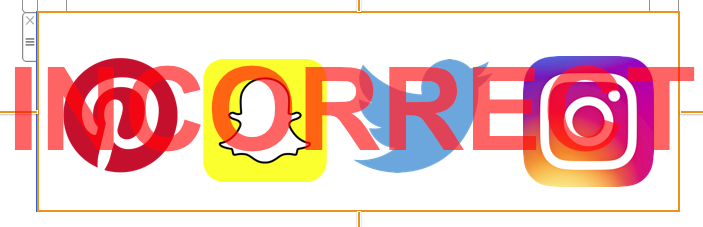
Remember, placing 4 icons within 1 image area will NOT allow you to link to 4 different landing pages/social media networks. This is an example of the INCORRECT way to do it:
Recap:
Further Reading
Also check out how to add different buttons with different links in Mail Designer 365.
How Can We Help?