Mail Designer 365 Border Tool
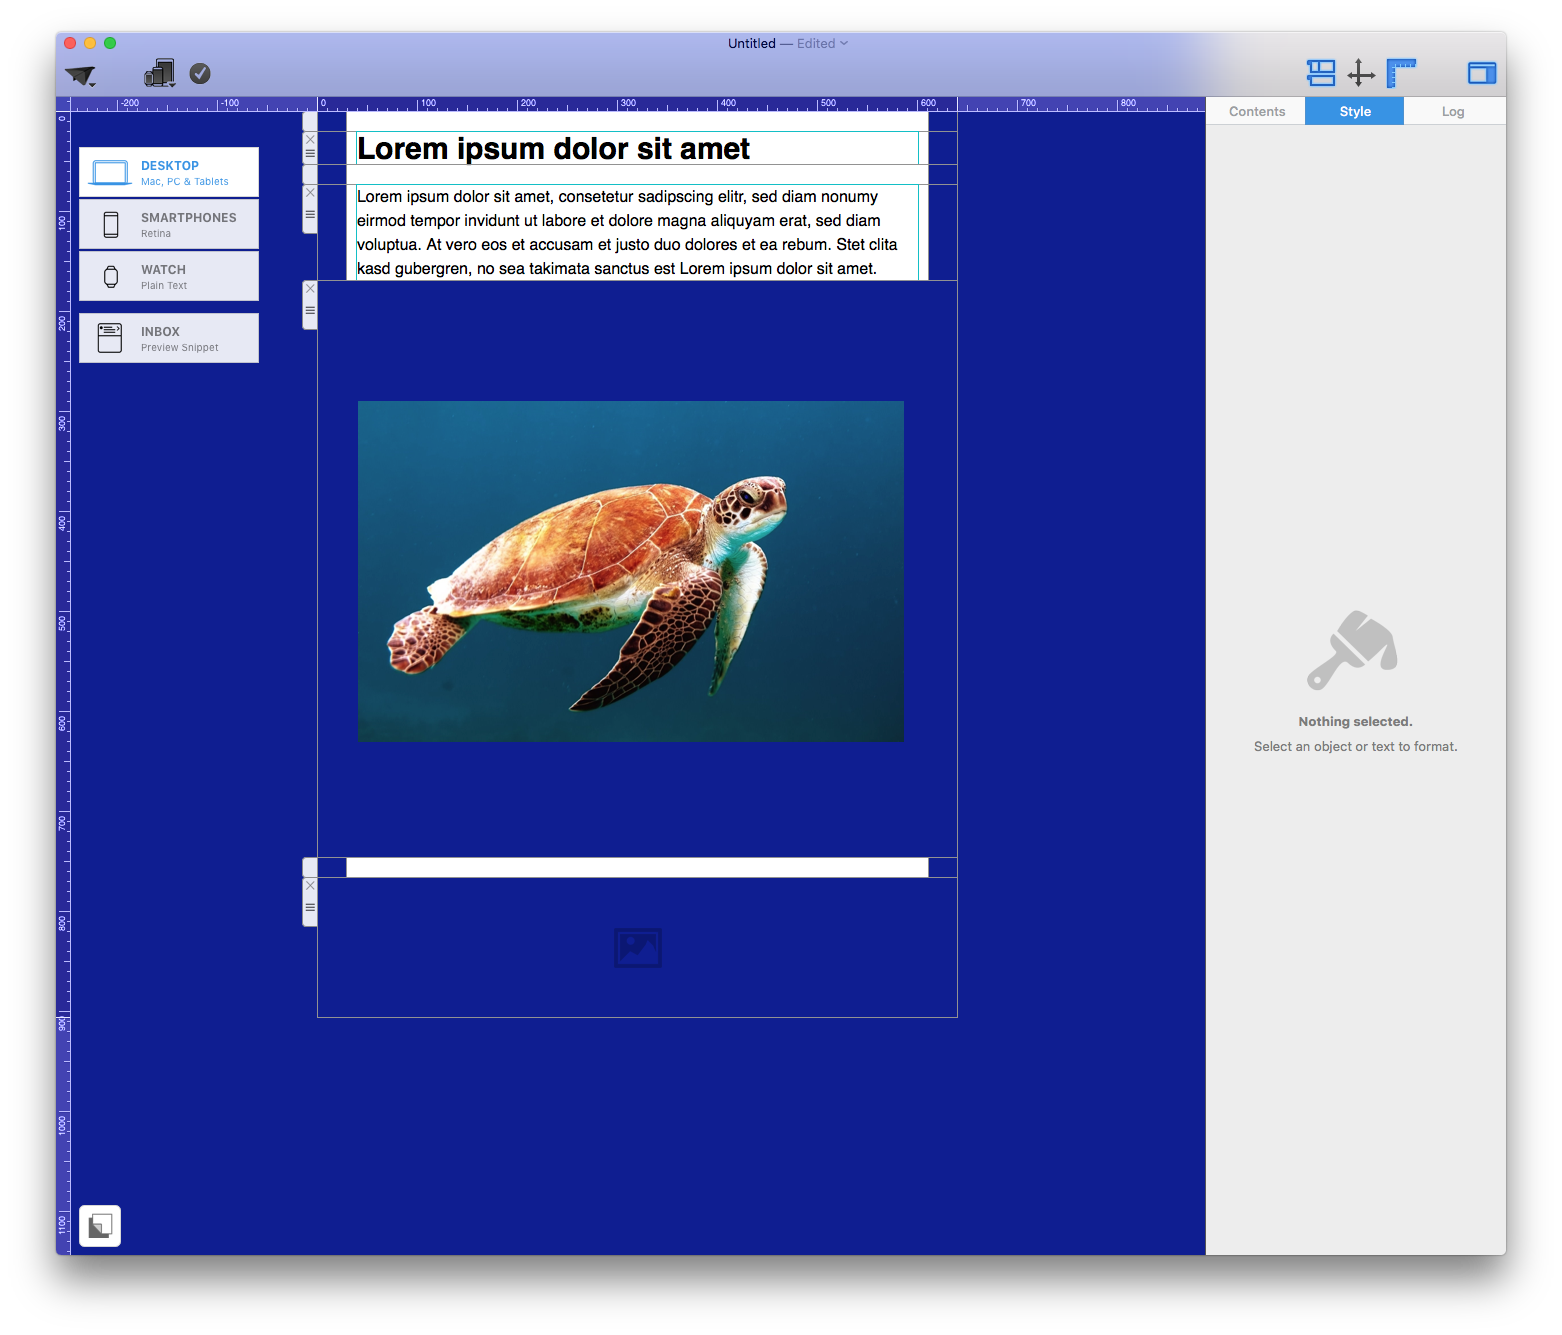
Mail Designer 365 allows you to add borders to shapes and images. To start, insert an image or shape (in this example, we are using an image from Unsplash) into an image area.
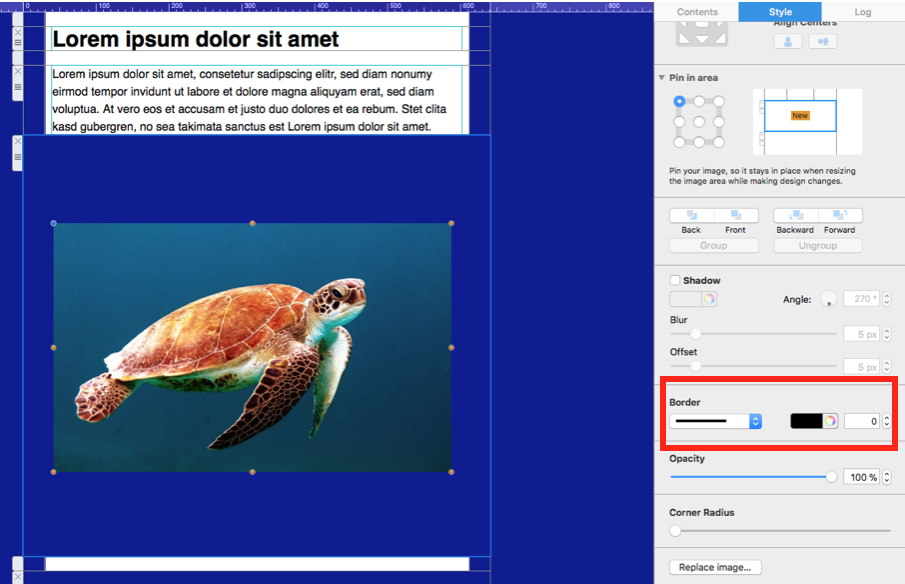
Click on the image or shape to bring up the border tool in the "Style" menu.
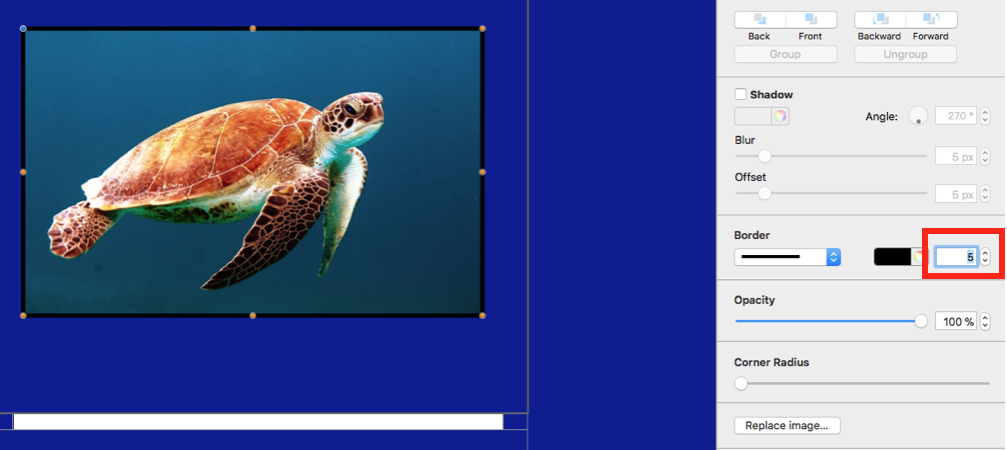
Adjust the width of your border by clicking the arrows to increase or decrease width. You can also manually type in a value and hit enter.
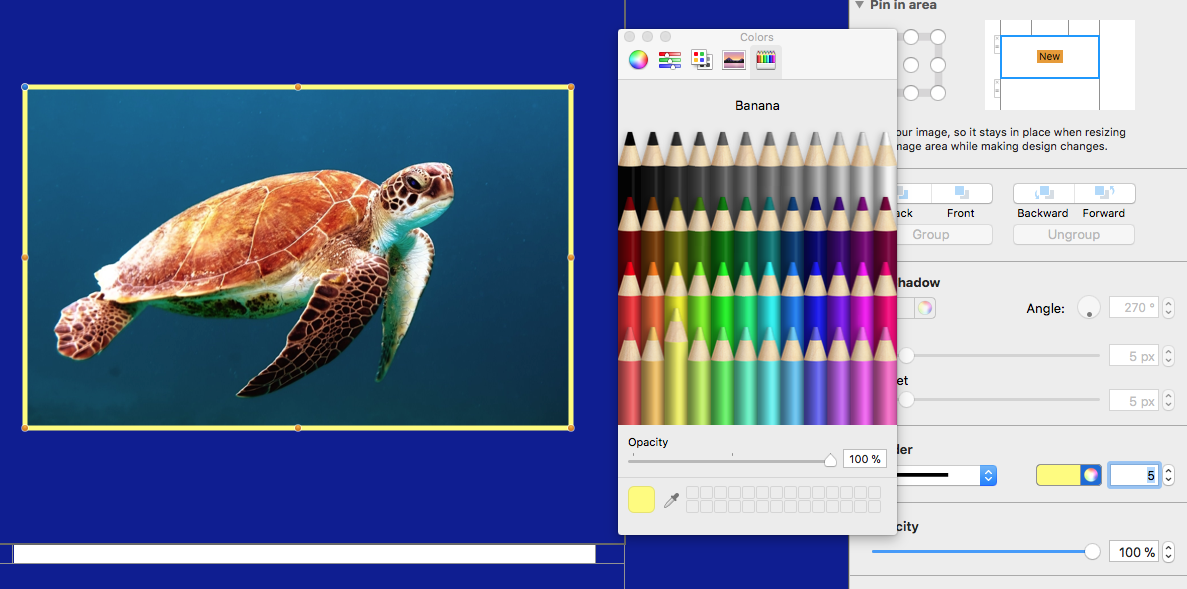
Use the color picker to choose a color for your border.
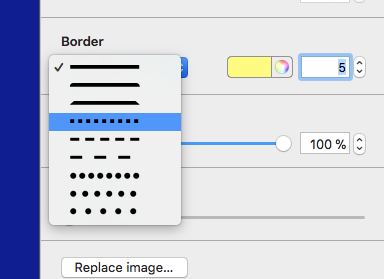
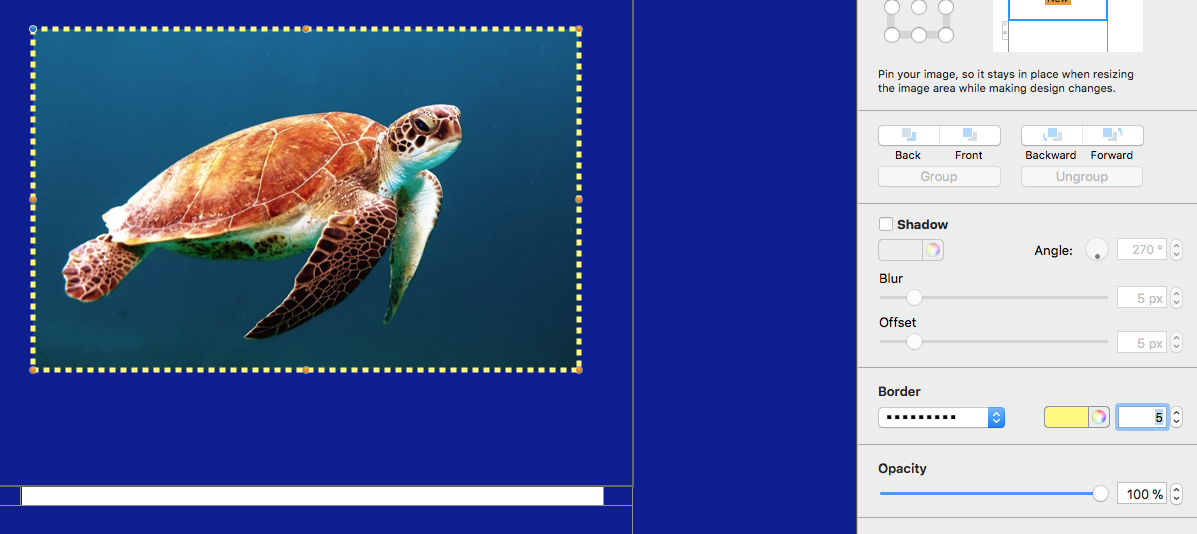
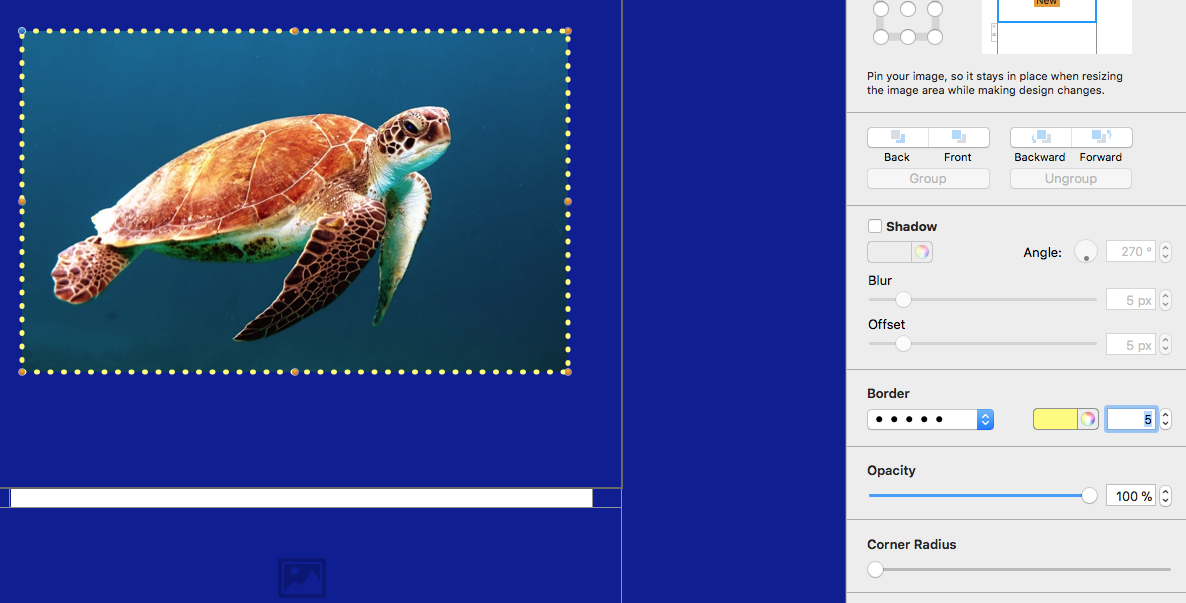
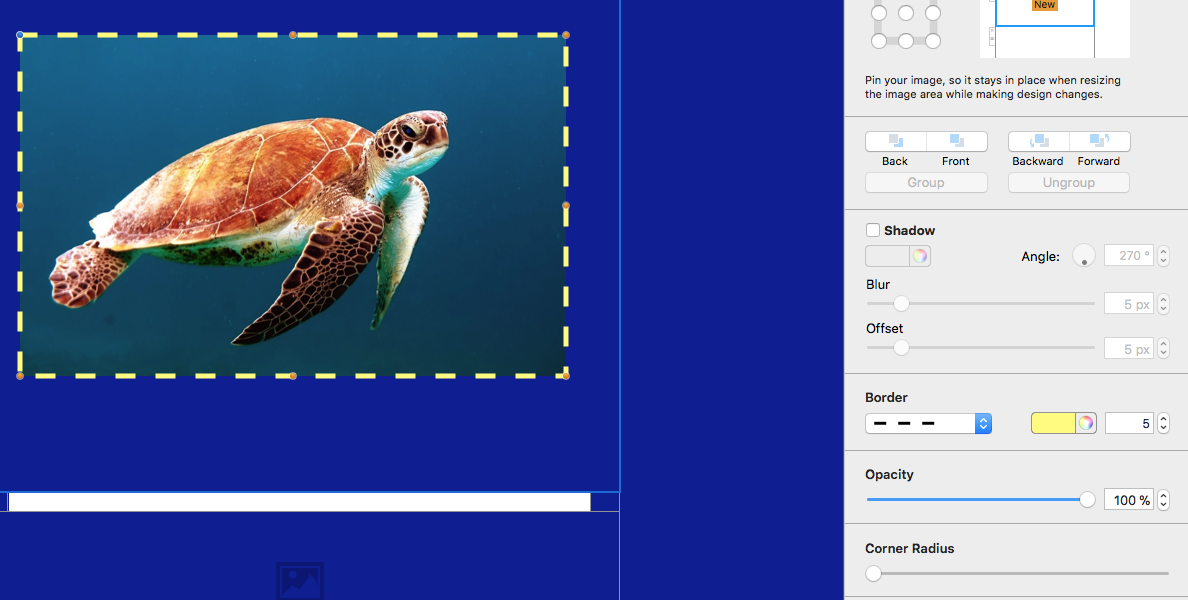
Finally, choose a border style from the drop down menu to complete the effect.
Here are some examples of different styles:
How Can We Help?
A Quick Tour of Mail Designer 365
Background
Layout Blocks
TextScout
Editing Text
Links and Buttons
Configuring Text Styles
Tables
Image Areas
Images
Using Retina Images with your Design
Graphics and Other Objects
Creative Tools
Advanced Design Techniques
Blend Modes
Optimizing your Template for Mobile
Plain Text
Preview your Design
Preparing your Design for Sending
Email Delivery
1:1 Emails
HTML Export
Other Sharing Options

