
If you wish to export your design as HTML to send via a 3rd party service, you may need to host your images somewhere online. This ensures they will also be displayed in the email template after you have exported the design.
Step 1: Find our where to host your images
Many email service providers (ESPs) do not host the images in your email template for you. In this case, you need to host them yourself. This means all of your images need to be uploaded to a web-based location which is publicly available (i.e. your website or web server), so that your recipients can see them in the email.
The best way to identify this location is by consulting with your IT department or whoever is responsible for running your website. They will help you figure out where you can host your images, give you the specific URL prefix you need to enter into Mail Designer 365, and show you how to upload all the image files.
Step 2: Export your Mail Designer 365 design
When you have finished designing your email template and are ready to export to your ESP, go to "Share" > "Website / HTML."

In the export window, you will see the option "Prefix image URLs with:". Here, as referenced in the previous step, you should enter the exact URL prefix given to you by the IT department.
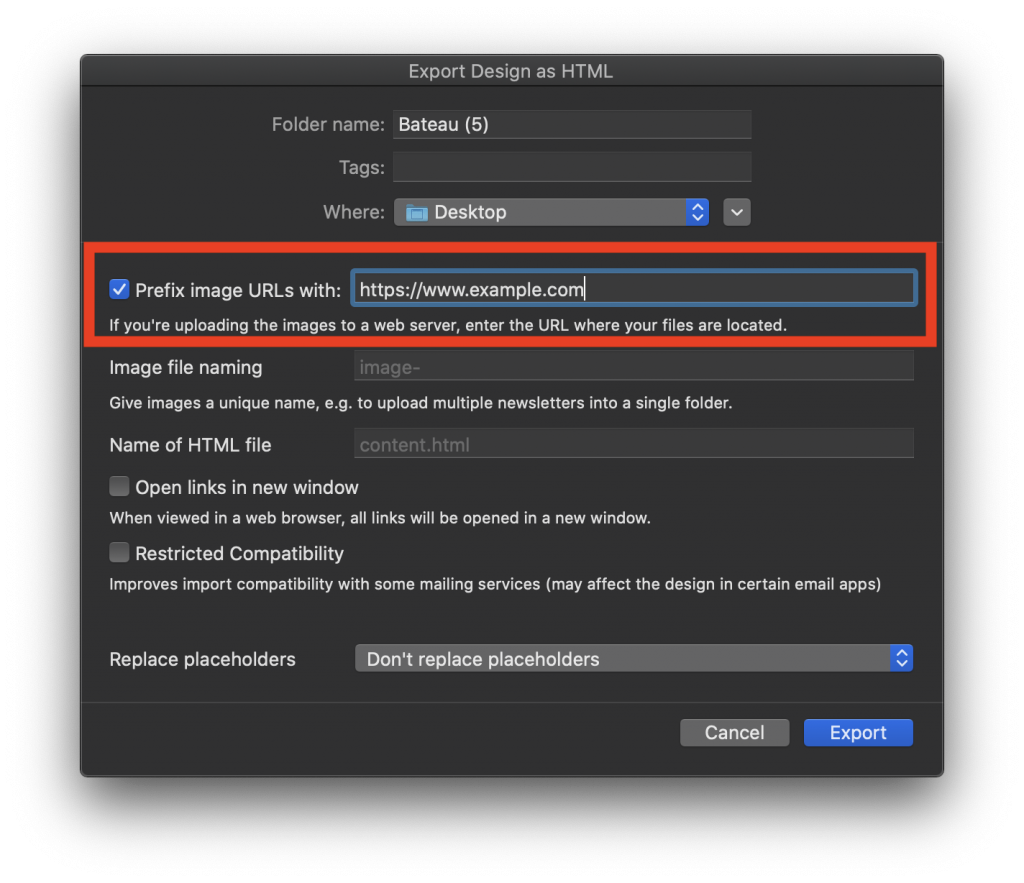
After this, fill out the rest of the export fields and then click on "Export" to export your design as a HTML file.
Step 3: Upload images to your web server
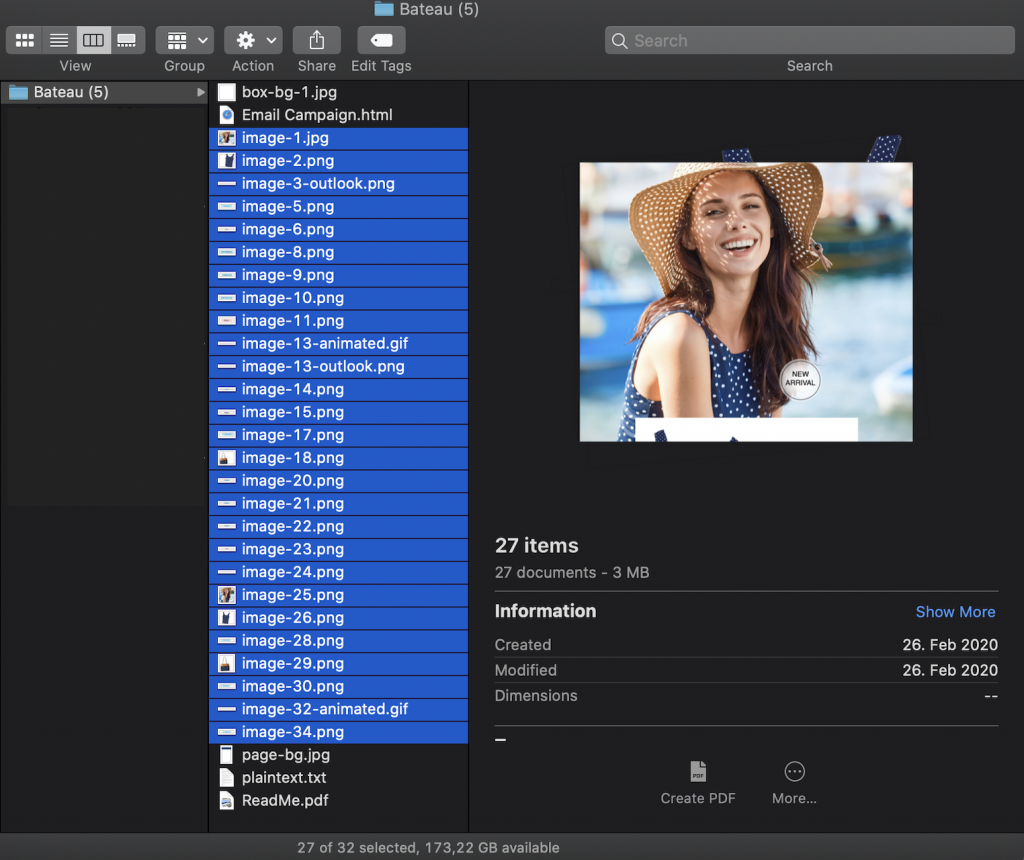
Following export, you can proceed to upload your images to the location where they will be hosted from. Follow the URL prefix you entered into Mail Designer 365 and upload all of the images from the HTML export folder to that location.
If you have difficulty uploading files or require permission to access the server, an IT administrator or similar will be able to help.
Now, you can upload your email template to your chosen ESP. You will find a list of our export guides for individual email services here.
How Can We Help?