
As well as offering integrated sending features in Mail Designer 365 Delivery Hub, Mail Designer 365 also offers direct integration with Mailchimp.
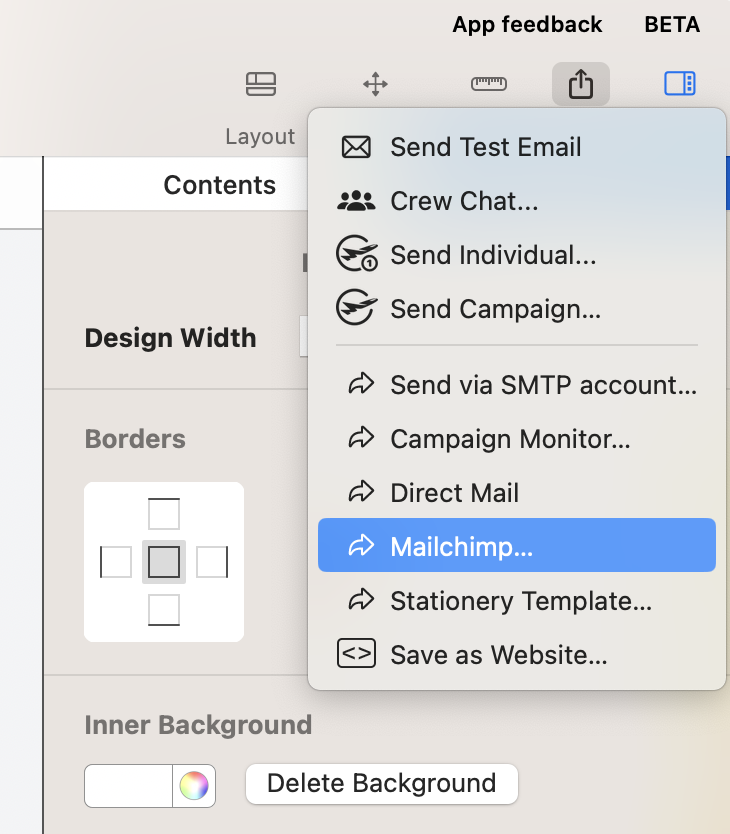
In order to export your Mail Designer 365 email design to Mailchimp, go to Share > Mailchimp:
You’ll then need to enter your Mailchimp API key:

To generate your API key, follow these steps:
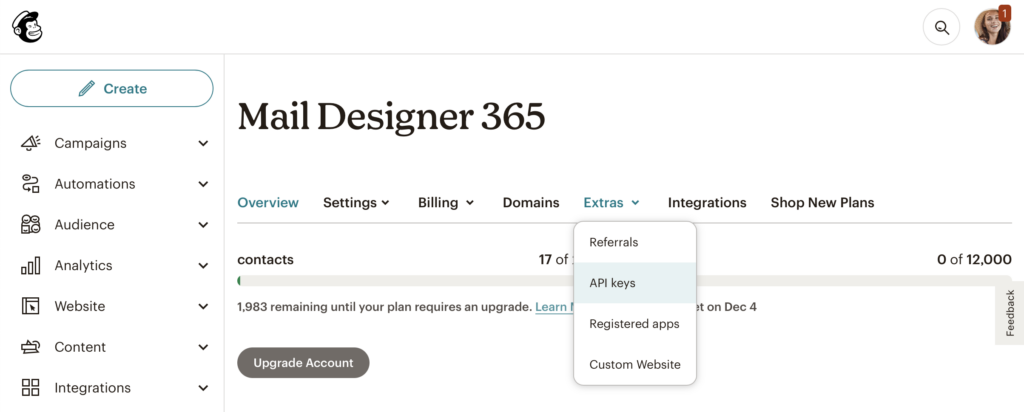
Go to the Mailchimp website and sign in to your Mailchimp account. Then, click the icon to go to your account settings and choose Extras > API keys:
Here you can create a new API key for Mail Designer 365:
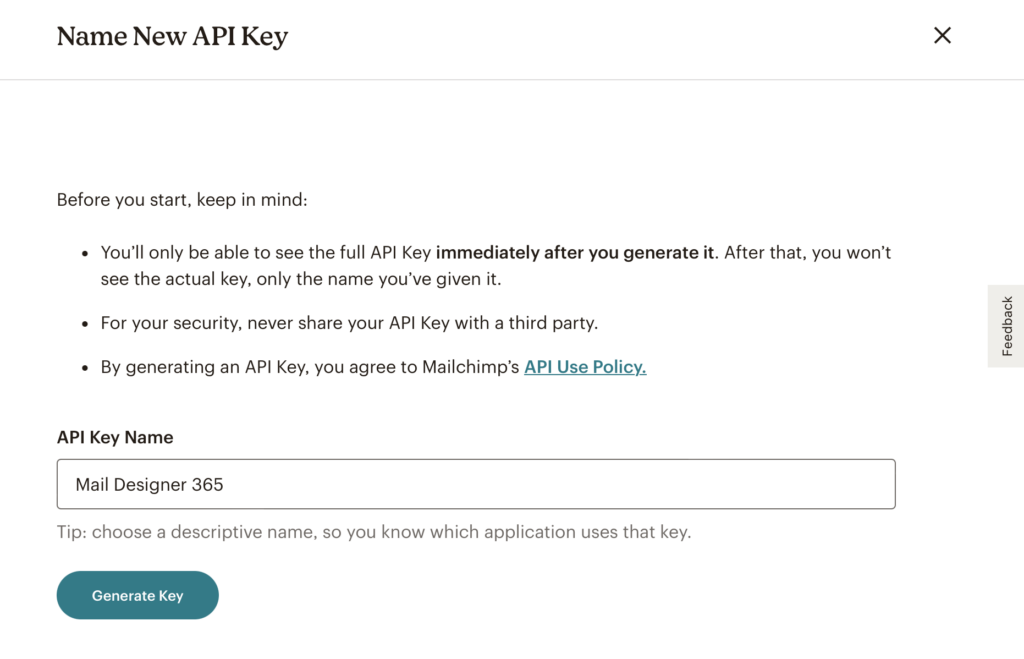
Copy and paste the API key into Mail Designer 365 in the field provided. Mail Designer 365 can store your API key in your keychain, so you only need to set this up once.
Once you have added your Mailchimp API key to Mail Designer 365, click Export to share your design to Mailchimp.
How Can We Help?