
When you send an email campaign, the sender email address (also called the From address) is the first thing your recipients see. Using a professional sender email address that matches your own domain not only builds trust with your audience, but also helps your messages avoid spam filters. With Mail Designer 365 Campaigns, you can easily add or change your sender email address, verify your domain, and ensure your campaigns are delivered reliably.
How to Add a New Sender Email Address in Mail Designer 365
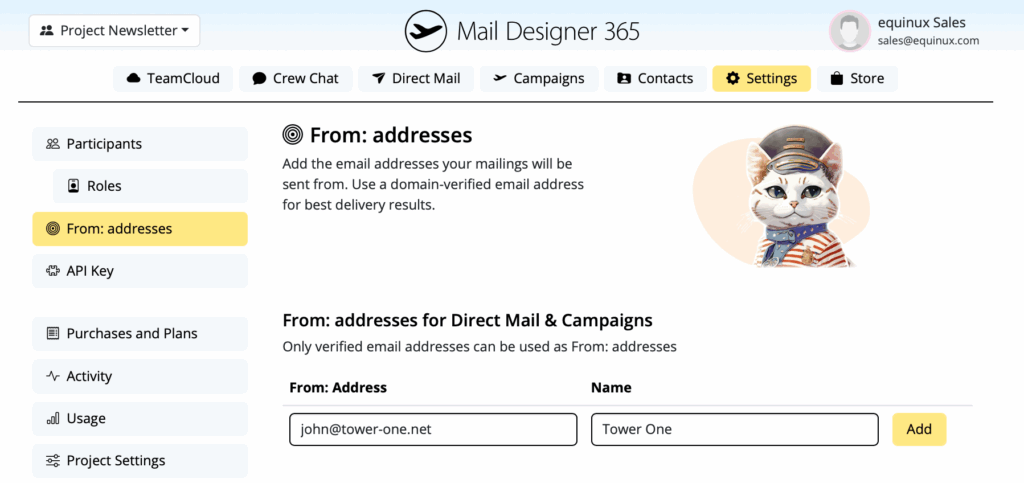
To set up a new sender email address (From address) for your campaigns, open your project in Mail Designer 365 Campaigns and go to:
In the section From: addresses for Campaigns, you’ll find the input field to add a new email domain. Simply enter the email address and sender name you’d like to use — for example, your company name or newsletter identity.
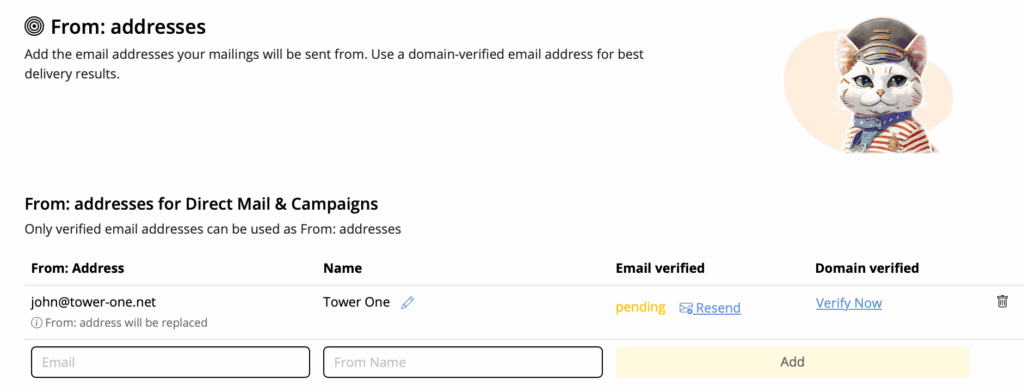
Once you’ve entered your sender email address and name, Mail Designer 365 will send you a confirmation email from noreply@welovemails.com. Until you click the link in that email, your address will appear with the status pending in Mail Designer Campaigns.
If you didn’t receive the confirmation message, first check your spam or junk folder. You can also click Resend to have the verification email sent again.
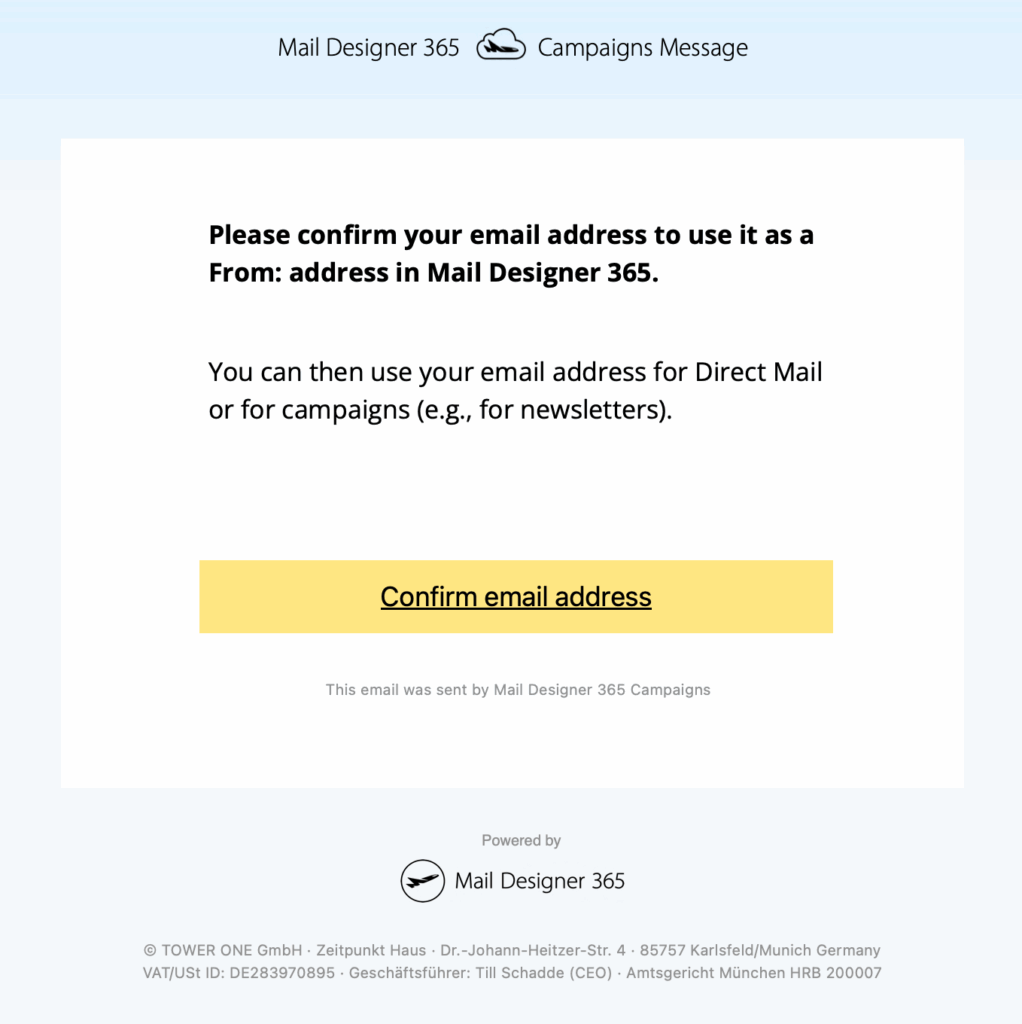
To finish the process, open the confirmation email in your inbox and click Confirm email address. This proves the sender email address belongs to you and activates it for use in your campaigns.
Important: Verify Your Domain for Best Deliverability
At this stage, your sender email address is verified and ready to use in Mail Designer 365. You can already start sending campaigns right away.
However, for reliable delivery and to prevent your emails from being flagged as spam, we strongly recommend verifying your email domain. While this step is not strictly required, completing domain verification gives your emails the best chance of reaching your recipients’ inboxes.
Why domain verification matters
- Spam protection: Emails from unverified domains are more likely to end up in junk folders.
- Brand trust: Recipients see your domain as the sender, instead of a generic address.
- Technical compliance: Many providers now require authentication via SPF, DKIM, and DMARC.
Follow our email domain verification guide to set up SPF, DKIM, and DMARC records and ensure your sender email address achieves the best deliverability.
How Can We Help?