Inviting Team Members to Give Feedback on Designs

By jstawska Feedback and Sharing

Inviting team members to give feedback on designs helps you collect comments in one shared Crew Chat discussion. After uploading an email design, select the people who should review it, notify them, and use their comments to guide the next revision. A focused email design feedback process is easier when every reviewer sees the same uploaded version.

Upload the design before inviting reviewers

Open the design you want to discuss and upload it to Crew Chat. Check that the uploaded version is the one you want the team to review. If you make major changes later, explain that a newer version is available so comments are not applied to an outdated layout.

Select Crew Chat participants

To notify an existing team member about the design, choose Crew Chat Participants in the top-right corner of the Crew Chat window.
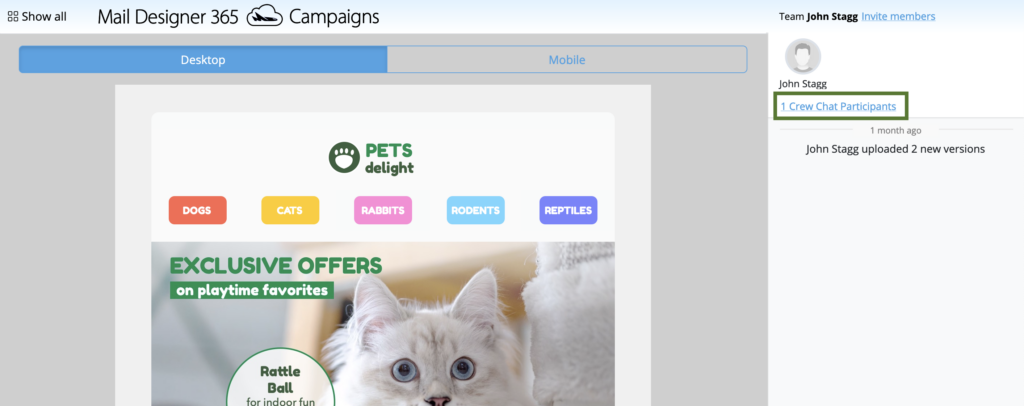
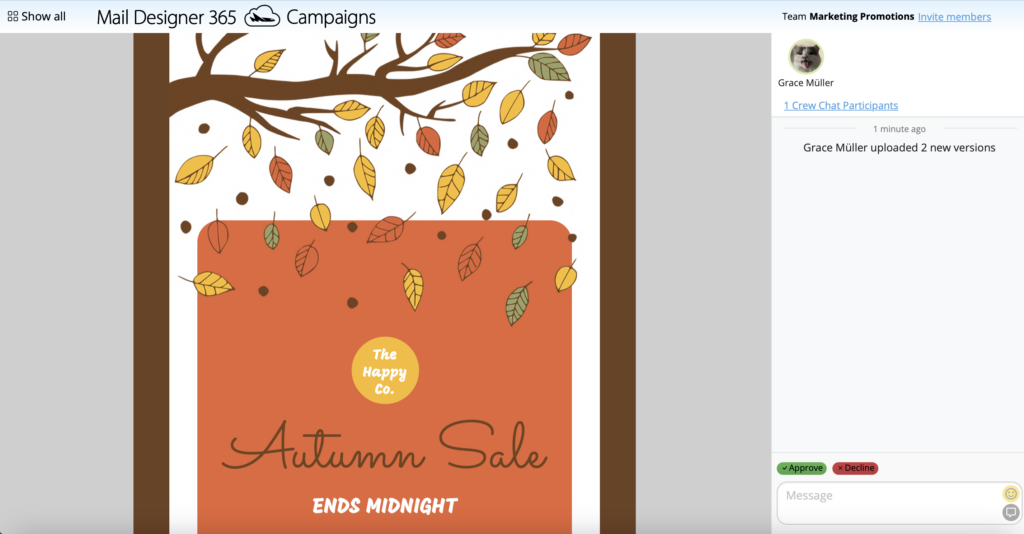
Opening Crew Chat Participants for an email design review

The participant list shows the current team members who can be included in the discussion. Select the checkbox next to each person who should review this design. Invite only the relevant reviewers so notifications remain useful and the discussion stays focused.
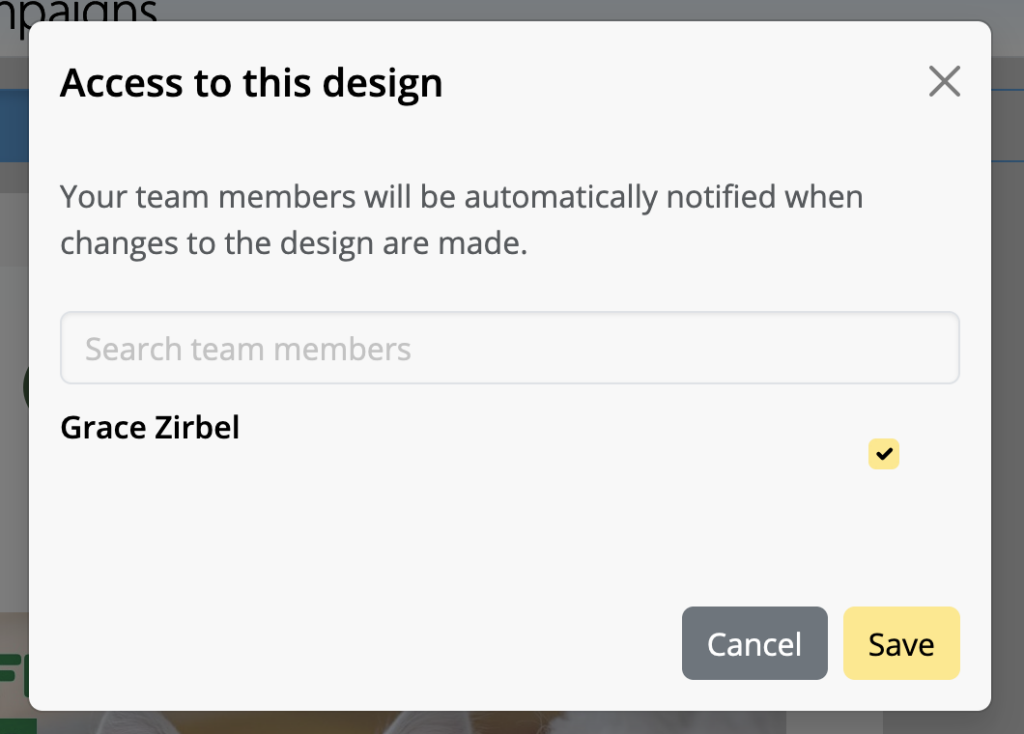
Selecting team members to give feedback on a design

Click Save after choosing the participants. The selected team members are then associated with the Crew Chat discussion for the uploaded design.

Understand the reviewer notification

Selected participants receive an email notification about the newly uploaded design. The message gives them a route to the shared feedback discussion, where they can review the design and add comments.
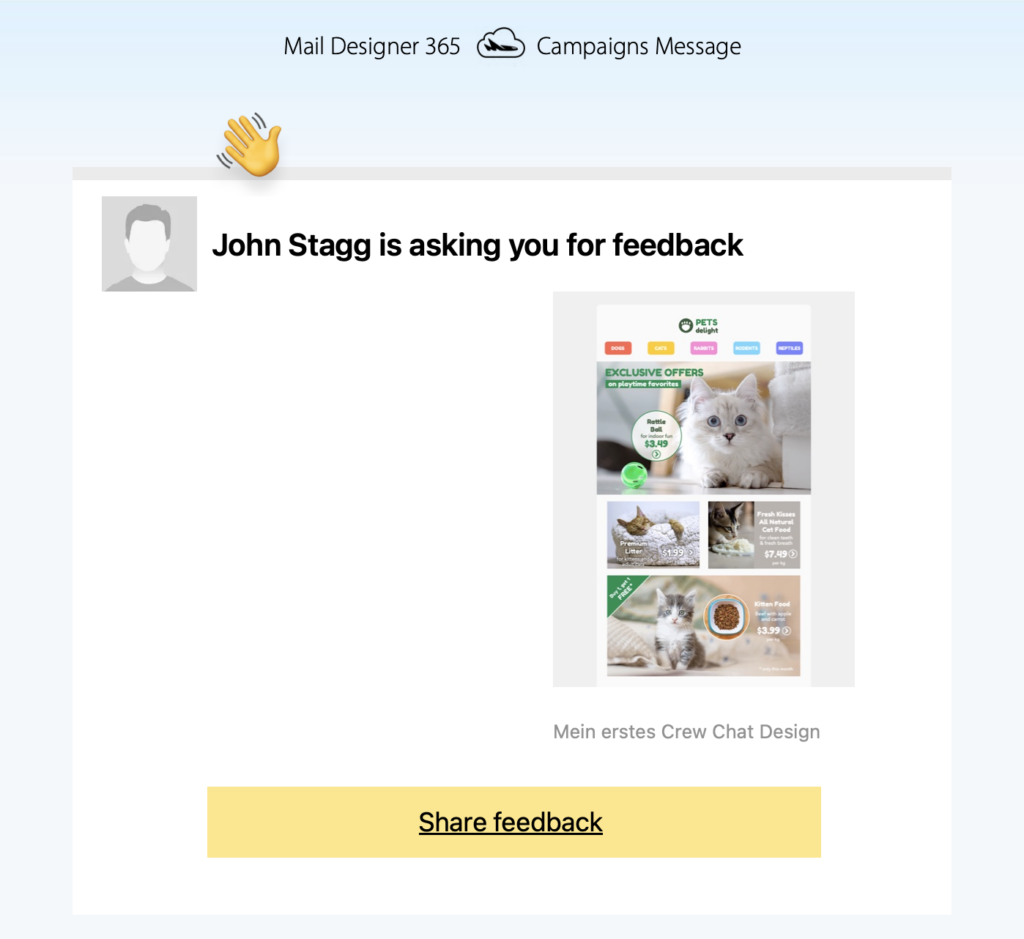
Email notification inviting a team member to review a design

Before relying on the notification, confirm that each participant uses the correct work email address. If a reviewer does not see the message, ask them to check filtered or junk folders and confirm that they are already part of the intended team.

Invite a new team member

If the reviewer is not yet listed, choose Invite members. Use this option to add the person to the team before expecting them to participate in the design discussion.
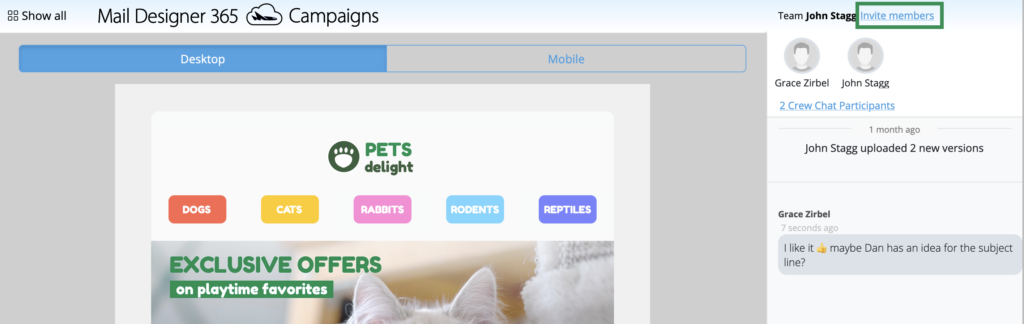
Invite members option in Crew Chat

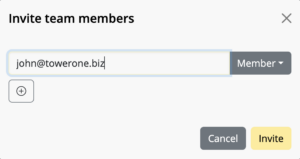
Enter the team member’s email address in the field provided and select Invite. Review the address before sending because an incorrect address prevents the intended person from receiving the invitation.
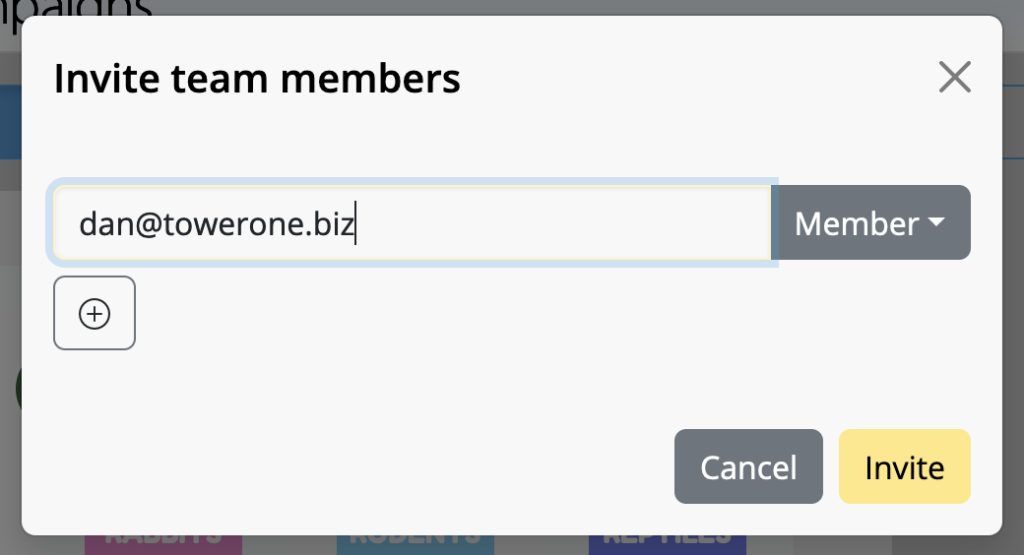
Entering an email address to invite a new Crew Chat member

After the new member accepts the invitation and appears in the team, return to the design’s participant list and make sure they are included in the relevant discussion.

Make email design feedback actionable

Give reviewers a clear goal before requesting comments. For example, ask one person to check the wording and links, another to review brand consistency, and another to inspect the smartphone layout. Specific requests reduce duplicate comments and make decisions easier.

When commenting, refer to a visible element or section rather than writing only “change this.” A useful comment explains the problem, the desired result, and whether it blocks approval. Resolve contradictory suggestions before editing the design so one change does not undo another reviewer’s requirement.

Review comments before the next version

Collect the feedback, decide which changes belong in the next revision, and keep the discussion connected to the correct uploaded design. After making updates, preview the desktop and mobile layouts, test important links, and upload the revised version when it is ready for another review.

For broader team setup, see how to set up a team in Mail Designer 365. A consistent team structure makes inviting team members to give feedback on designs quicker for future campaigns.

Mail Designer Team Setup

By jstawska Feedback and Sharing

Mail Designer team setup helps your organization collaborate efficiently – send test emails, discuss and approve design drafts in Crew Chat, and schedule and send campaigns together in Delivery Hub.

Mail Designer Team Setup

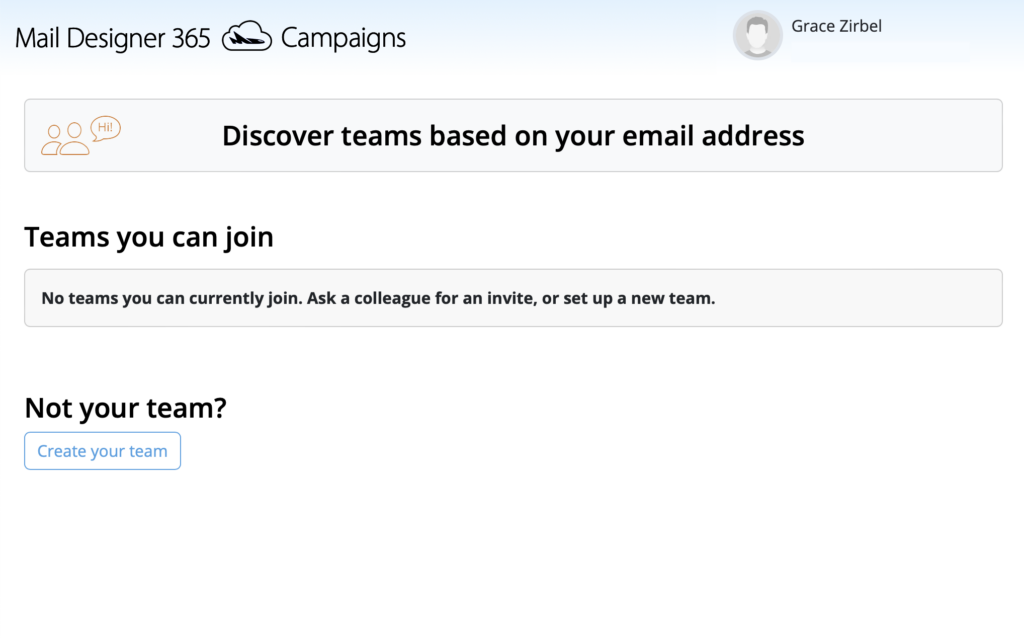
When you first create your Mail Designer 365 account at my.maildesigner365.com, you will be taken through the team creation workflow.

If someone from your company already has a Mail Designer 365 team, you will be asked if you want to join. Otherwise, click Create your team to get started:

Create a Mail Designer 365 teamYou will now be directed to the TeamCloud start page. This is where you will see all your team's uploaded templates once you get started with Mail Designer 365 Campaigns:
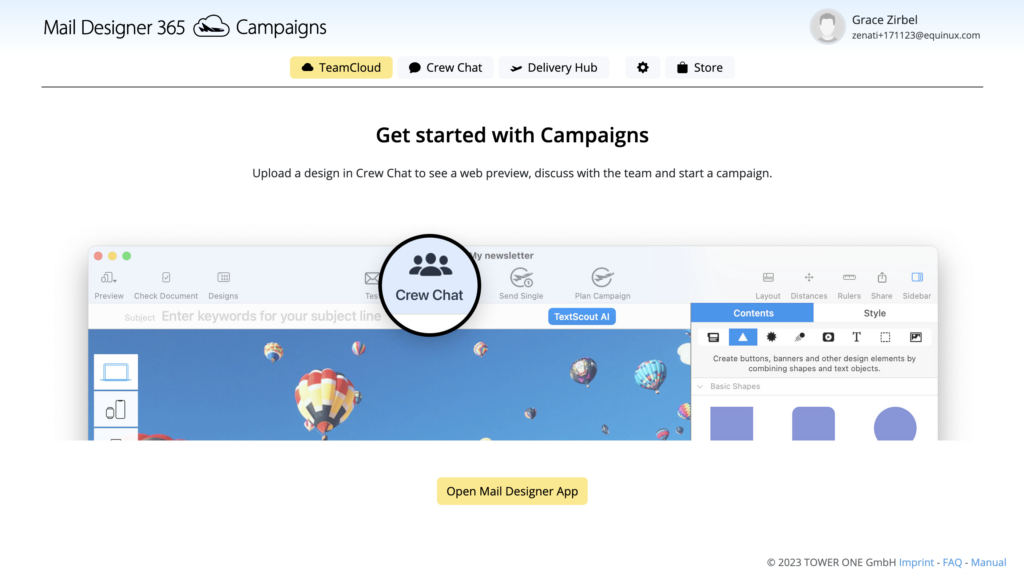
Mail Designer TeamCloud start page

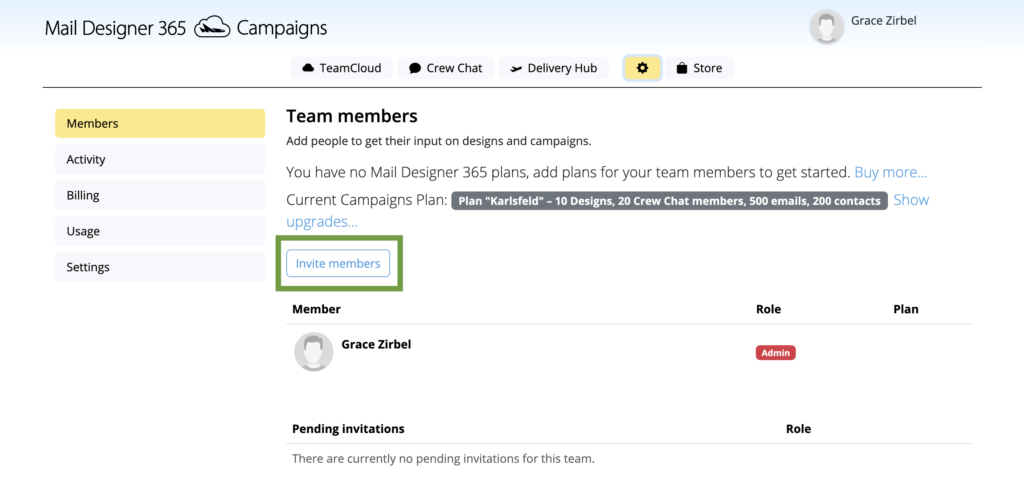
To manage your team, click the Settings icon. On the Team Members page, you can invite new members (e.g. colleagues & collaborators) to your team via the Invite members button:

Open Mail Designer team settings

Enter the email address of the person you want to invite to your team and click the (+) icon to add further members. Finally, hit Invite to send your team invitations:

Invite a new Mail Designer team member

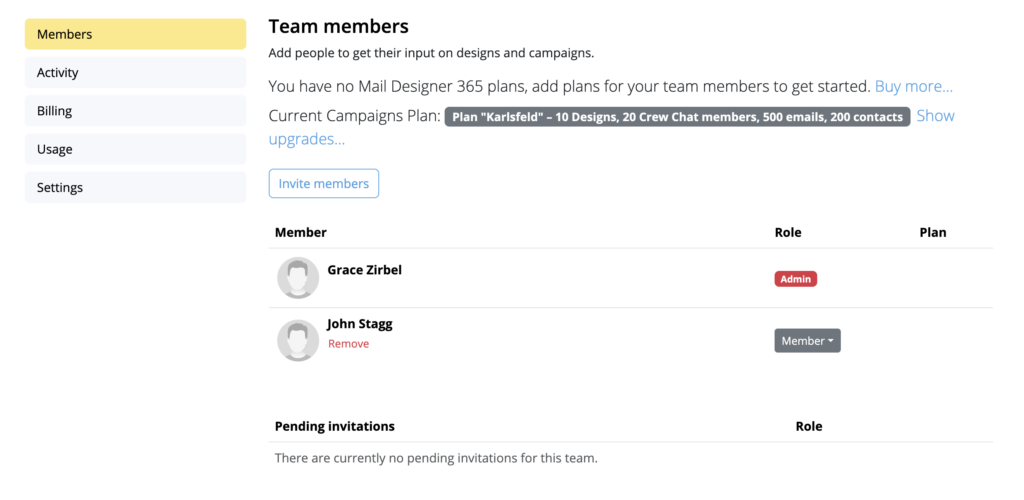
Once a user has accepted your invitation, they will appear in the Team Members overview list, where you can assign roles and design plans later:

Manage Mail Designer team members and roles


Upload a Design to Crew Chat

By jstawska Feedback and Sharing

If you have created a design in Mail Designer 365 that you want to discuss with your team, use Crew Chat to invite team members to leave comments and feedback on the web. Here's how it works...

Upload designs to Crew Chat

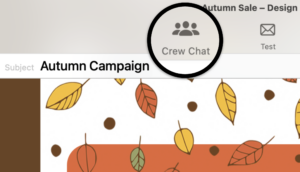
Once you are happy with your email design and want input from your team, click the Crew Chat icon in the Mail Designer 365 toolbar:

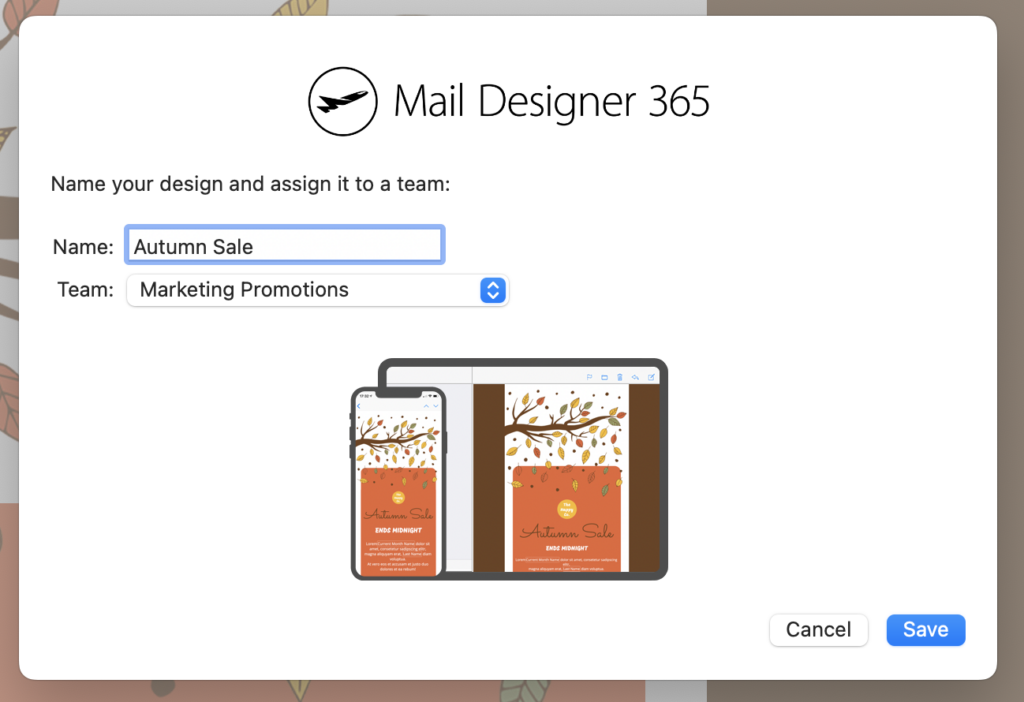
If this is the first version of your design, you will be prompted to save it so your team can view the latest version. Enter a name for your design and click on Save:

A new browser window will open and take you to the discussion thread, where you can invite team members to give feedback on your design.


Choose recipients for a Testmail in Mail Designer 365

How to Use the Testmail Feature

By Team equinux Feedback and Sharing

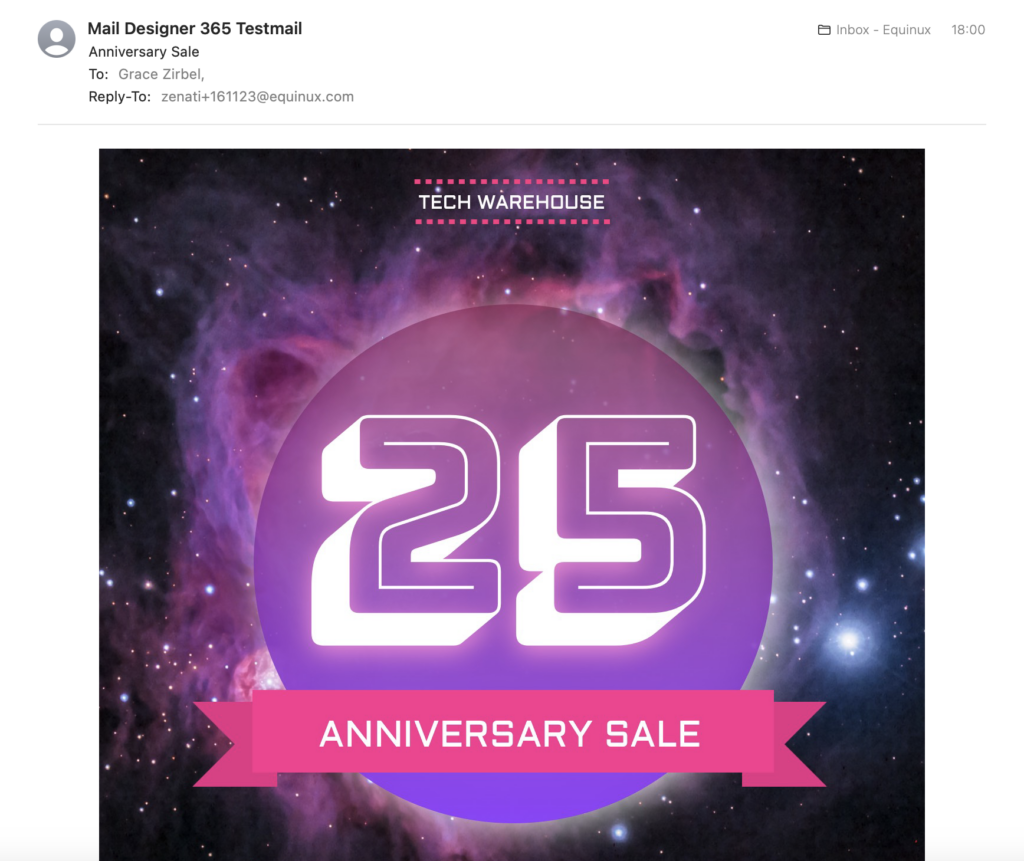
A Testmail lets you review the latest version of a Mail Designer 365 design before it reaches your full audience. Send one to yourself or your team to check the content, links, images, and overall reading experience. This extra review step is useful after copy, layout, or destination changes and before every important campaign.

Send a Testmail from Mail Designer 365

Open the design you want to review and click the Test icon in the Mail Designer 365 toolbar. Make sure you are working with the version you intend to check, especially if several people have contributed to the campaign.

Testmail icon in the Mail Designer 365 toolbar

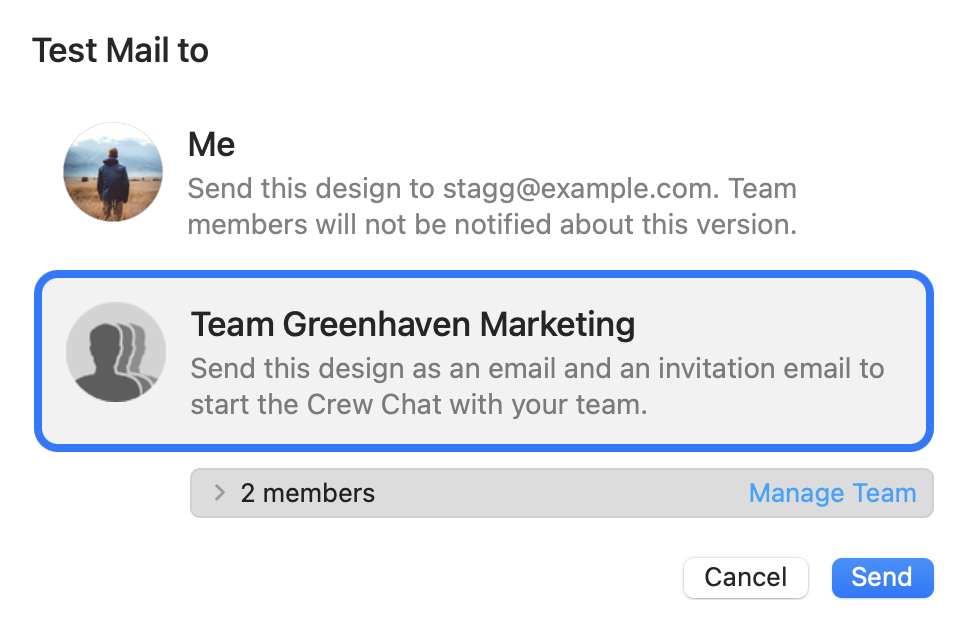
Choose whether to send the test email to yourself or to members of your team. Sending it to yourself is helpful for a quick content check. Including teammates is useful when another person needs to approve wording, links, campaign details, or the final visual treatment.

Choose recipients for a Testmail in Mail Designer 365

After selecting the recipients, click Send. Mail Designer 365 shares the latest version of the design with the selected reviewers.

Verify Your Sending Address

During this process, you may receive a verification email for the address used to send through Delivery Hub. Open that message and follow its confirmation link. Address verification helps confirm that you can use the selected sender address.

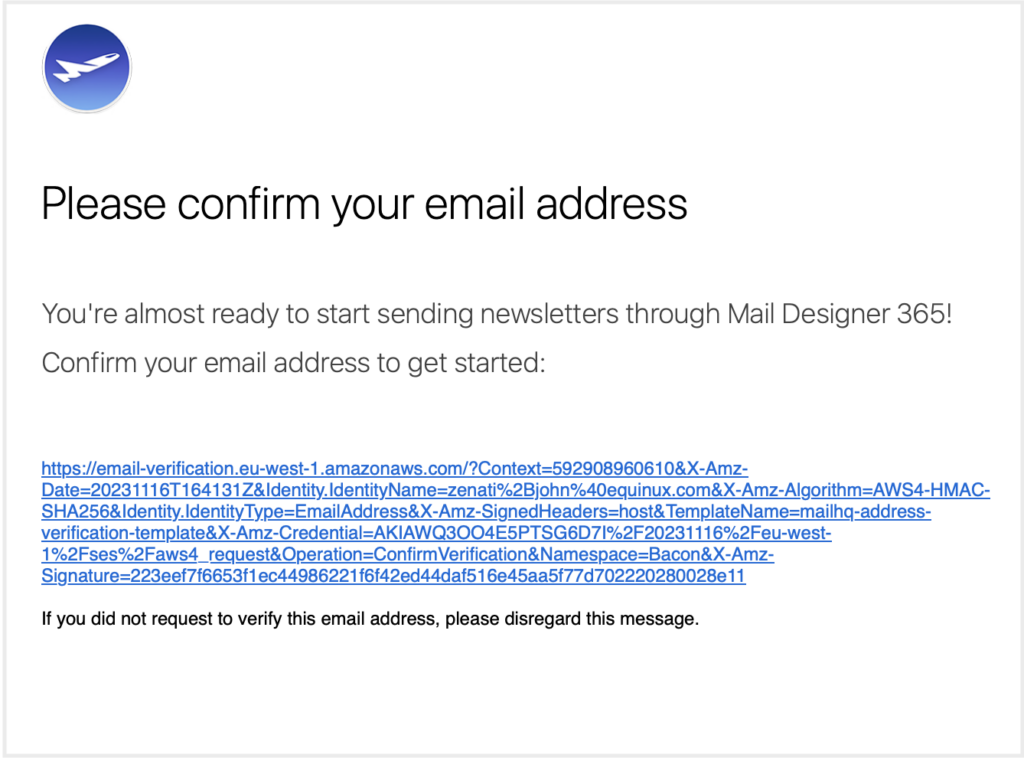
Sender address verification step for a Mail Designer 365 Testmail

If the verification message is not immediately visible, check that the address is correct and look in the inbox's spam or junk folder. Complete the verification before relying on the address for a campaign send.

Email confirmation link for verifying a Delivery Hub sender address

What to Check in a Test Email

Read the message from the top as if you were a subscriber. Confirm that the sender name, subject, and preview text fit the campaign and that the opening explains the purpose without requiring images. Check names, dates, prices, promotional terms, contact details, and any other information that could become inaccurate.

Open every link, including linked text, buttons, images, navigation, and footer links. Each one should lead to the intended current destination. If campaign parameters are included, confirm that they do not alter the destination. Also check that a primary call to action is easy to find and accurately describes what happens next.

Review the images and their relationship to the surrounding copy. Important information should not exist only inside an image. Useful alternative text provides context when images are unavailable, while decorative images should not distract from the reading order.

Review the Design on More Than One Screen

Open the Testmail on a desktop and a mobile device when possible. Look for crowded text, unexpected line breaks, small links, clipped images, and sections that feel too long on a narrow screen. A design that looks balanced in the editor can feel different inside an email application.

Ask teammates to report the device and email app when they find a problem. That detail makes feedback easier to reproduce and helps distinguish a content issue from a display difference. Keep feedback specific: identify the section, expected result, and observed result.

Send a Final Testmail After Corrections

When a reviewer requests a change, update the original Mail Designer 365 design rather than treating the received test message as the source. After all corrections are made, send a new Testmail so the team reviews the final version rather than an earlier copy.

Use the final test as a release check. Reconfirm the essential campaign details and the most important links, even if they passed before. If anything remains uncertain, resolve it in the design and repeat the affected check. Do not assume that an earlier successful test covers a later edit. Once the content, destinations, sender information, and design have been checked, you have a clearer basis for approving the campaign for its intended recipients.

Privacy Settings / Datenschutz-Einstellungen