
Add Image to Email Designs in Mail Designer 365
The add image to email workflow in Mail Designer 365 starts in the Insert sidebar. Open the image tools in the Insert sidebar and choose a photo from your Mac or the built-in Unsplash integration. Images help grab readers’ attention and quickly communicate what your email is about.
In Mail Designer 365, you can set up direct access to your Mac's Photos library or insert stock images from Unsplash.
Access Photos for Your Email Design
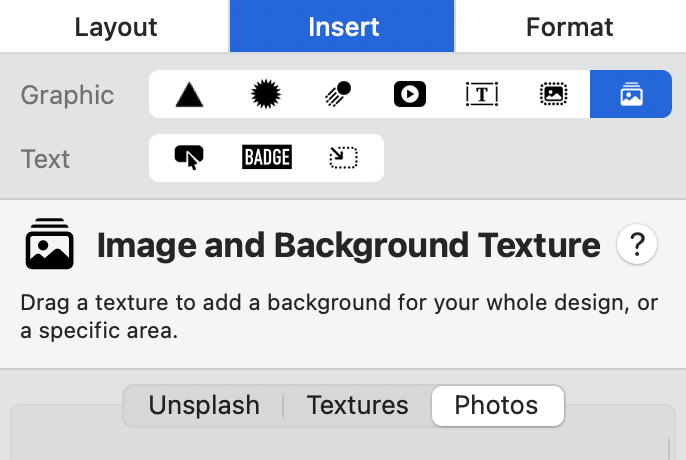
To access your own Photos in Mail Designer 365, go to Insert in the sidebar and choose Image and Background Texture. Then, switch to the Photos tab.
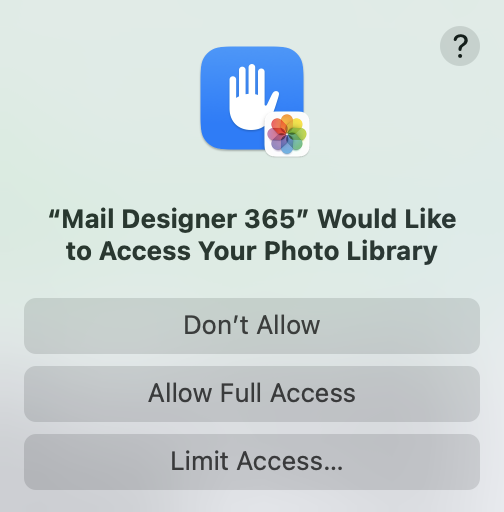
If it's your first time accessing photos, you will be shown this warning from macOS. Select the access you wish to allow in Mail Designer 365.
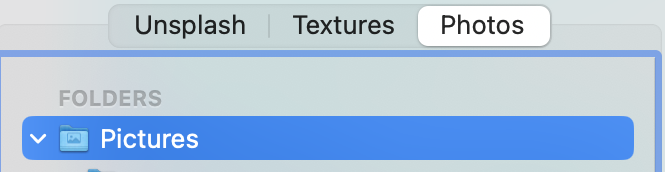
The photos tab gives you quick access to local folders that contain images, i.e. your Pictures folder:
Add the Image to Your Email
To add an image to your email, drag the photo into an image area in your design. You can then crop, resize, or replace it without changing the surrounding layout.
How Can We Help?