
- Provide a browser-friendly version for email clients that don’t support HTML
- Link to your newsletter directly from your website
- Reuse your design with other email marketing services
How to Export Email as Webpage with Mail Designer 365
Exporting your email as a webpage creates a standalone HTML file that can be opened in any browser. This is useful for sharing your design online, archiving it, or linking to it directly from your website. Mail Designer 365 makes this process quick and straightforward.
Step 1 – Open Your Design
Launch Mail Designer 365 and open the email design you want to export.
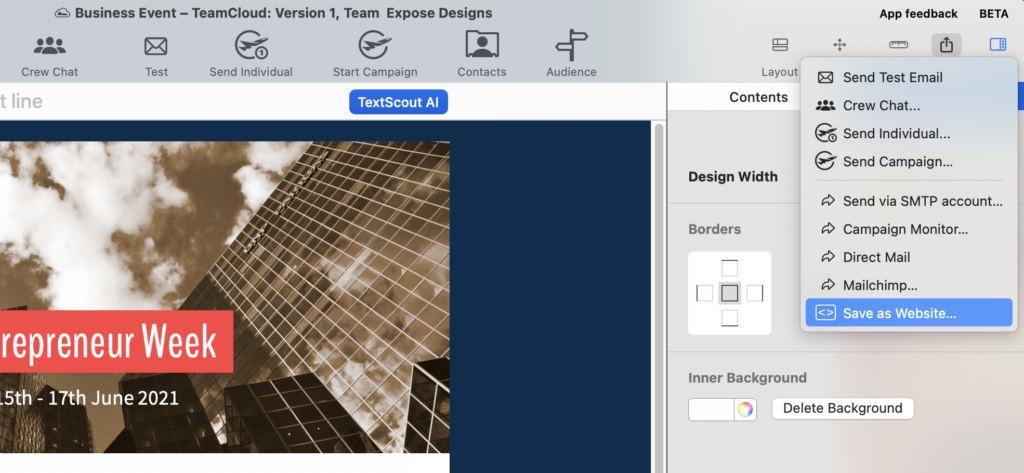
Step 2 – Start the Export Email as Webpage Process
From the toolbar, go to:
Share > Save as Website
This will open the export dialog where you can configure your export settings.
Step 3 – Select Export Location
Choose a folder where your exported website files should be saved.
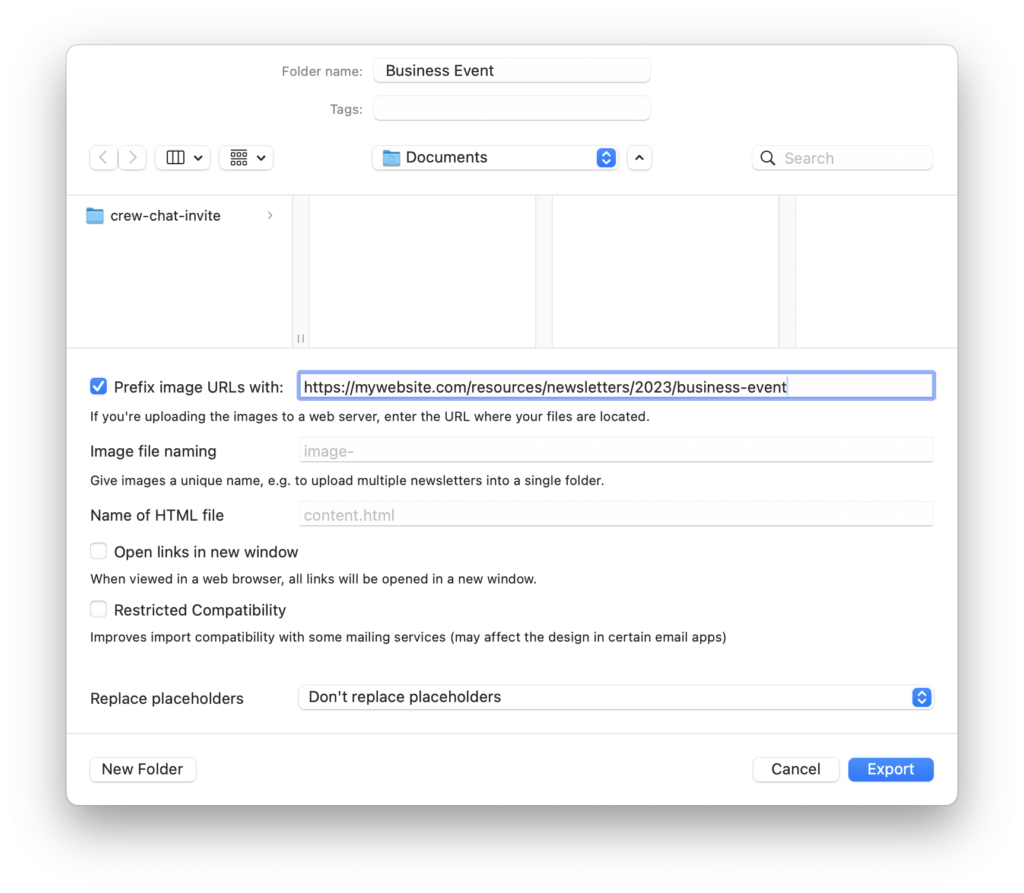
Step 4 – (Optional) Rename the HTML File
You can enter a custom file name for the HTML file into the field "Name of HTML file" (e.g., newsletter-summer-sale.html).
Step 5 – (Optional) Add Image URL Prefix
In most cases, you will upload the HTML file and images together in the same folder on your web server.
If that’s what you’re doing, simply leave this field blank and make sure the checkbox is not selected.
Only use the “Prefix image URLs with” option if your images will be hosted in a different location from your HTML file.
Example (separate hosting):
If your images are uploaded to: https://mywebsite.com/resources/newsletters/2023/business-event
You can enter that URL here, and your exported HTML will reference images like: https://mywebsite.com/resources/newsletters/2023/business-event/image-1.jpg
Mail Designer will use this prefix in all image links inside your exported HTML file.
Important: If you’re not hosting images in a different location than your HTML file and just uploading all files to the same folder, just leave this field blank. If you are using a separate image hosting location, see our tutorial for uploading your images to a separate web server.
Step 6 – Finalize and Export Email as Webpage
- An .html file of your email design
- All used image in your design
Step 7 – Upload to Your Web Server
- Upload both items to the same folder
- Make sure folder names and file paths stay exactly the same
- Link to this page from your website
- Add a “View in browser” link to your email campaigns
- Share the URL directly with your audience
If you’re not sure how to get started with uploading files, this beginner’s guide on how to host a webpage will walk you through the basics.
Many users export email as webpage to create permanent online archives of their newsletters.
How Can We Help?