
To create a custom email audience in Mail Designer 365, first add your email contacts, then group them using shared contact details and filters.
What are audiences?
An Audience is a list of contacts with shared characteristics (i.e. placeholders) which you can use to better segment your email campaigns.
For example, if you are running a promotion on kids clothing, you will logically want to inform customers who you know are interested in these products. In Mail Designer, you can set up an audience consisting of exactly these customers and send a segmented campaign. Here's how!
How to Create a Custom Email Audience
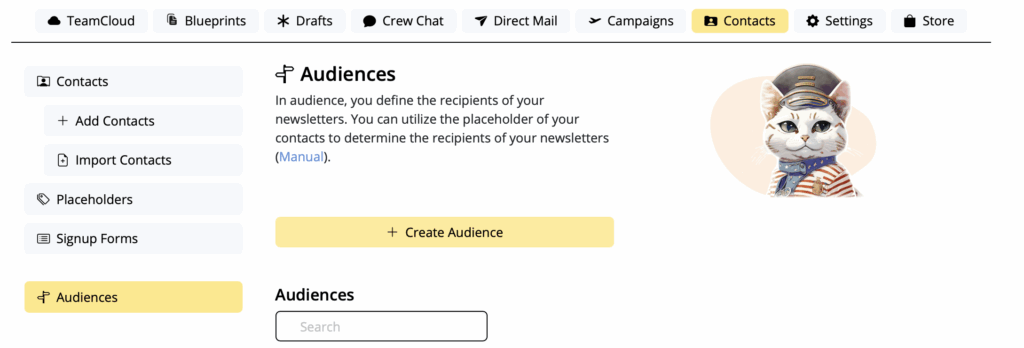
To get started, log in to your my.maildesigner365 account and go to Contacts > Audiences:
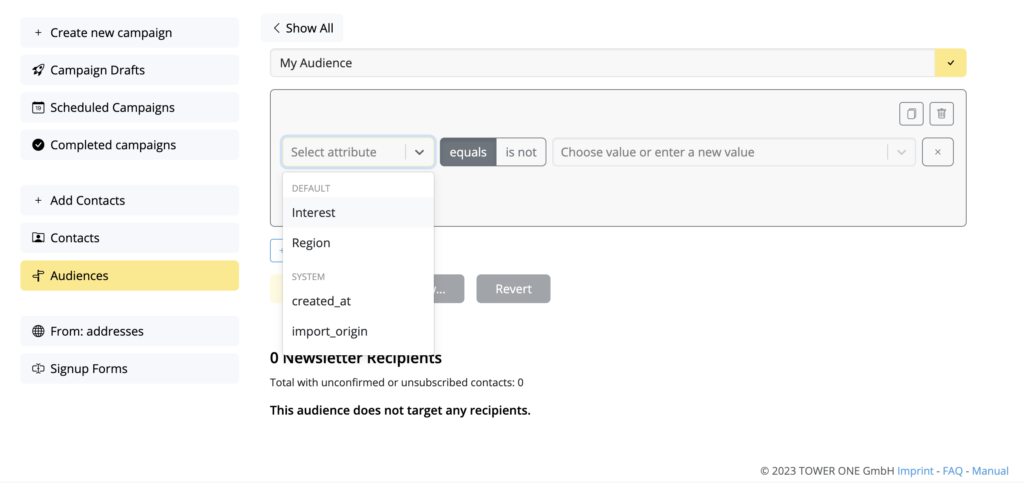
Next, click on Create audience and select a placeholder (e.g. "Interest") from the dropdown menu:
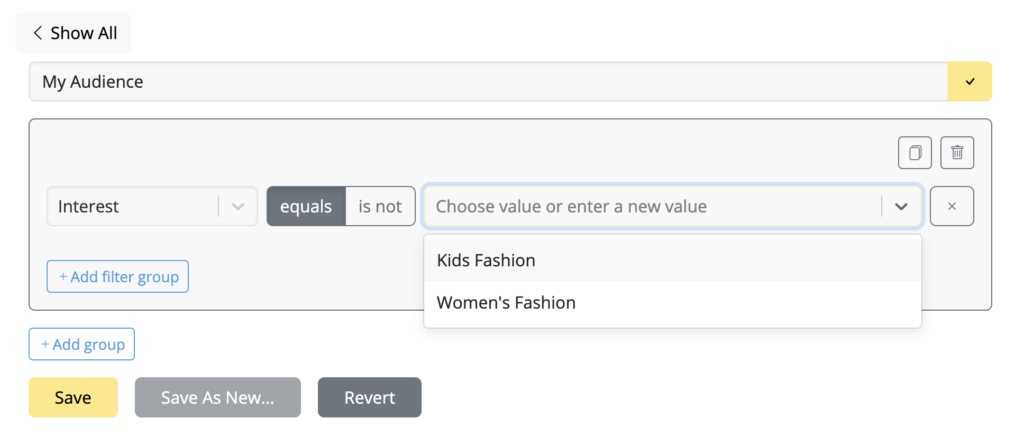
Then, using the "equals" filter, select a sub value from the next dropdown (e.g. "Kids Fashion") to filter out all the contacts you have logged as interested in kids fashion:
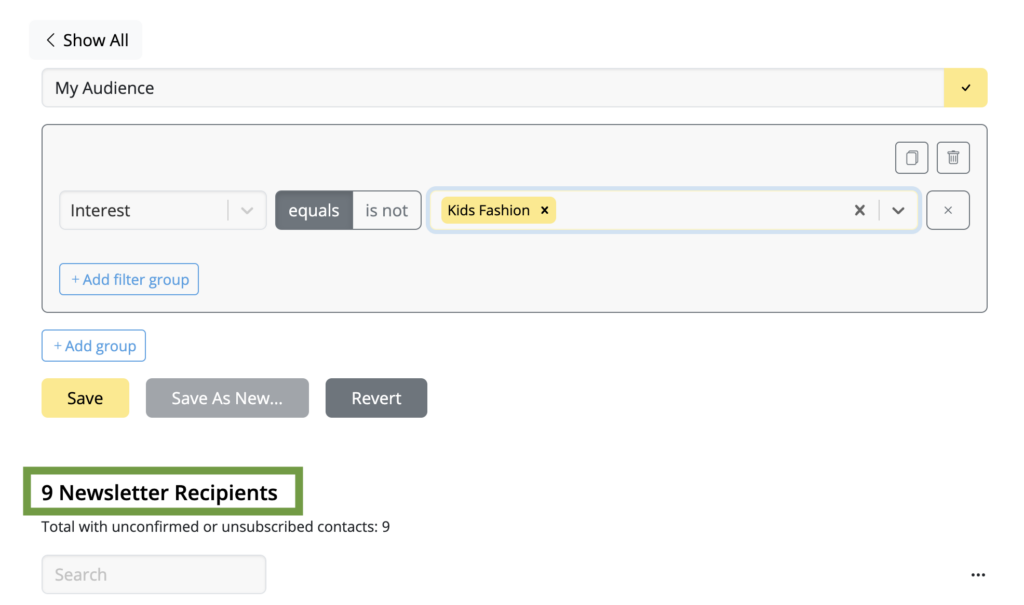
Below, you will see a count value of how many contacts match the criteria. This number will be the number of recipients in your target group:
If you choose to narrow the search down even more, e.g. to filter out customers interested in kids fashion and living in the US, you can add a further filter group.
After applying further filters, you will usually notice the number of recipients decrease as contacts who don't meet the criteria are filtered out:
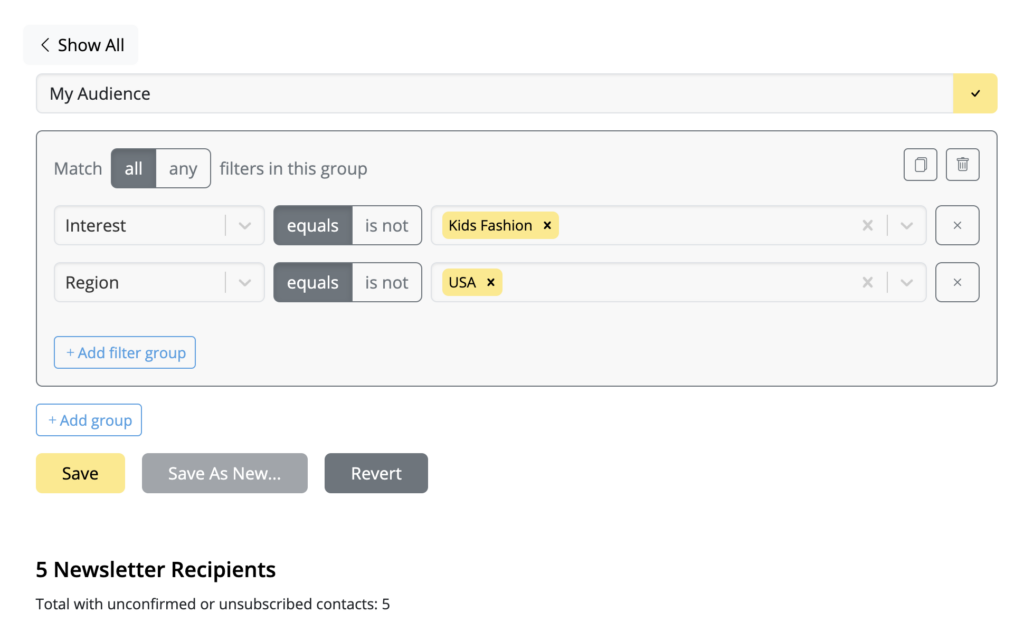
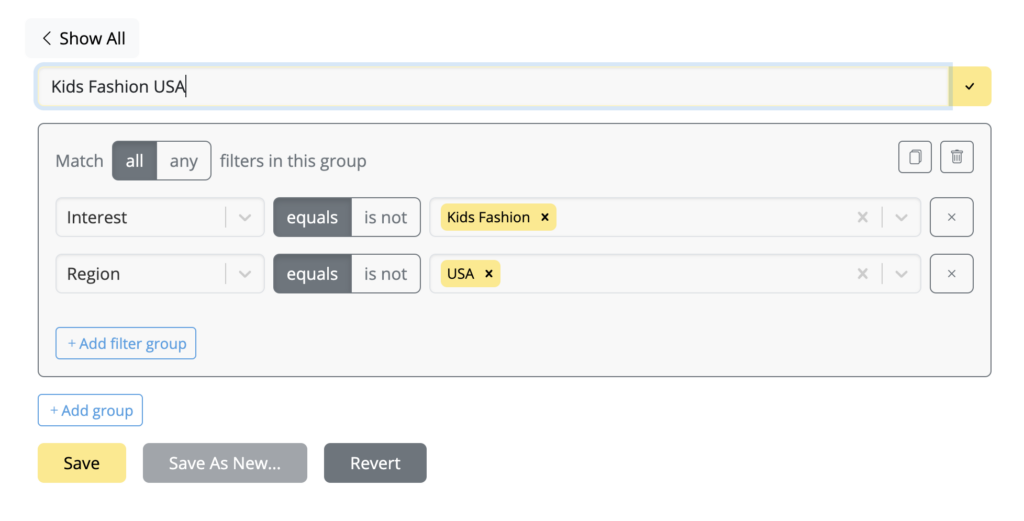
Finally, add a name for your audience so you can identify them later and hit Save:
Adding Email Contacts & Building Audiences: Tutorial Video
More of a visual learner? We've got you. Check out this video tutorial for a step by step walkthrough.
How Can We Help?