Email Template for Teams: Mail Designer 365 Blueprints

By Team equinux 1:1 Emails

Email Template for Teams: Introducing Blueprints for 1:1 Emails

Need a reusable email template for teams that sends personalized quotes, invoices, or exposés? Blueprints let you send 1:1 emails repeatedly without overwriting the original design. Everything stays intact, ensuring consistency and a smooth workflow for your whole team.

Here's how they work:

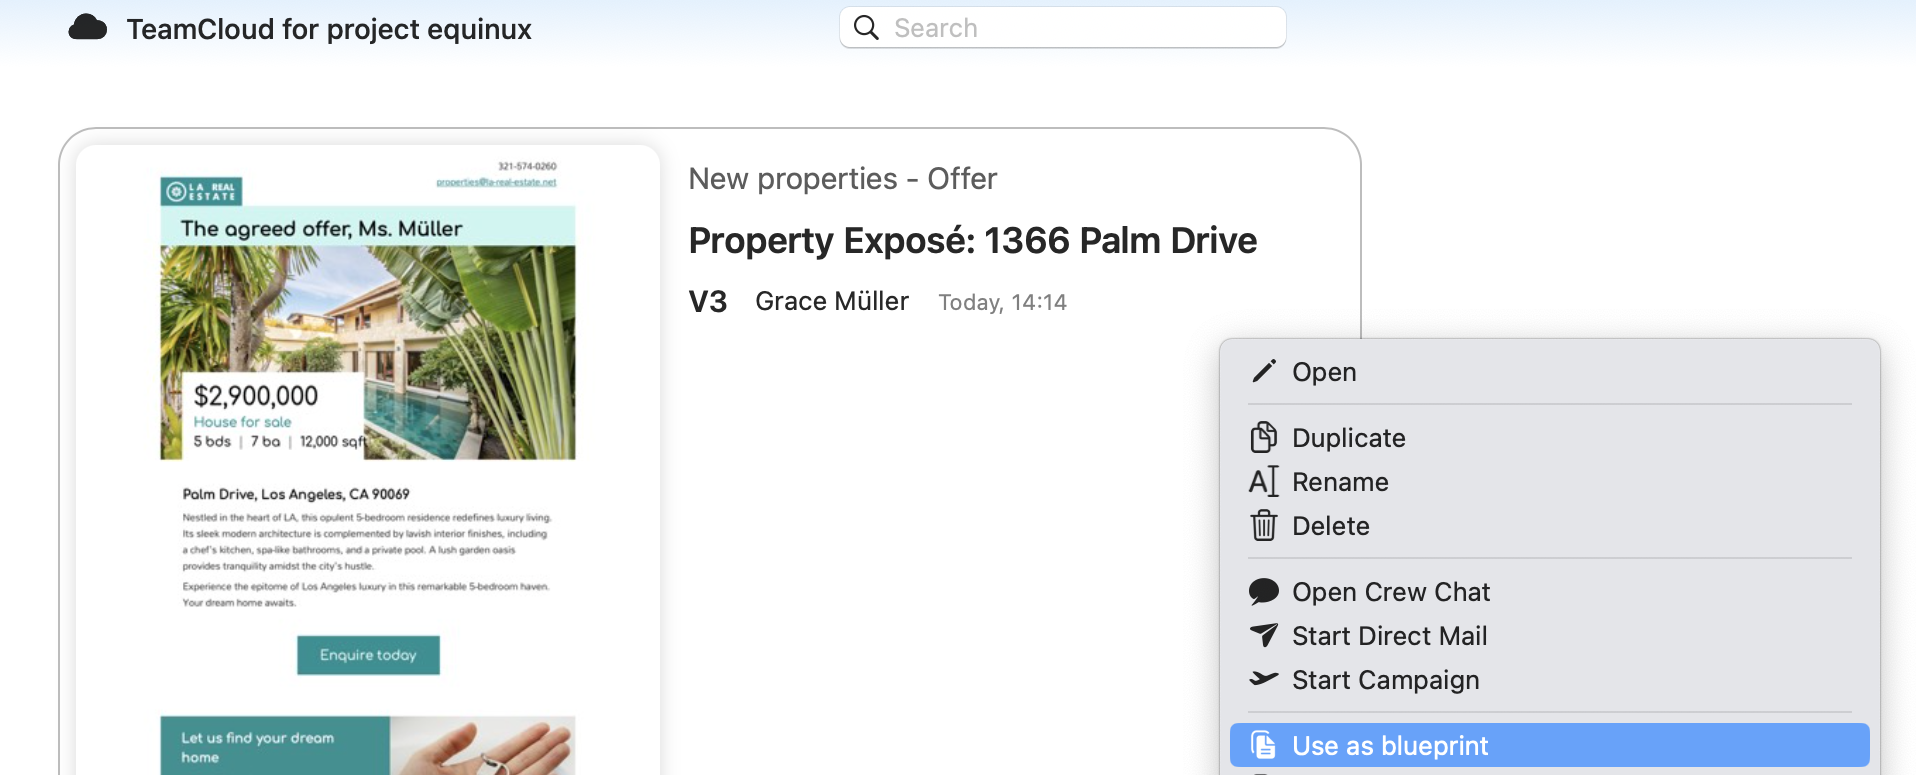
Define any TeamCloud design as a Blueprint (your team will love it: one member creates the Blueprint, and everyone can use it!)
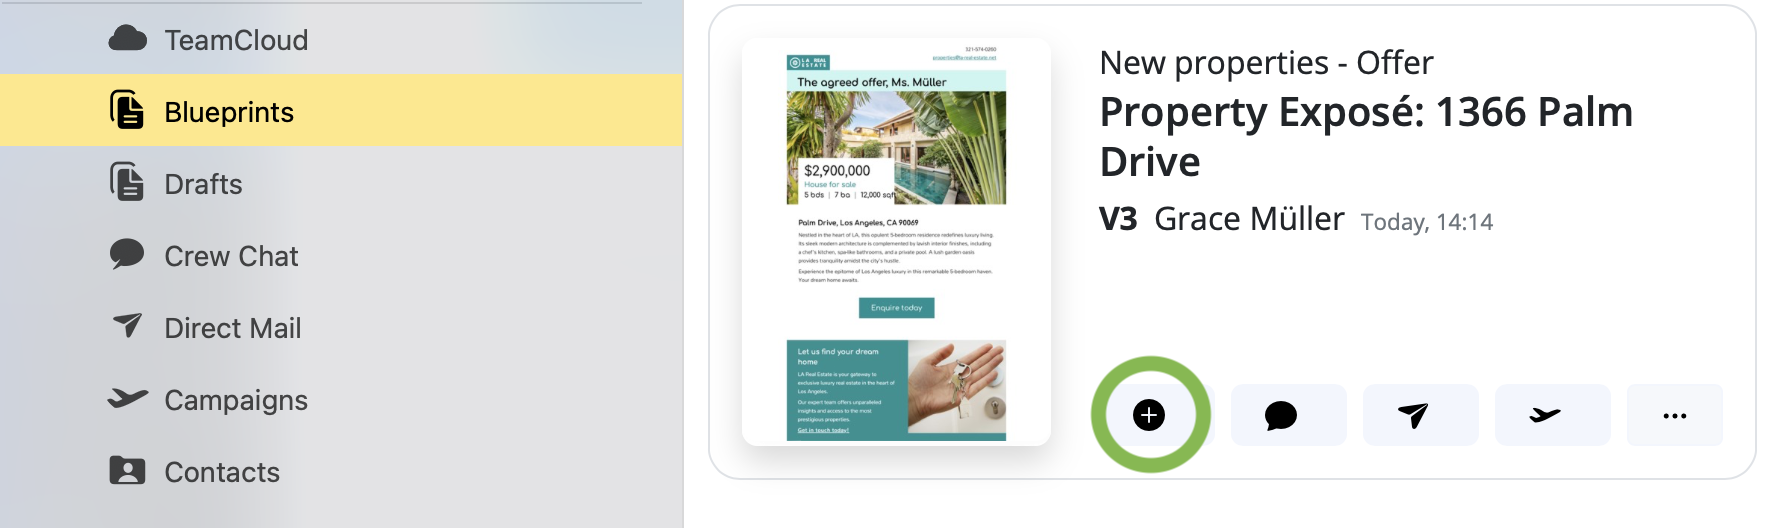
Project Blueprints are saved in their own section in the Mail Designer 365 sidebar. Just click the + to create a new design draft using your Blueprint:
Personalize your message, then hit Direct Mail to send:
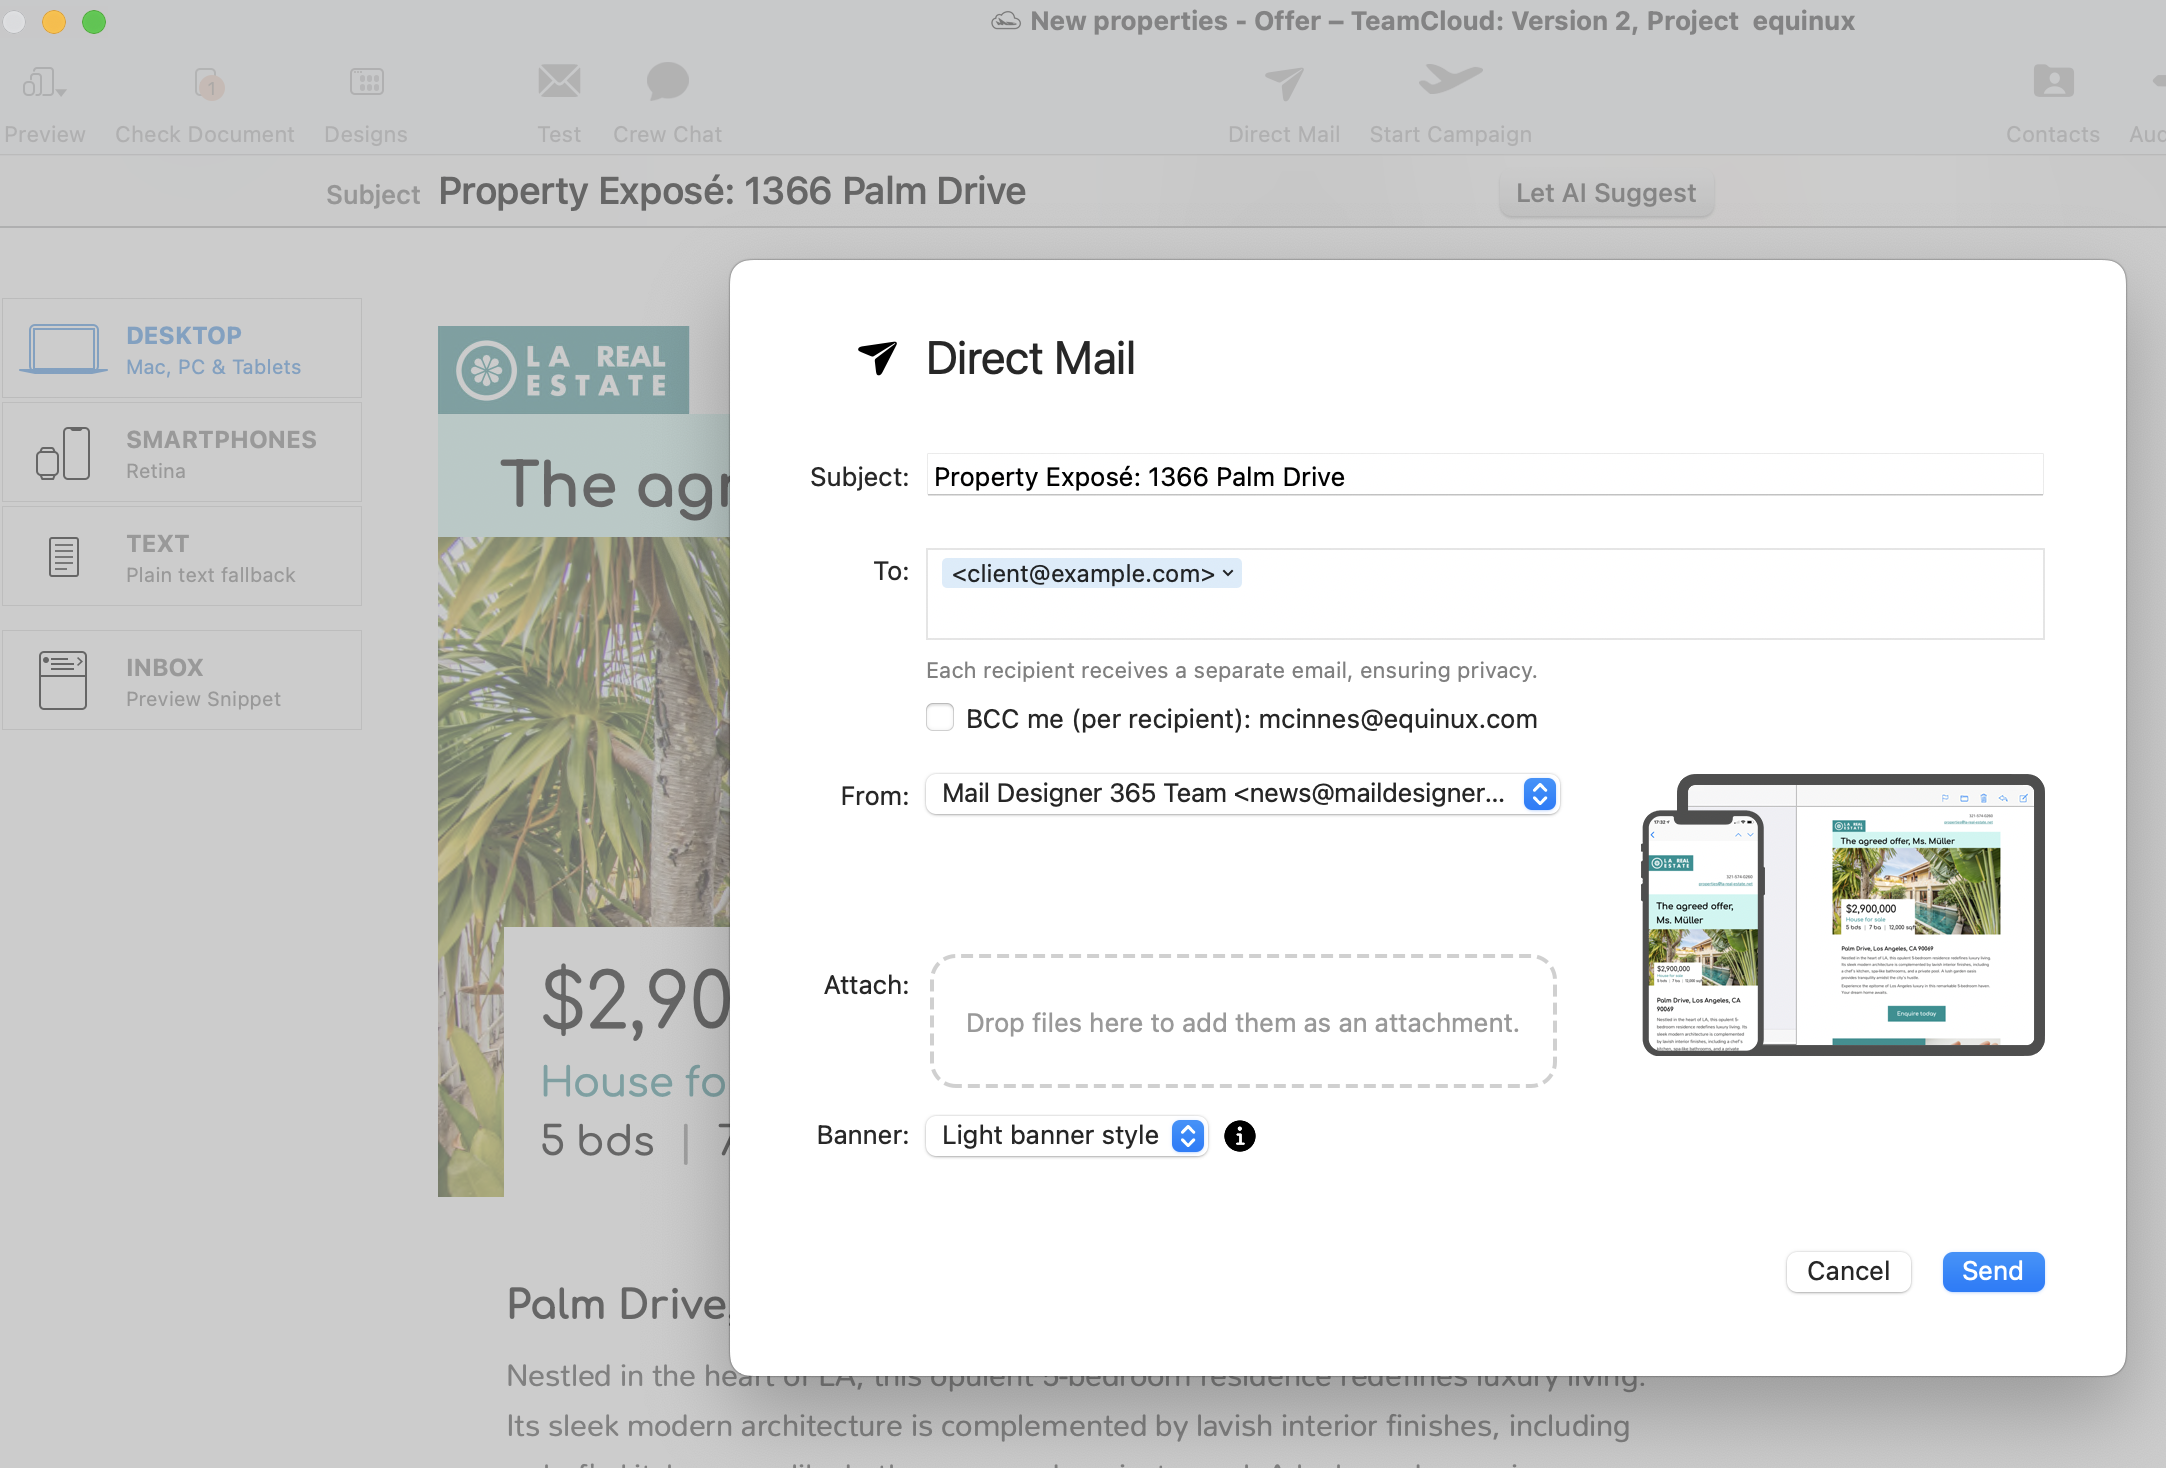
A copy of your newly created email will be saved in TeamCloud for future reference.

Need to make changes to the original?

Tweak a Blueprint at any time—update the disclaimer, change the logo, or add new content. Just choose Edit original:
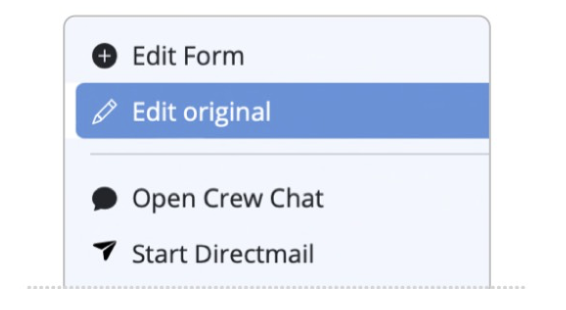
Set Up an Email Template for Teams

Start with a design that contains the shared brand elements your team needs: logo, colors, typography, legal information, contact details, and reusable layout blocks. Review the desktop and mobile versions before defining the design as a Blueprint. This creates a dependable starting point while still allowing each sender to personalize the message for one recipient.

Use clear Blueprint names so colleagues can identify the correct purpose, market, or language. A practical naming convention can include the message type, team, and region, for example “Sales Quote – Germany” or “Property Exposé – English.” Avoid creating several nearly identical Blueprints when one maintained version can serve the same workflow.

Create a Message from a Blueprint

  1. Open the Blueprints section in the Mail Designer 365 sidebar.
  2. Choose the approved email template for teams.
  3. Click the plus button to create a new design draft.
  4. Personalize the recipient-specific text, images, documents, and links.
  5. Review the subject, sender information, and mobile version.
  6. Use Direct Mail to send the finished 1:1 message.

The new email is a separate working copy, so the original Blueprint remains available to other team members. This is useful for repeatable messages such as offers, invoices, appointment information, event follow-ups, and property details.

Keep Team Email Templates Consistent

Decide which parts of the design are mandatory and communicate that guidance to everyone who uses the Blueprint. Shared elements may include the header, signature, disclaimer, privacy wording, and approved calls to action. Recipient-specific content should be easy to find and replace without changing the protected brand structure.

When a logo, disclaimer, product message, or standard contact block changes, update the original Blueprint. Tell the team when a new version is ready and retire outdated alternatives to reduce mistakes. Existing drafts do not automatically become identical to the updated original, so important changes should be checked before sending older work.

Personalize 1:1 Emails Safely

  • Replace every placeholder with accurate recipient information.
  • Check names, prices, dates, reference numbers, and attached documents.
  • Use descriptive links and confirm that each destination is correct.
  • Keep important information as live text instead of only inside images.
  • Review alternative text and the message with images blocked.
  • Remove internal notes before sending.

A reusable template improves consistency, but the sender remains responsible for the individual message. Use only recipient data that is required for the communication and follow your organization’s privacy and approval rules.

Test the Blueprint Workflow

Before rolling out a Blueprint to the full team, ask a colleague to create a draft without additional instructions. This reveals unclear placeholders, ambiguous buttons, or content that is difficult to edit. Test the design at desktop and mobile widths, then send it to representative inboxes and check the received result.

Confirm that the original Blueprint remains unchanged after a draft is created and sent. Also verify that team members can find the correct version and understand when to edit the original instead of a personal copy.

Email Template for Teams Checklist

  • The Blueprint has a clear name and defined purpose.
  • Brand, legal, and contact details are current.
  • Editable placeholders are obvious and documented.
  • Desktop and mobile layouts have been tested.
  • Links, images, and accessibility text are verified.
  • The team knows who maintains the original.

For the delivery step, follow the guide to send an email campaign with Mail Designer 365, or use Direct Mail for an individual 1:1 message.

Send Email to Individual Recipients with Direct Mail

By Team equinux 1:1 Emails

First, open the template you want to send in Mail Designer 365. The Direct Mail controls described below are only available in Template view. You can then use Mail Designer 365 Direct Mail to send email to individual recipients from the app. Each address receives a separate message, so recipients do not see one another.


To get started, click on Direct Mail in the Mail Designer 365 toolbar:

Direct Mail Button in Mail Designer Template for sending 1:1 emails

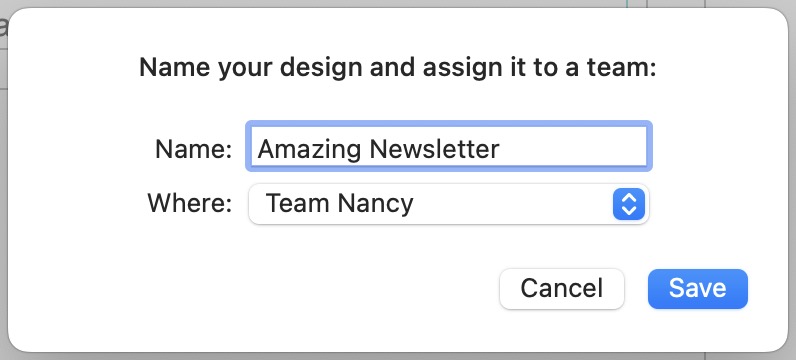
The latest version of your design will be saved. Here you can choose a name and the Team for your design.

Save Dialogue

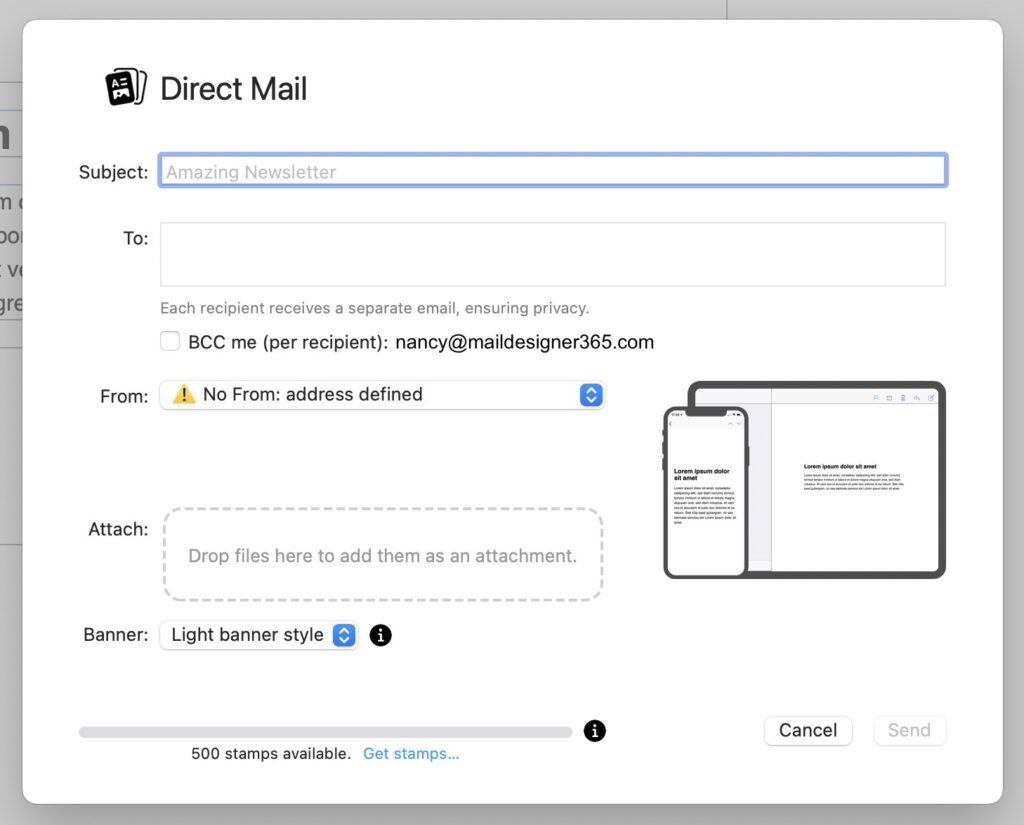
Afterwards, the Direct Mail window will open:

Direct Mail Interface


Subject

First check your email's subject. This is the subject line that will be displayed in the recipient's inbox.

Newsletter Subject

To: Field

In the To: field you can enter your recipient addresses. Either copy and paste them from a list or type them into the field manually. Contacts can be separated by: Comma ","; Semicolon ";"; "Enter" or "Tab".

To Field

Each recipient will receive a separate email. Recipients will not see each other.

BCC option

For each Direct Mail you send, you have the option to BCC yourself. You can use this to keep track of emails sent. Just select the checkmark next to "BCC me". You will receive one email for each recipient delivered to your own inbox.
BCC me option for Direct Mail

From: Address 

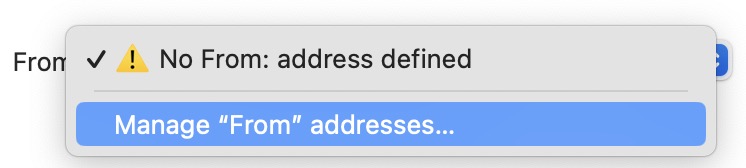
This is the address your email will be sent from. If you have already set up a From Address in your Team, it will show up here.

Once your From: Address is set up, select it in the dropdown menu.

Please note: You need to confirm your email address in order to be able to send your Direct Mail

Attachments

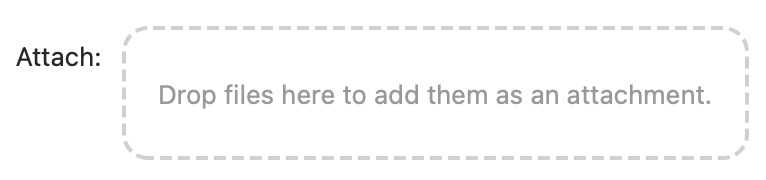
You can add attachments to your Direct Mail by dragging them into the indicated box

There is a limit of three attachments per Direct Mail and the size is limited to 20MB total.
Direct Mail attachments area

Banner

By default your Direct Mail will include a Banner for Mail Designer.Banner

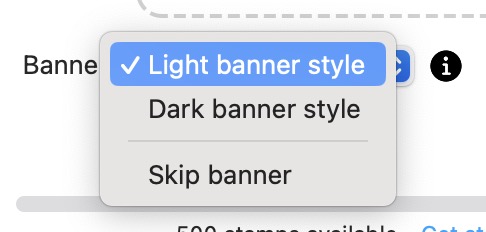
You have the option to select between a light and a dark banner, depending on your design. You also have the option to remove the banner.

Tip: Including a Banner in your Direct Mail will allow you to save Stamps!


Direct Mail banner style and removal options

Stamps

The stamps bar will show you how many stamps you will need for your Direct Mail and how many stamps you have available.

Stamps Bar


Send your Direct Mail

To send your Direct Mail, press the Send button.

Send email to individual recipients privately

When you use Direct Mail to send email to individual recipients, Mail Designer 365 creates a separate delivery for every address in the To field. Recipients do not see the other addresses. This is different from placing several people in the To or CC fields of a conventional email, where addresses may be visible to everyone.

Use this workflow for a focused message or a modest recipient list that does not require a full campaign setup. For larger newsletters, advanced list management, automated sequences, or detailed audience segmentation, use the appropriate campaign workflow or a supported email service provider instead.

Prepare recipient addresses and sender details

Check the recipient list before pasting it into the To field. Remove duplicates, correct obvious spelling mistakes, and make sure each person has agreed to receive the message where consent is required. Keep addresses in a trusted source and avoid sharing the list in screenshots, support tickets, or unprotected documents.

Choose a verified From address that recipients will recognize. Confirm the reply-to behavior with your team so replies reach a monitored mailbox. Write a clear subject line, review the optional BCC setting, and remember that selecting BCC me creates one copy for every individual delivery.

Review stamps, attachments, and the Mail Designer banner

The stamps bar shows the estimated requirement and your available balance before sending. Recheck the total after changing the recipient list, attachments, or banner option. Large attachments can make messages slower to open and may trigger inbox limits, so link to a secure web page when a file is unnecessarily heavy.

If you keep the Mail Designer banner, preview both the light and dark versions against the email background. Select the version with sufficient contrast. If you remove the banner, confirm the updated stamp total before you approve the send.

Test a Direct Mail before the final send

  1. Send a proof to yourself or an internal test address.
  2. Check the subject, From address, reply behavior, links, images, and attachments.
  3. Preview the message on desktop and mobile, including with images disabled.
  4. Confirm every recipient address and the final stamp requirement.
  5. Use the Send button only after the proof and recipient review are complete.

Troubleshooting individual-recipient delivery

If the Direct Mail window does not show the latest design, save the document and reopen Direct Mail. If a From address is unavailable, verify that it has been configured for the selected Team. If an address is rejected, remove extra spaces and separators, then check its spelling. If the stamp estimate is unexpected, recount the recipients, check whether BCC me is enabled, and review the banner selection.

If a recipient does not receive the message, first confirm that the address was included and that the send completed. Ask the recipient to check junk or spam folders and verify that the sender address is allowed. Do not repeatedly resend to an invalid or unconfirmed address.

This article owns the Mail Designer Direct Mail workflow for separate deliveries. Outlook contact groups, conventional CC/BCC instructions, full campaign sends, and provider-specific list management are separate topics and should not be conflated with this feature.

Not using Mail Designer 365 yet?

Start your 7 day free trial and use your Mac to create stylish email newsletters for your business.

Privacy Settings / Datenschutz-Einstellungen