
Image masks let you crop a photo into a decorative shape without editing the original file. Mail Designer 365 includes ready-made masks that can frame campaign images, add visual variety, and keep a repeated photo style consistent across an email design.
What are image masks?
A mask controls which part of a picture remains visible. The photo fills the masked area while everything outside the selected shape is hidden. You can then zoom or reposition the photo inside the frame to choose the most useful crop.
Use image masks when the shape supports the message and does not make important details difficult to see. A simple rectangular image area is often better for screenshots, text-heavy graphics, or product images that must remain completely visible.
Choose and add an image mask
- Open Insert in the Mail Designer 365 sidebar.
- Select the Masks tab to browse the available designs.
- Choose a shape that fits the visual style of your campaign.
- Drag the mask into the intended position in your email design.
- Resize it proportionally and check the spacing around nearby text and graphics.
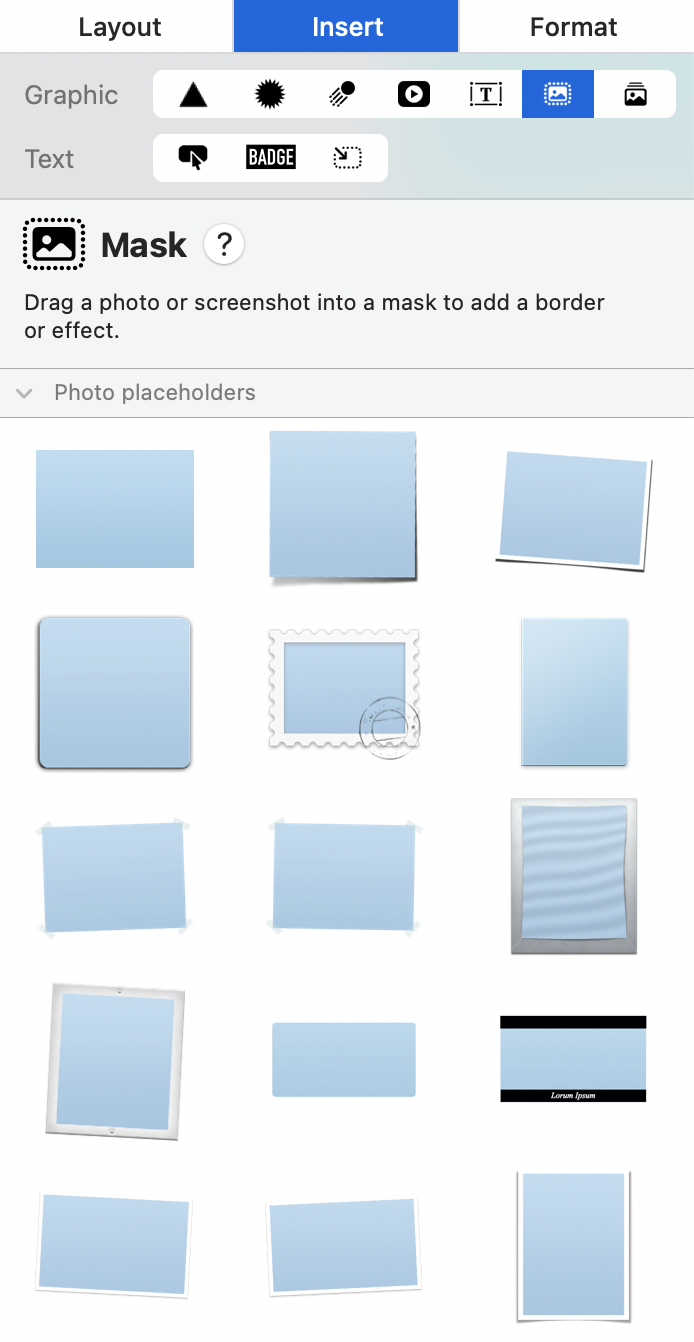
A mask begins as an image placeholder. After placing it, drag your own photo onto the shape to fill it. If you need a detailed walkthrough of that step, see how to fill an image mask with a photo.
Adjust the photo inside the mask
Double-click the masked image to activate its editing controls. Use the image zoom slider to enlarge or reduce the photo inside the fixed shape. Drag the photo to reposition the subject and keep the most important area visible.
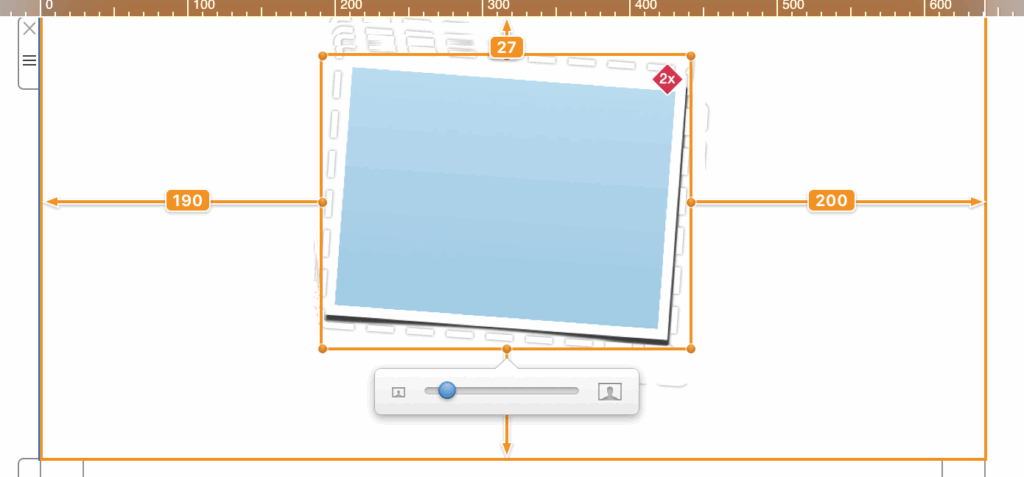
Avoid zooming so far that a low-resolution photo becomes soft or pixelated. If the crop feels too tight, reduce the zoom, reposition the subject, or select a mask with a wider aspect ratio. The original picture remains available, so these adjustments do not permanently crop the source file.
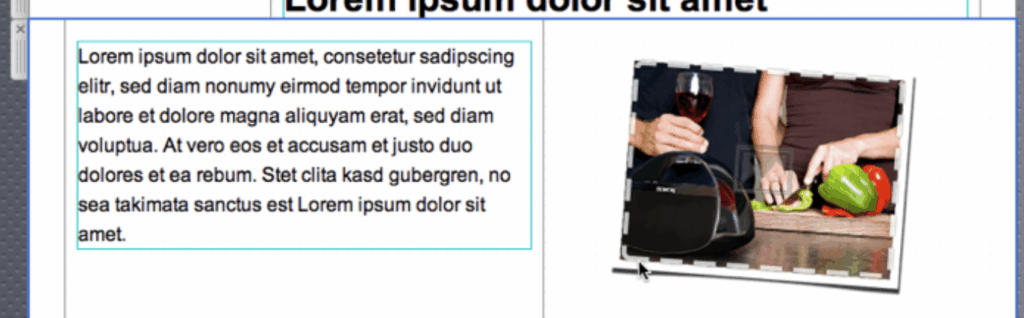
Choose a mask that supports readability
Decorative frames should support the campaign rather than compete with the headline or call to action. Keep busy shapes away from dense copy and leave enough whitespace around the masked photo. If the image contains a face, product, or logo, choose a crop that preserves that focal point.
Use a consistent mask style when several photos appear in the same design. Repeating similar shapes, sizes, and spacing creates a clearer rhythm than mixing many unrelated frames. For additional image preparation options, review the guide to using the image optimisation tool.
Replace or resize a masked image
To replace the picture, drag a new image onto the existing mask and check the crop again. Different photos have different focal points and proportions, so the previous zoom and position may not suit the replacement.
When resizing the mask, maintain its proportions unless the design specifically requires another shape. Review the photo after every size change because a crop that works in a large desktop layout may hide important details in a smaller block.
Check desktop and mobile layouts
Preview the complete email at desktop and mobile widths. Confirm that the mask remains large enough to understand, does not overlap nearby content, and keeps the subject visible. If the mobile crop becomes unclear, use a simpler shape, a wider source image, or a separate mobile arrangement.
Send a test email and inspect the rendered image in more than one email client when possible. Verify image quality, spacing, alignment, link behavior, and fallback alt text. This catches scaling differences that may not appear on the design canvas.
Troubleshoot image-mask problems
If a photo does not fill the shape, confirm that it was dropped directly onto the mask rather than beside it. If the subject is cut off, double-click the image and adjust zoom and position. If the result looks blurry, use a higher-resolution source file or reduce the zoom level.
When a mask is difficult to select, choose it from an unobstructed edge or temporarily move overlapping objects. Undo accidental changes, then repeat the adjustment carefully. Finish by checking the image masks within the complete campaign so their crops, spacing, and visual weight remain consistent from the opening section to the final call to action.
How Can We Help?