
Alignment & distribution tools help you place graphics, text styles, shapes, and other design elements precisely inside an image area. Mail Designer 365 provides separate controls for aligning one object to its container, aligning several selected objects to one another, and distributing three or more elements with equal spacing.
Find the alignment controls
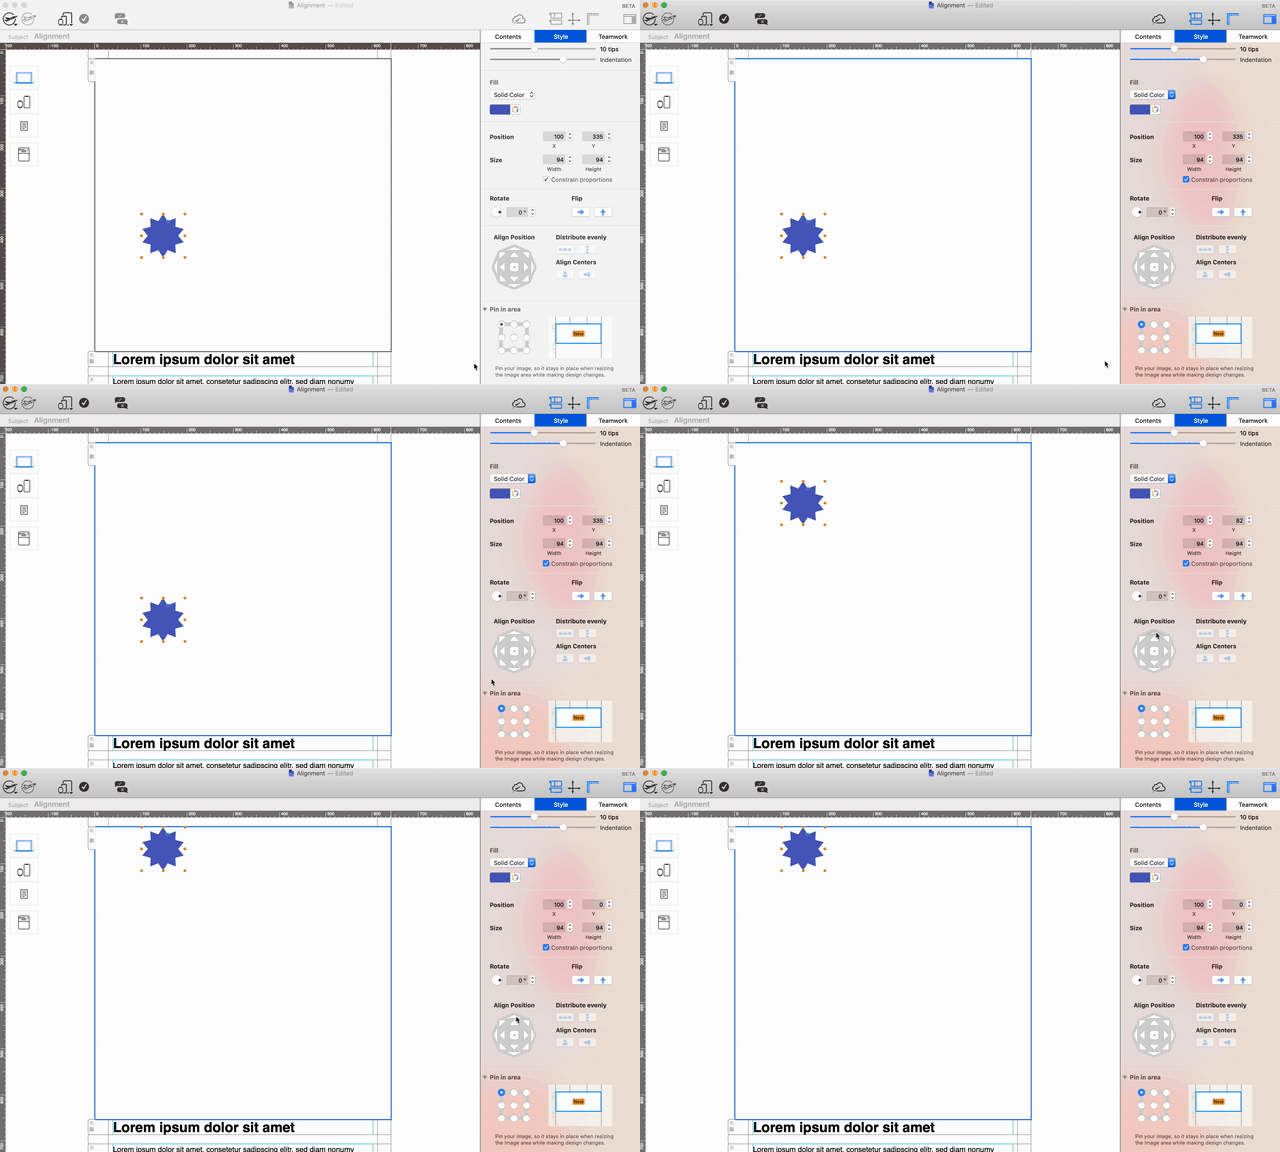
Select a design element such as a shape, image, or text style. The alignment controls appear in the Style section of the app sidebar. If you do not see them, confirm that an individual object inside an image area is selected rather than the complete layout block.
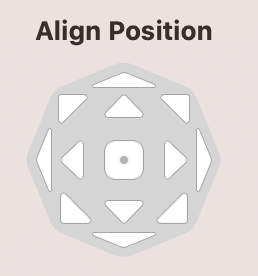
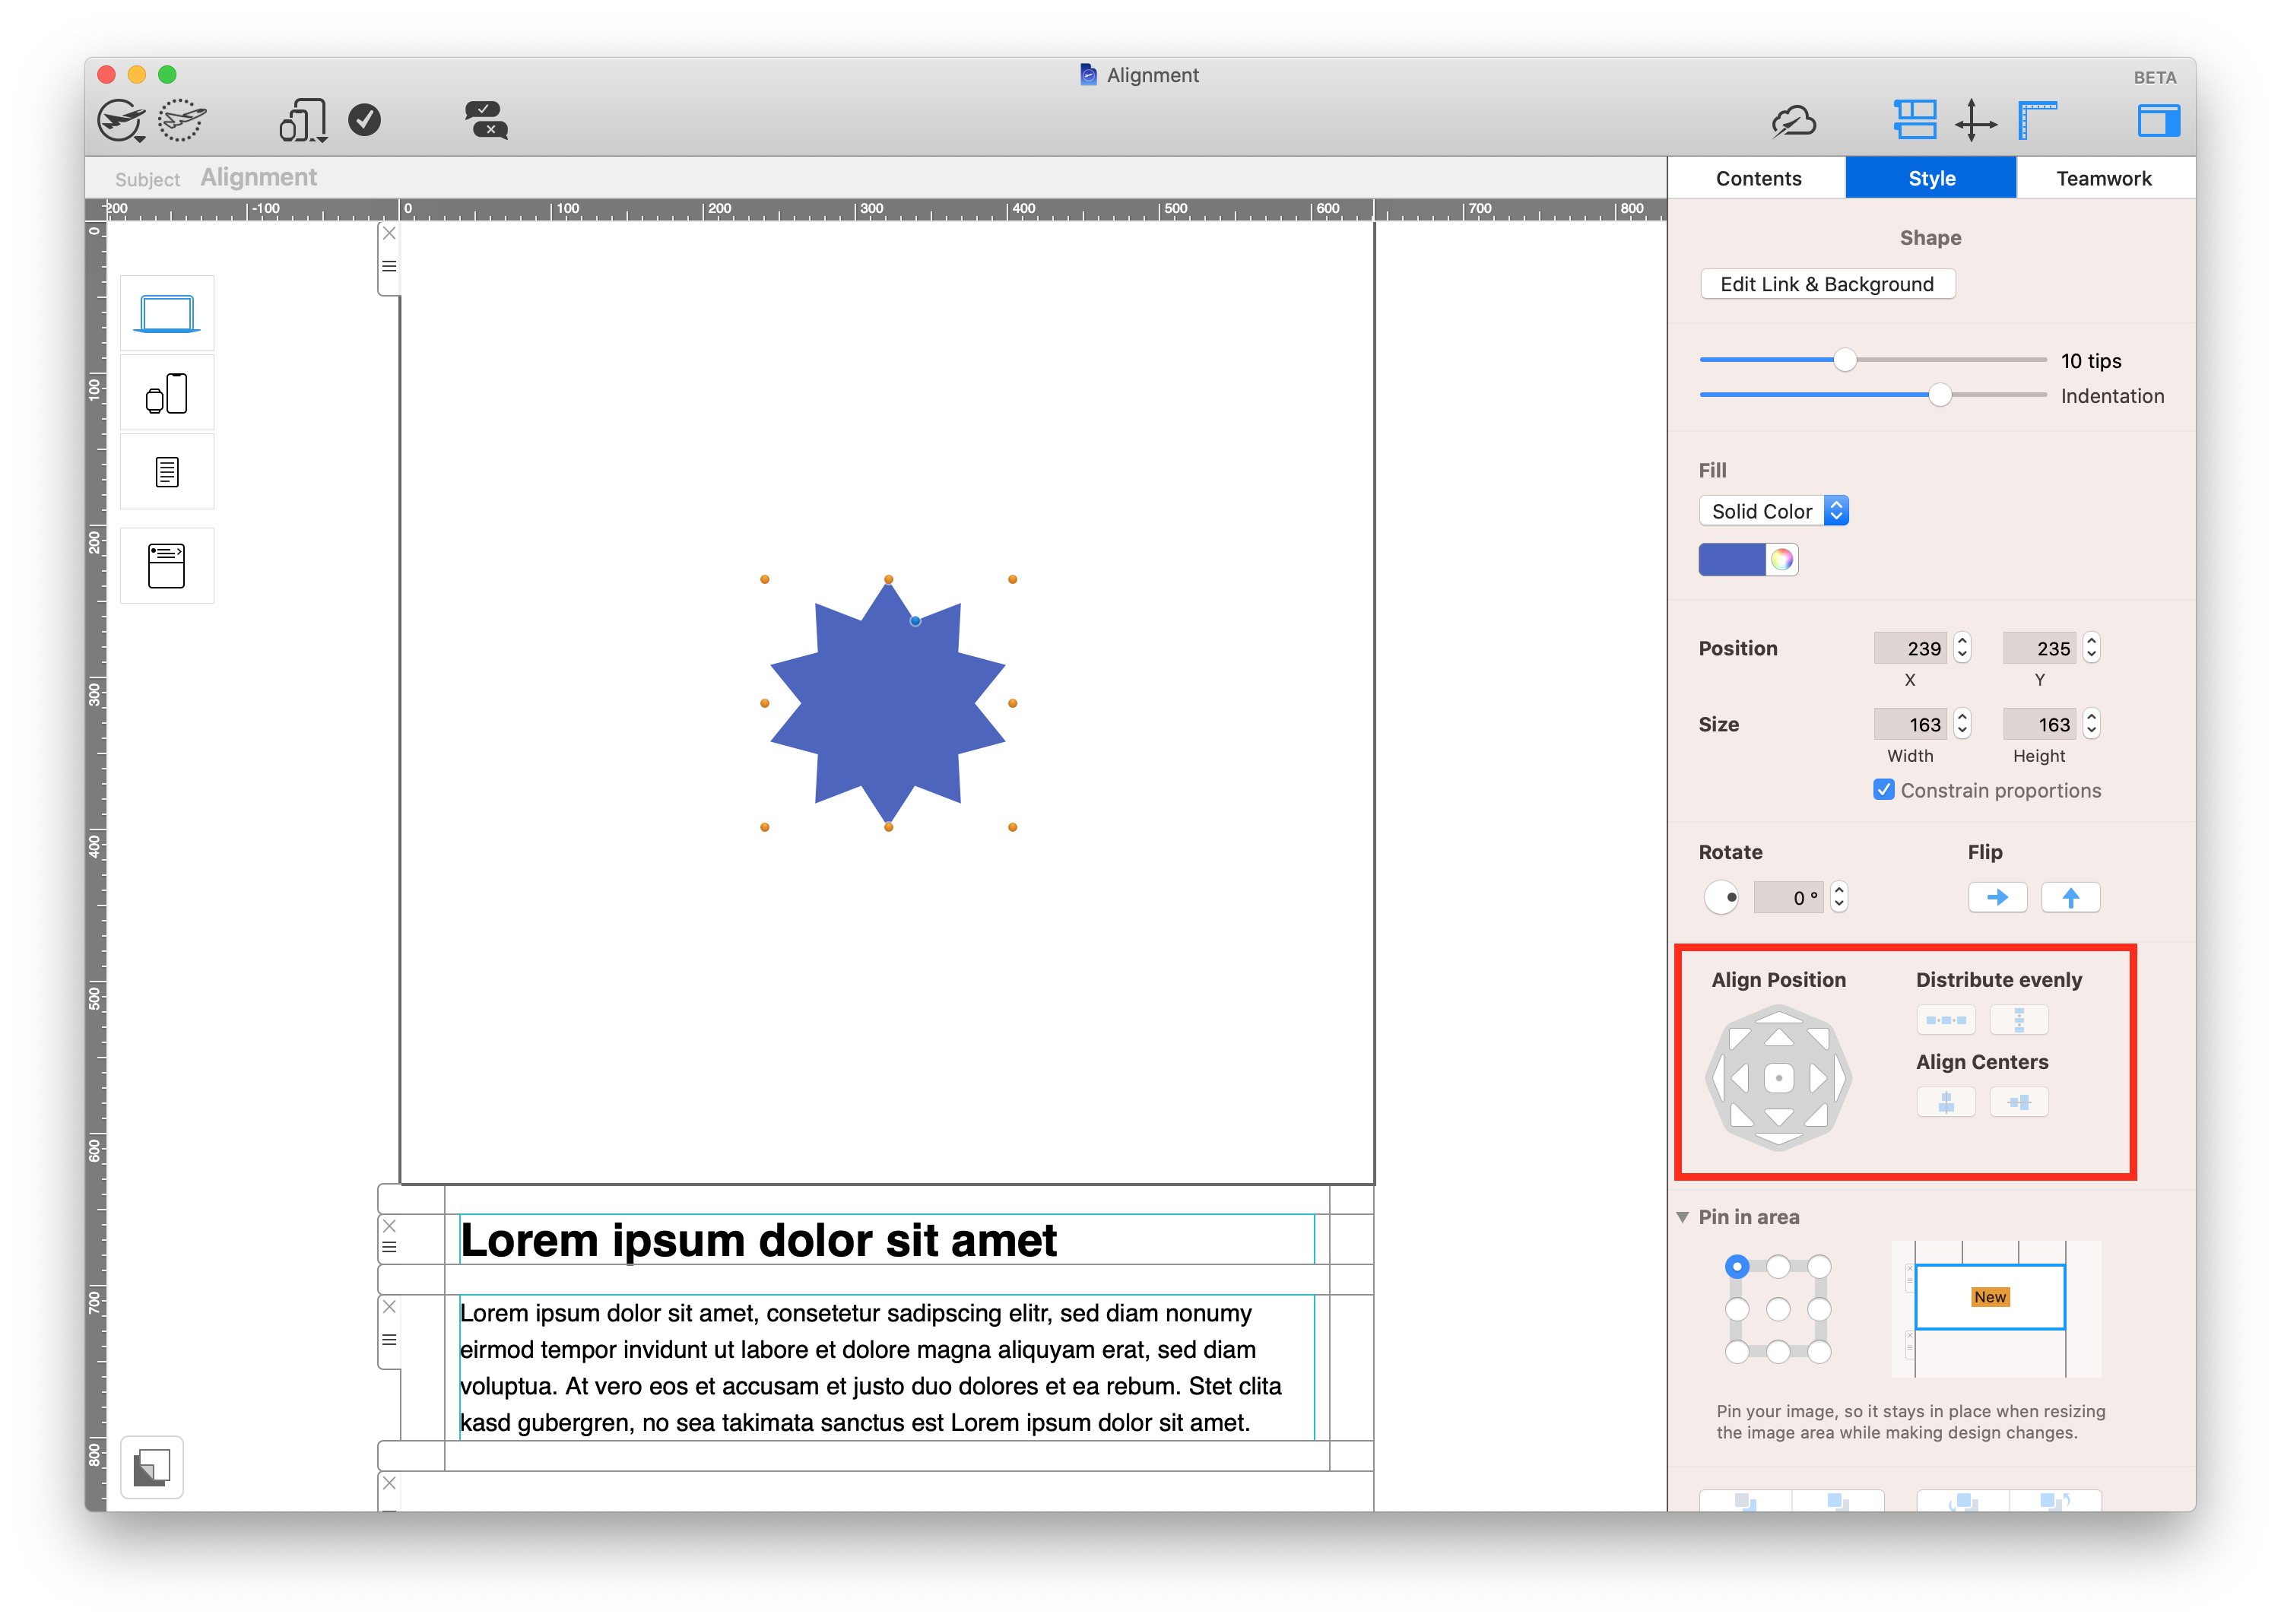
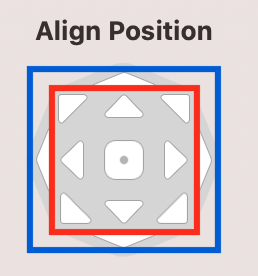
Understand inner and outer alignment
The control panel contains an inner set of buttons and an outer set. The inner controls center the selected element on the corresponding axis. The outer controls move it to the top, bottom, left, or right edge of the image area without automatically changing the second axis.
For example, use an inner control to center an object horizontally, then an outer control to move it to the top edge. This keeps the horizontal center while changing its vertical position.
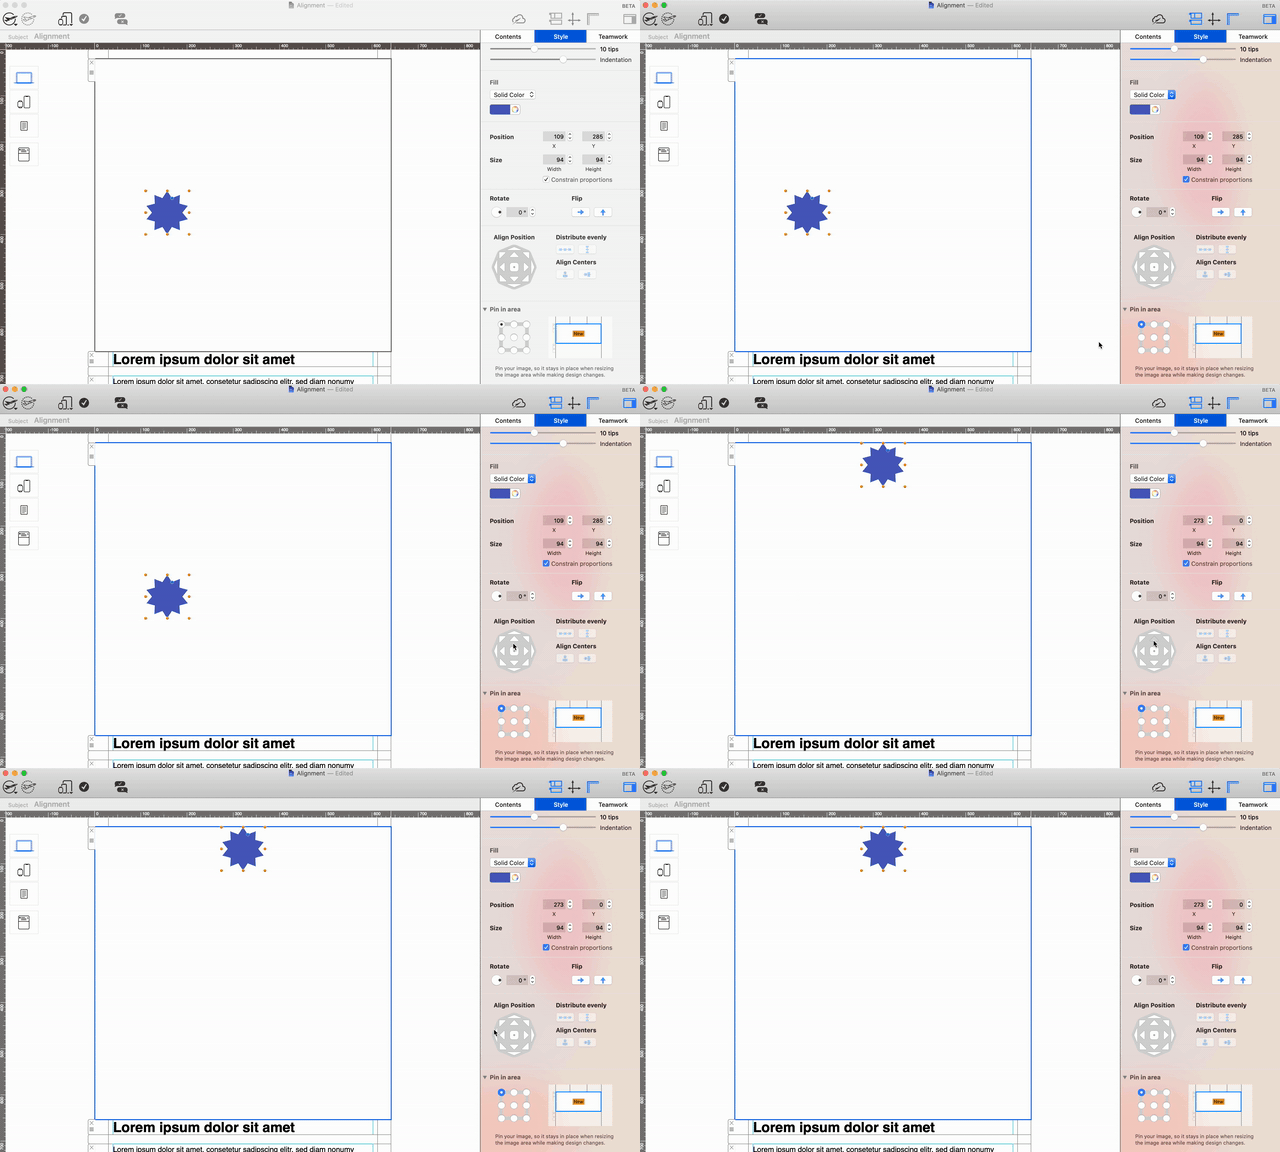
The outer controls are also useful when a logo, badge, or decorative shape must sit flush with one side of the container.
Align multiple design elements
Hold the Command key and select the objects you want to align. Once several elements are selected, choose an alignment direction. Mail Designer 365 uses the selection as the reference, so the objects form a clean shared edge or center line.
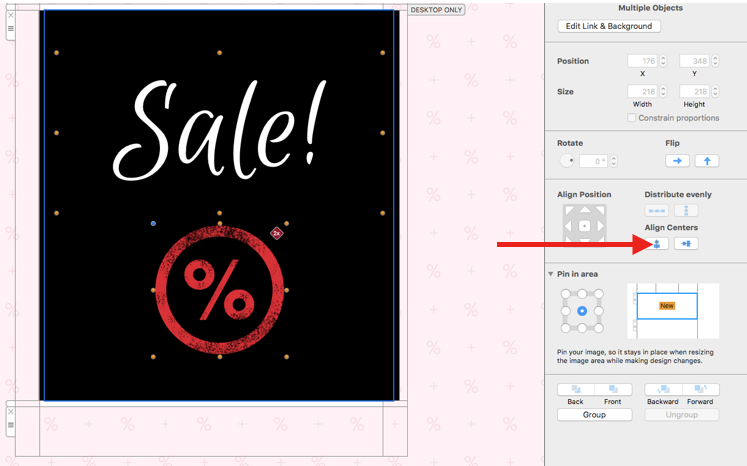
Use vertical alignment when elements should share a left edge, right edge, or horizontal center. This is useful for logos, icons, and labels stacked within the same image area.
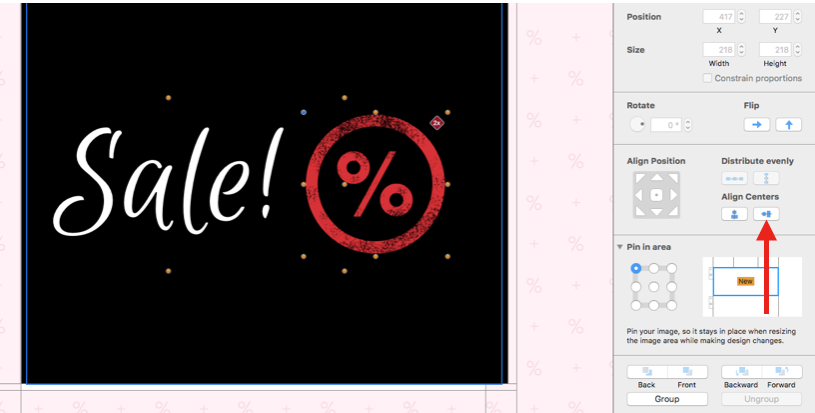
Use horizontal alignment when objects should share a top edge, bottom edge, or vertical center.
Distribute three or more objects evenly
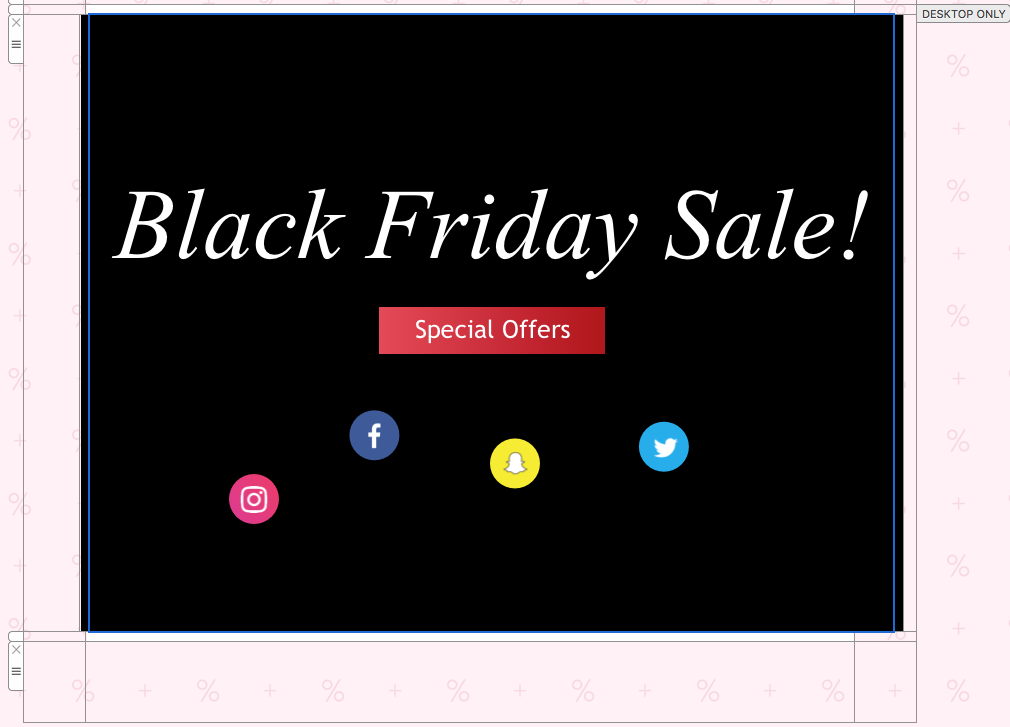
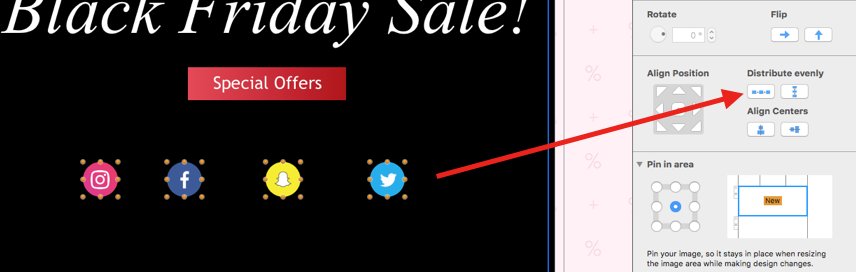
Distribution creates equal spacing between at least three selected elements. It works well for social icons, repeated badges, product markers, or text styles used as a short list. First place the outer objects where the group should begin and end, then select the complete group and apply distribution.
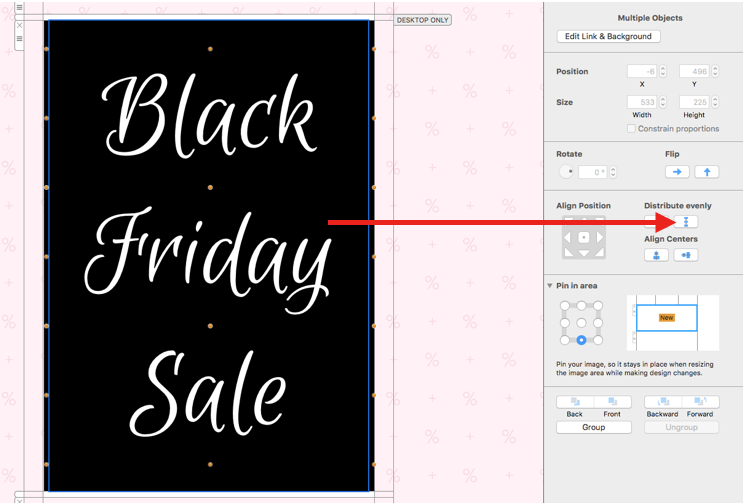
For a vertical group, distribute the selected objects from top to bottom:

For a horizontal group, distribute the objects from left to right:
Choose alignment before distribution
Align the selected elements on the relevant axis before distributing them. For a horizontal row of icons, first align their vertical centers, then distribute them horizontally. For a vertical list, align the left edges or horizontal centers before applying vertical distribution.
If objects overlap, arrange their layer order first. The guide to moving objects to the front or back explains how to correct stacking without changing alignment.
Check desktop and mobile layouts
Preview both layouts after using the alignment & distribution tools. Equal spacing on a wide desktop image area may feel too loose on a phone. Confirm that icons remain large enough to understand, labels do not overlap, and the group stays inside the available area.
Send a test email and review the arrangement in desktop and mobile email clients. Check visual spacing, image scaling, and any links attached to the aligned objects.
Troubleshoot alignment problems
If a control moves an object in an unexpected direction, undo the change and confirm whether you selected an inner or outer button. If several objects do not align together, hold Command and verify that every intended element is visibly selected.
Distribution requires at least three elements. If the spacing still looks uneven, confirm that the first and last objects define the desired range and that hidden or overlapping elements are not included. For repeated elements, the guide to adding and duplicating graphics and shapes can help you build the group before aligning it.
Use these alignment & distribution tools as the final precision step after objects have the correct size, content, and layer order. That sequence keeps the layout predictable and makes later edits easier to verify.
How Can We Help?