
How to Add an Email Border in Mail Designer 365
An email border created with the Mail Designer 365 border tool adds a clear outline to images and shapes without editing the original artwork in another app. Borders can separate a photo from a similarly colored background, create a framed-card effect, or add a consistent visual detail across several design elements. The steps below explain where to find the controls and how to choose an appropriate width, color, and style.
1. Select an image or shape
Insert an image or shape into an image area, then select that design element. In this example, the selected photo comes from Unsplash. Work on one element at a time so that the border settings are applied only where you intend them to appear.
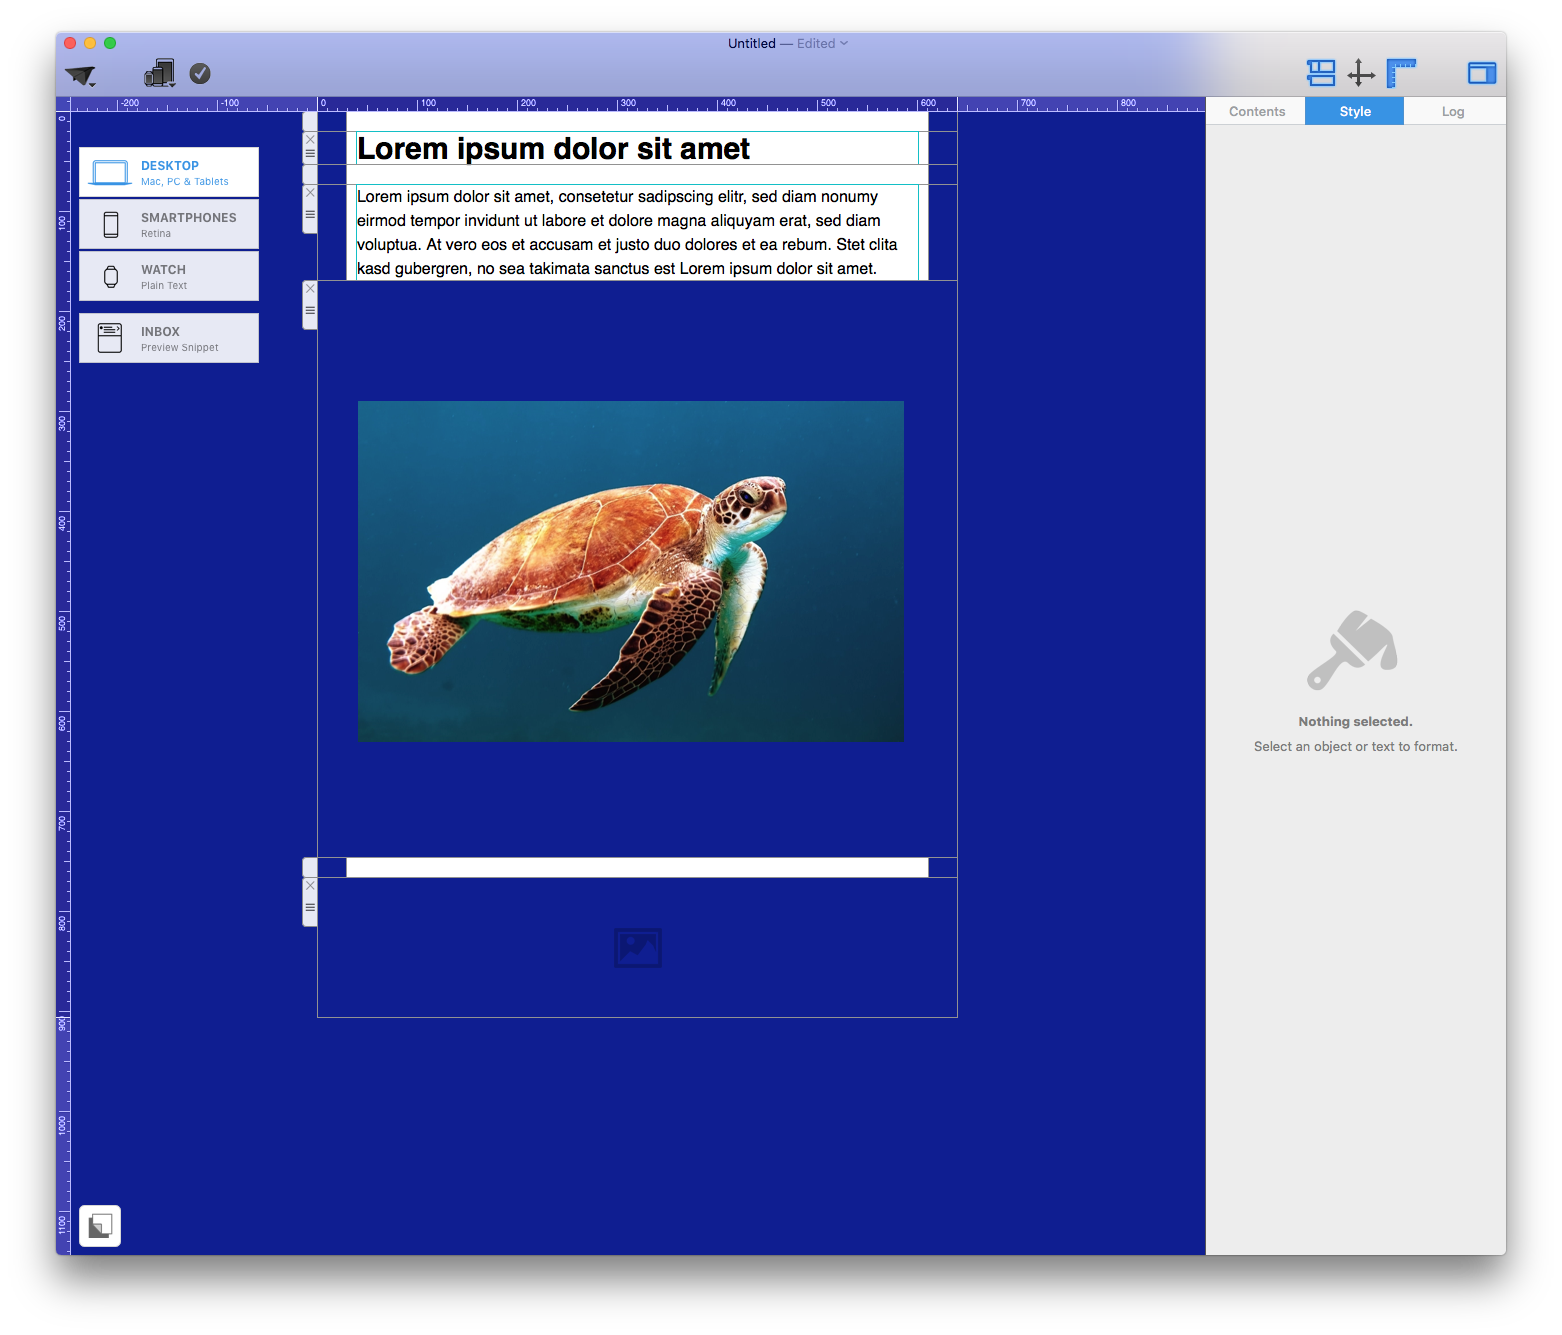
2. Open the border controls
With the image or shape selected, open the Style menu and locate the border controls. If the controls are not visible, confirm that the correct design element is selected. Text areas and layout blocks use different settings, so selecting the image or shape itself is important.
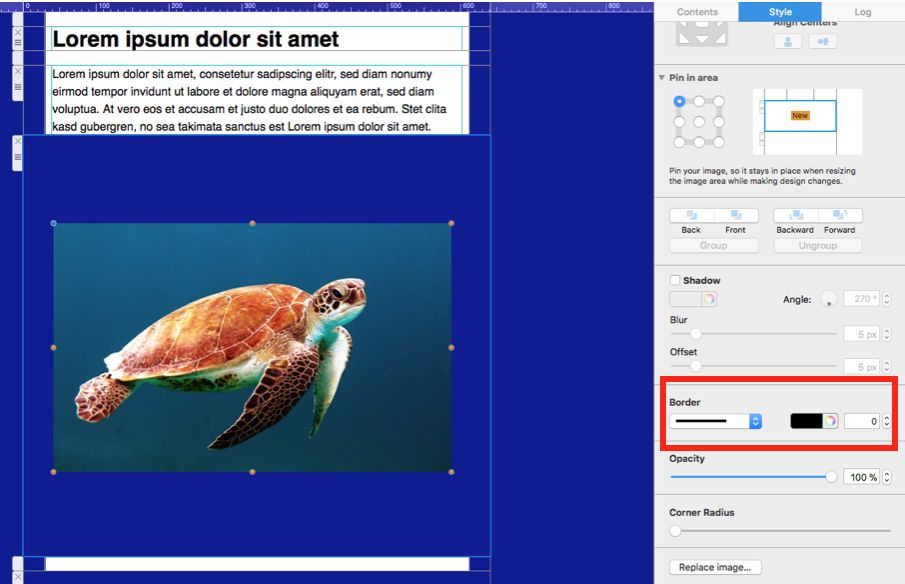
3. Set the border width
Use the arrows to increase or decrease the width, or enter a value manually and press Return. Start with a subtle width and preview the result at the size recipients will actually see. A border that looks balanced on a large desktop canvas can feel heavy on a smaller email layout. When several elements belong to the same group, reuse the same width to create a consistent visual system.
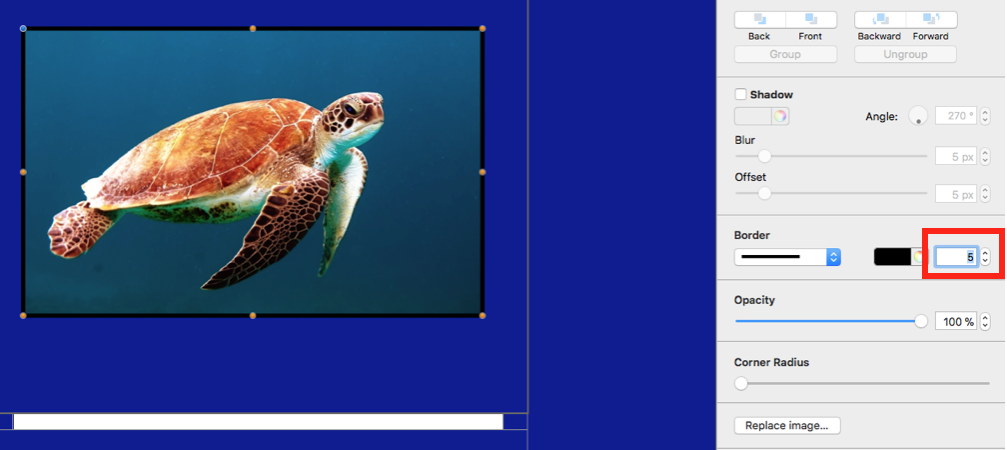
4. Choose a border color
Open the color picker and select a color that supports the design rather than competing with it. A neutral shade can define an image gently, while a brand color can connect the element to buttons, headings, or other campaign accents. Check the result against the surrounding background and keep sufficient contrast so that the edge remains visible.
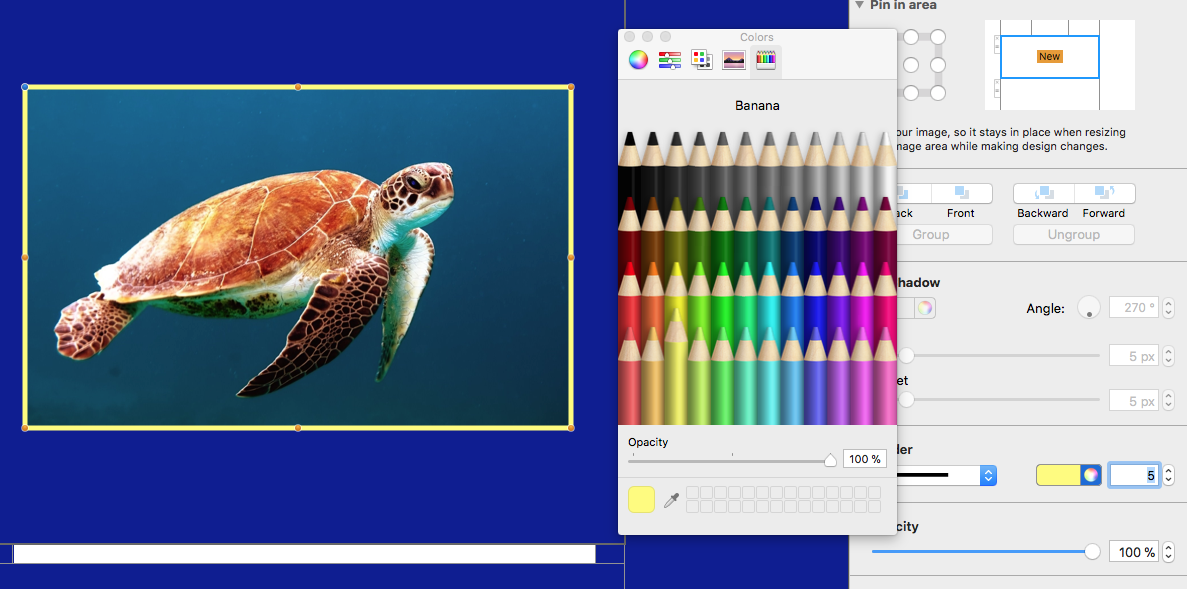
5. Select a border style
Choose a border style from the menu to complete the effect. Solid borders are usually the most versatile option for product images, cards, and callouts. Alternative styles can work for invitations or decorative campaigns, but use them consistently and avoid mixing too many treatments in one email.
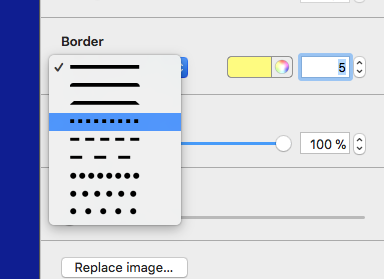
Border style examples
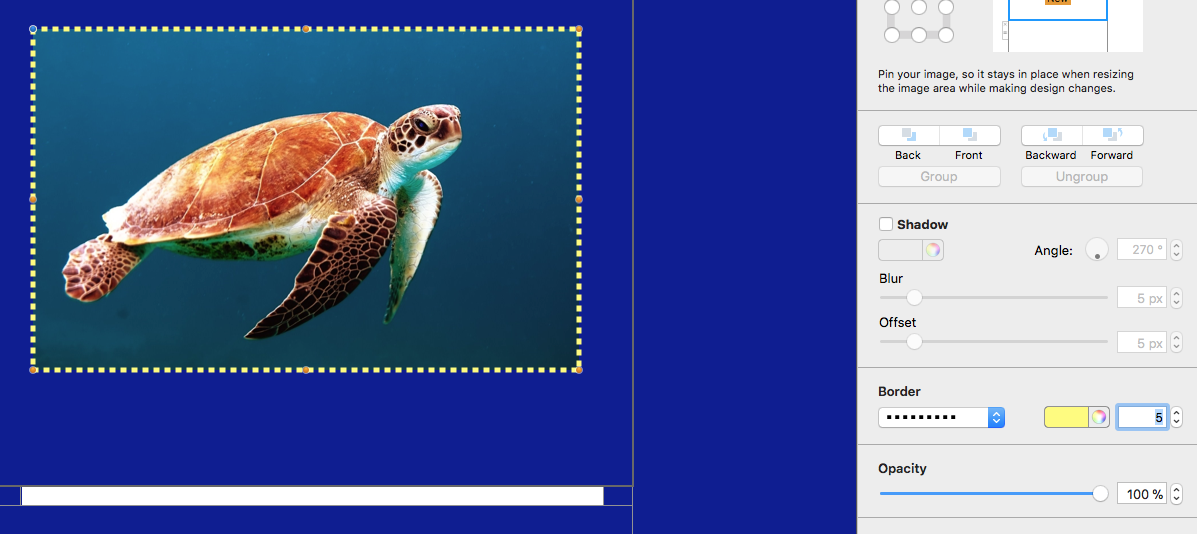
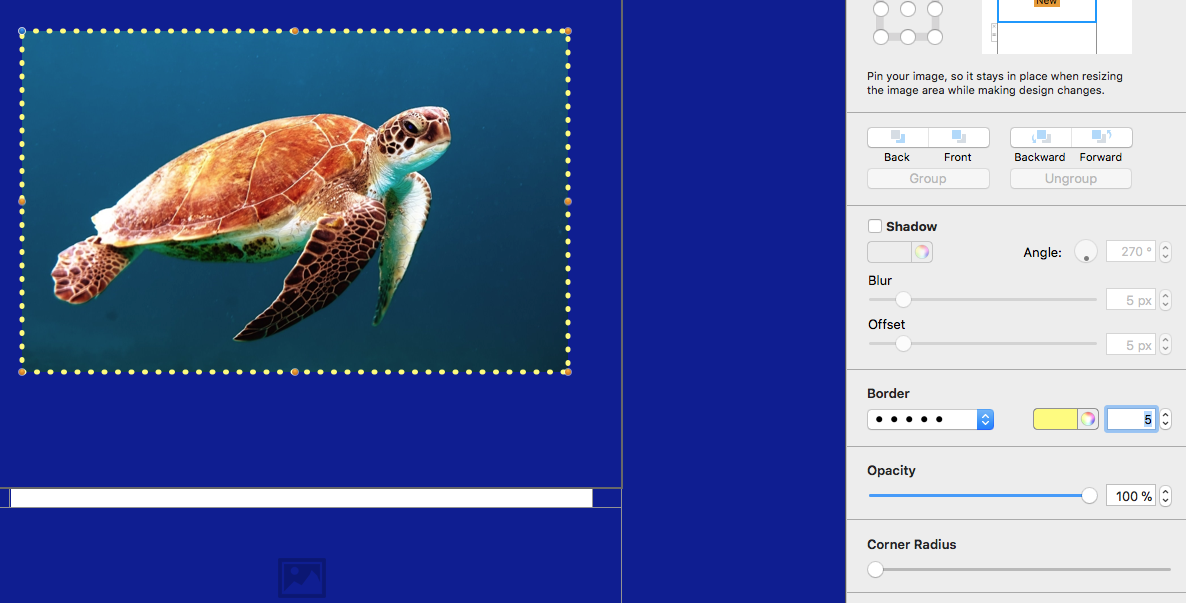
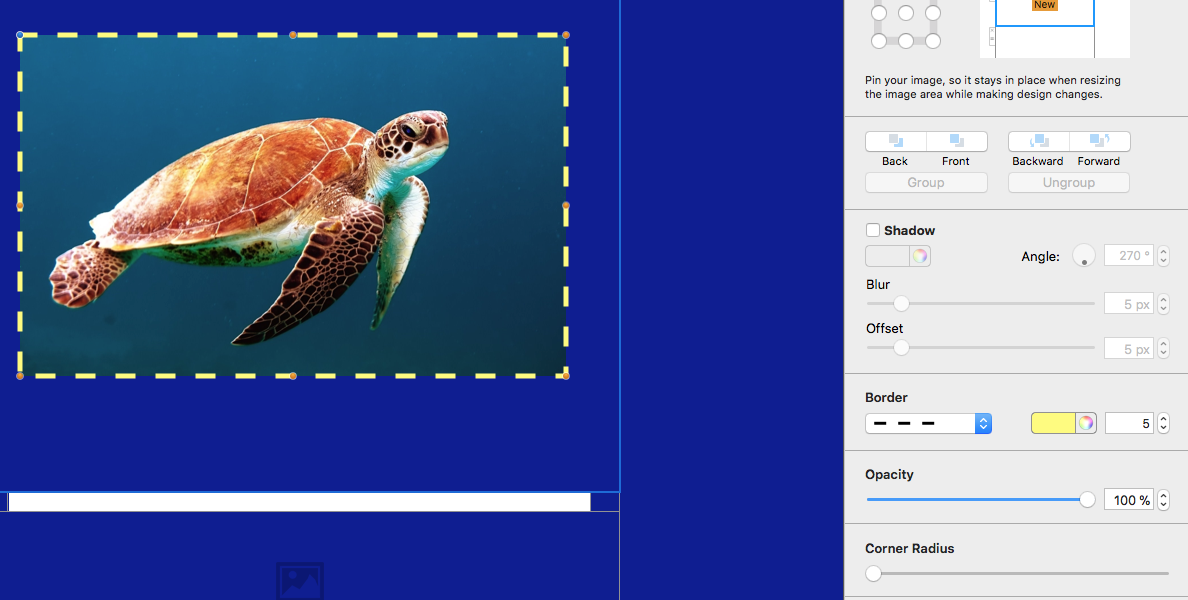
The examples below show how different widths, colors, and styles change the same type of element. Use them as a reference, then adjust the settings to fit your own campaign. A restrained border can improve separation, while a stronger frame can turn an image into a deliberate focal point.
Troubleshooting the border controls
If a border does not appear, select the image or shape again and verify that the width is greater than zero. If the border looks uneven, confirm that you are editing the intended element and that the image area has not been replaced or covered by another object. When a border seems too strong on mobile, reduce the width rather than changing several unrelated layout settings.
For a color that appears different than expected, compare the border against both the canvas background and the image itself. Very similar colors may disappear, while highly saturated colors may dominate the content. If you are reproducing a brand style, note the chosen color, width, and line style so the same settings can be used on other elements. After making changes, send a fresh test email instead of relying only on the editor preview.
Practical checks before sending
- Preview the design at desktop and mobile widths.
- Confirm that repeated elements use the same border settings.
- Check that the border remains visible against the surrounding background.
- Send a test email and review the result in the email clients your audience uses most.
- Keep decorative borders secondary to the message and call to action.
The Mail Designer 365 border tool is most effective when it supports a clear hierarchy. Use borders to separate, group, or emphasize content, and keep the treatment consistent throughout the campaign.
How Can We Help?