
How image area links work in email newsletters
Image area links in email newsletters let you make an email image clickable and send readers to a landing page. In Mail Designer 365, you can add a background image or texture and combine multiple graphic elements within one image area. You can combine multiple shapes and texts and scatter them around within an image area.
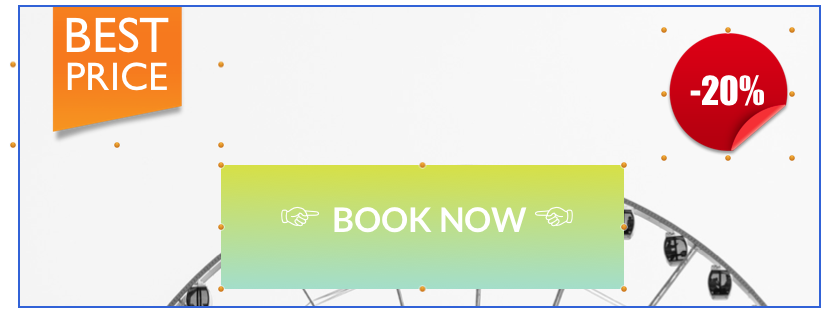
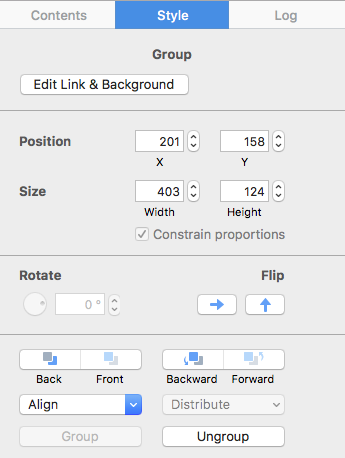
However, you can only add one link per image area. You can add a link by double-clicking a graphic element or the background of the image area. Then, go to the style section and click "Edit Link & Background." You can add the link to your landing page.
Why is my link being applied to the entire image area instead of my button or shape?
When your email templates are rendered, an entire image area will become one image. This means that when you send your email designs, all of the graphic elements that you add within one image area will be combined and turned into one image. As a result, the link that you add will apply to the entire image area instead of a single element.

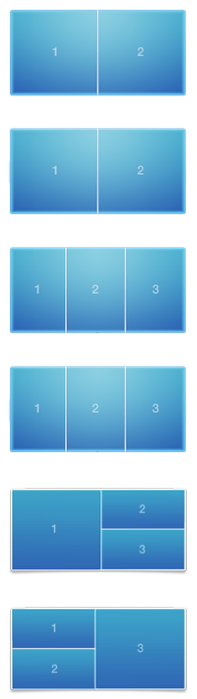
If you want to add multiple links or multiple buttons that lead to different landing pages, then use layout blocks with multiple image areas. This way, you can add a different link to each image area.
Choose the Right Clickable Area
Use a single image area when the complete visual should lead to one destination. This works well for a hero graphic, product image, event banner, or other design where every visible element supports the same action. Keep the destination closely connected to the promise made by the image so recipients know what will happen when they click.
If a graphic contains several products, offers, or calls to action, do not place them all inside one image area when each item needs its own destination. Create separate image areas or use dedicated button and text elements. Each separate area can then receive its own link and remain easier to test.
Create Multiple Links in an Email Layout
- Plan which visual elements need independent destinations.
- Place each clickable visual in a separate image area or layout block.
- Add the correct destination URL to each area.
- Use descriptive live-text buttons when the action must remain visible with images blocked.
- Preview the desktop and mobile versions before sending.
Separating the areas also makes future campaign edits safer. You can replace one product image or update one destination without rebuilding the complete graphic.
Make Clickable Images Accessible
Add concise alternative text that describes the linked image and its purpose. Avoid putting essential instructions only inside the graphic, because some recipients block images and screen-reader users rely on the surrounding live content. When a purchase, registration, download, or account action is important, repeat it as a live-text link or button near the image.
Do not use vague alternative text such as “image” or a file name. A short description like “View the summer collection” communicates the destination more clearly. Keep the wording accurate and avoid repeating nearby text unnecessarily.
Test Image Area Links Before Sending
- Click every image area in the design preview.
- Confirm that each link opens the intended page and uses HTTPS.
- Check the mobile layout for accidental overlaps or oversized clickable areas.
- Send a test email and click the links in representative inboxes.
- Verify that the message still provides a usable action when images are blocked.
If a link appears to belong only to a button drawn inside an image area, remember that the exported email contains one combined image. Move the button into its own element or image area when it needs a different destination. This keeps image area links in email newsletters predictable for recipients and easier to maintain.
For a related workflow, see how to create email buttons with different links.
How Can We Help?