
Creating a Polygram Shape and Polygon
A polygram shape gives you a customizable star-like graphic, while a polygon creates a closed shape with straight sides. Mail Designer 365 lets you build both from its shape tools, then adjust the size, fill, color, number of sides or tips, and indentation. Start by adding an image area to your email design and opening the Contents section.
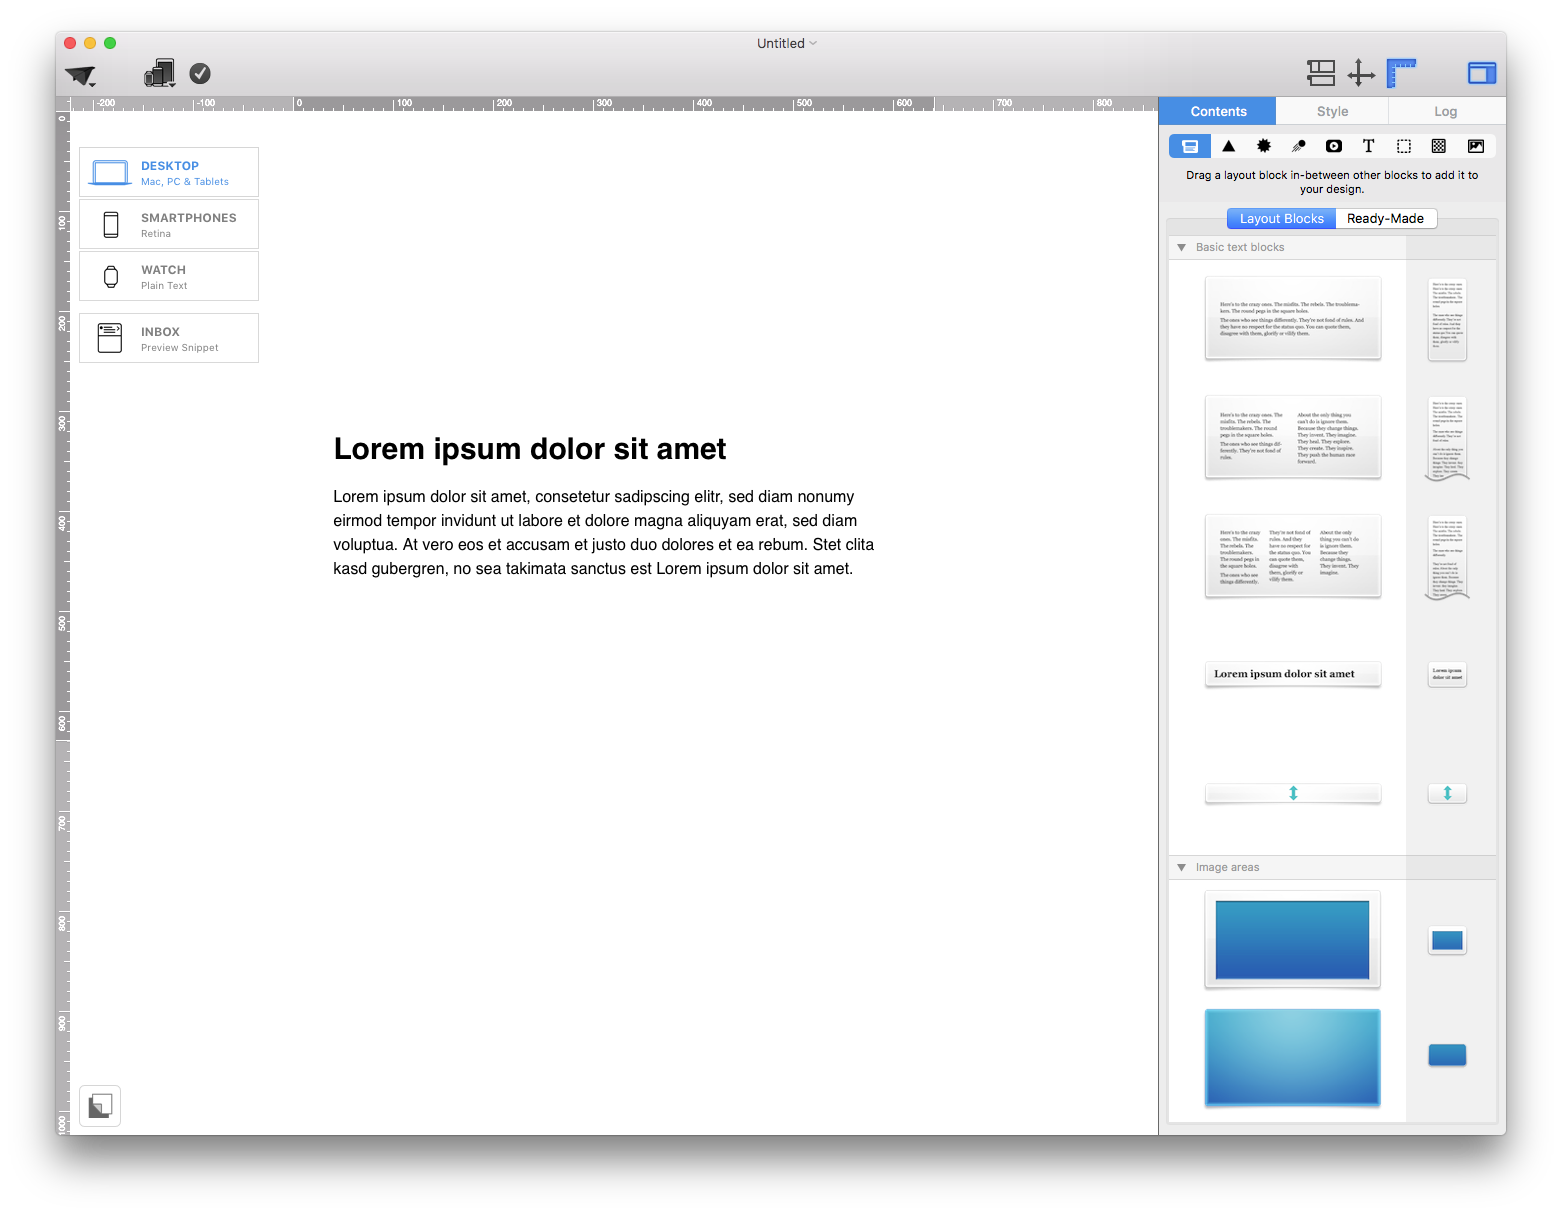
Then, in the layout tab, scroll down to "Image areas:"
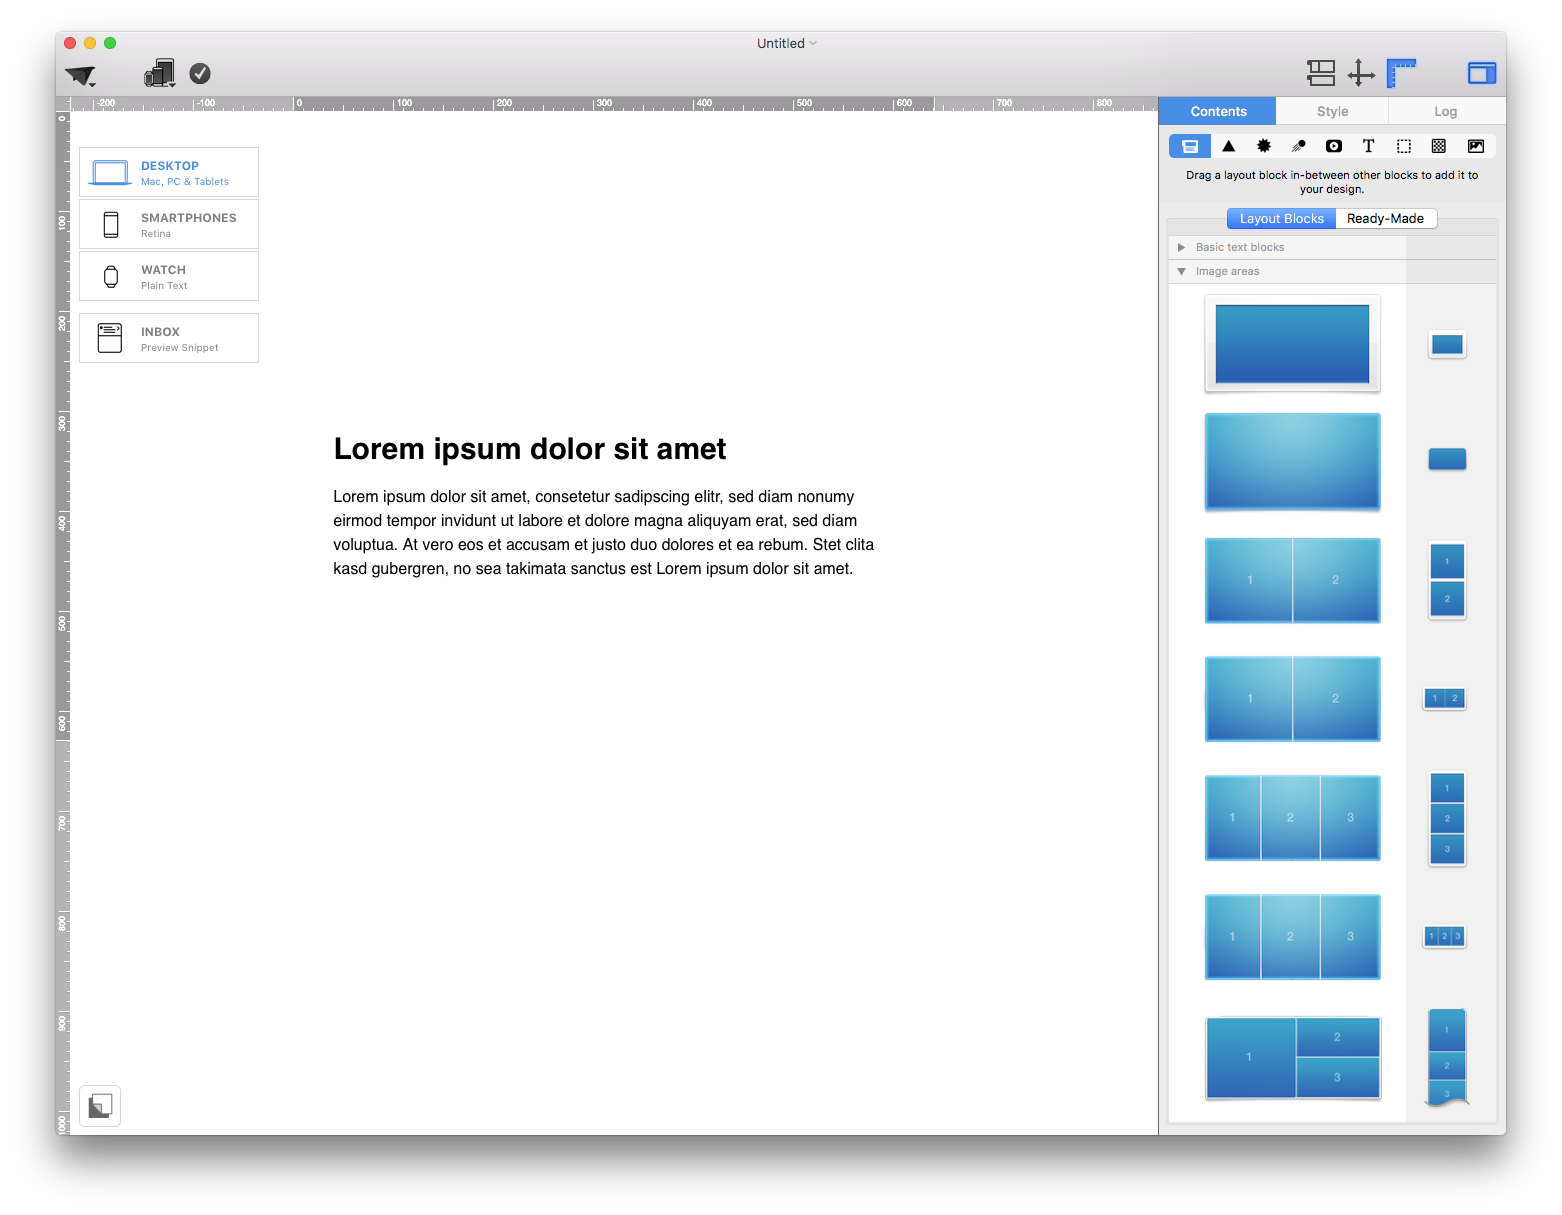
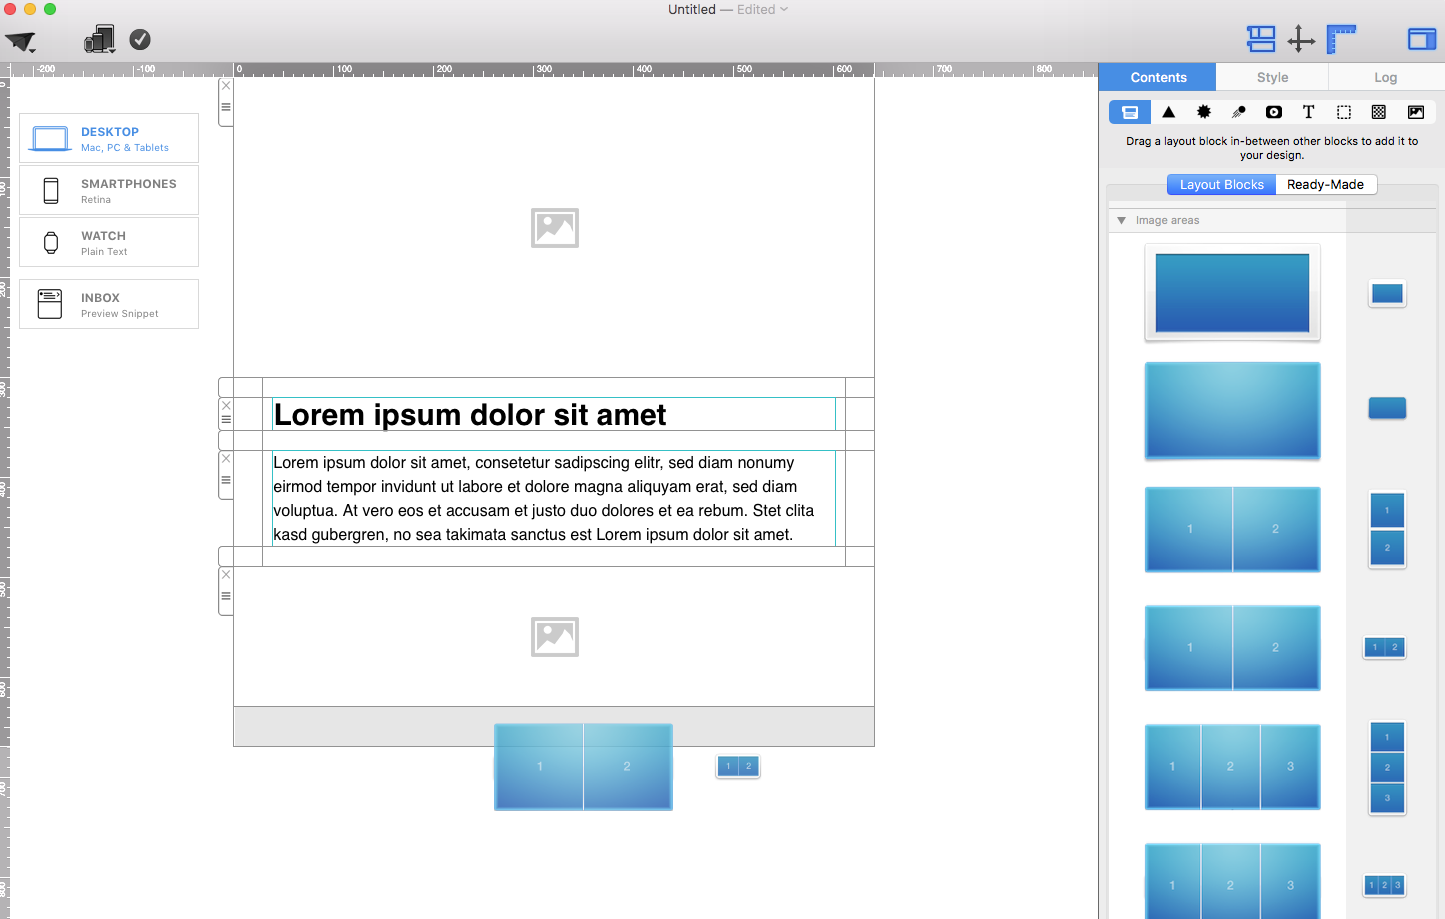
Drag a layout block with an image area into your template. It is up to you how many image areas you want. In this example, we will use a layout block with 2 image areas:
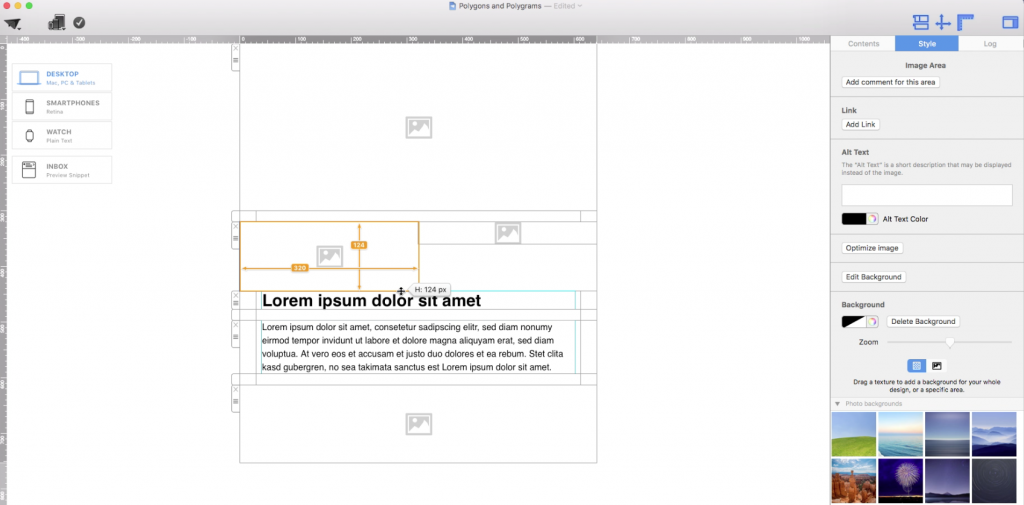
Feel free to adjust the size of your image areas according to your needs. Just drag the resize controls to the appropriate direction (up, down, right, left):
Once you finished adjusting the size of your image areas, go to the "Contents" section again:
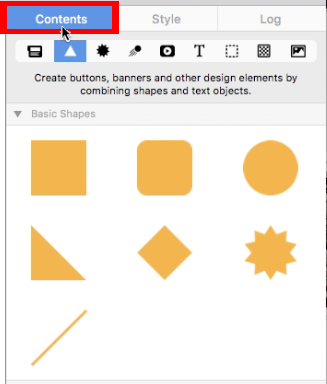
Then, click on the "Shape" button:
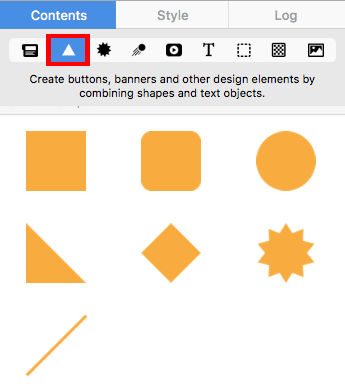
Polygons
For polygons, we recommend choosing the rhombus/diamond shape under the "Basic Shapes:"
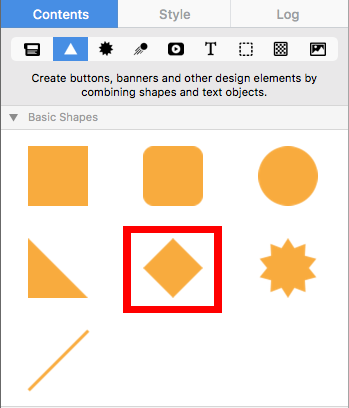
Drag the rhombus shape into an image area:
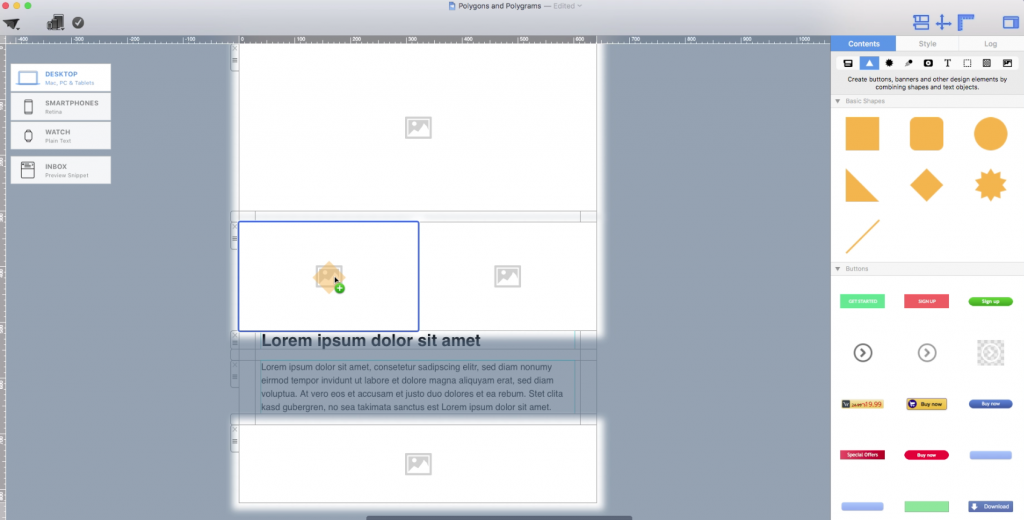
You can adjust the size of the shape by dragging the resize controls towards the direction you want the shape to expand to:
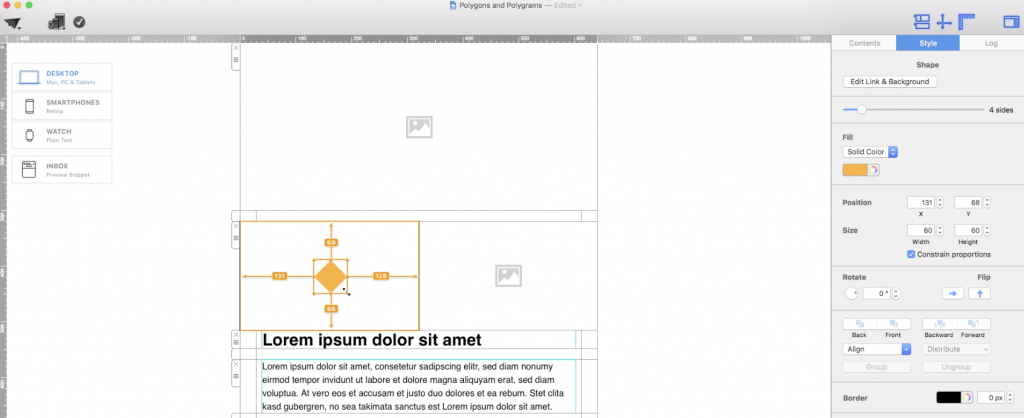
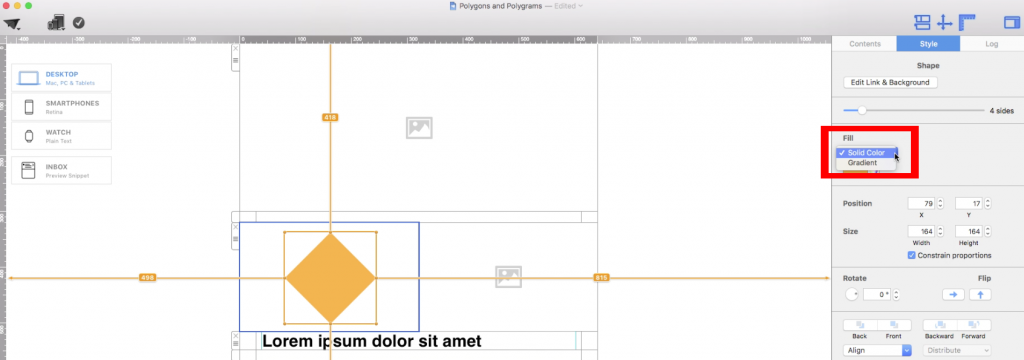
You can choose to change the fill style of your shape, whether you want a solid color or a gradient:
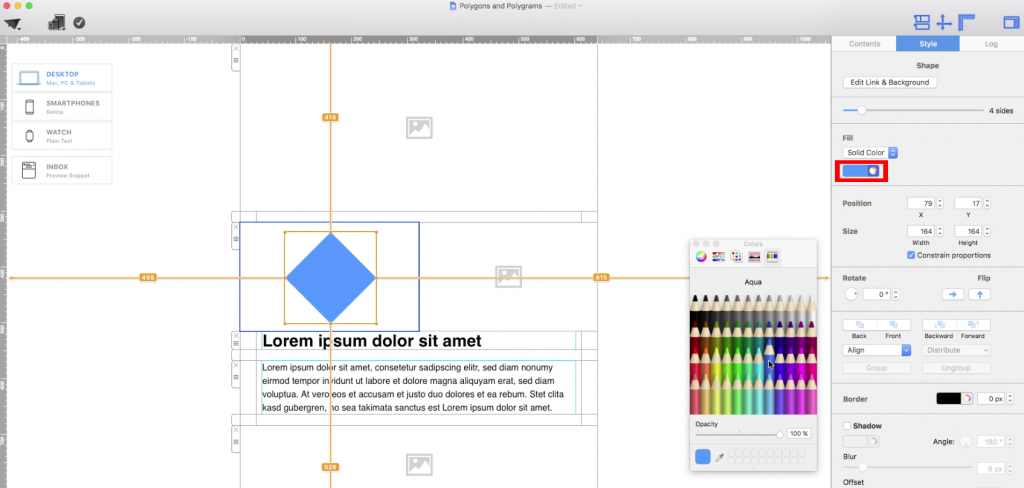
Don't forget to choose the color that you want:
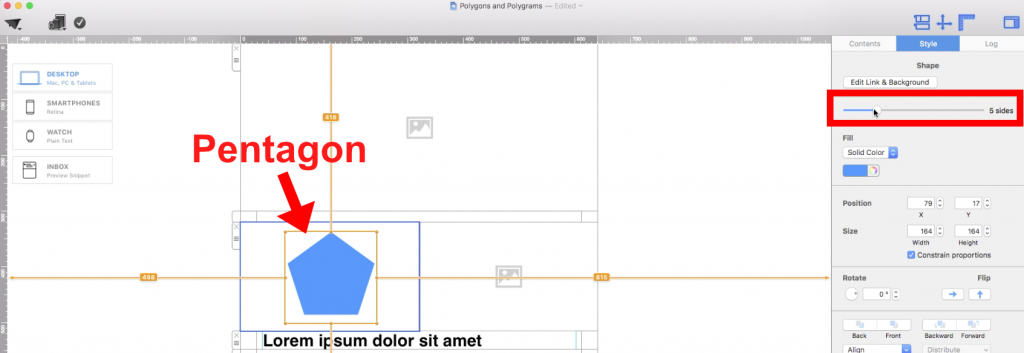
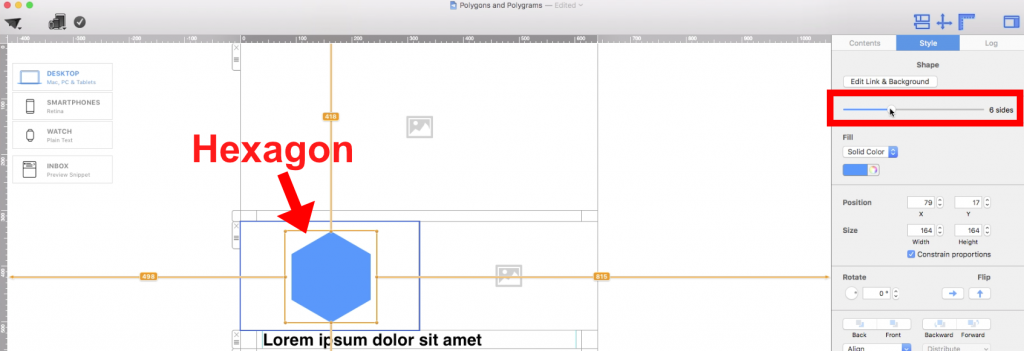
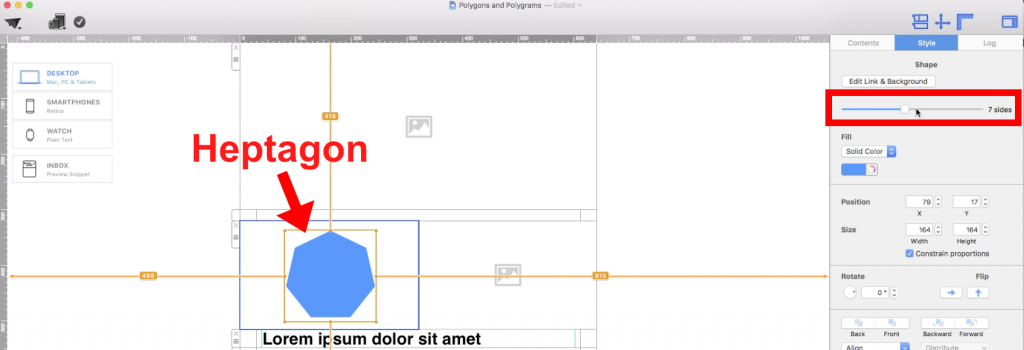
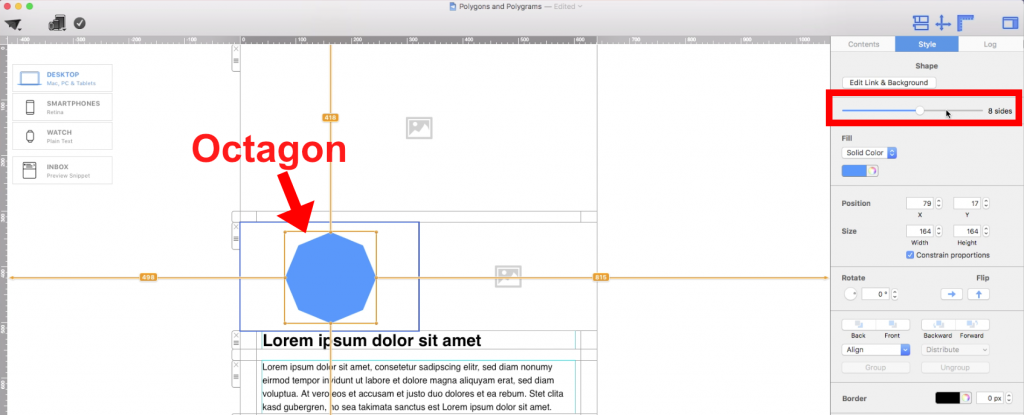
On the right side, under the "Style" section, you will notice a slide bar for the number of sides:
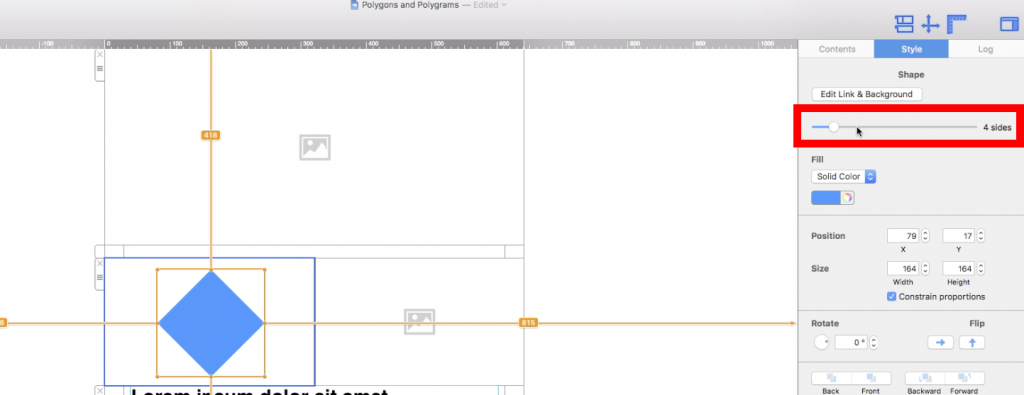
You can slide this bar to the number of sides that you want. The maximum number of sides is 12, so you can turn the shape all the way into a dodecagon.
Here is a pentagon:
Hexagon:
Heptagon:
Octagon:
Nonagon:
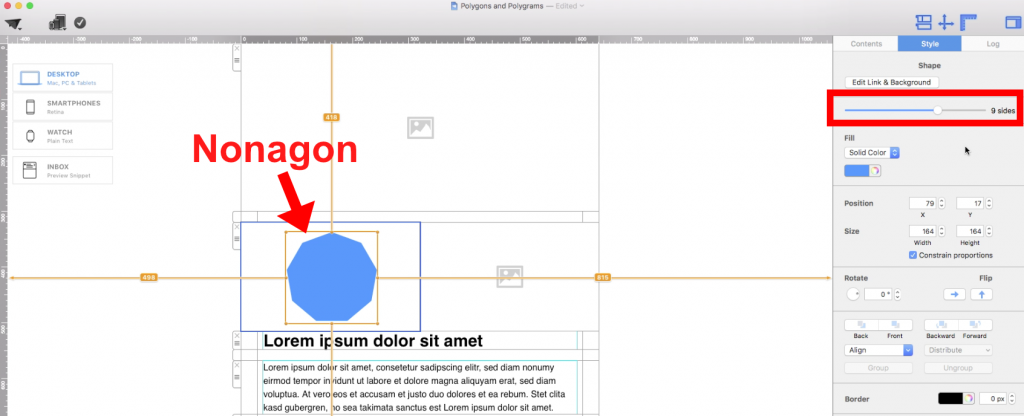
Decagon:
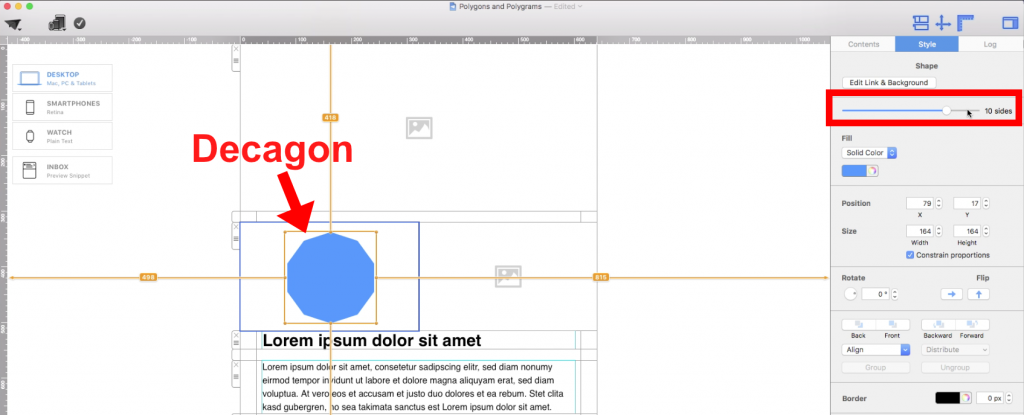
Undecagon/Hendecagon/Endecagon:
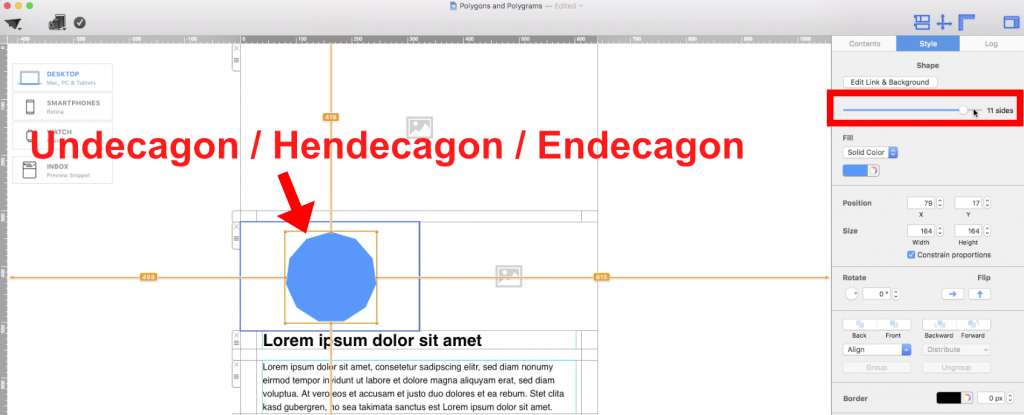
Dodecagon:
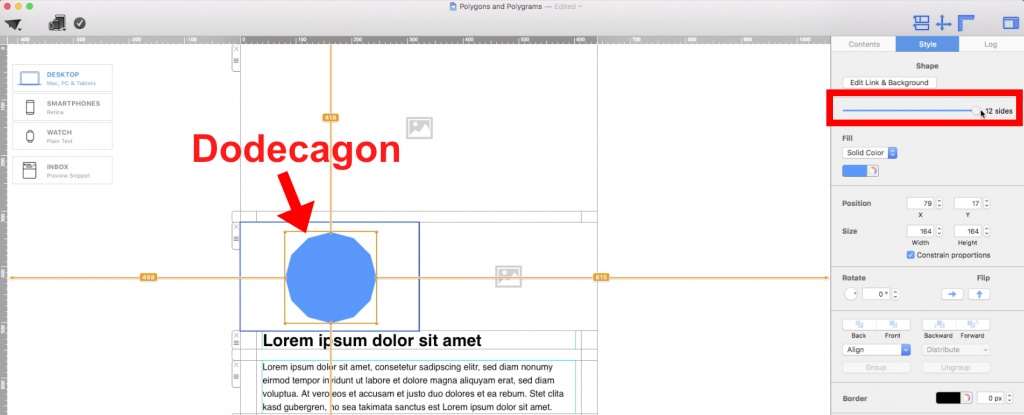
Polygrams
If you want to use a polygram, go to the "Contents" section.
Then, click on the "Shape" button:
Choose the star-shaped shape:
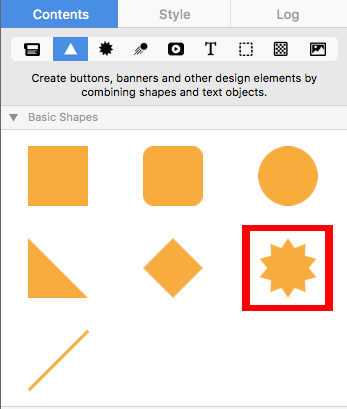
Drag the shape into an image area:
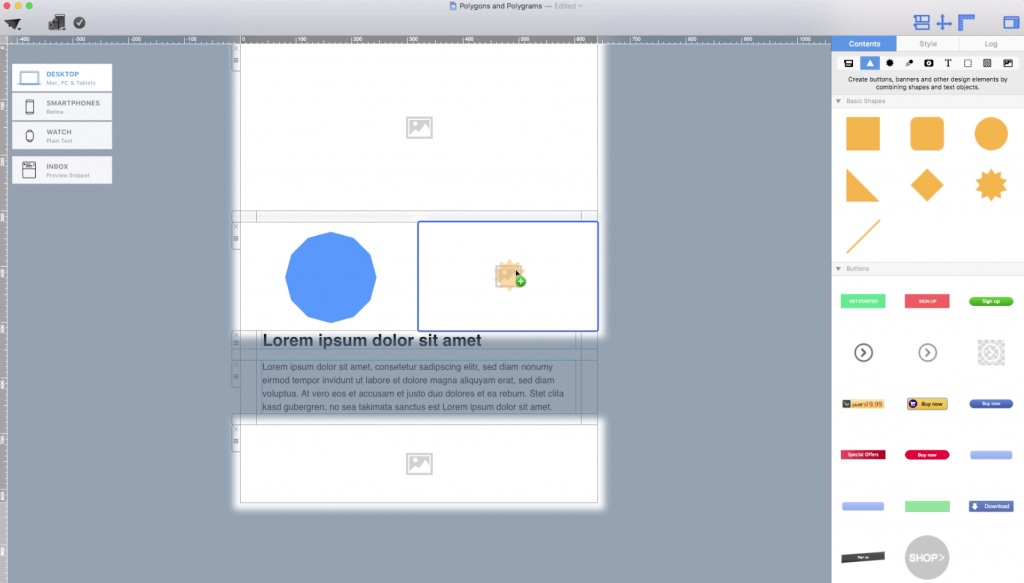
Adjust the size of your shape by dragging the resize controls towards the direction you want the shape to expand to:
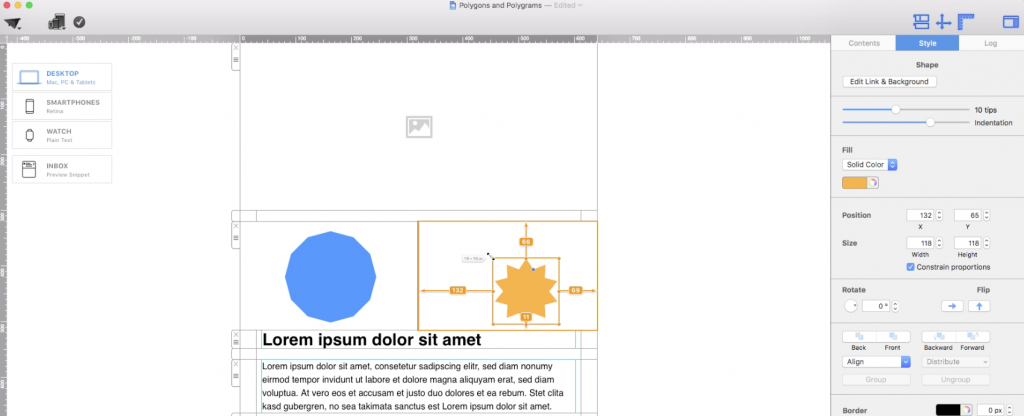
You can also change the fill of the shape. In this example, we are going to change it to gradient:
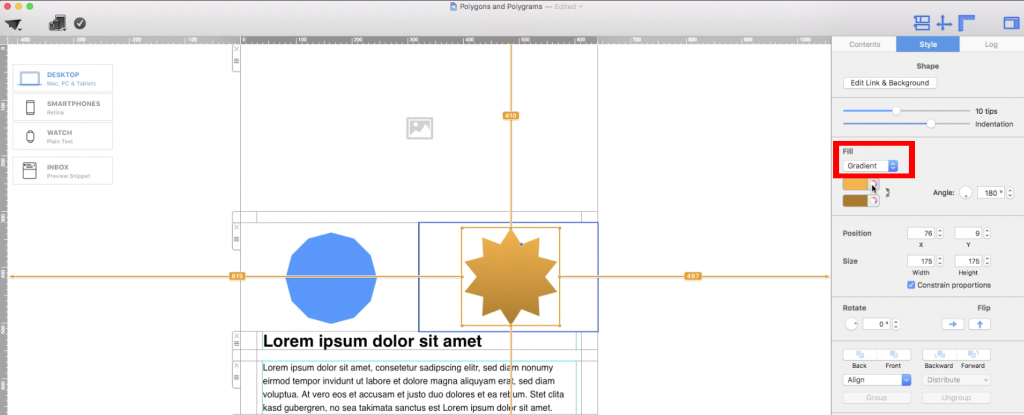
You can also change the color of the shape:
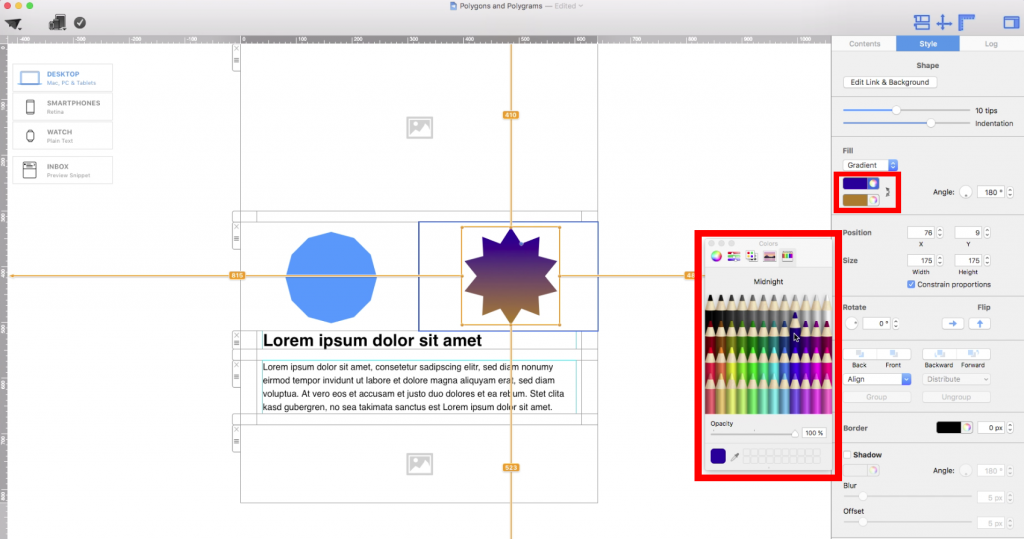
On the right, you will notice a slide bar for the number of tips. Here, you can slide it to change the number of tips your polygram will have. In this example, we turned the polygram into a pentadecagram (15 tips):
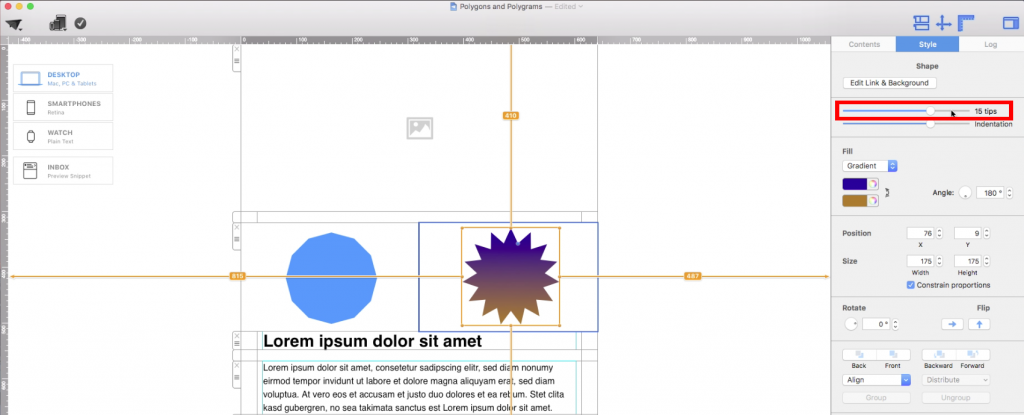
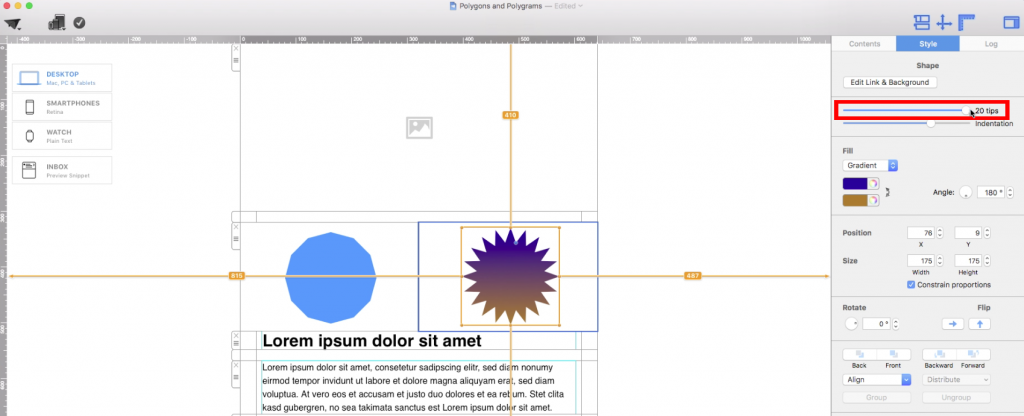
The maximum you can have is 20 tips (icosagram):
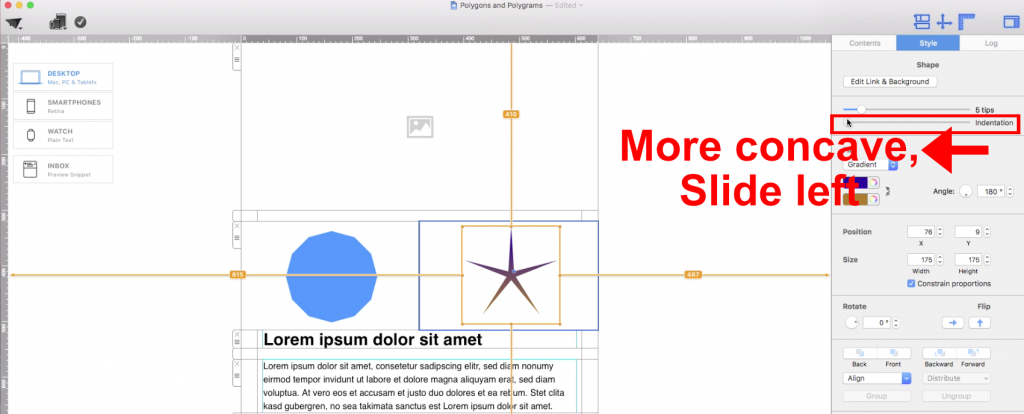
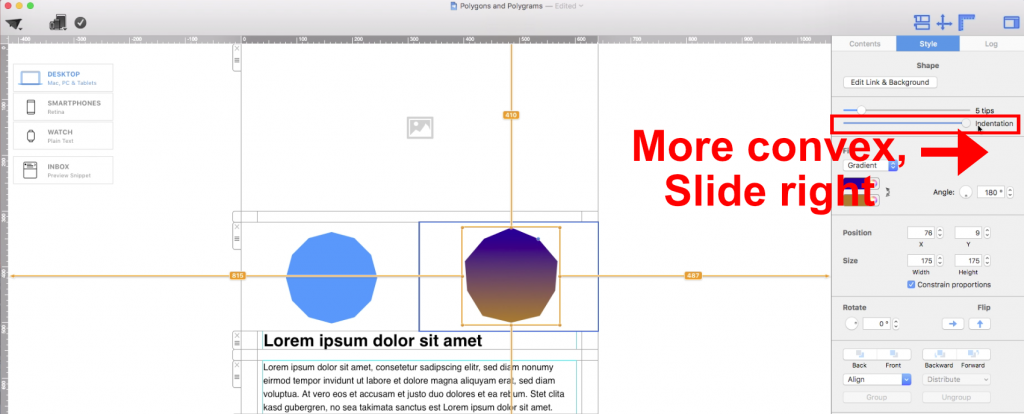
You can also adjust the indentation with the indentation slider:
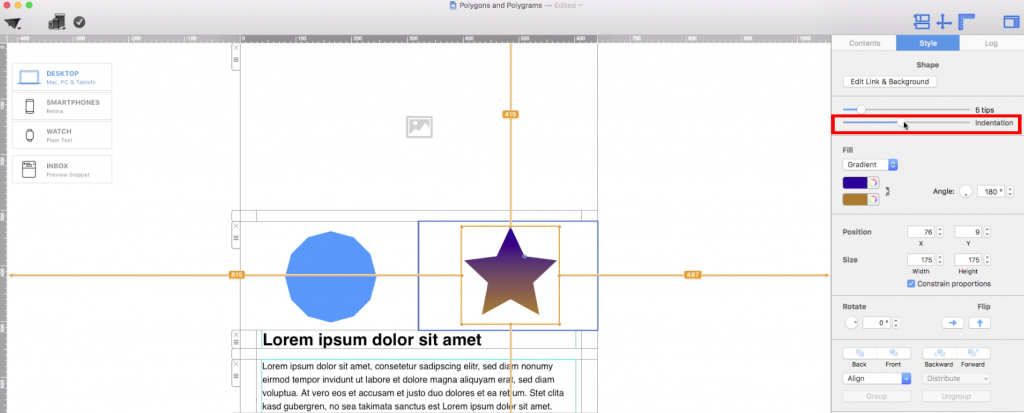
To make the shape more concave, slide the indentation slider to the left.
To make the shape more convex, slide the indentation slider to the right.
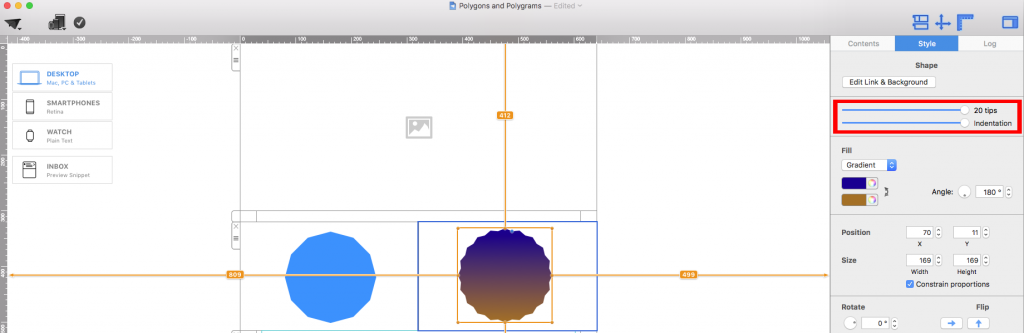
If you were to choose 20 tips and slide the indentation slider all the way to the right, you will get a polygon with 40 sides (Tetracontagon). With Mail Designer 365, you definitely have a lot of room to create the polygon and/or polygram that you want:
Practical tips for polygon and polygram shapes
Choose the shape based on the role it plays in the email. A polygon can frame a label, price, or short callout, while a polygram shape works well as a decorative badge or emphasis element. Keep important text readable and avoid placing long copy inside a small or highly indented shape. When several shapes appear in one design, reuse the same fill colors and related dimensions so the result looks intentional.
If a shape is difficult to select or resize, confirm that you are working inside the correct image area. Adjust the image area first, then refine the shape. For a polygram, change the number of tips before fine-tuning indentation, because the two controls affect the silhouette together. Preview the design at desktop and mobile widths and send a test email to confirm that the shape, color contrast, and surrounding content remain clear.
Use decorative graphics to support the message rather than replace it. Essential offer details and calls to action should also be available as live text and links.
How Can We Help?