Using Ready-Made Email Content Blocks

By Hans-Peter Layout Blocks

Adding Ready-Made Email Content Blocks

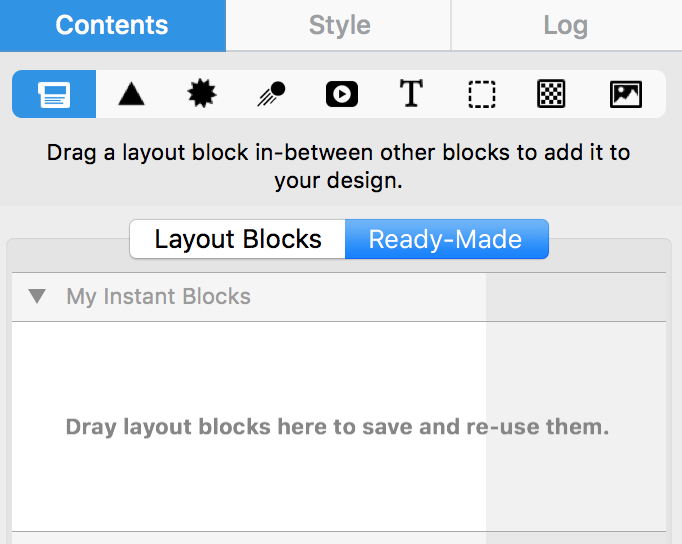
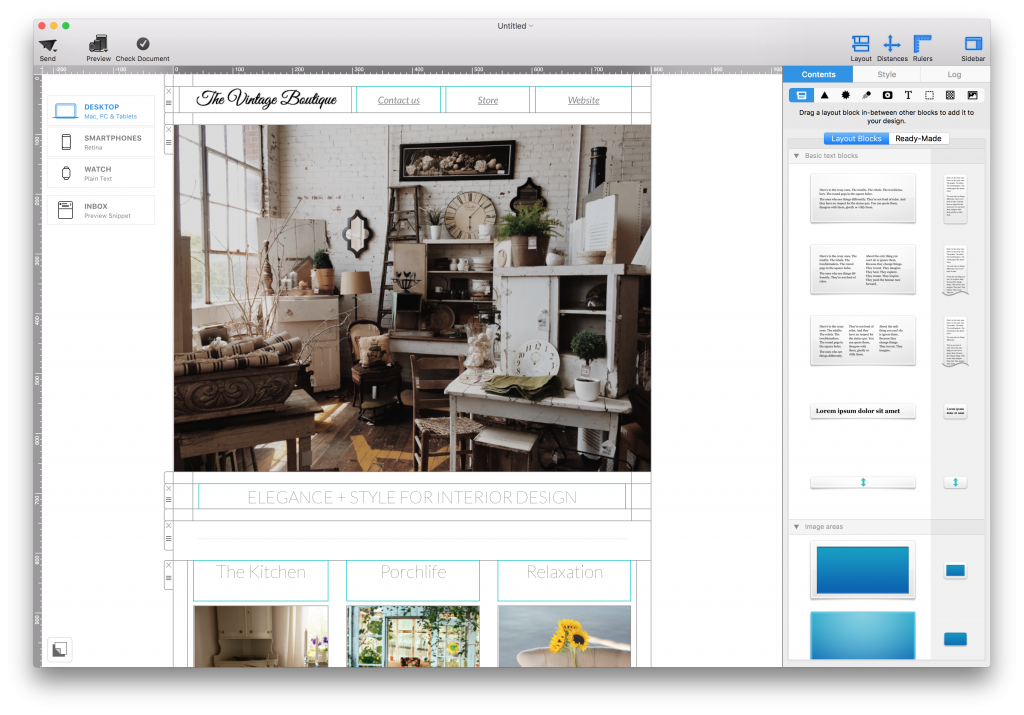
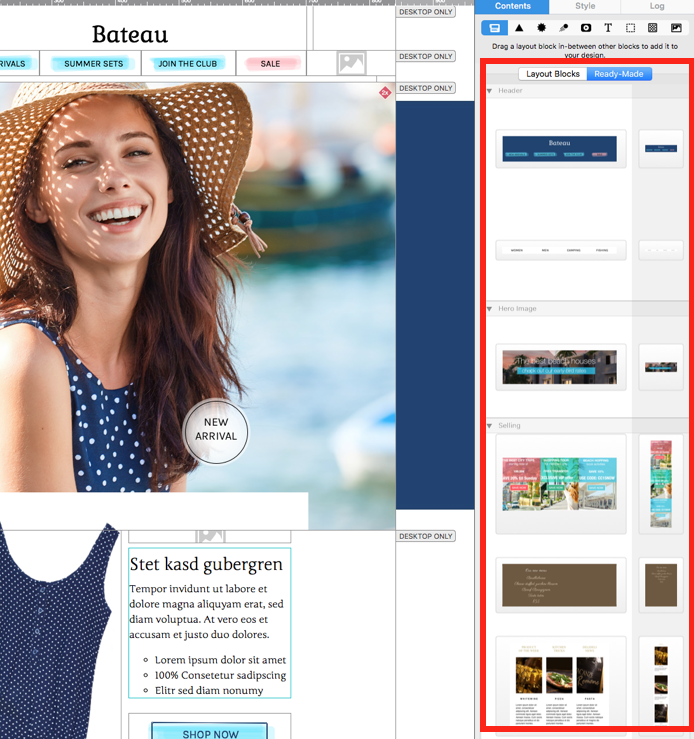
Mail Designer 365 includes ready-made email content blocks that help you build polished designs faster. To see the selection available, click on the "Contents" button to open the content menu, then go to "Ready-Made" to access Mail Designer 365's selection of ready-made layout blocks. From the available selection, you can choose from Headers, Sales, Call-To-Actions, Footers, and more.

Ready-Made email content blocks in the Mail Designer 365 Contents menu

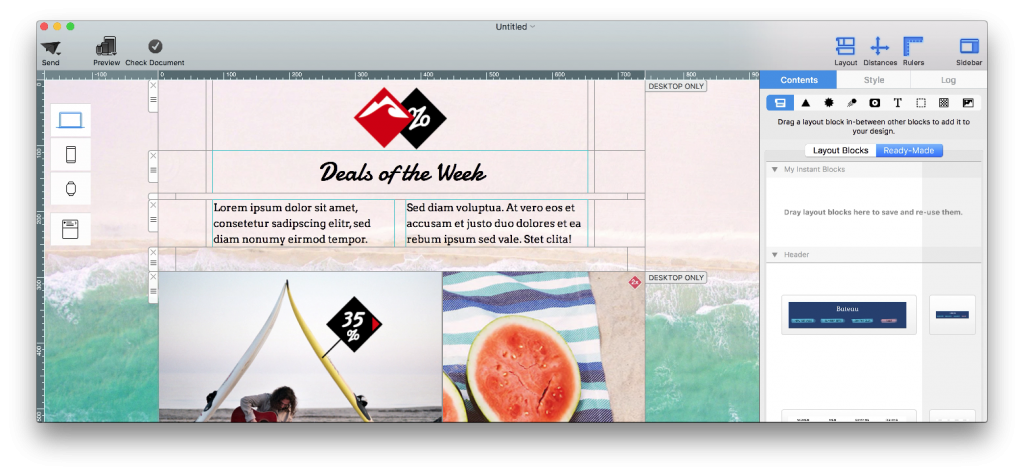
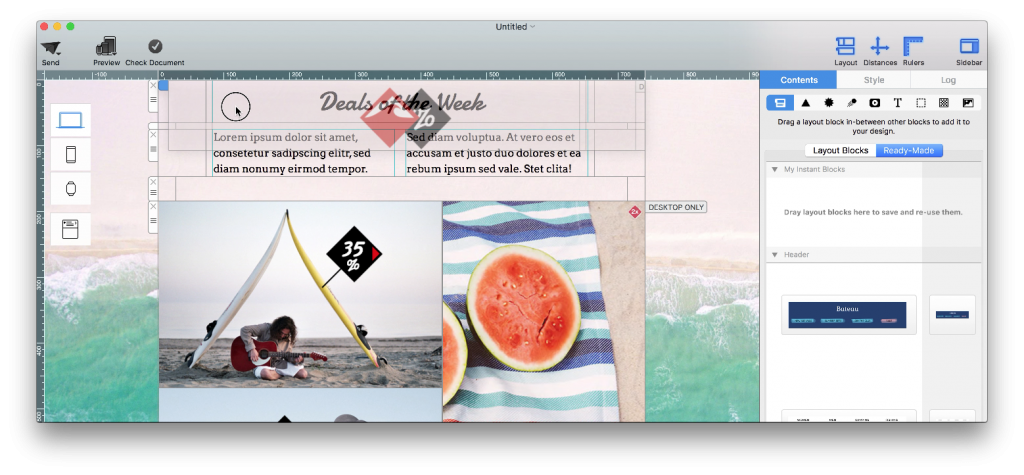
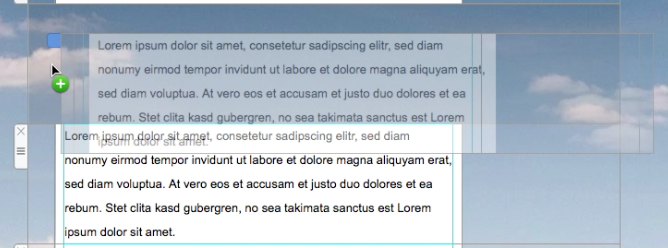
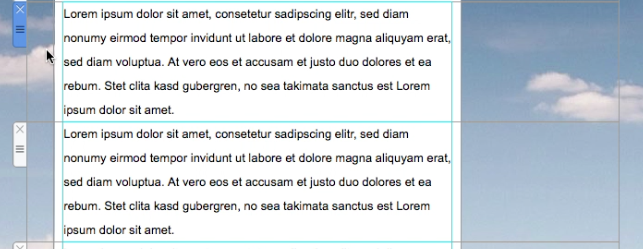
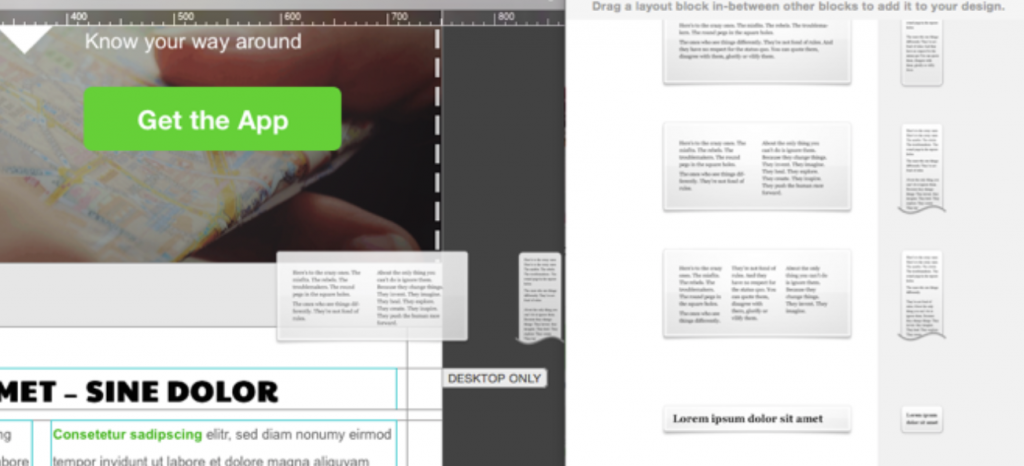
To use a ready-made layout block, simply drag and drop a layout block into your design, and use the handle to position it alongside your other layout blocks. You can customize ready-made layout blocks in the same way as regular layout blocks.

Dragging a ready-made email content block into a design

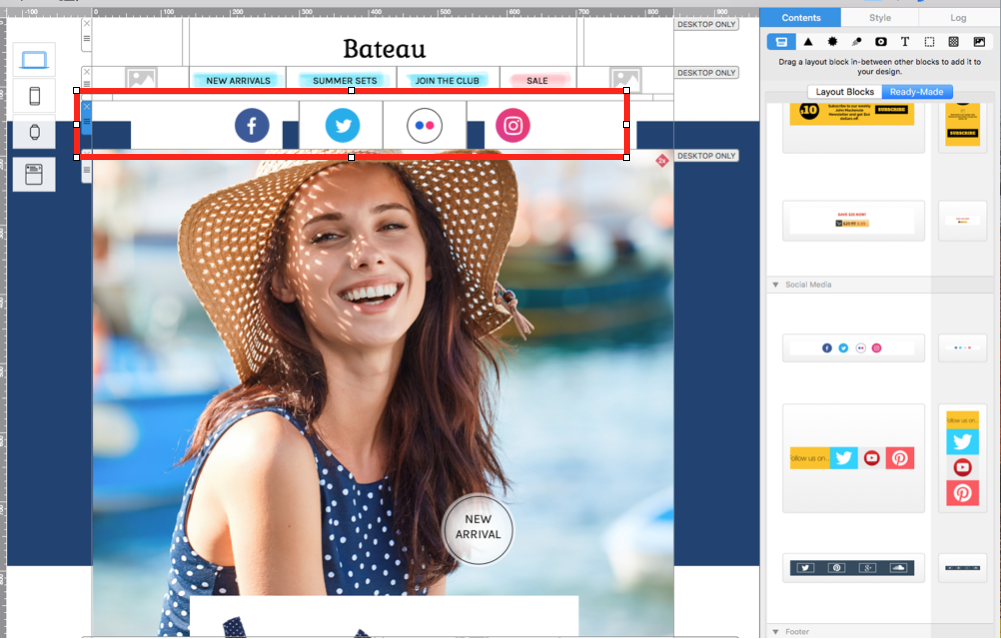
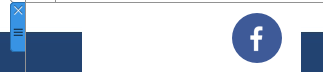
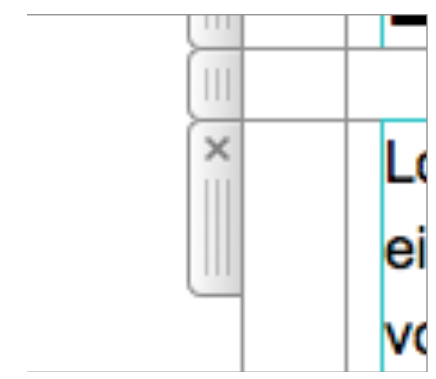
If you made a mistake, click the "X" on the layout block handle to remove it from your design.

Remove button on an email content block handle

Deleting saved custom layout blocks

By Hans-Peter Layout Blocks

Deleting saved custom layout blocks

Saved custom layout blocks make repeated email sections faster to reuse, but older versions can clutter the content library or cause teammates to select outdated branding. When an Instant Block is no longer needed, remove it from My Instant Blocks so the reusable collection stays clear and current.

This guide explains how to locate a stored block, move it to the Trash, and check that you removed the correct reusable item. Deleting the saved library item does not automatically remove copies that have already been placed in email designs.

Check the block before deleting it

Open any design that still uses the block if you need to preserve its text, images, or structure. Confirm that a newer replacement exists when the old block contains a standard header, footer, legal section, or call to action. If other team members use the same collection, tell them which saved block is being retired.

Look closely at the preview and identify the block by its layout and content. Similar previews can make several versions difficult to distinguish, especially when only a link or small text detail has changed.

Open the Contents panel

  1. Open Mail Designer 365 and a design document.
  2. Select the Contents tab.
  3. Click the layout blocks icon to open the reusable block library.

Open the Contents panel to manage saved custom layout blocks

Go to Ready-Made and My Instant Blocks

Choose Ready-Made in the layout block panel. This section contains the standard block categories and the My Instant Blocks collection where your custom blocks are stored.

Choose Ready-Made to find the My Instant Blocks collection

Scroll through My Instant Blocks until you find the item you want to remove. Compare the preview with the block you identified earlier before continuing.

Open the block menu

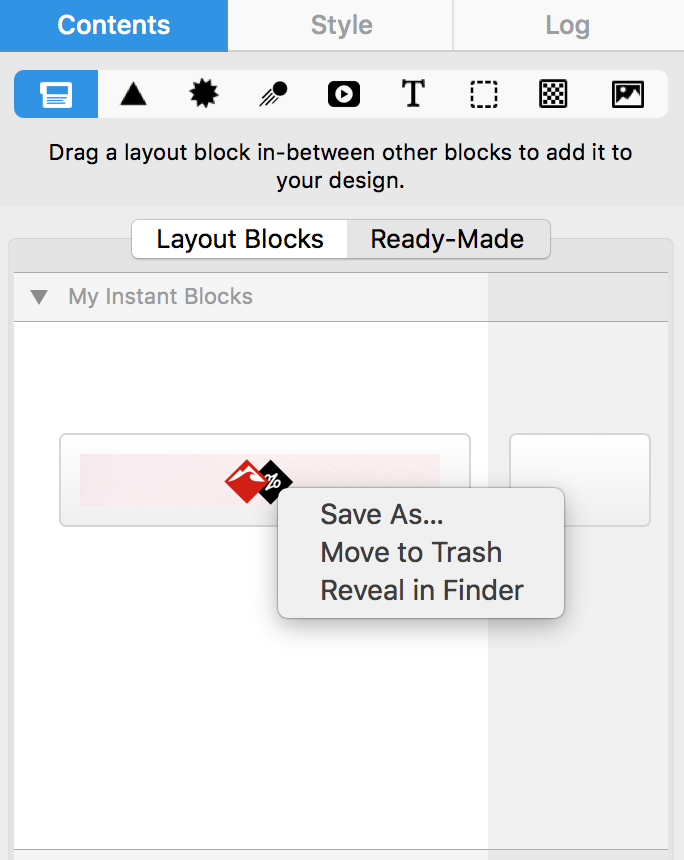
Right-click the saved custom layout block. A contextual menu appears with the available actions. If the menu does not open, make sure you clicked the stored block in My Instant Blocks rather than a block already placed in the email design.

Right-click a saved custom layout block to open its menu

Move the Instant Block to Trash

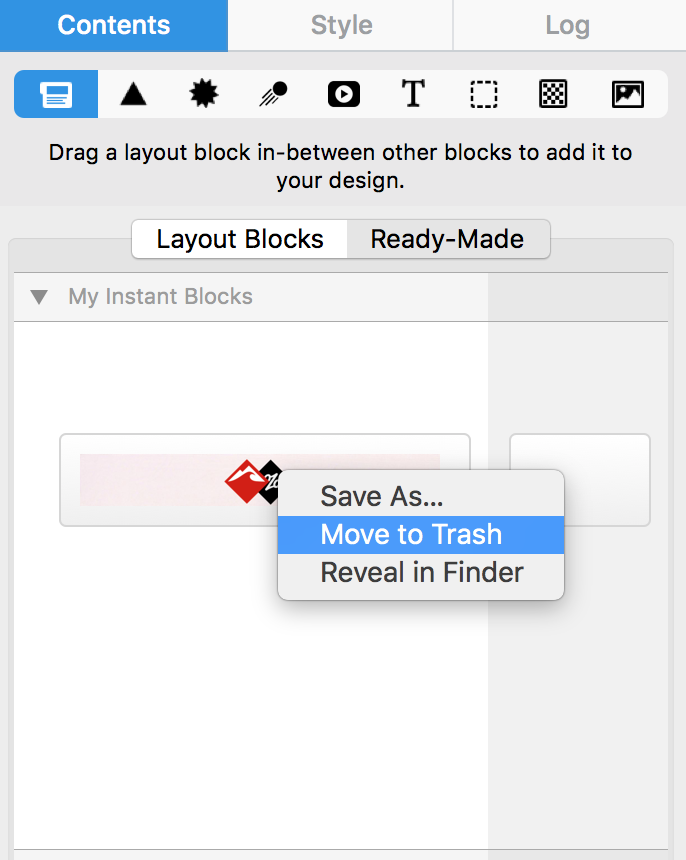
Select Move to Trash. This removes the reusable block from the active My Instant Blocks collection. Use this command only after checking the preview, because the stored block may contain a version you still need for another campaign.

Choose Move to Trash for a saved Instant Block

Understand what the deletion changes

Moving a saved block to Trash affects the reusable library item. Copies already inserted into existing email designs remain part of those documents, so you can continue editing or sending them. The action also does not update older designs to use a replacement block automatically.

If you deleted the block because branding or legal text changed, review active designs separately. Replace outdated content in each campaign before the next send.

Use alternatives when you still need the structure

When only the text, links, or images are outdated, consider creating and testing a replacement before deleting the previous block. You can insert the old block into a temporary design, update its contents, and save the revised section as a new Instant Block.

For the creation workflow, see saving custom layout blocks.

Verify the reusable library

  • Return to My Instant Blocks and confirm the unwanted item is gone.
  • Check that the intended replacement is still available.
  • Open an existing design and confirm placed copies were not removed.
  • Review shared campaign instructions so teammates use the current block.

A concise, well-maintained collection makes saved custom layout blocks easier to identify and reduces the chance of reusing outdated content in a new email campaign.

Saving custom layout blocks

By Hans-Peter Layout Blocks

Saving custom layout blocks in Mail Designer 365

Saving custom layout blocks helps you reuse a finished email section in future designs. Instead of rebuilding the same header, footer, contact area, product feature, or social media links for every campaign, store the block in My Instant Blocks and drag it into another design when you need it.

This workflow is useful for maintaining consistent branding and reducing repetitive editing. Before saving a block, make sure it contains only the elements you want to reuse and that the content can be adapted safely for future campaigns.

Prepare the layout block

Review the block in the design and remove campaign-specific content that should not be copied. Check links, dates, prices, names, legal text, and tracking parameters. You can keep placeholders or neutral sample content when that makes the saved block easier to update later.

Confirm that the block works in both desktop and smartphone views. A reusable block should have clear spacing, a logical reading order, and image areas that can accept new assets without breaking the layout.

Open the layout block library

  1. Open the design that contains the block you want to save.
  2. Choose the Content section.
  3. Click the layout blocks icon to open the block library.

Open the layout blocks library to save a custom block

The library shows the available block categories and your personal collection. Keep the design visible while the panel is open so you can drag the finished section into the correct destination.

Choose Ready-Made and My Instant Blocks

Select Ready-Made in the layout block panel. Then locate My Instant Blocks, which stores the custom sections you save for later use.

Select Ready-Made to access My Instant Blocks

Save the custom block

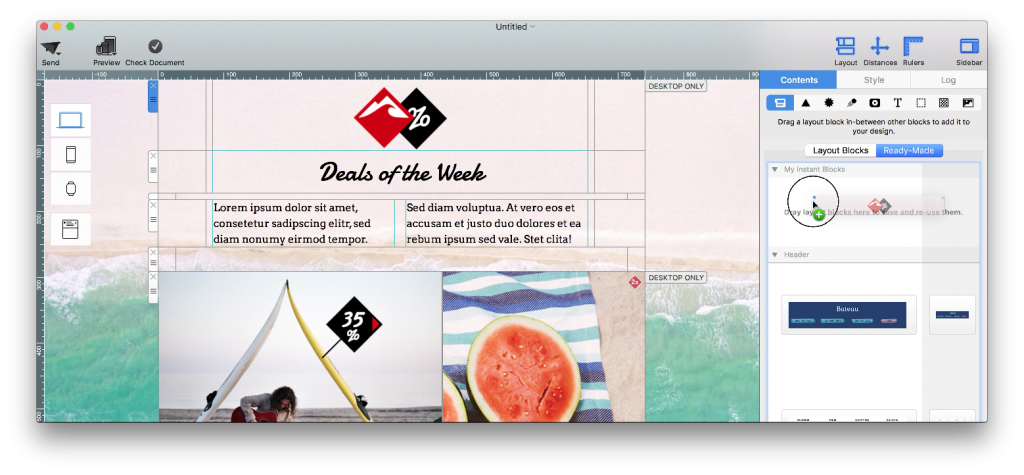
Drag the completed layout block from the email design into the My Instant Blocks area. Watch for the visual indication that the panel is ready to accept the block, then release it. Mail Designer 365 creates a reusable copy while leaving the original section in the current design.

Drag a finished email layout block toward My Instant Blocks
Drop a custom layout block into the Instant Blocks collection
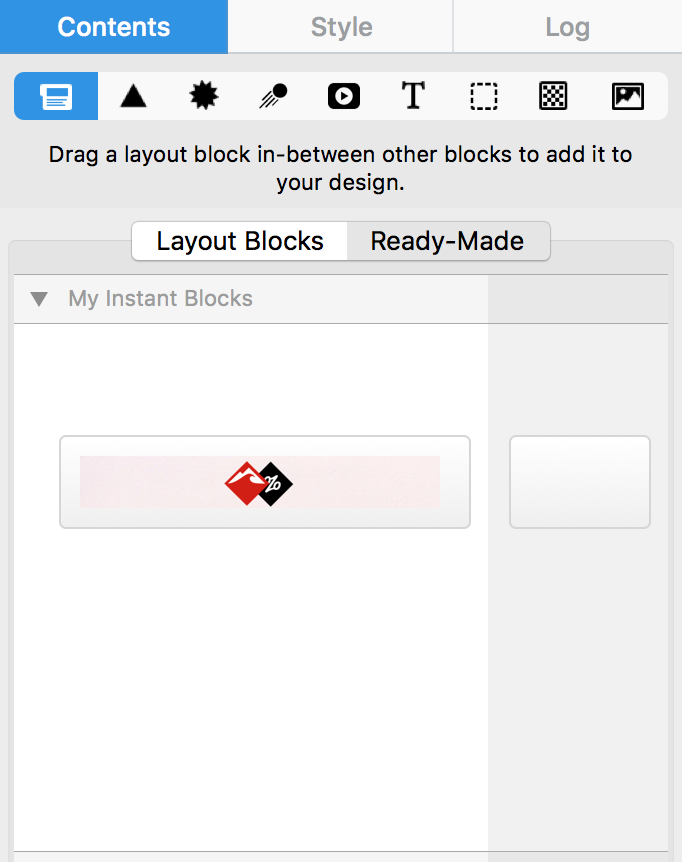
Custom layout block saved in My Instant Blocks

Identify and organize saved blocks

Use a clear preview and, where the app offers naming or organization options, choose a description that reflects the block’s purpose. Names such as “Brand footer,” “Two-column product feature,” or “Event registration CTA” are easier to recognize than campaign-specific labels.

A small, curated collection is usually more useful than many nearly identical blocks. Remove outdated versions and keep the most flexible option for each repeated section.

Review reusable custom blocks in My Instant Blocks

Reuse a saved layout block

Open another design, return to Ready-Made > My Instant Blocks, and drag the saved block into the email. Replace sample copy, images, and links with campaign-specific content. Check every reused link rather than assuming it still points to the correct destination.

If you no longer need a saved item, see deleting saved custom layout blocks.

Keep reusable blocks current

Review My Instant Blocks whenever branding, contact details, social profiles, or legal requirements change. A saved block is a copy, so editing a block already placed in one campaign may not update the stored version or other designs automatically. Create a revised reusable block when the standard content changes, test it, and remove the obsolete version once the replacement is ready.

When several team members create campaigns, agree on which blocks are approved and what must be customized after insertion. Clear ownership and simple names reduce the risk of using an outdated footer or call to action. Record the date or version in your internal workflow if the block contains regulated or frequently changing information.

Verify the block before sending

  • Preview desktop and smartphone versions.
  • Check text, images, links, and tracking parameters.
  • Confirm that old campaign details have been replaced.
  • Send a test email and review the block in key email clients.

Saving custom layout blocks provides the most value when each block is treated as a reusable starting point, not as finished campaign content. A short review after every insertion keeps the design consistent while preventing outdated information from reaching recipients.

Resize Email Layout Blocks in Mail Designer 365

By Hans-Peter Layout Blocks

Resize email layout blocks in Mail Designer 365

When you resize email layout blocks, you control how text, images, and columns are arranged before your campaign reaches an inbox. Mail Designer 365 makes these adjustments directly on the design canvas, so you can refine a section without rebuilding the whole email. This guide explains how to change the height and width of layout blocks, resize the areas inside them, and keep the desktop and mobile versions of your design easy to read.

How to change the width of a layout area

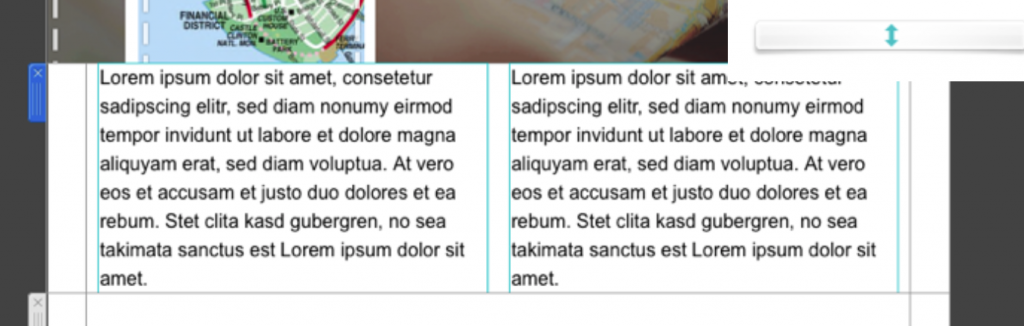
Select the layout block that contains the area you want to adjust. Move the pointer over the divider between two areas until the resize control appears, then drag the divider left or right. One area becomes wider while the neighboring area becomes narrower, and the overall email width remains unchanged. This is useful when an image needs more room, when a text column has too many short line breaks, or when a button should sit beside supporting copy.

Make small adjustments and check the result as you drag. A very narrow text area can create awkward wrapping, while an oversized image area may leave too little space for the message. If a block has several columns, review every column after moving a divider because the available space is shared across the row.

How to adjust the height of text and image areas

Text areas grow automatically as you add lines of text and become shorter when you remove them. If a text area appears taller than expected, check for blank paragraphs or extra line breaks at the end of the copy. Editing the text is usually the cleanest way to control its height because the area adapts to the content.

For an image area, drag its horizontal divider to increase or reduce the visible height. The image placement and crop determine which part remains visible, so check the focal point after resizing. If an important subject is cut off, reposition the image or choose a crop that fits the new proportions.
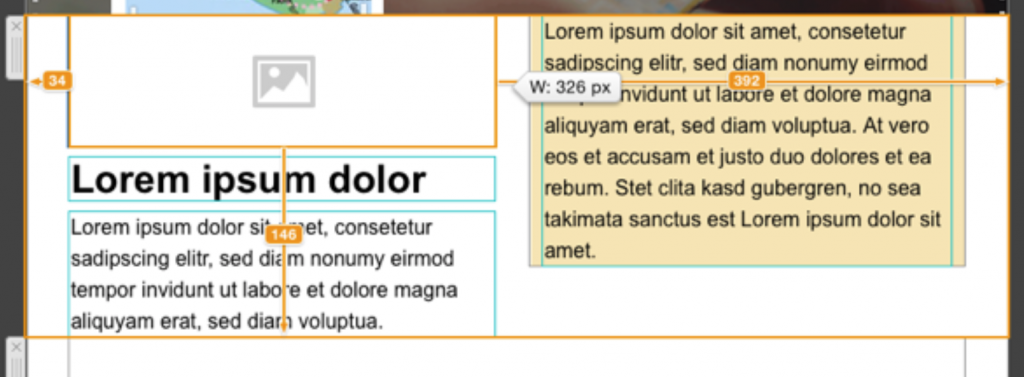
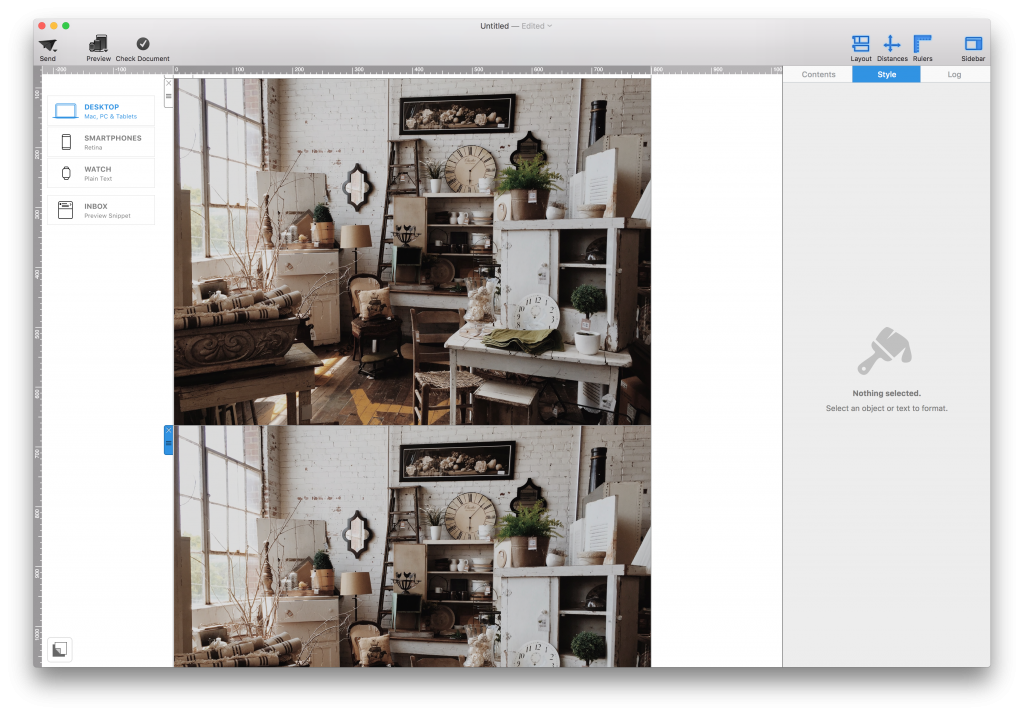
Resize email layout blocks by dragging an area divider in Mail Designer 365

Check the mobile version after resizing

Desktop and mobile layouts have different space constraints. After you resize email layout blocks for the desktop design, switch to the mobile preview and confirm that the reading order still makes sense. Pay particular attention to narrow columns, headings, buttons, and images with text embedded in them. A balanced desktop row can become crowded on a smaller screen.

If the mobile layout needs a different arrangement, use the available mobile editing controls instead of forcing the desktop block into an unsuitable shape. Keep tap targets large enough, avoid very small type, and make sure the most important message appears early in the design.

Practical layout resizing tips

  • Start with the content hierarchy: give the main message more room than supporting details.
  • Keep related text and images together so recipients understand the connection immediately.
  • Use consistent proportions across repeated product or feature blocks.
  • Preview the design at several widths before sending a campaign.
  • Send a test email to confirm how the resized layout renders in real inboxes.

Troubleshooting common resizing problems

If a divider does not move, first make sure you selected an editable area inside the layout block rather than the outer email canvas. If content jumps after a resize, look for long unbroken links, oversized images, or text formatting that prevents natural wrapping. When a row becomes too complex, consider using a simpler layout block with fewer areas.

For more guidance on building flexible sections, see the Mail Designer 365 layout blocks guide. Once the proportions look balanced, use the preview tools and send a test campaign. These checks help ensure that your layout works as intended across desktop and mobile inboxes.

Duplicated layout blocks in Mail Designer 365

How to Duplicate Layout Blocks in Mail Designer 365

By Hans-Peter Layout Blocks

How to Duplicate Layout Blocks in Mail Designer 365

When several parts of an email need the same structure, you can duplicate layout blocks instead of rebuilding their fonts, colors, spacing, images, and buttons. The copy stays inside the current Mail Designer 365 design and can then be edited independently. This is useful for repeated product rows, event listings, article teasers, team profiles, pricing options, or any campaign section that follows a consistent pattern.

There are three supported ways to create the copy: use Edit > Duplicate, Option-drag the layout handle, or press Command-D. Choose the method that best suits whether you want a quick copy or want to place it in a specific location immediately.

Before you duplicate a layout block

First finish the reusable structure as far as practical. Check its column widths, background, padding, text styles, image proportions, and button treatment. Select the whole layout block rather than a text area or image inside it. The layout handle appears on the left edge of the block and identifies the complete section that will be copied.

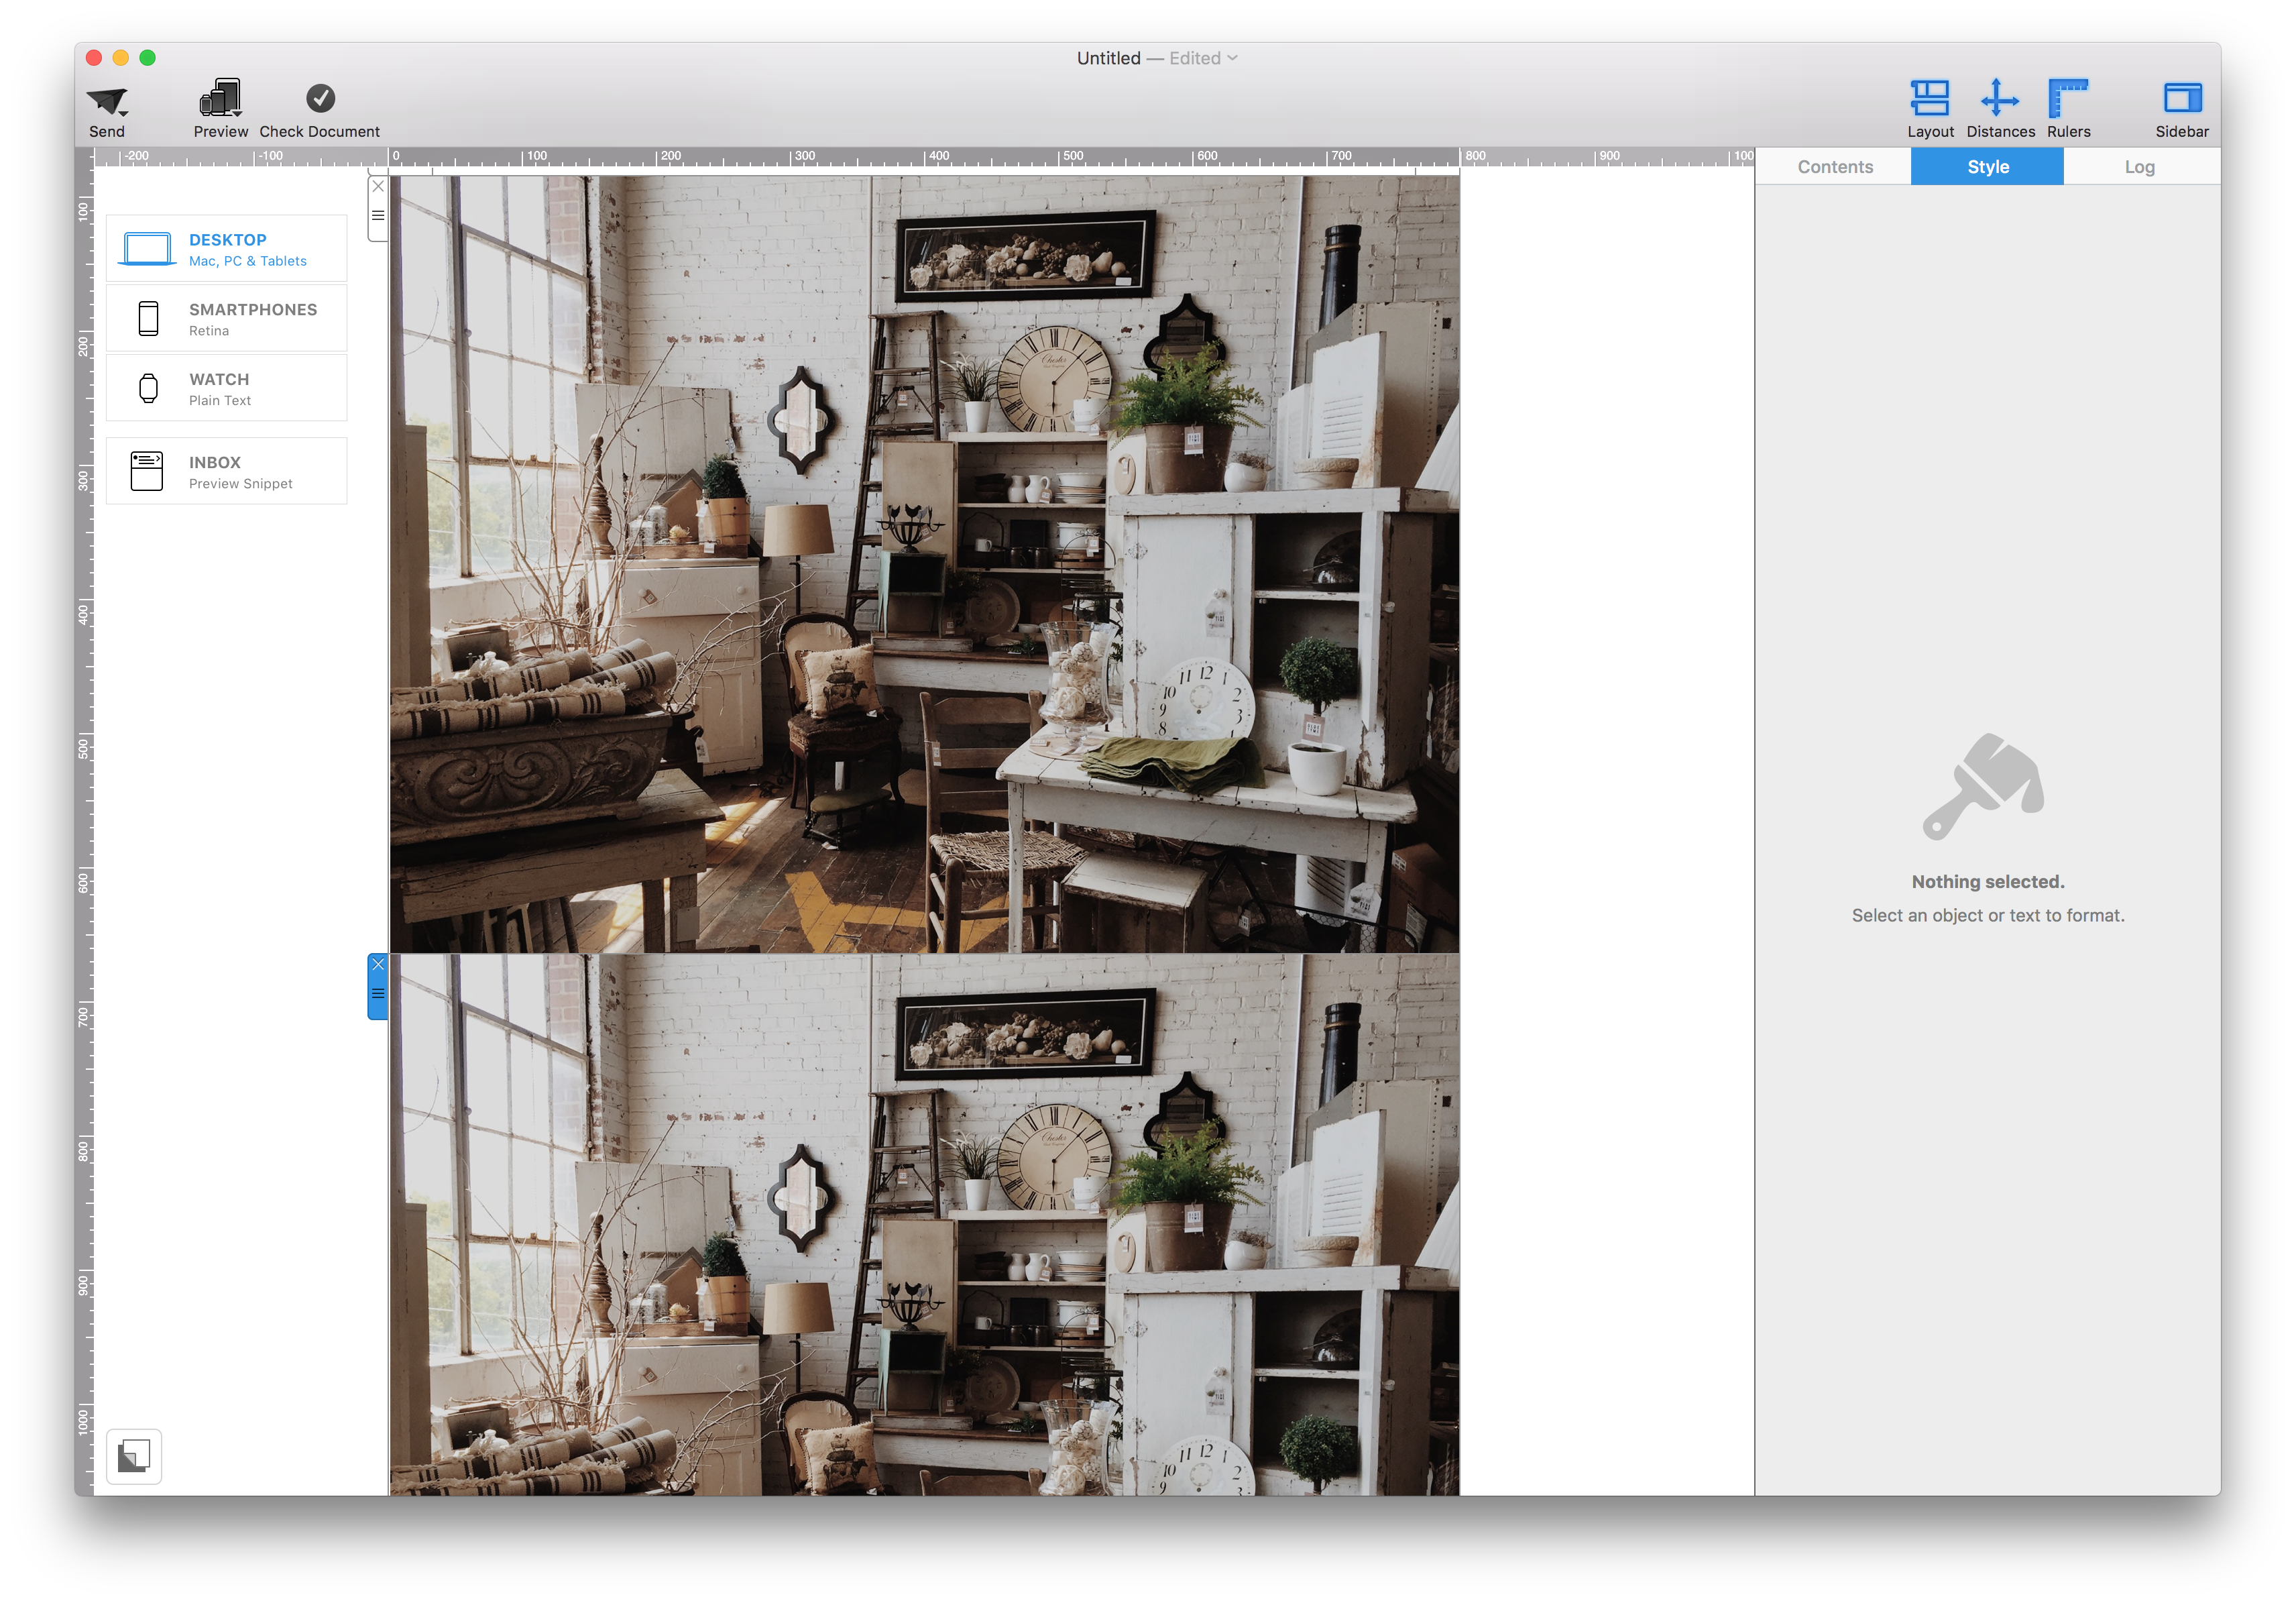
Selected layout block in Mail Designer 365 before using the Duplicate command

Tip: The selected layout handle looks like the small control shown below. If only the text cursor or an image control is active, click the block handle again before duplicating.

Selected layout block handle in Mail Designer 365

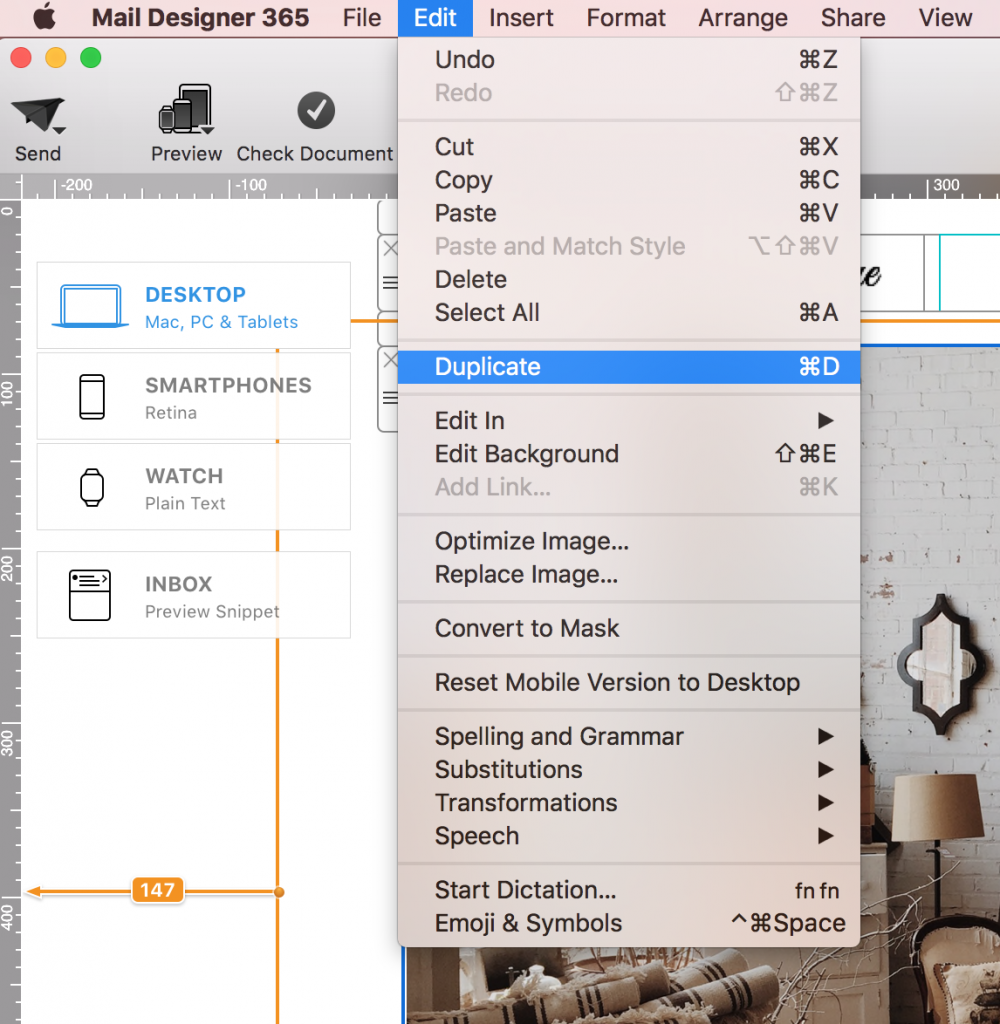
Method 1: Use Edit > Duplicate

  1. Click the layout handle on the left side of the block, or click the block so the complete layout is selected.
  2. Choose Edit > Duplicate from the menu bar.
  3. Locate the new copy and replace its content while keeping the shared styling you need.

This menu method is easy to discover and is helpful when you do not want to remember a keyboard shortcut. After the copy appears, confirm that you are editing the duplicate and not the original block.

Method 2: Option-drag the layout handle

Use this method when you want to duplicate layout blocks and position the copy in one movement.

  1. Click the layout handle on the left side of the layout block.

Layout handle selected on the left side of an email block

  1. Hold the Option (⌥) key and drag the selected block. Keep holding Option while moving it.

Dragging a selected layout block while holding the Option key

  1. Drop the block in the desired position to create the copy, then release the key and edit the duplicated content.

Duplicated layout block placed in a new position

If dragging only moves the original, undo the move, select the complete block again, and repeat while holding Option before you begin dragging. Make sure the insertion position is correct before dropping the copy.

Method 3: Press Command-D

  1. Select the layout block handle or the complete layout block.

Complete email layout block selected for duplication

  1. Press Command-D (⌘D). Mail Designer 365 creates a duplicate of the selected block.
  2. Edit the copy and move it to the appropriate place in the email if necessary.

Original and duplicated layout blocks in Mail Designer 365

What changes in the duplicate?

The duplicated block starts with the same content and styling as the original. Replace copied headlines, links, image alternative text, button destinations, prices, dates, and tracking parameters. Repeated sections are visually useful, but accidentally leaving an old link or offer in a copy can send recipients to the wrong destination.

Review spacing around the new block and check whether repeating a background or divider creates an unwanted double border. If the block contains personalized text or campaign-specific terms, validate those items separately in every copy. Then preview the complete email in desktop and smartphone views.

Troubleshooting duplicate layout blocks

  • Only one element is copied: Select the layout handle, not an individual text, image, or button element.
  • The original moves instead of copying: Undo, hold Option before dragging, and keep it held until the block is positioned.
  • Command-D does nothing: Click the layout block handle again so the whole block is selected, then retry the shortcut.
  • The copy appears in the wrong place: Move the duplicated block using its handle and watch the insertion indicator.
  • Content looks identical after editing: Confirm you are working in the new copy and replace every campaign-specific field.

This article covers copying a block inside one Mail Designer 365 email design. It does not describe copying a Mailchimp content block between campaigns or duplicating an entire WordPress page; those are separate workflows and should use their own instructions.

Adding space in between layout blocks

By Hans-Peter Layout Blocks

Adding space in between layout blocks gives an email design room to breathe and makes related sections easier to scan. In Mail Designer 365, you can create spacing with a dedicated spacer layout block or adjust the spacing around text inside a layout block.

Choose the right type of email layout spacing

Use a spacer layout block when you need a clear gap between two complete sections, such as between a hero area and a product block. Use Spacing Before or Spacing After when the space belongs to a selected text area and should remain part of that text layout.

Start by checking which element is actually too close. If two entire blocks feel cramped, add a spacer between them. If a heading or paragraph needs more room inside its existing block, adjust the text spacing instead.

Add a spacer between two layout blocks

When one layout block sits directly against the next, the design can look crowded and the visual hierarchy may be unclear. A spacer creates a controlled gap without adding empty text or repeated line breaks.

Two email layout blocks positioned too close together

Open the Contents panel and locate the spacing layout block. Drag it between the two content layout blocks where you want the gap to appear. Watch the insertion position carefully so the spacer is placed between the intended sections rather than inside another block.

Dragging a spacer from the Contents panel between email layout blocks

Fine-tune the spacer height

Select the inserted spacer and adjust its size by dragging the boundary line above or below it. A gap of around 30 pixels can be a useful starting point, but the right value depends on the surrounding content, typography, and overall rhythm of the design.

Compare the gap with other section breaks in the same email. Reusing a small set of consistent spacing values usually looks more polished than choosing a different distance for every block.

Adjusting the height of a spacer between layout blocks

Use Spacing Before or Spacing After for text

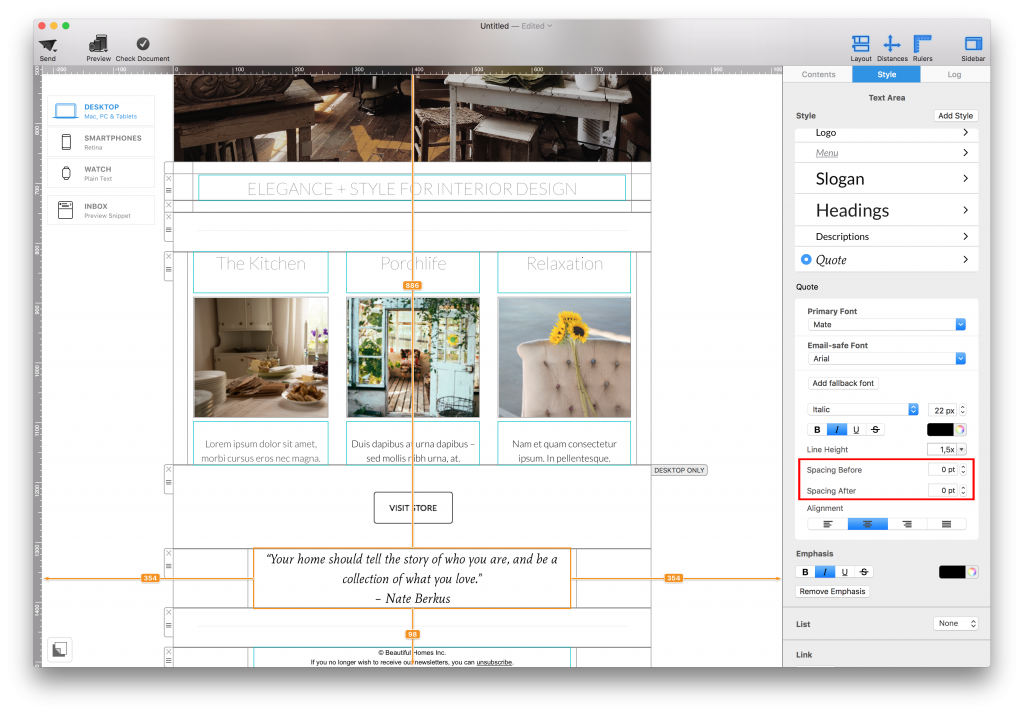
For space connected to a text area, select the text area first. In the panel on the right, open the Style tab and find Spacing Before and Spacing After below the line-height control. Increase or decrease the point value to adjust the space above or below the selected text area.

This method is useful when a headline needs separation from the paragraph that follows, or when a text group needs more room before the next element. Because the spacing belongs to the selected text area, it is easier to keep the text and its surrounding space together when the layout changes.

Spacing Before and Spacing After controls in the Style tab

Check spacing on desktop and mobile

Preview the email at desktop and mobile widths after making changes. A wide desktop layout may need a generous section break, while the same gap can feel excessive when blocks stack on a narrow screen. Confirm that the reading order remains clear and that no important text or button appears separated from the content it belongs to.

Avoid using repeated blank lines, empty text boxes, or invisible characters to force distance. Dedicated spacing controls are easier to understand, adjust, and keep consistent.

Test the finished email design

  • Review the full design at a comfortable zoom level and compare all major section gaps.
  • Check that headings, paragraphs, images, and buttons remain grouped logically.
  • Send a test email and inspect it in more than one email app.
  • Confirm that links are still easy to tap and that spacing does not hide or separate a call to action.

For more Mail Designer 365 guidance, browse the Mail Designer 365 Knowledge Base.

Adding and removing layout blocks

By Hans-Peter Layout Blocks

Adding and removing layout blocks in Mail Designer 365

Adding and removing layout blocks lets you change the structure of an email design without rebuilding the entire message. A layout block is a section that can contain text, images, buttons, spacers, or combinations of these elements. You can insert a new block wherever the design needs another section and remove a block that is no longer required.

This guide covers the basic workflow in Mail Designer 365, including how to open the layout block library, place a block accurately, remove one safely, and check the mobile version before sending.

Open the Contents panel

  1. Open the email design you want to edit.
  2. Click Contents in the toolbar to open the Contents panel.
  3. Select Layout Blocks to view the available structures.
  4. Review the previews and choose a block that fits the content you want to add.

The Contents panel includes the reusable design elements available for the document. Layout block previews show their column structure and help you decide whether you need a full-width area, several columns, or a combination of image and text regions.

Open the Contents panel to choose Mail Designer layout blocks

Add a layout block to the email

Drag the chosen layout block from the panel into the design. As you move the pointer, the existing sections make room and a placement indicator shows where the new block will be inserted. Release the mouse only when the indicator appears at the intended position.

If the block lands in the wrong location, undo the action and drag it again. Positioning the structure before filling it with content is usually faster than moving several finished elements later.

Drag a new layout block into an email design

Fill and adjust the new block

After inserting the block, add text, images, buttons, or other content to its areas. Keep each section focused on one part of the message. For example, use one block for the introduction, another for a product feature, and a final block for the call to action.

Check spacing and alignment after adding content. A block preview represents the structure, but the final height depends on the amount of text and the proportions of the images you add. Use the mobile version to confirm that columns stack in the intended order and that important content remains easy to scan.

Remove a layout block

Select the block you no longer need and locate its handle. Click the x icon on that handle to delete the complete block. Removing a layout block also removes the elements inside it, so confirm that the section does not contain content you still need.

If you remove the wrong block, use Undo immediately. For more substantial changes, save a copy of the design before deleting several sections. This gives you a safe reference if you later need an image, text passage, or button from the previous version.

Remove a layout block with the x icon on its handle

Reorder blocks and refine the structure

You can use the same drag-and-drop approach to refine the flow of the email. Keep related sections together, place the primary message near the beginning, and make the main call to action easy to find. When a layout feels too crowded, adding a simpler block can be more effective than forcing extra content into an existing section.

For guidance on adjusting an existing structure specifically for smaller screens, see modifying a layout block for the mobile version.

Check the design before sending

  • Preview both desktop and mobile versions.
  • Confirm that blocks appear in the correct order.
  • Check that no text or images were removed accidentally.
  • Verify spacing between sections and the alignment of buttons.
  • Send a test email and review it in the email clients important to your audience.

A final test is especially important after adding and removing layout blocks because structural changes can affect the reading order and spacing of the complete design. Save the document once both versions look correct.

Text and image areas

By Team equinux Layout Blocks

Working with text and image areas

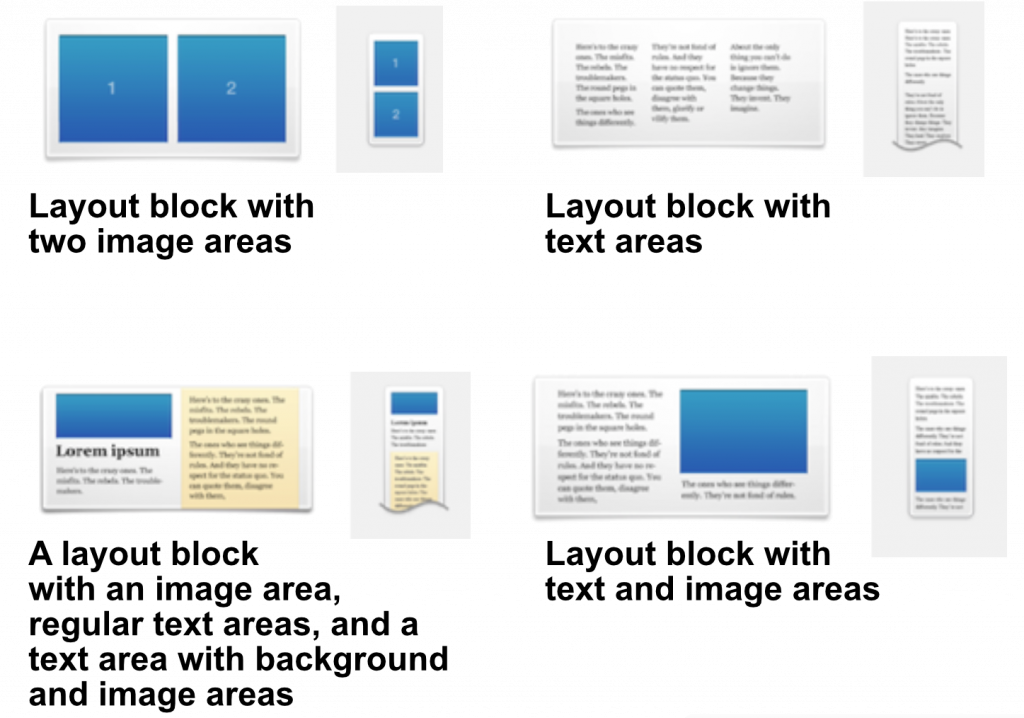
Mail Designer 365 offers layout blocks that have text areas, image areas or both. A text area can only contain text, while an image area can contain images, photos, shapes, masks and styled text.

Learn how to change the background of a text area in Mail Designer 365 in this step-by-step FAQ.

Privacy Settings / Datenschutz-Einstellungen