The Image Optimisation Tool for Email Images

By Hans-Peter Images

The image optimisation tool in Mail Designer 365 helps you prepare images at a practical size and resolution for an email design. Thoughtful email image optimization can reduce unnecessary file weight, help graphics load sooner for recipients, and preserve the clarity of logos, photos, and text-based artwork.

Large source images often contain more pixel data than an email layout can display. Sending that excess data can slow image loading, particularly on mobile connections. Mail Designer 365 provides suitable settings for the selected image and also lets you review the output format and quality before applying the change.

Open the image optimisation tool

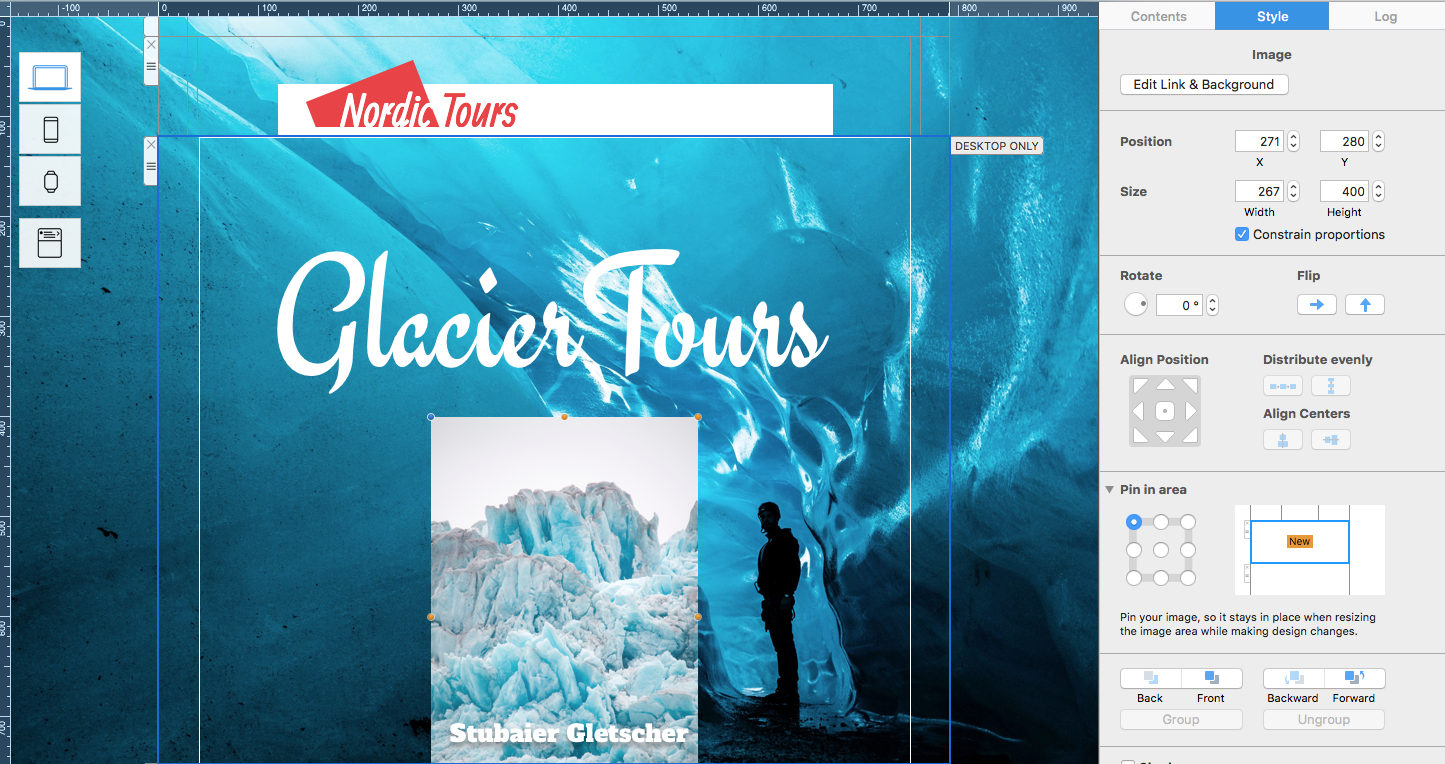
Select the image you want to optimise in your design. This opens the Style menu for that image. Choose “Edit link and background” to access the relevant image controls.
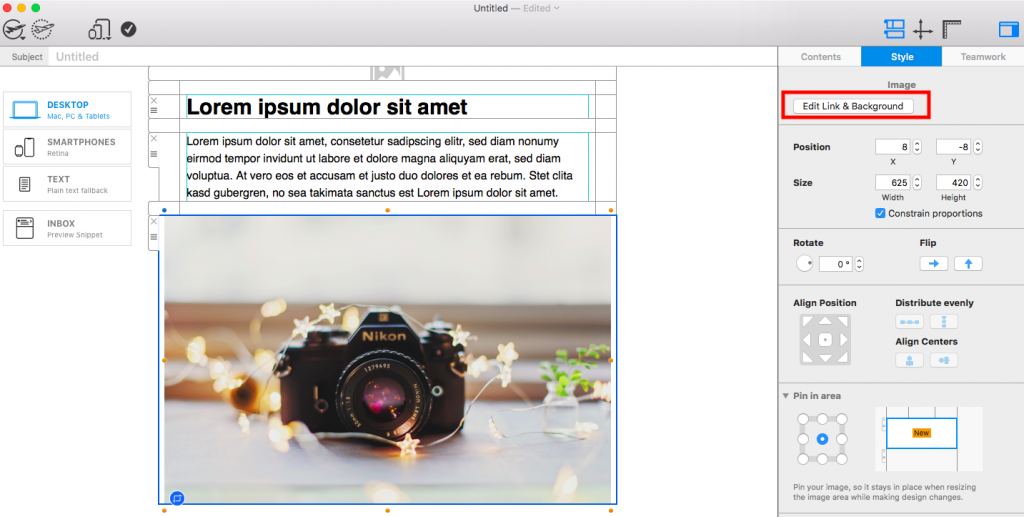
Selecting an email image in Mail Designer 365 before optimisation

Next, select “Optimise Image.” The image optimisation tool opens so you can compare the available file formats and, where applicable, adjust image quality.
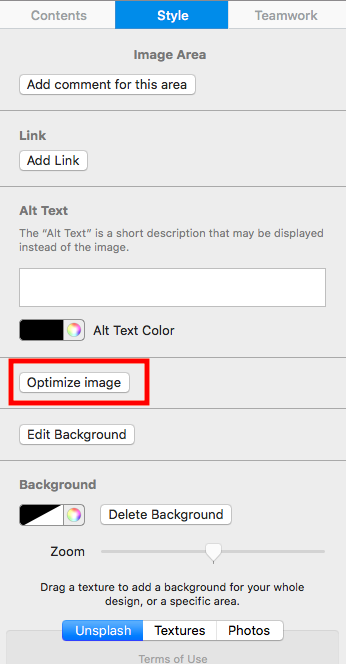
Opening the image optimisation tool in the Style menu

Choose Smart, PNG, or JPEG

In the optimisation window, choose a file type from the dropdown menu. The right choice depends on the image content and whether transparency is required.

PNG supports transparency and lossless image data. It is often a good fit for simple graphics, interface elements, logos, or artwork that contains sharp text. Photo-like images can produce larger PNG files because they contain many colours and fine details. Mail Designer 365 applies additional PNG compression to reduce the file size.

JPEG uses lossy compression. It is commonly suitable for photographs and other complex images, and you can use the quality slider to balance detail against file size. Very low quality can create visible noise or “speckling,” especially around text and sharp edges. JPEG does not support transparency, so transparent or empty areas are filled with white.

Smart lets Mail Designer 365 choose an appropriate option. If you do not have a specific format requirement, Smart is a useful starting point because it avoids making the decision solely from the original filename.
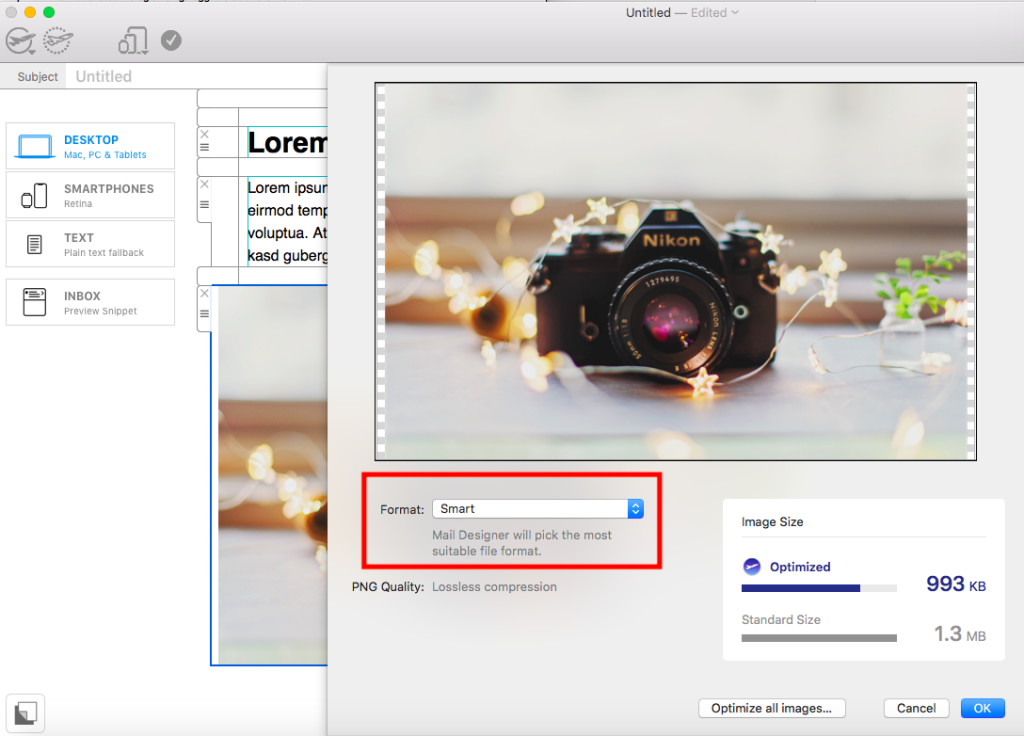
Smart PNG and JPEG choices in the image optimisation tool

Balance image quality and file size

For JPEG images, adjust the quality slider while watching the preview. Aim for the smallest practical file that still keeps important details clean. Product photos and textured scenes can usually tolerate some compression, while screenshots, typography, and diagrams may reveal artifacts sooner.

The automatically selected settings are a sensible default for most email designs. Change them only when the preview gives you a clear reason. A slightly larger file is preferable when extra compression damages a logo, makes text difficult to read, or introduces distracting blocks and halos.
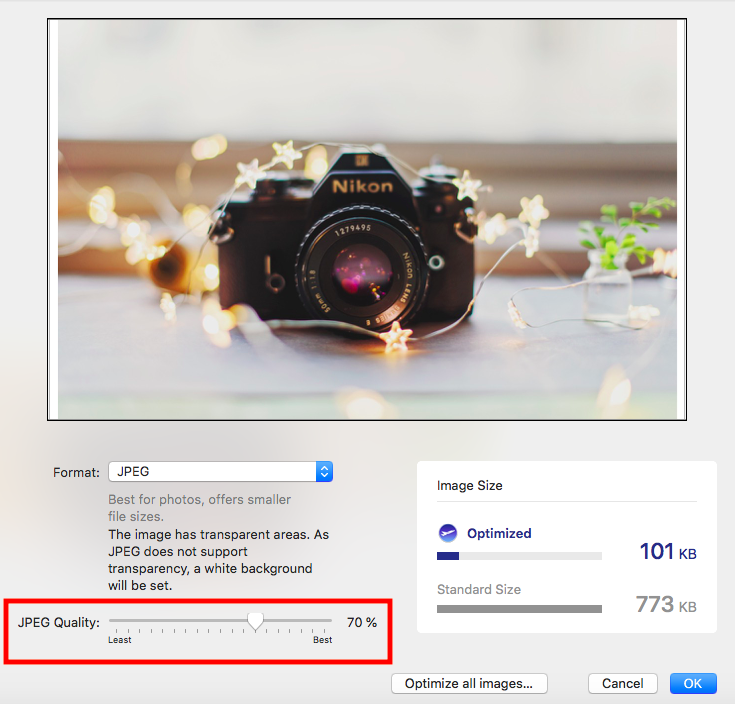
Adjusting JPEG quality for an optimized email image

When the preview looks right, click “OK” to apply the settings to the image.

Check optimized images before sending

Review the design in desktop and smartphone previews after using the image optimisation tool. Confirm that text within screenshots remains readable, transparent edges look correct, and photographs retain the details needed for the message. Also check that important information is not available only inside an image; recipients may initially view the email with images blocked.

Send a test email when possible and inspect it on the inbox environments that matter to your audience. This verifies the real balance between loading speed and visual quality. If an image looks soft or shows compression artifacts, return to the tool and choose a higher quality setting or a more suitable format.

For more preparation guidance, see how to optimize an image area in Mail Designer 365. Keeping image dimensions close to their displayed size and using concise alternative text supports a lighter, more accessible email design.

Crop an image in Mail Designer 365

Image Cropping in Mail Designer 365

By Team equinux Images

Image cropping in Mail Designer 365 gives you precise creative control over how photos fit inside image areas in your email design.

Image Cropping in Mail Designer 365

To begin, drag an image into an image area within your design.

Dragging a photo into an image area in Mail Designer 365

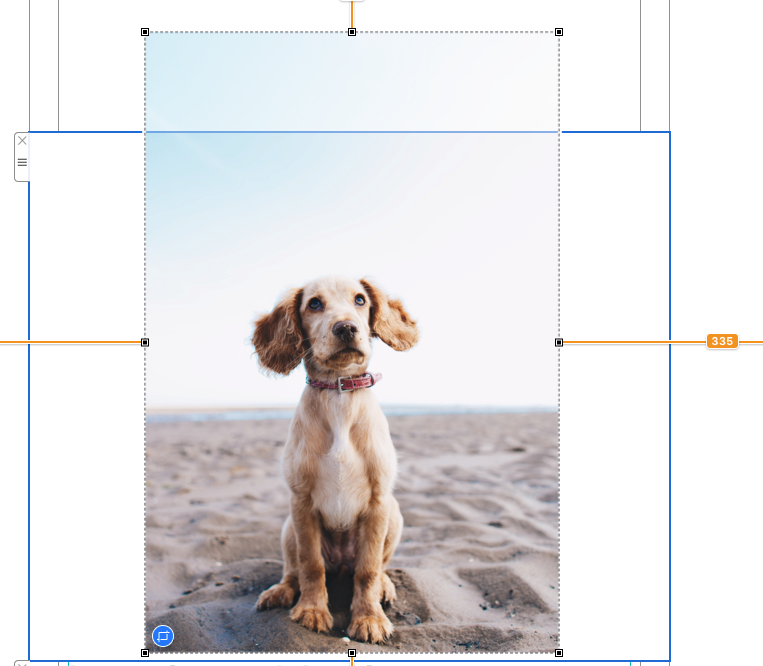
Click on the image and then click on the blue crop icon in the bottom left corner.

Blue image cropping icon in Mail Designer 365

Image cropping handles around a selected photo

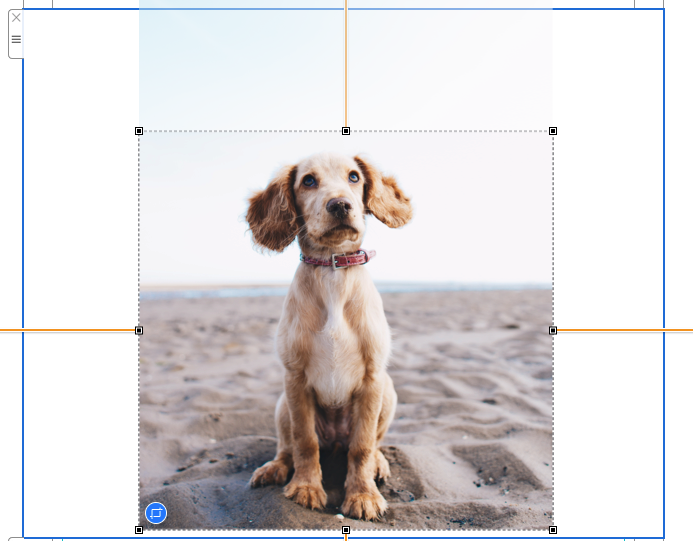
Drag the corners of the image to crop into your desired size.

Dragging image corners to crop a photo

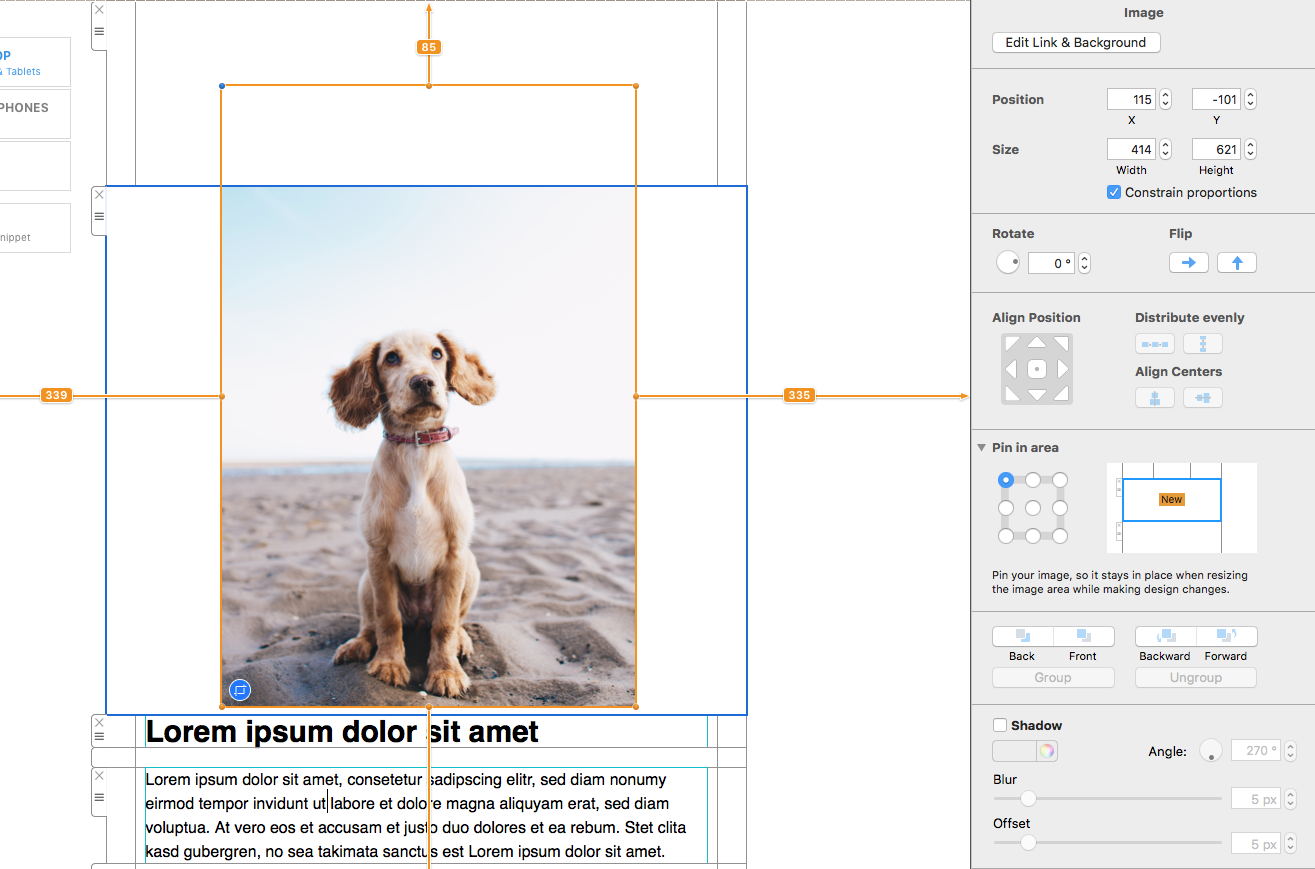
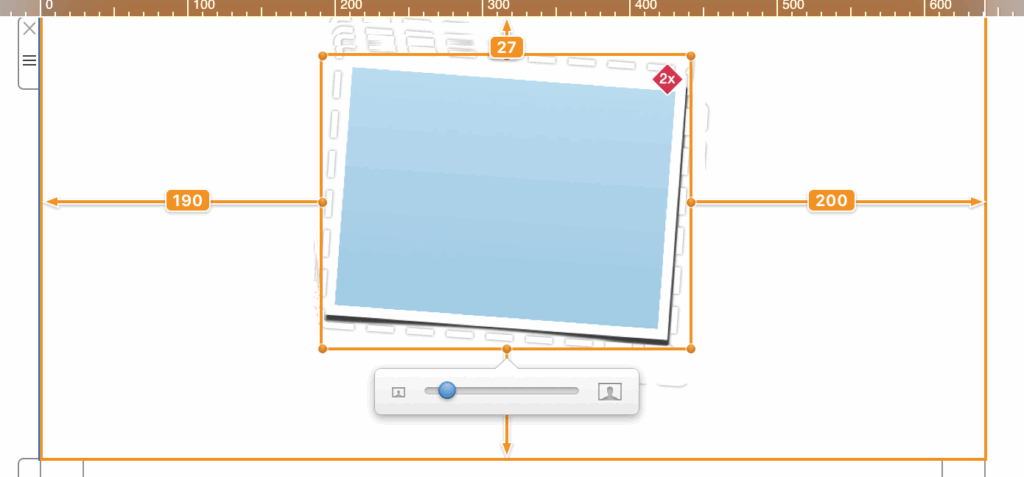
You can then reposition and resize the image to your liking.

Repositioning a cropped image inside its image area
Don't worry if you change your mind about the crop. Simply click on the blue crop icon again and drag to undo your changes.

Want to resize an image instead? Check out our guide on how to resize an image in Mail Designer.


How to Use Unsplash Images in Email Designs

By Hans-Peter Images

How to Use Unsplash Images in Mail Designer 365

Unsplash images are available directly inside Mail Designer 365, making it easier to find photography while working on an email design. You can browse a curated selection, search by subject, drag a photo into an image area, or use it as a section background.

Choose imagery that supports the message and leaves enough contrast for nearby text. Before using any photo in a campaign, review its source information and the current usage terms that apply to it; do not assume every possible use is unrestricted.

Open the Unsplash Image Library

From a Selected Image Area

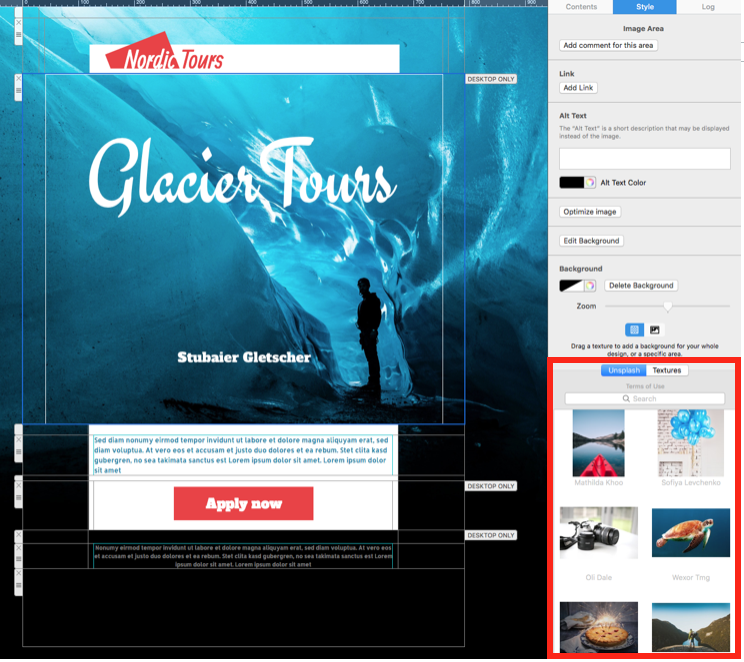
Click an image area in the email design. The Style sidebar displays the available image controls and a curated Unsplash collection. This route is useful when you already know which part of the layout needs a replacement image.

Browse curated Unsplash images in the Style sidebar

From the Contents Panel

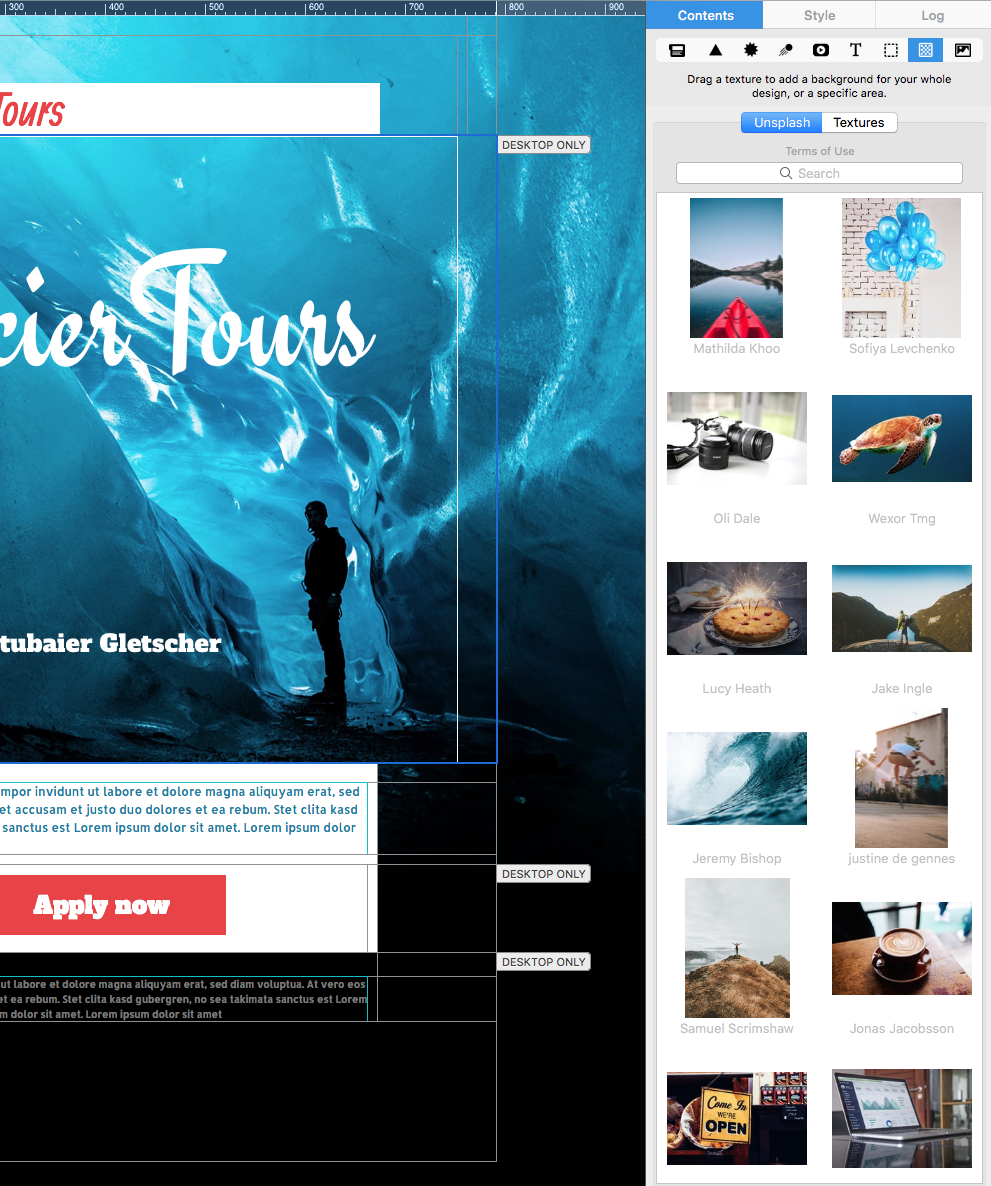
Open the Contents panel and select the Backgrounds tab to browse the integrated collection. This gives you another starting point when you are exploring visual ideas before choosing a specific image area.

Open Unsplash images from the Backgrounds tab

Search Unsplash Images by Keyword

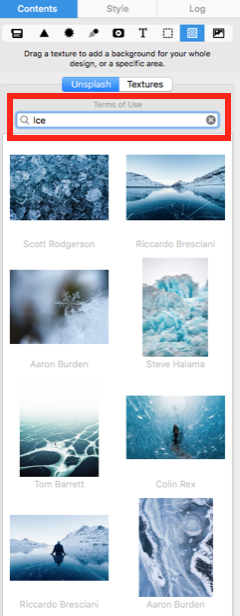
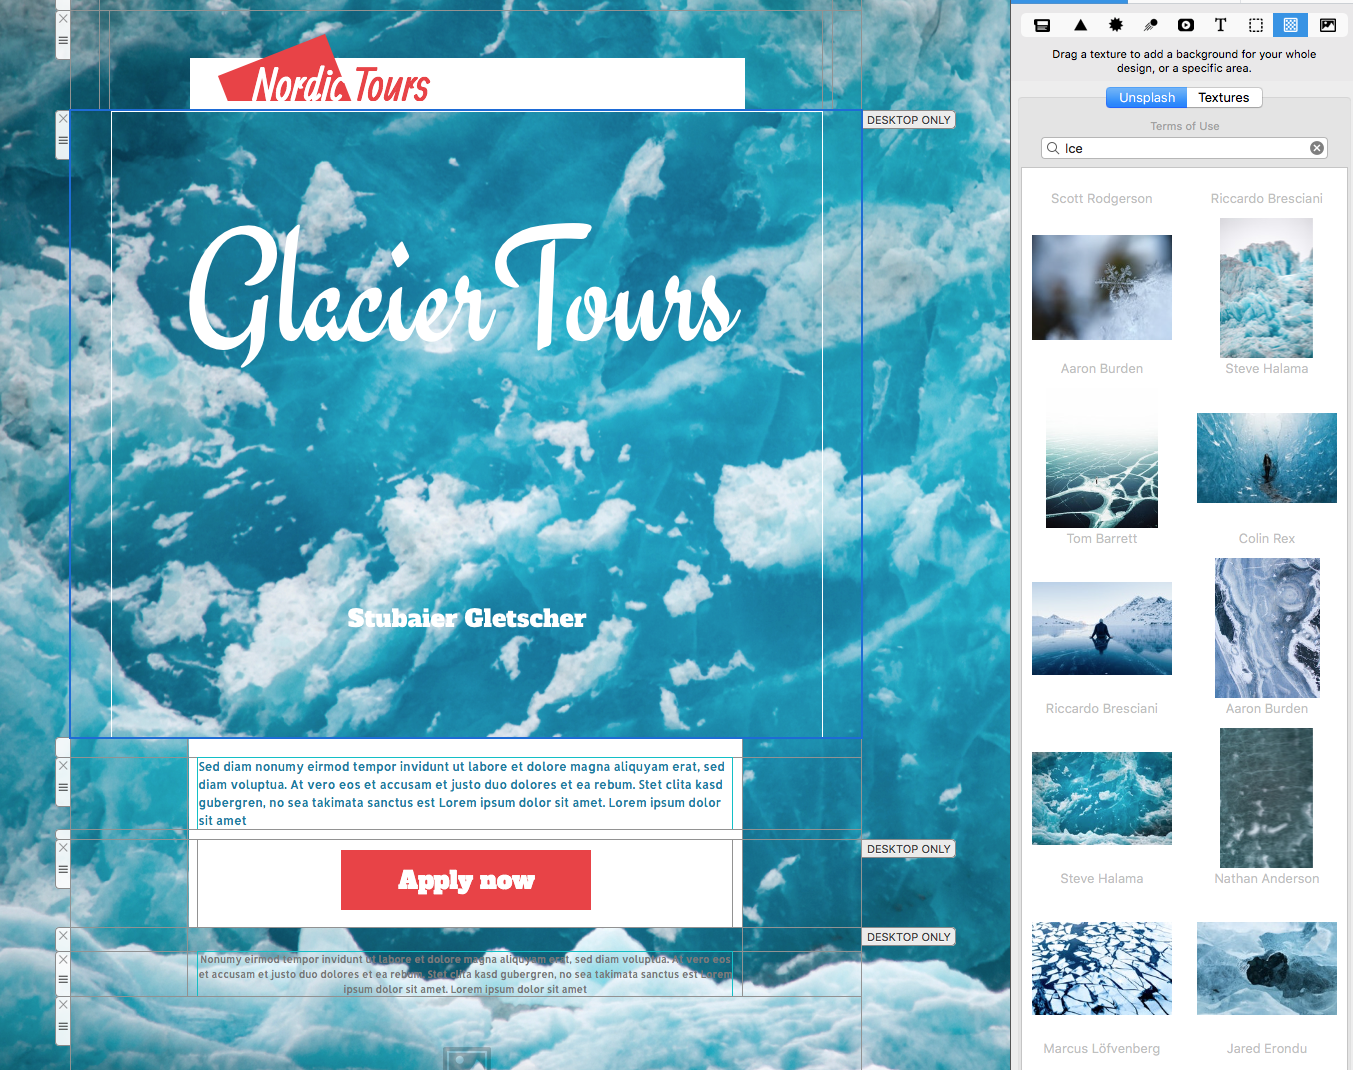
Use the search field to enter a concrete subject, location, object, or mood, then press Return. Specific terms generally make it easier to find a photo that matches the campaign. In the example below, the search term is “Ice.” Try related phrases when the first result set is too broad.

Search Unsplash images by keyword

Evaluate more than appearance alone. Check whether the composition leaves space for the intended layout, whether the focal point remains visible on mobile, and whether the colors provide sufficient contrast with buttons or editable text placed nearby.

Insert an Unsplash Image into an Image Area

Drag the selected photo from the library into an image area. Reposition or resize it so the important subject stays inside the visible crop. Preview the desktop and mobile versions separately because differently shaped image areas can reveal different parts of the same photo.

Drag an Unsplash image into an email image area

Add concise alternative text that describes the meaningful content or purpose of the image. When the photo is decorative and conveys no information, follow the appropriate decorative-image treatment instead of repeating nearby copy.

Use an Unsplash Image as a Background

To create a photo background, drag the chosen image into a background area in the design. Keep editable headings, paragraphs, and buttons in their own content elements rather than baking essential campaign text into the photo.

Use an Unsplash image as an email background

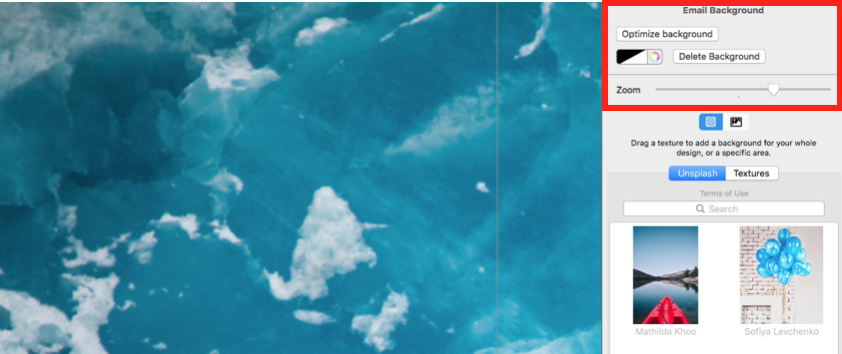
Double-click the background area to adjust the crop or zoom. Keep faces, products, and other focal points away from edges that may be cropped at narrower widths. If text overlays the image, check legibility throughout the supported layout sizes.

Adjust the crop and zoom of an Unsplash background

Check the Image Before Sending

  • Preview the image in desktop and mobile layouts.
  • Confirm that the crop keeps the subject visible.
  • Check alternative text for meaningful image areas.
  • Make sure overlaid text and buttons remain readable.
  • Review the image source and applicable current usage terms.
  • Send a test email and confirm the image loads in the received message.

Troubleshoot Unsplash Image Issues

If search results are too broad, use a more specific phrase or try a related term. If the crop looks wrong, double-click the area and reposition the image rather than stretching it. If text is difficult to read, choose a calmer image, move the text, or increase the visual separation between foreground content and the photo.

Using Unsplash images successfully means choosing an appropriate photo, fitting it to both layouts, preserving readable content, and verifying the result in a delivered test email.

How to Enable Retina Images for Email Newsletters

By Hans-Peter Images

Enable Retina images for email newsletters on desktop

Retina images for email newsletters help photos, logos, and graphics look sharp on high-density screens. These displays use more physical pixels to show the same design area, so a standard-resolution image can appear soft even when its dimensions are correct. Mail Designer 365 can prepare high-resolution image assets for the desktop and mobile versions of a design while keeping their intended display size.

This guide explains how to enable the desktop Retina setting, how to prepare suitable source files, and when file size should take priority over additional sharpness.

Turn on Retina images for the desktop version

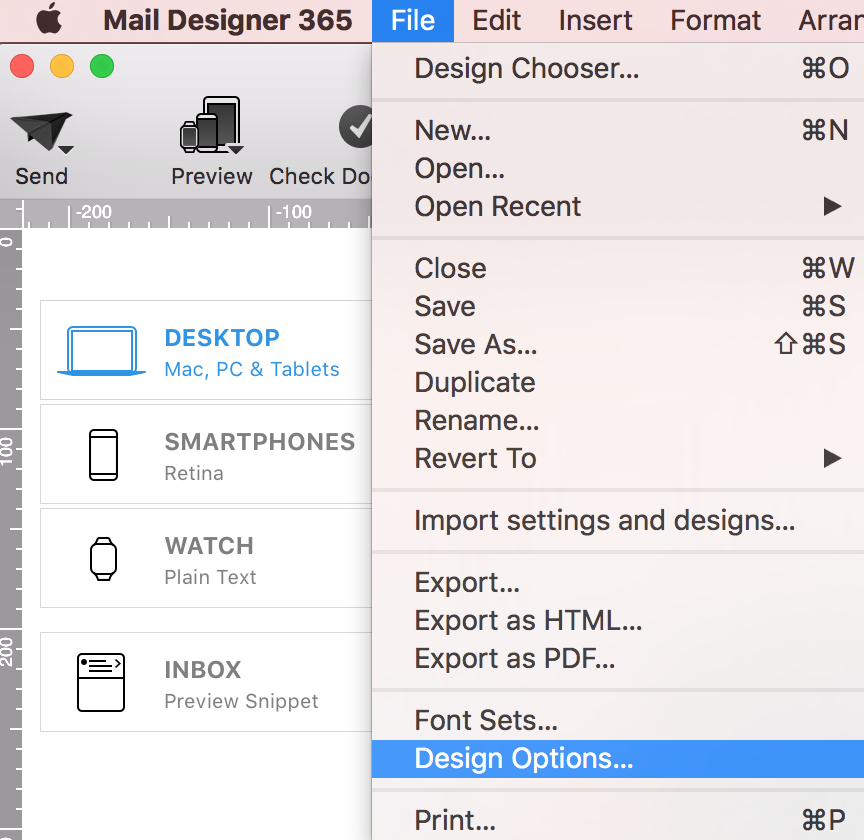
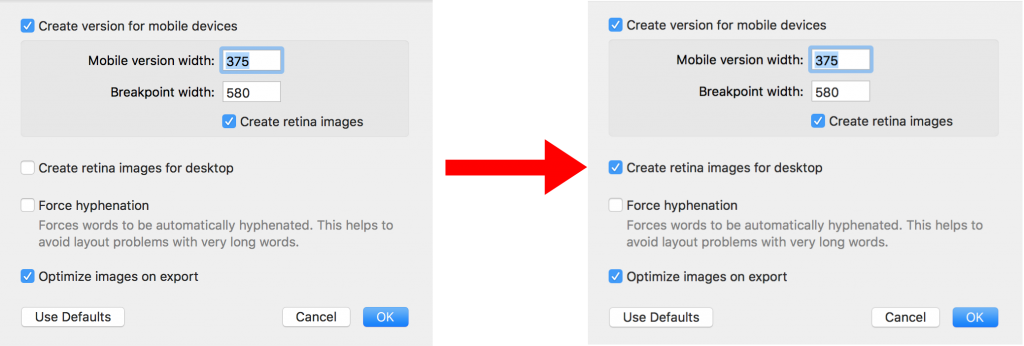
Open your email design in Mail Designer 365. From the menu bar, choose File > Design Options…. The Design Options window contains separate controls for the desktop and mobile versions of the design. Select the checkbox for Retina images in the desktop version, then close the window to return to your layout.

Mail Designer 365 Design Options for Retina images in email newsletters

When the option is enabled, Mail Designer 365 can use higher-resolution versions of images in the exported or sent email. The image still occupies the same visual space in the layout; the extra pixels improve detail on compatible screens. Clear the checkbox if you do not want the desktop version to prepare high-resolution assets.

Desktop Retina image setting in Mail Designer 365

Prepare images at the right resolution

A Retina source image should normally contain about twice as many pixels as its intended display dimensions. For example, an image displayed at 300 by 200 pixels can use a source file around 600 by 400 pixels. Mail Designer 365 displays it at the designed size while high-density screens can use the additional image detail.

Start with a clean source file rather than enlarging a small image. Upscaling cannot recreate missing detail and can produce a larger file that still looks blurry. Logos and illustrations benefit from crisp source artwork, while photographs should be exported at an appropriate quality before being added to the design.

Balance sharpness and email download size

High-resolution email images contain more pixel data and can increase the total download size of a campaign. That matters for recipients on slower connections and for image-heavy newsletters. Use Retina support where the visual benefit is clear, especially for logos, product shots, screenshots, and detailed graphics. Decorative backgrounds or very small images may not need the same treatment.

  • Crop images before importing them so unused pixels are not included.
  • Use JPEG for photographs and PNG when transparency or very crisp edges are required.
  • Avoid placing important text inside raster images when live HTML text would work.
  • Preview both desktop and mobile versions after replacing an image.
  • Send a test email to check quality and loading behavior in real inboxes.

Check the result before sending

Open the preview in Mail Designer 365 and inspect important images at normal size. Also verify that the design still works when images are initially blocked by an email client. Useful alt text should explain the purpose of each meaningful image. Then send a test message to a high-density display and, if possible, compare it with a standard display.

If the newsletter becomes too large, optimize the source images or disable Retina preparation for the desktop version. You can also review the image optimisation tool guide for ways to reduce image payload. The best result is a campaign that remains sharp without making recipients wait unnecessarily.

Retina image checklist

Before sending, confirm that the desktop Retina option matches your plan, source files have enough real resolution, image dimensions suit the layout, alt text is descriptive, and a test email has been reviewed. Following this checklist makes Retina images for email newsletters predictable across modern desktop and mobile screens.

Adding your own logos and signatures

By Hans-Peter Images

Add your own logos and signatures to the Mail Designer 365 image library when you want approved brand assets available while building email designs. Keeping a dedicated source folder makes it easier to reuse the correct logo, company image, or signature without searching through unrelated files for every campaign.

Prepare your own logos and signatures

Before adding the folder, review the files and keep only current, approved versions. Use clear filenames that identify the brand, color treatment, language, or intended background. Remove outdated logos and duplicate exports so team members do not accidentally choose the wrong asset.

  • Use a logo file with enough resolution for the size shown in the email.
  • Keep transparent backgrounds only when they are intentional and display correctly on light and dark sections.
  • Crop unnecessary empty space around a scanned signature.
  • Store signatures only when their use is approved and appropriate for the sender.
  • Keep a text sender name and contact details in the email instead of relying on an image alone.

Add the asset folder to Mail Designer 365

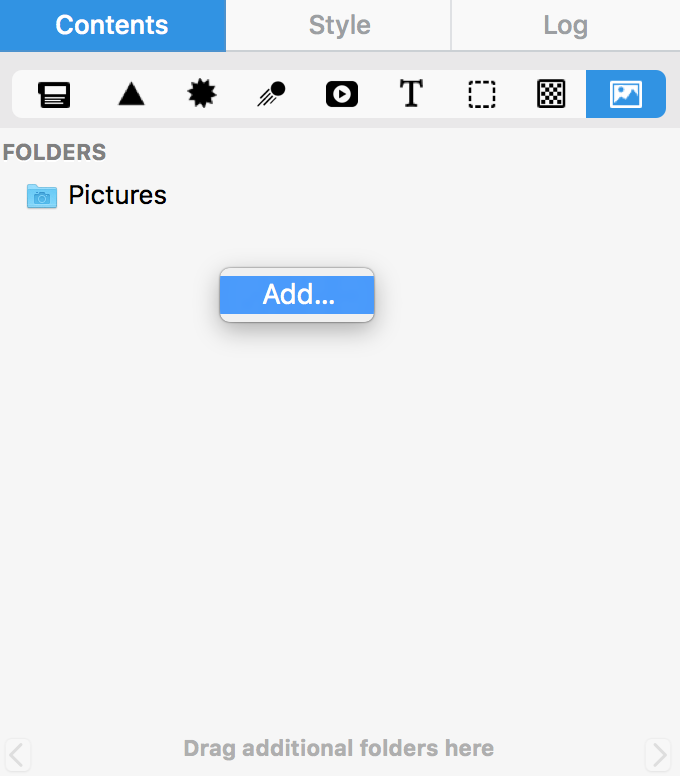
  1. Open the Photos area in the Contents section.
  2. Right-click below the predefined folders.
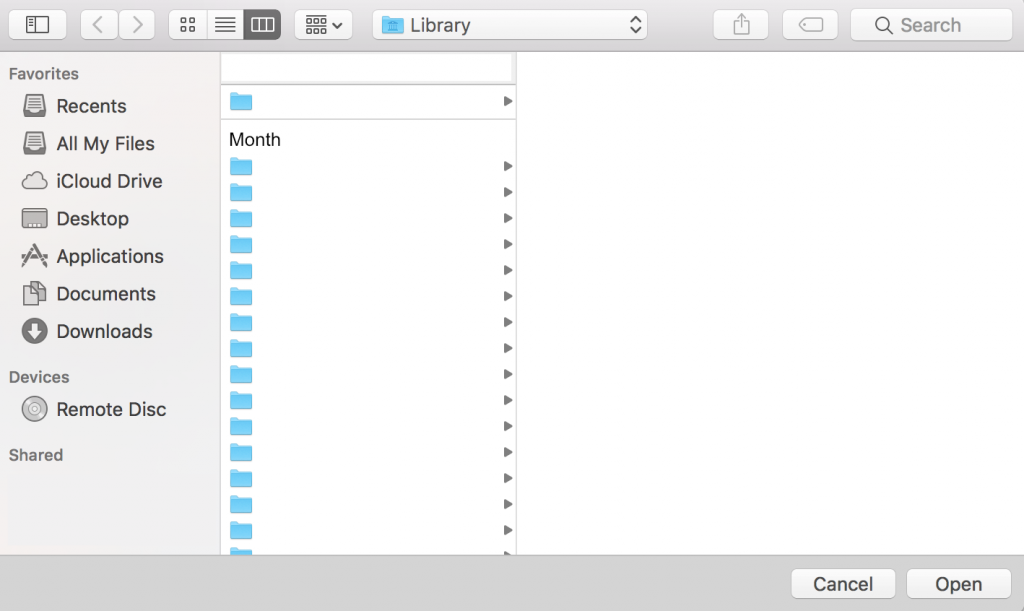
  3. Choose the folder that contains the logos, signatures, or company images you want to make available.
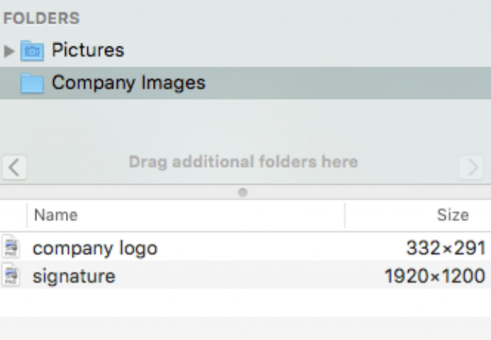
  4. Confirm that the folder appears in the list and open it to review the imported assets.
  5. Drag the selected asset into the appropriate image area in the email design.

Photos section for your own logos and signatures
logo and signature folder in Mail Designer 365
choose a company image folder for email designs

Use brand assets consistently

Place the logo where it supports recognition without competing with the main message. Keep its proportions intact and use the same approved version across related campaigns. When a signature is part of a personal message, size it so it feels supportive rather than decorative and include the sender’s typed name and role nearby.

Do not put essential legal, contact, or offer information only inside a logo or signature image. Live text remains available when images are blocked and is easier for recipients using assistive technology. Add concise alternative text to a meaningful company logo. For a decorative signature image accompanied by the same typed name, use alternative text carefully to avoid repeating identical information unnecessarily.

Check the result before sending

  • Preview the email at desktop and mobile widths.
  • Confirm that the logo is sharp and not stretched or cropped.
  • Check the asset against both light and dark background areas used in the design.
  • Verify that a signature belongs to the intended sender and campaign.
  • Send a delivered test and confirm the image loads in the received message.
  • Check that important sender and company information is still understandable with images disabled.

Troubleshoot missing or incorrect assets

If a folder does not show the expected image, confirm that the source file is inside the selected folder and that you added the correct location. If a logo looks blurry, return to the approved source and use an export suited to the displayed size rather than enlarging a small image. If the wrong version appears, remove it from the design, choose the correct file from the library, and send another test.

Review the source folder periodically. Archive superseded assets outside the active folder and keep a simple naming convention so the current logo and signature variants remain obvious. This reduces accidental brand inconsistencies across future email designs.

Plan for team use

When several people create campaigns, agree on which asset folder is authoritative and who updates it. Document the preferred logo for light and dark backgrounds, the minimum readable size, and whether signature images are allowed for every sender or only for specific personal messages. A short approval process prevents older files from reappearing after a rebrand.

Fill an Image Mask in Mail Designer 365

By Hans-Peter Images

To fill an image mask in Mail Designer 365, add a mask to your layout and drag a photo directly onto its placeholder. You can then zoom and reposition the image while the mask keeps the selected decorative shape.

Choose a mask for your photo

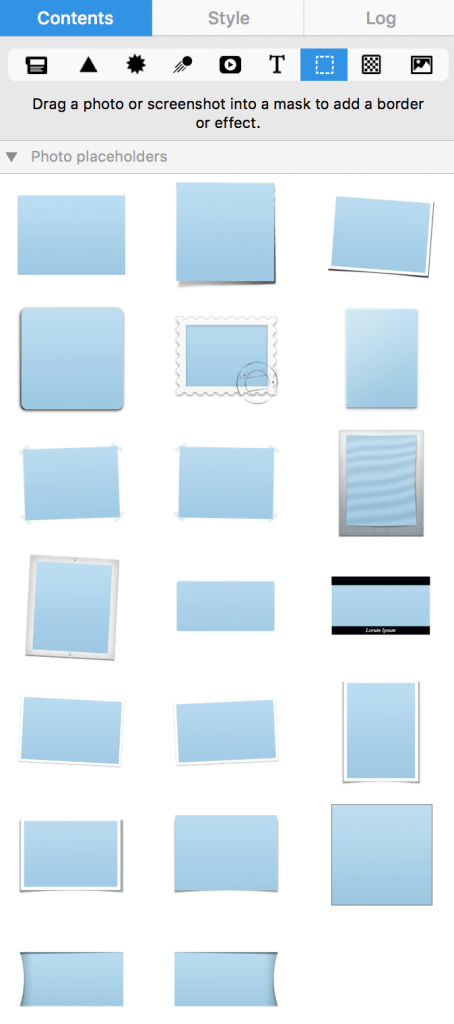
Open the Mail Designer 365 sidebar and browse the available mask designs. Choose a shape that suits the subject, the surrounding content, and the amount of space available in the layout. A wide landscape photo usually works best with a wider mask, while a portrait or face may suit a taller frame.

Choose an image mask from the Mail Designer 365 sidebar

If you have not placed a mask yet, follow the overview for adding image masks before continuing.

How to fill an image mask

  1. Insert the chosen mask into your email design.
  2. Open your image library or locate the photo you want to use.
  3. Drag the photo directly onto the mask placeholder.
  4. Release it when the mask highlights as the destination.
  5. Review the automatic crop and adjust it before moving on.

The photo is placed inside the mask rather than beside it. The original image file is not permanently cropped, so you can refine the visible area or replace the photo later.

Zoom and position the photo

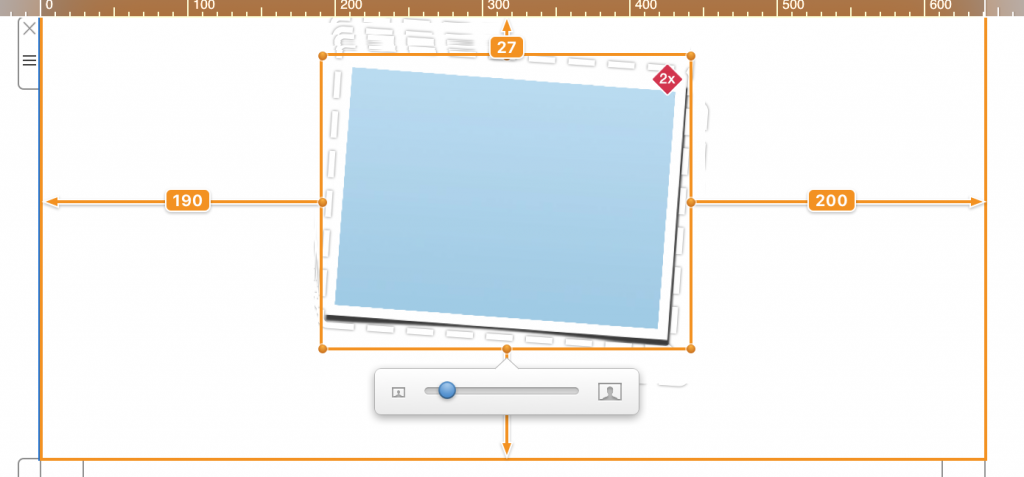
Double-click the filled mask to activate the image controls. Use the zoom slider to enlarge or reduce the photo inside the fixed shape. Drag the image to reposition the subject and keep the most important area visible.

Adjust the zoom of a photo inside an image mask

Start with the lowest zoom level that fills the complete mask. Then move the photo until faces, products, logos, or other focal points sit comfortably within the frame. Leave a little space around the subject when possible so the crop does not feel cramped.

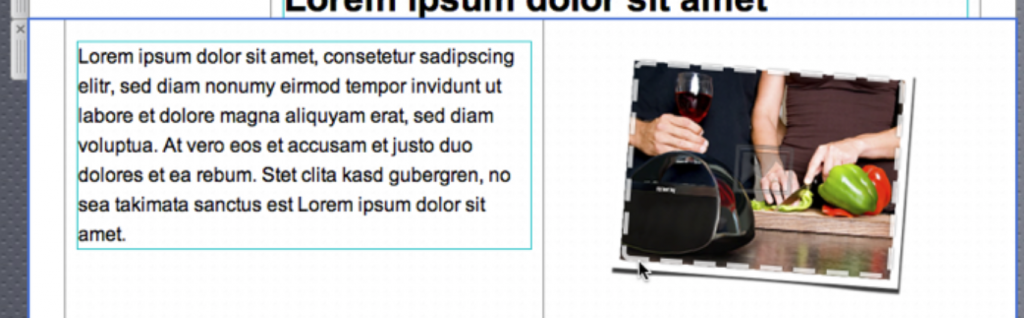
Position a photo to fill an image mask in Mail Designer 365

Protect image quality

Heavy zooming can make a small source image look soft or pixelated. Use a photo with enough resolution for the displayed size and avoid enlarging it more than necessary. If the crop still does not work, choose a source image with a better aspect ratio or select a different mask.

Before sending, review the image at its actual desktop and mobile display sizes. The guide to the image optimisation tool can help you balance visual quality and file size.

Replace the photo or change the crop

To use a different photo, drag the replacement directly onto the existing filled mask. Double-click it afterward and adjust zoom and position again, because each image has a different focal point.

If you resize the mask itself, inspect the crop once more. A size change can reveal or hide parts of the photo even when its position was correct before. Keep proportions consistent unless the design calls for a different shape.

Check readability and accessibility

Make sure the masked image supports the surrounding headline and body copy instead of competing with them. Avoid placing essential text inside the photo, since image blocking or scaling can make that information unavailable. Keep necessary wording as live email text whenever possible.

Use a concise, descriptive alt text that communicates the image’s purpose when the photo does not load. Decorative imagery can use a simpler description, while product or instructional images should identify the useful subject. Also verify that any link associated with the image points to the intended destination.

Preview desktop and mobile layouts

Open both previews and confirm that the subject remains visible at narrower widths. Check spacing, alignment, image quality, and the balance between the mask and nearby content. If a decorative crop becomes unclear on mobile, use a simpler mask, a wider source photo, or a separate mobile arrangement.

Send a test email and inspect the result in at least one desktop and one mobile email client. This helps catch rendering differences that may not be obvious on the design canvas.

Troubleshoot a mask that will not fill

If the photo appears next to the mask, undo the action and drag it directly over the placeholder until the destination highlights. If the mask remains empty, confirm that you selected a supported image file and that the placeholder is not covered by another object.

When the subject is cut off, reduce zoom or reposition the photo. When the image looks blurry, use a higher-resolution source or avoid excessive enlargement. Finish by checking the complete campaign after you fill an image mask so its crop, alt text, spacing, and visual weight work together with the rest of the design.

Image masks in Mail Designer 365

Add Image Masks in Mail Designer 365

By Team equinux Images

Image masks let you crop a photo into a decorative shape without editing the original file. Mail Designer 365 includes ready-made masks that can frame campaign images, add visual variety, and keep a repeated photo style consistent across an email design.

What are image masks?

A mask controls which part of a picture remains visible. The photo fills the masked area while everything outside the selected shape is hidden. You can then zoom or reposition the photo inside the frame to choose the most useful crop.

Use image masks when the shape supports the message and does not make important details difficult to see. A simple rectangular image area is often better for screenshots, text-heavy graphics, or product images that must remain completely visible.

Choose and add an image mask

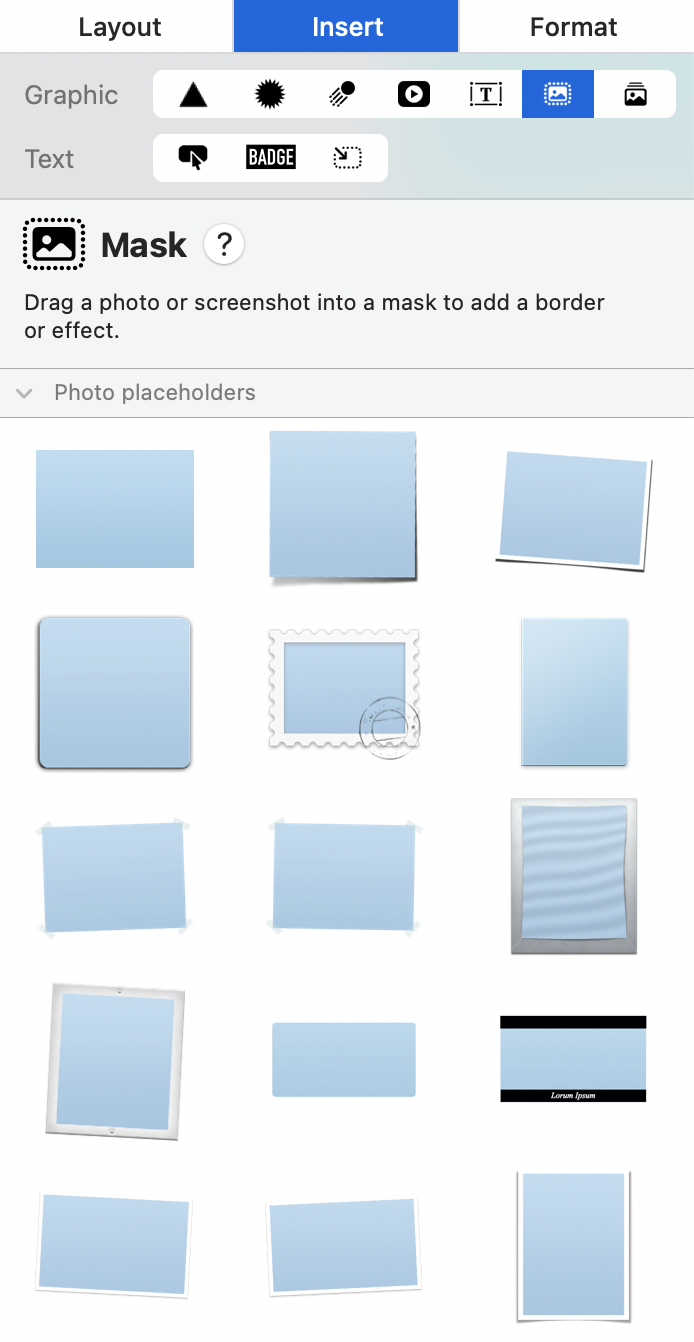
  1. Open Insert in the Mail Designer 365 sidebar.
  2. Select the Masks tab to browse the available designs.
  3. Choose a shape that fits the visual style of your campaign.
  4. Drag the mask into the intended position in your email design.
  5. Resize it proportionally and check the spacing around nearby text and graphics.

Browse image masks in the Mail Designer 365 Insert sidebar

A mask begins as an image placeholder. After placing it, drag your own photo onto the shape to fill it. If you need a detailed walkthrough of that step, see how to fill an image mask with a photo.

Adjust the photo inside the mask

Double-click the masked image to activate its editing controls. Use the image zoom slider to enlarge or reduce the photo inside the fixed shape. Drag the photo to reposition the subject and keep the most important area visible.

Use the image zoom slider to adjust a photo inside a mask

Avoid zooming so far that a low-resolution photo becomes soft or pixelated. If the crop feels too tight, reduce the zoom, reposition the subject, or select a mask with a wider aspect ratio. The original picture remains available, so these adjustments do not permanently crop the source file.

Position and crop a photo within a decorative image mask

Choose a mask that supports readability

Decorative frames should support the campaign rather than compete with the headline or call to action. Keep busy shapes away from dense copy and leave enough whitespace around the masked photo. If the image contains a face, product, or logo, choose a crop that preserves that focal point.

Use a consistent mask style when several photos appear in the same design. Repeating similar shapes, sizes, and spacing creates a clearer rhythm than mixing many unrelated frames. For additional image preparation options, review the guide to using the image optimisation tool.

Replace or resize a masked image

To replace the picture, drag a new image onto the existing mask and check the crop again. Different photos have different focal points and proportions, so the previous zoom and position may not suit the replacement.

When resizing the mask, maintain its proportions unless the design specifically requires another shape. Review the photo after every size change because a crop that works in a large desktop layout may hide important details in a smaller block.

Check desktop and mobile layouts

Preview the complete email at desktop and mobile widths. Confirm that the mask remains large enough to understand, does not overlap nearby content, and keeps the subject visible. If the mobile crop becomes unclear, use a simpler shape, a wider source image, or a separate mobile arrangement.

Send a test email and inspect the rendered image in more than one email client when possible. Verify image quality, spacing, alignment, link behavior, and fallback alt text. This catches scaling differences that may not appear on the design canvas.

Troubleshoot image-mask problems

If a photo does not fill the shape, confirm that it was dropped directly onto the mask rather than beside it. If the subject is cut off, double-click the image and adjust zoom and position. If the result looks blurry, use a higher-resolution source file or reduce the zoom level.

When a mask is difficult to select, choose it from an unobstructed edge or temporarily move overlapping objects. Undo accidental changes, then repeat the adjustment carefully. Finish by checking the image masks within the complete campaign so their crops, spacing, and visual weight remain consistent from the opening section to the final call to action.

Add Image to Email Designs in Mail Designer 365

By Team equinux Images

Add Image to Email Designs in Mail Designer 365

The add image to email workflow in Mail Designer 365 starts in the Insert sidebar. Open the image tools in the Insert sidebar and choose a photo from your Mac or the built-in Unsplash integration. Images help grab readers’ attention and quickly communicate what your email is about.

In Mail Designer 365, you can set up direct access to your Mac's Photos library or insert stock images from Unsplash.

Access Photos for Your Email Design

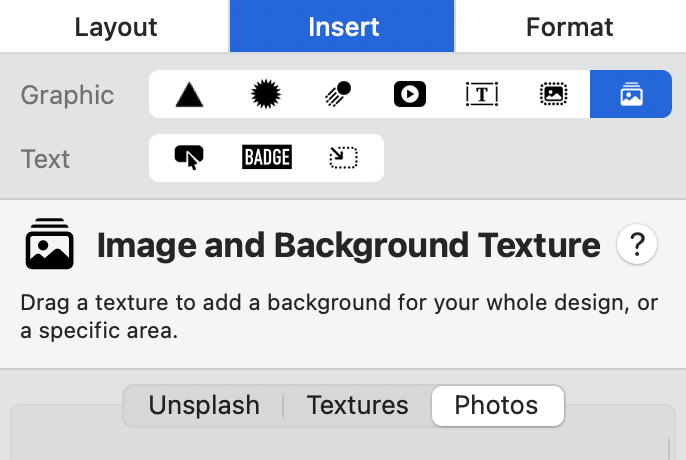
To access your own Photos in Mail Designer 365, go to Insert in the sidebar and choose Image and Background Texture. Then, switch to the Photos tab.

Photos tab for adding an image to an email in Mail Designer 365

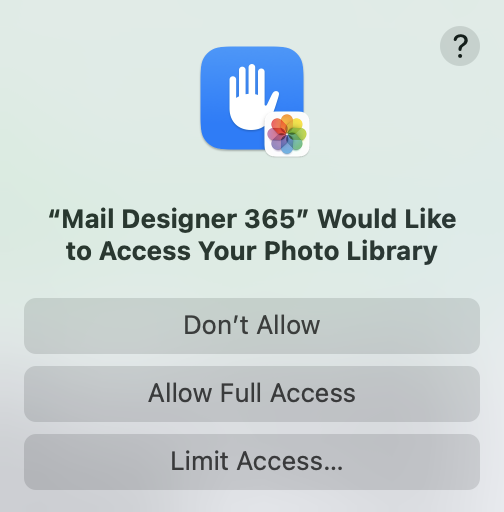
If it's your first time accessing photos, you will be shown this warning from macOS. Select the access you wish to allow in Mail Designer 365.

macOS photo access permission for Mail Designer 365

The photos tab gives you quick access to local folders that contain images, i.e. your Pictures folder:

Pictures folder available in Mail Designer 365


Add the Image to Your Email

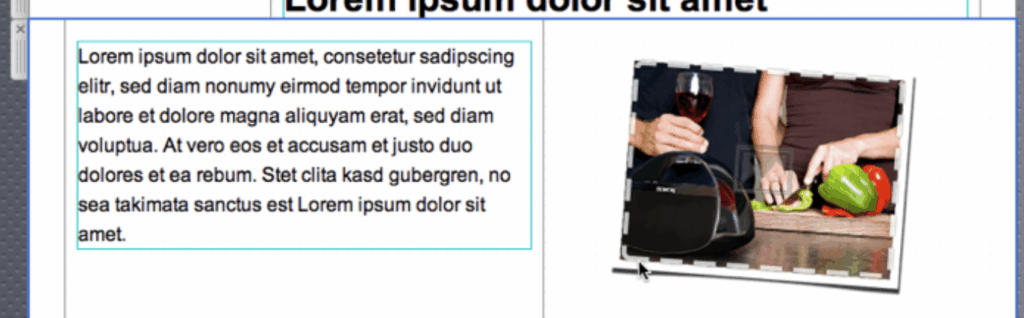
To add an image to your email, drag the photo into an image area in your design. You can then crop, resize, or replace it without changing the surrounding layout.


Privacy Settings / Datenschutz-Einstellungen