
To add multiple links to an image in an HTML email, divide the background into separate image areas and assign one destination to each area. This guide shows how to build that effect in Mail Designer 365 while keeping the finished email compatible with common email clients.
When working with background images and links, using a robust email template creator can simplify the process and help you ensure your emails render correctly across different clients. This way, you can focus on crafting engaging content without worrying about complex coding issues.
Try Mail Designer 365 for free
How to Add Multiple Links to an Image
To get started, drag your image into the image area:
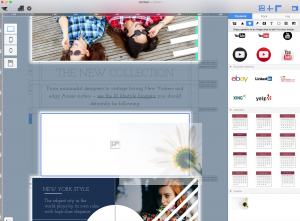
Adding a button
Now, we can create a “Shop Now” button by adding a shape and a text box into an image area. Or you can try dragging one of our pre-made buttons into an image area and customizing it.
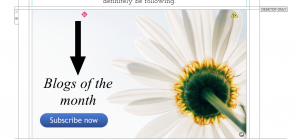
With this button, we want to add a link to our store. Click "Edit Link & Background:"
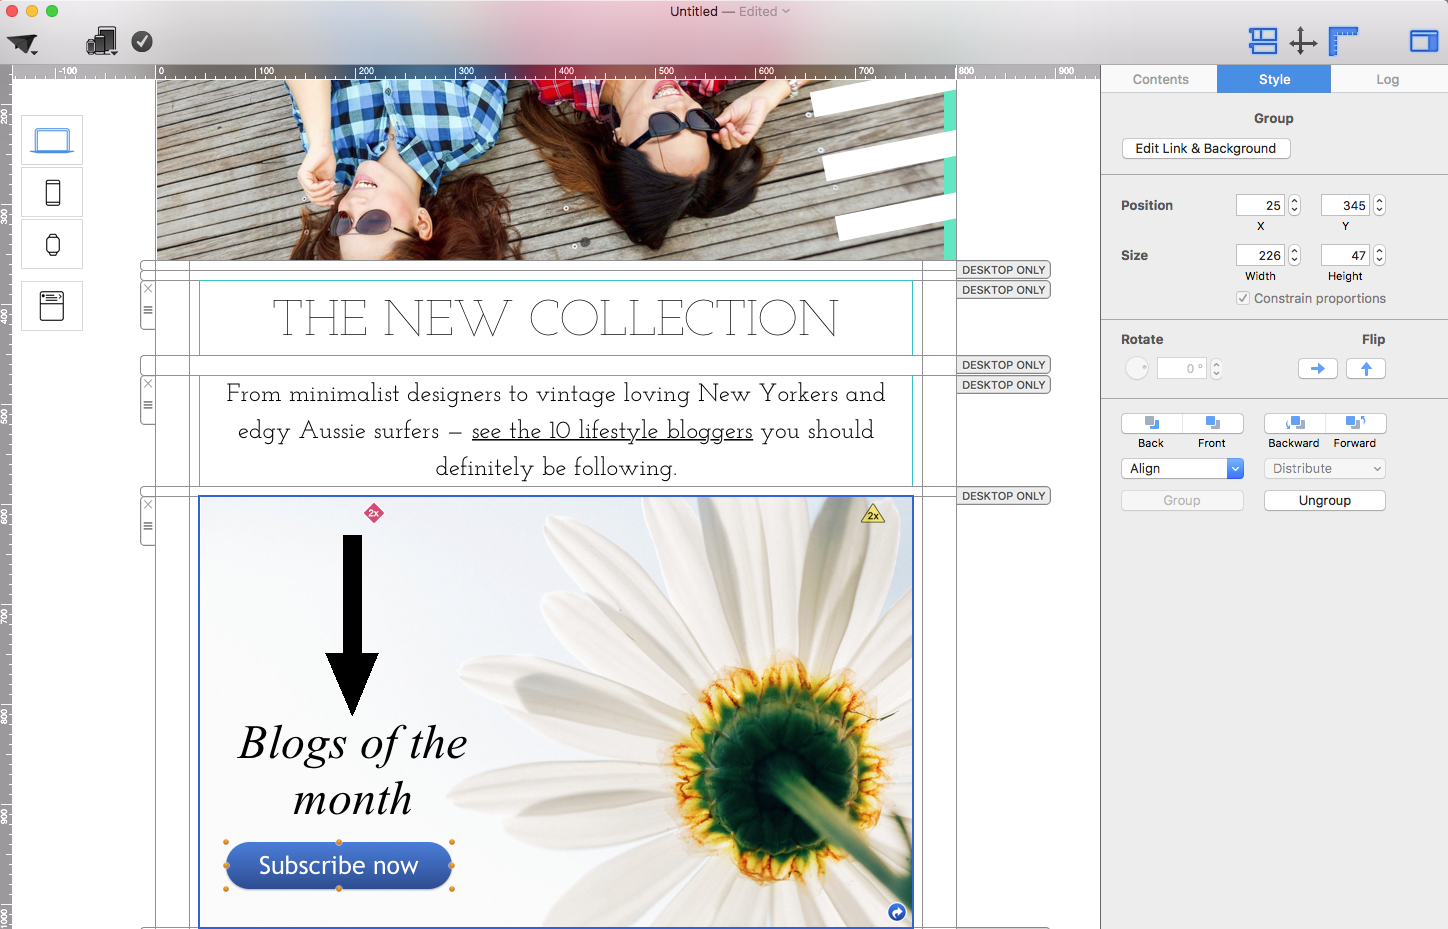
Click "Add Link." We are going to type: example.com/subscribe
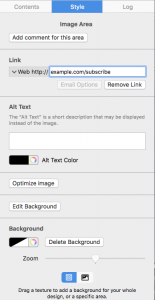
When recipients receive the email and click anywhere within the image area, they will open the linked landing page.
Creating a second button within the image background
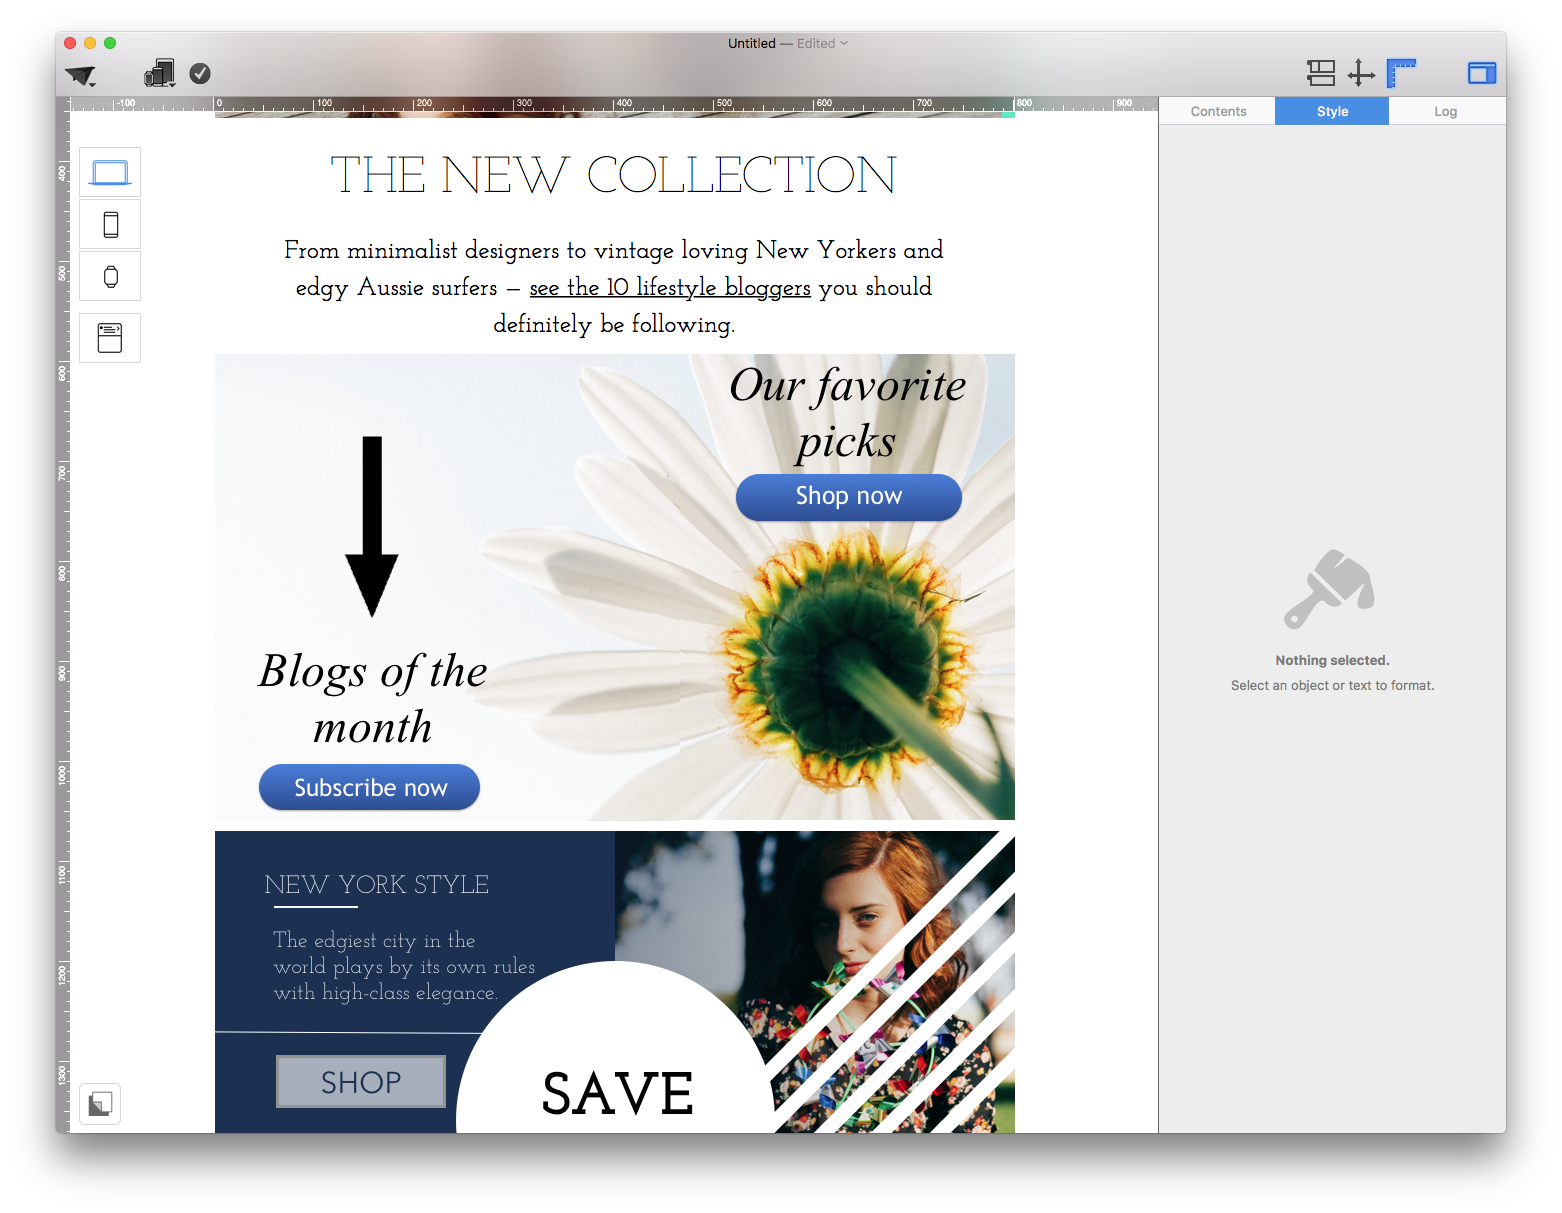
Because the second button we added is still in the same image area, the link will still be example.com/mystore. We want to have the second button go to a different link.
Why is only one link allowed per image area?
Email clients do not support multiple links on a single image. Your entire image area becomes one single image, so one link.
Text areas are different: You can have multiple links within one text area. If you want, every word in a text area can have a different link.
How does Mail Designer 365 deal with this problem?
If you still want one background image with multiple buttons, the solution is simply to break the image up into multiple image areas.
Go to the “Contents” section. Find a layout block with multiple image areas.
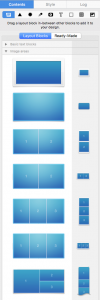
In this example, we want to use two buttons with two different links. So we will use a layout block with two image areas. Then we are going to drop the layout block above the original layout block that we want to replace.
Drag the new layout block onto the replacement zone of the existing single-image block, not into the space above or below it. This replaces the original block with two separate image areas.
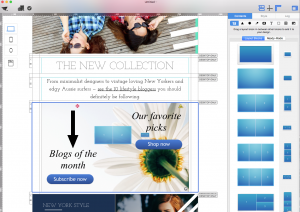
Once you drag and drop the layout block, Mail Designer 365 is not sure what size the images have to be.
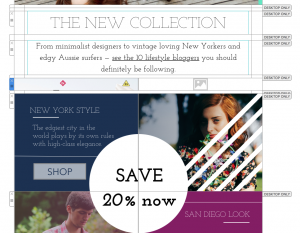
You can adjust the height of an image area by dragging its outline. If you resize the width, the second button and text remain available.
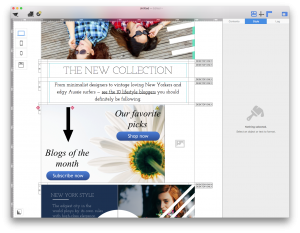
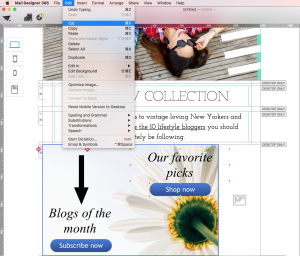
Select the two elements and cut them. To cut, choose "Edit" > "Cut." Or you can press Command-X on your keyboard.
Readjust the width of the first image area, then match the second image area to the same height.
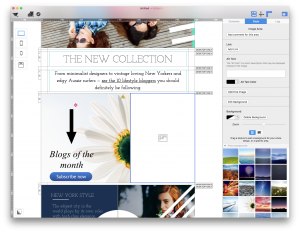
Once you adjust the height, paste the cut image onto the second image area. You can do this by choosing "Edit" > "Paste" or by pressing Command-V on your keyboard. Then, copy and paste the background image from the first image area into the second image area.
Fixing the pasted image
The image is now duplicated onto the second image area. Notice that the background image in the image area is in the front.
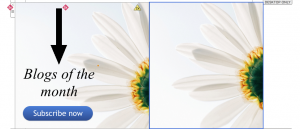
Click on the image in the second image area. Once the image is selected, click "Back" to re-order the image to the back:
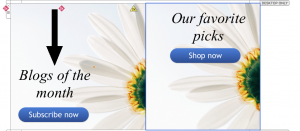
Drag the image of the second image area to the position that lines up with the image in the first image area. This will create an illusion of a single image.
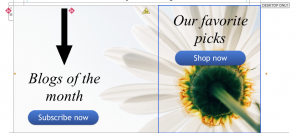
Once you have finished adjusting the position of the image, you will be able to see that the two images look like a single image. However, we actually have 2 image areas, which means that each image area can have its own unique link.
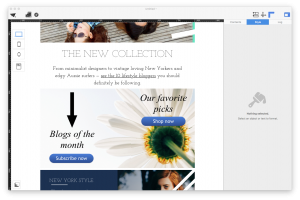
If you turn off the layout mode, you can take a look at what the 2 image areas will look like.
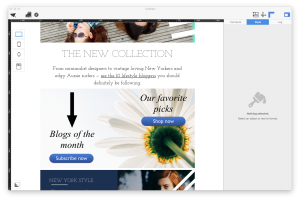
How to add links to the image areas
Click on an image area or the elements within the image area. Then, click "Edit Link & Background." Then click "Add Link" and enter your destination URL. In this example, we are going to use example.com/subscribe for our subscribe button:
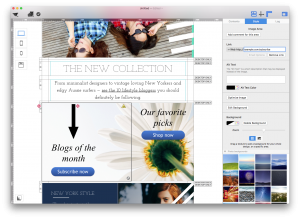
Click on the other image area and add another link. Type in your desired link. For this example, to go with our shop now button, we are going to use the link: example.com/store.
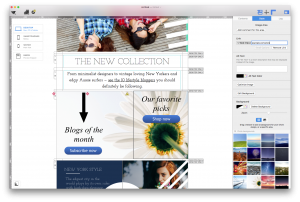
There you go! That's how you can add multiple links with a single image background.
How Can We Help?
- Eye Catcher Design: 3 Ideas for Email Campaigns
- Email Blending: 3 Ways to Use Blend Modes
- Aligning different objects
- Combining design elements
- How to Add Email Contacts to Mail Designer 365
- Assigning Placeholders to your Contacts in Mail Designer Campaigns
- Email Audience Segmentation: Delivery Hub Case Study