
Mail Designer 365 includes artwork you can use to build more distinctive email designs. You can add shapes, borders, promotional graphics, and other visual objects to an image area, then position and reuse them as needed. This guide explains how to add objects and duplicate graphics and shapes without recreating them from scratch.
Choose an image area for graphics and objects
Graphics, shapes, masks, and styled text belong in image areas. Before adding an object, click the target image area and check that it has enough room for the artwork. Keep important copy and buttons in readable positions, and use decorative objects to support the message rather than cover it.
Open the Contents panel to browse the available graphics and shapes. The collection includes artwork for promotions as well as border and design elements that can help separate or highlight campaign content.
Add shapes and graphics to an email design
Choose a graphic or shape in the Contents panel, then drag it into an image area in the design. Watch the insertion position while dragging. After the object appears, select it to resize, move, or arrange it with the surrounding artwork.
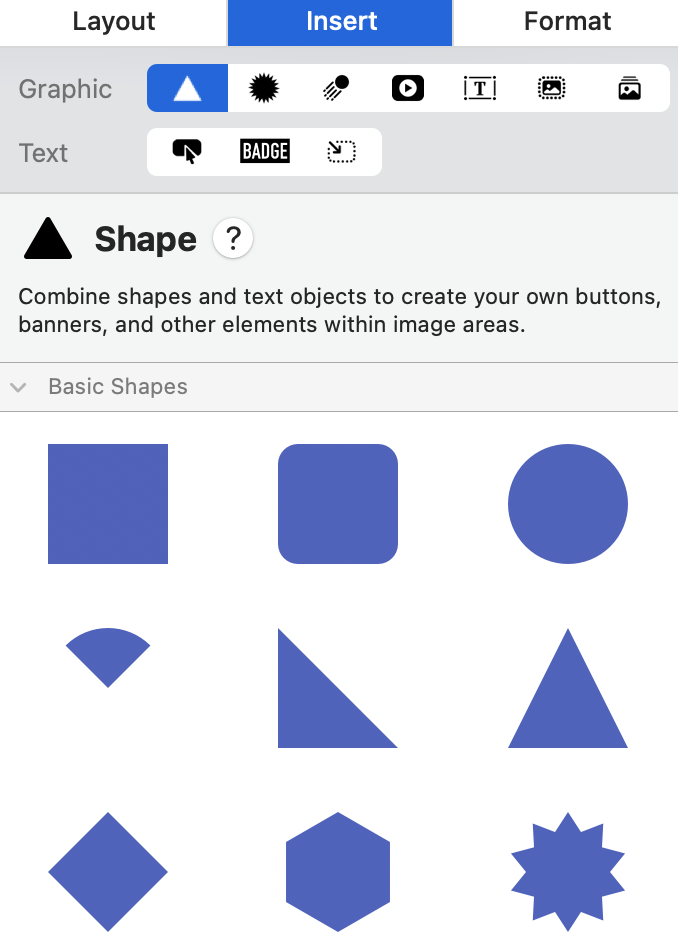
Use a size and position that remain clear at the intended email width. If a shape is being used as a background accent, check that text placed over or near it maintains enough contrast.
Duplicate graphics and shapes with the menu
Duplicating an object is useful when several parts of a design need the same shape, icon, border, or styled element. Select the object first, then choose Edit > Duplicate from the menu bar. Mail Designer 365 creates a copy that you can move and edit independently.
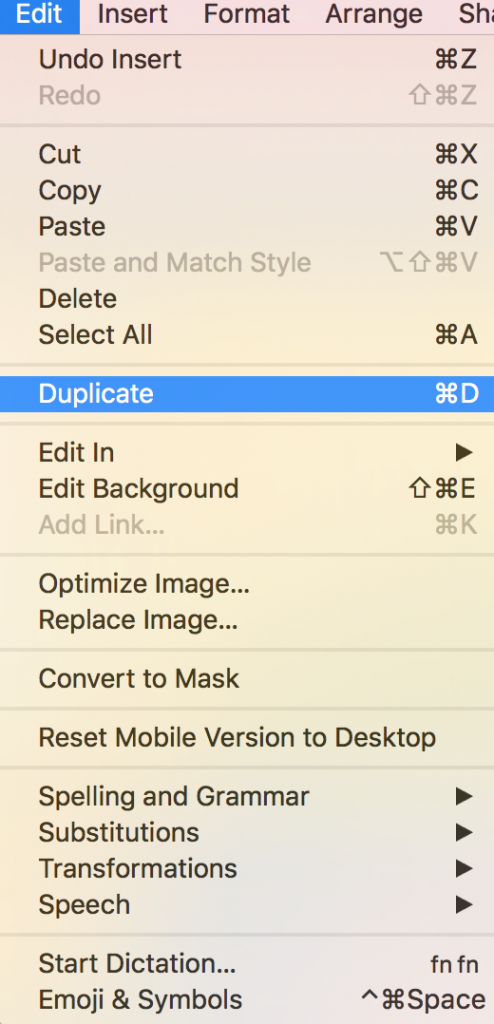
After duplicating, confirm which object is selected before changing its size or style. The copy may initially overlap the original, so move it carefully until both objects are visible.
Option-drag an object to duplicate and position it
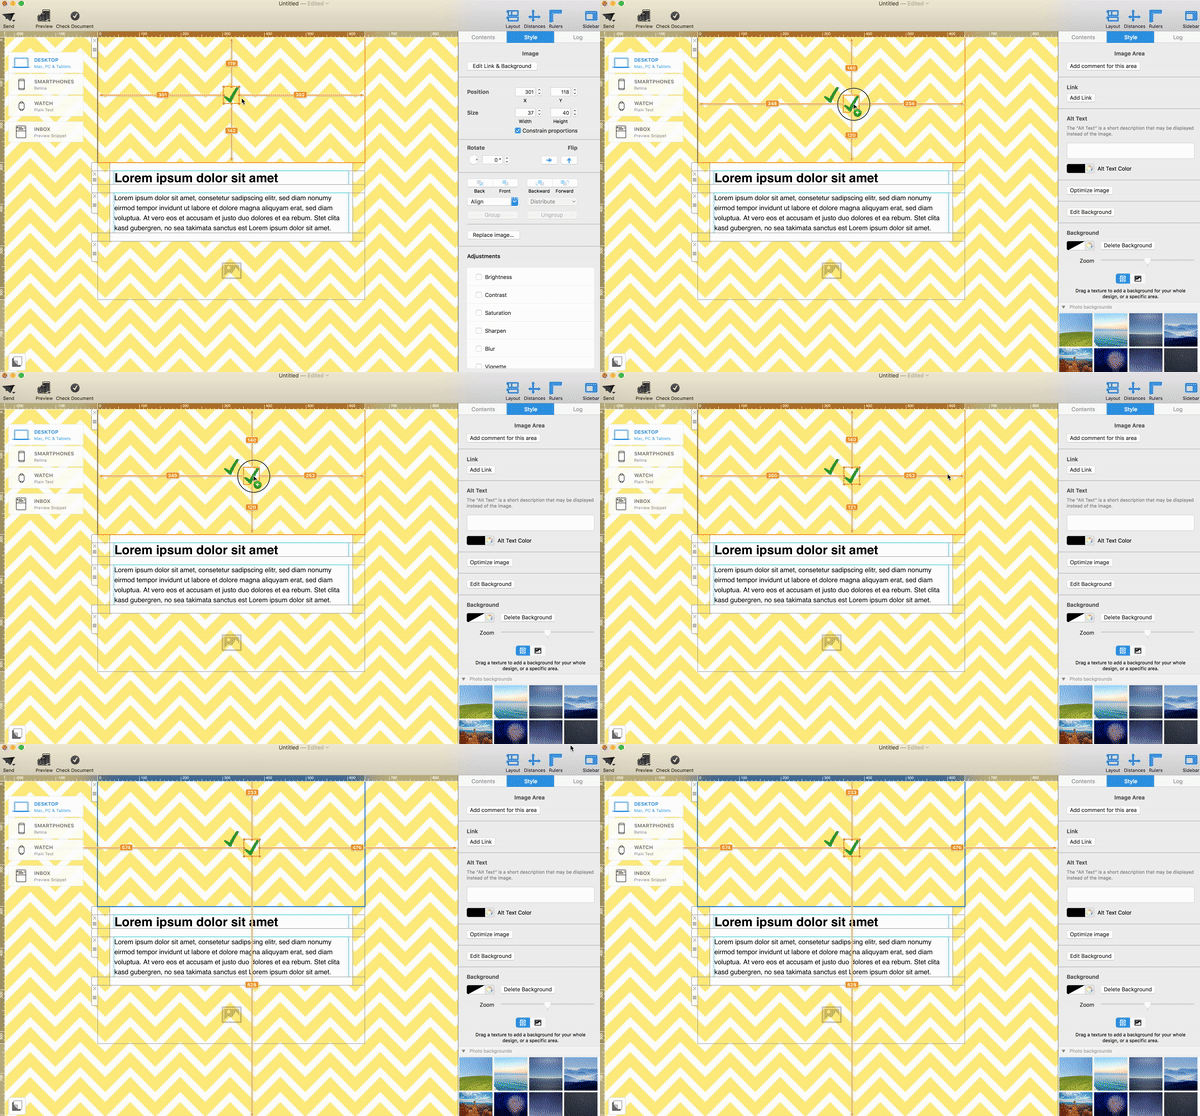
You can also create and place a copy in one movement. Select the graphic, shape, or object you want to reuse.
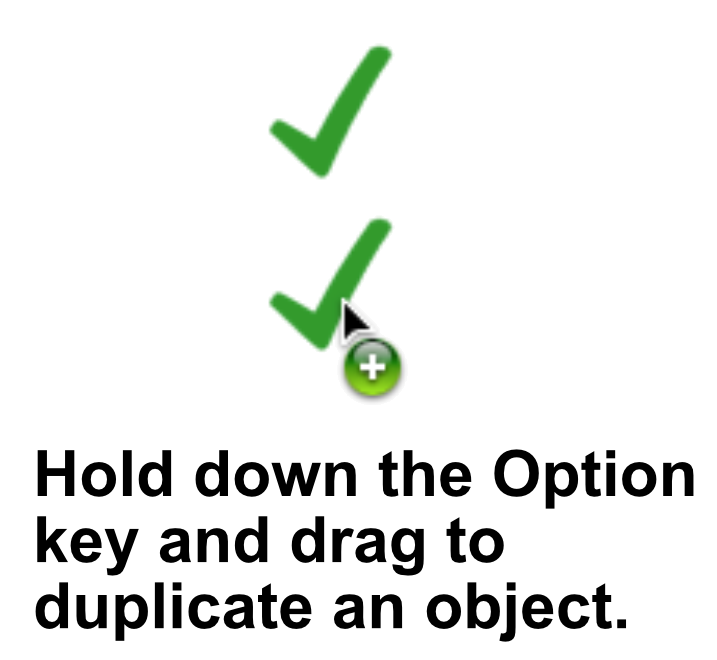
Hold the Option (⌥) key while dragging the selected object. Keep the key held as you move it to the intended position.
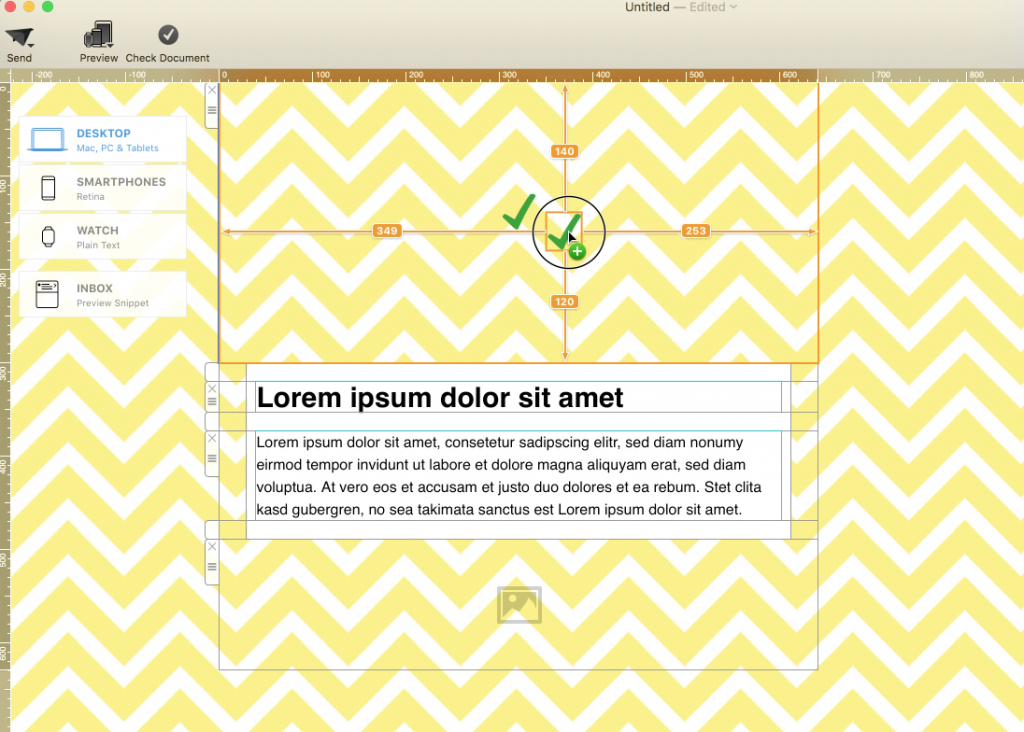
Release the object in the desired location to create the duplicate. The animation below shows the selection and Option-drag workflow.
Arrange and edit the duplicated object
A duplicated object begins with the same appearance as the original. Change its color, size, crop, or position only where the design requires it. If multiple objects overlap, make sure the intended element is selected before editing and check the visual order of the layers.
Repeated shapes can create a consistent pattern, but too many decorative elements may distract from the call to action. Compare spacing, alignment, and scale across every copy and remove any object that does not help the reader understand the message.
Troubleshoot object duplication
- The object moves instead of copying: Undo the move, select it again, and hold Option before you start dragging.
- The wrong element changes: Click the intended object directly and verify its selection handles before editing.
- The duplicate is hidden: Move the copy away from the original and check whether another object is covering it.
- The design looks crowded: Reduce the number of repeated objects or increase the space around important text and buttons.
Preview and test the email
Review the design at desktop and mobile widths. Confirm that graphics do not cover live text, buttons, or links and that the campaign still makes sense when images are disabled. Add concise alternative text to meaningful images, while purely decorative objects should not carry essential information.
Send a test email and inspect it in more than one email app. For more help with design elements, browse the Mail Designer 365 Knowledge Base.
How Can We Help?