
Add an email text background in Mail Designer 365
An email text background can separate important information, improve contrast, and give a newsletter a clear visual hierarchy. Mail Designer 365 lets you apply a color or image behind all text areas, behind the main design container, or behind a single supported layout block or text column.
The correct target matters: dropping a background into the middle area affects the main container, dropping it outside the container affects the whole email, and selecting an individual supported area limits the background to that section. This guide explains each choice and the checks to make before sending.
You can also choose a photo background or background color for the text areas in your email design.
Choosing a background for all text areas
You can find our stock images on the "Contents" tab. Click on the backgrounds button, which is the second furthest right button on the "Contents" section.
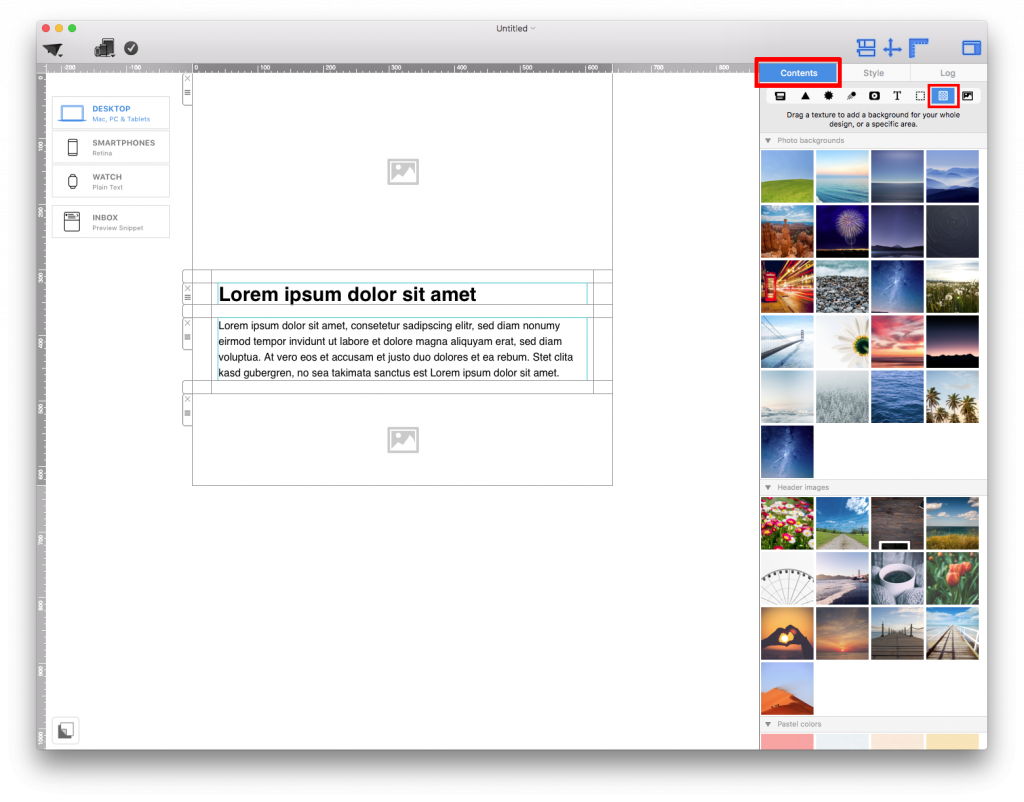
Switch to background mode by clicking the icon. You can find this on the bottom left corner.

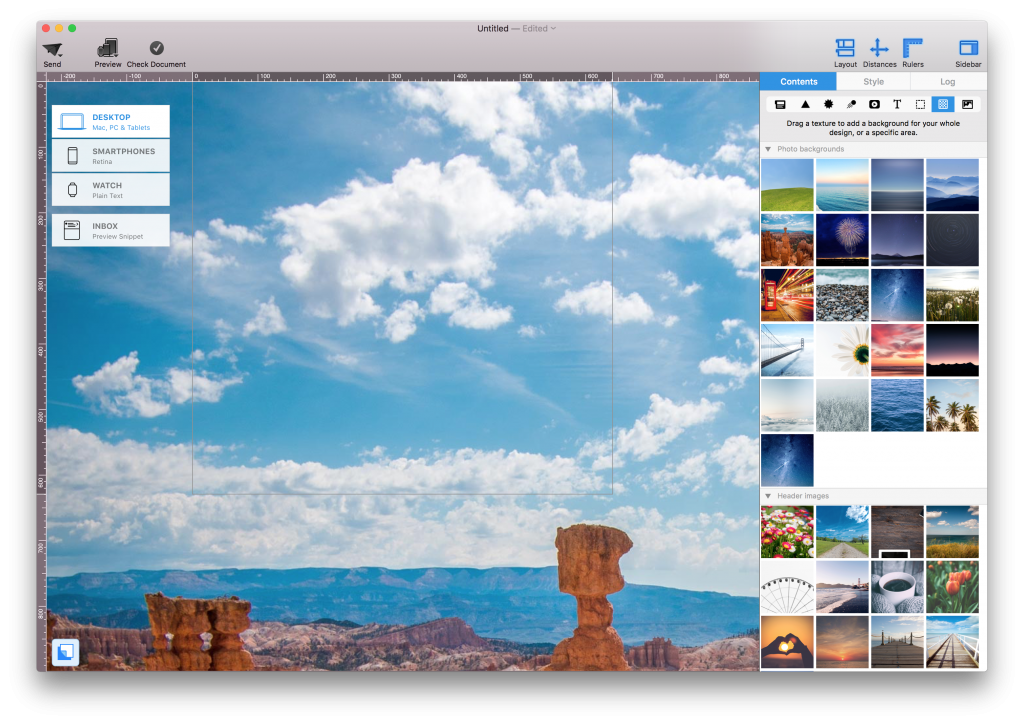
Add a background to the middle area. This will add a background to the main container that contains ALL of the layout blocks within your design.
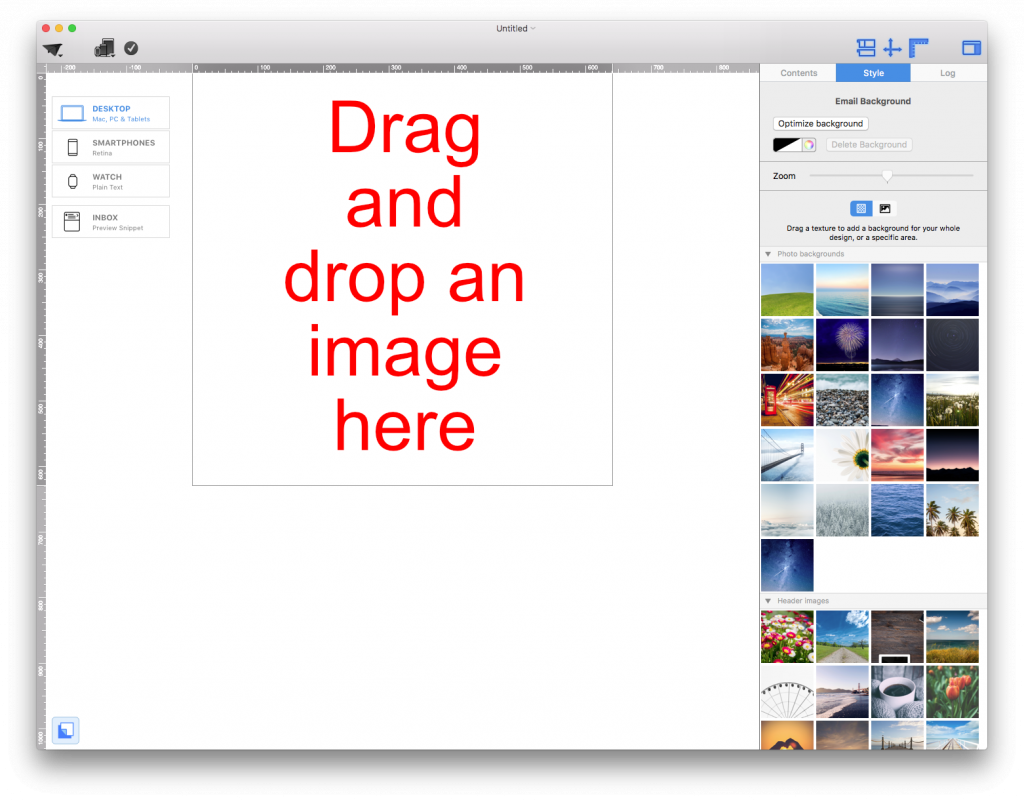
Here is what the template will look like once you drag and drop an image:
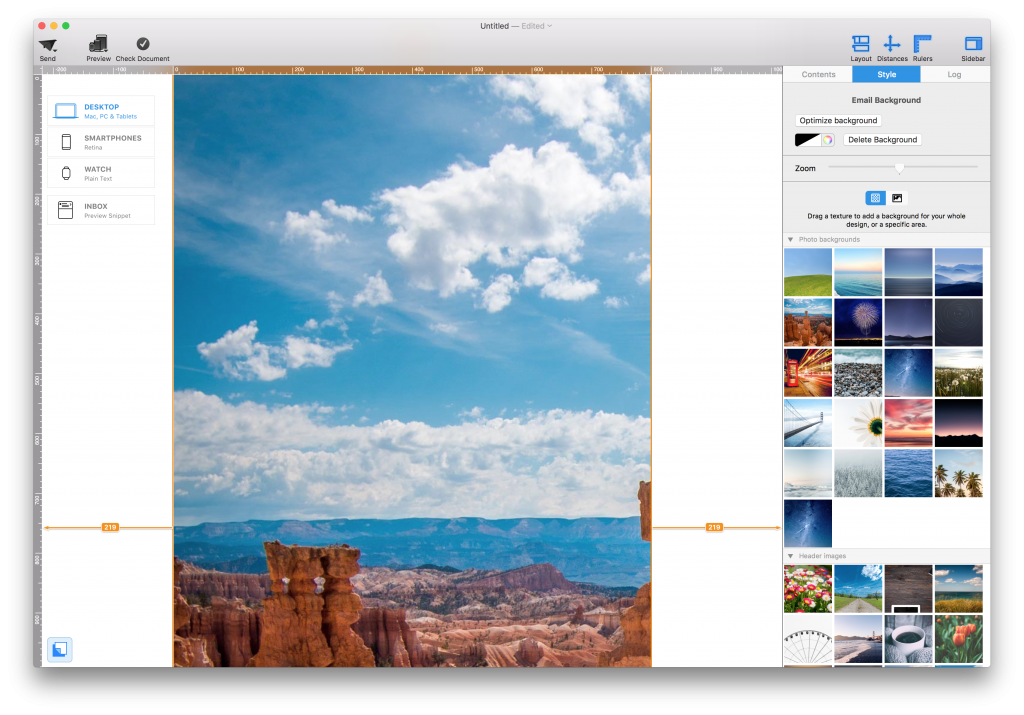
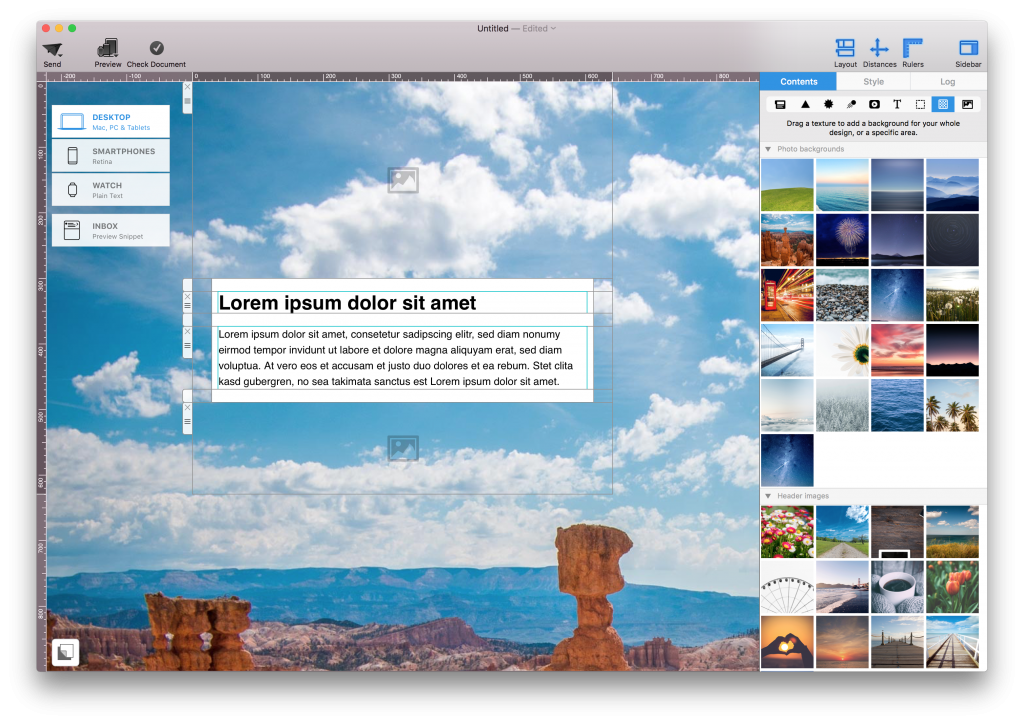
If you change to the layout view by clicking on the bottom left icon, then here is what it will look like:
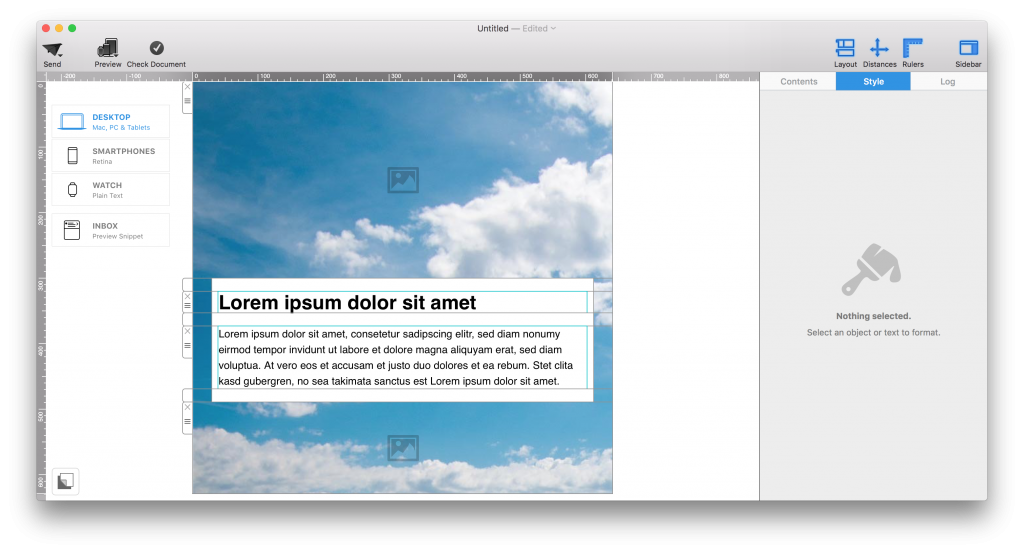
Notice that the layout handles are back. As you can see, the background only applies to the middle portion of the email. The background surrounds the layout blocks.
Choosing an email background
If you want to add a background to the entire email, then drag an image to the corners or side of the screen (away from the middle):
Here is what it will look like in the layout view:
Choosing a background for a single layout block
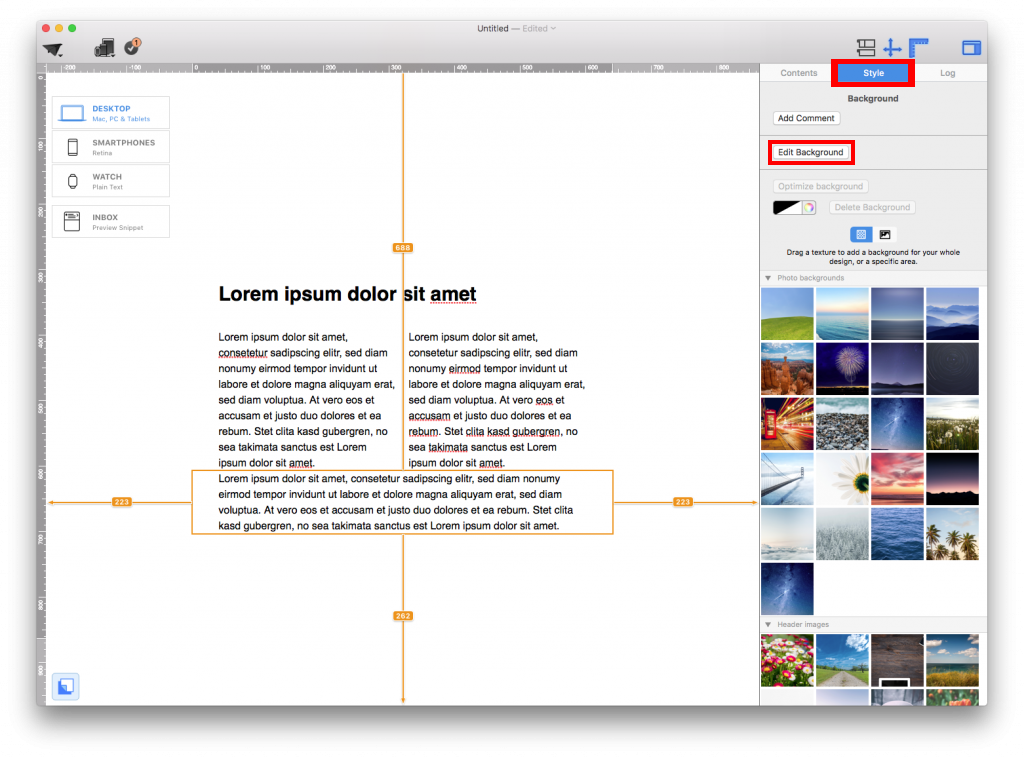
Select the background area of the layout block you want to change the background for and drag an image or color from "Style" panel into the background area. Click "Edit Background."
Applying a background to a text column
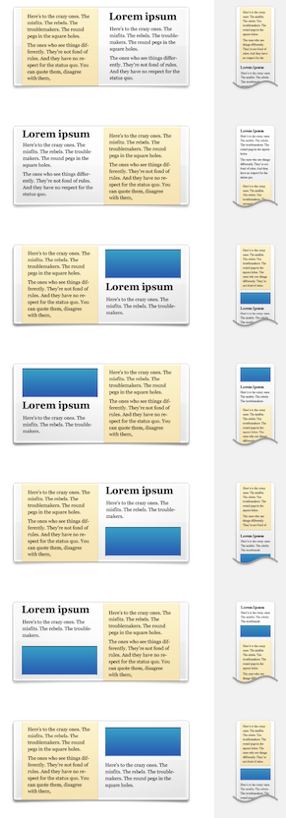
You can assign separate backgrounds to individual text areas. You can use this to create sidebars with links or other at-a-glance information.
Areas of layout blocks that support a separate background are highlighted in orange.
Choose a readable text background
Whether you use a color, texture, or photo, maintain strong contrast between the text and its background. A busy image can make copy difficult to scan, so choose a quiet area of the photo or add a simpler color behind the text. Preview headings, body copy, and links because each may use a different text color.
For a branded design, reuse a small palette rather than introducing a new background in every block. Consistent colors help recipients understand which sections belong together. A separate background works especially well for sidebars, short summaries, promotional callouts, and contact information.
Check desktop and mobile layouts
After applying the email text background, switch between desktop and mobile views. Confirm that the background still covers the intended area, that text does not touch the edges, and that links remain easy to identify. Image backgrounds may crop differently at smaller widths, so make sure the important visual content is not hidden.
- Use sufficient contrast for every line of text.
- Keep padding around the copy consistent.
- Avoid placing long paragraphs over detailed photos.
- Check linked text and buttons against the new color.
- Send a test email to verify rendering in a real inbox.
Troubleshoot background placement
If the background affects more of the design than expected, return to layout view and select the specific orange-highlighted area before dropping the color or image. If a text column cannot accept its own background, use a layout block that supports separate background areas. For related design options, see the background selection guide.
Always finish with a preview and test send. That final check confirms that your email text background improves readability without disrupting the layout on desktop or mobile screens.
How Can We Help?