
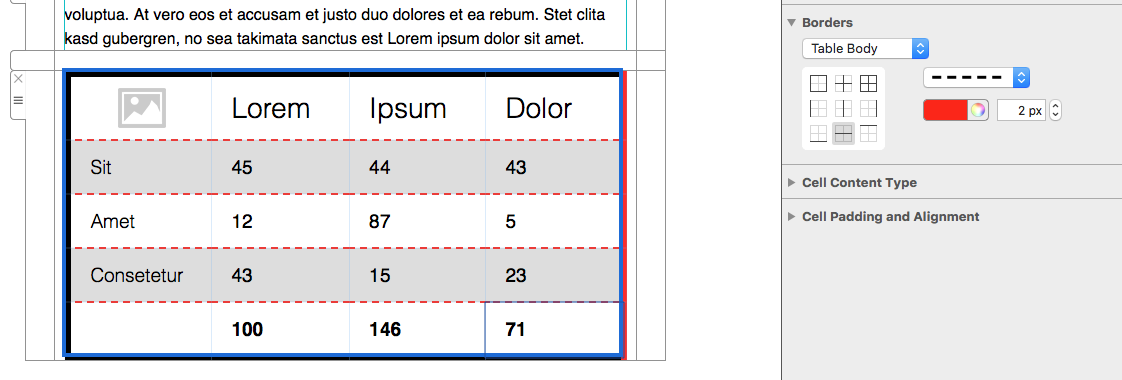
Another design option for your table is adding borders. To get to the borders panel, click on your table and go to "Borders" in the "Style" menu:
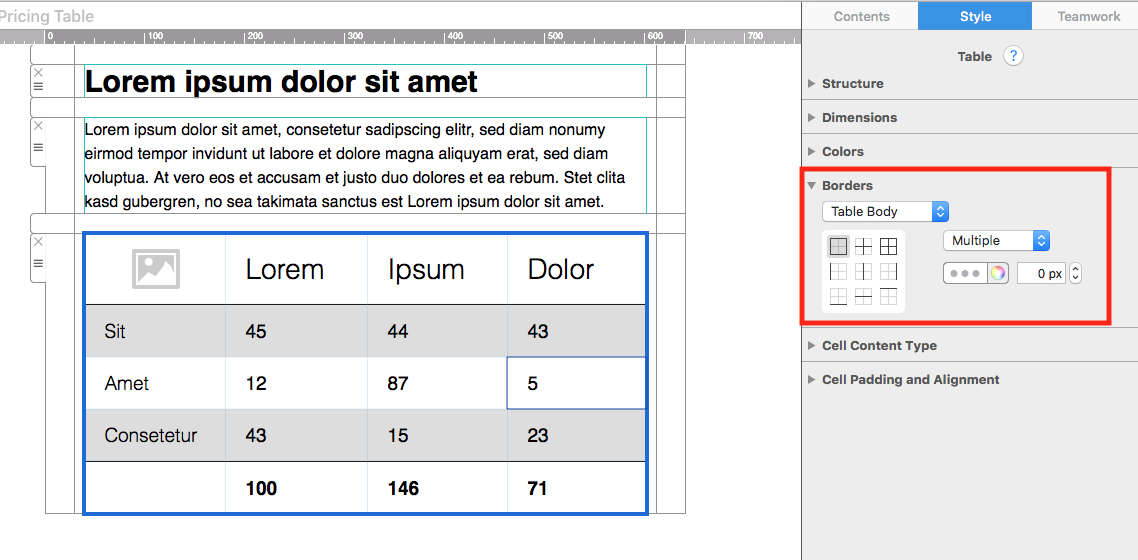
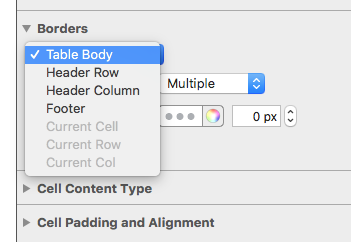
Under the dropdown menu, you can choose the area of your table where you want to add a border. To add a border to your entire table, select "Table Body":
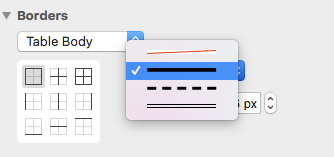
You can now choose a border style from the dropdown list. Adjust the thickness accordingly by using the arrows or by manually adding a pixel value.
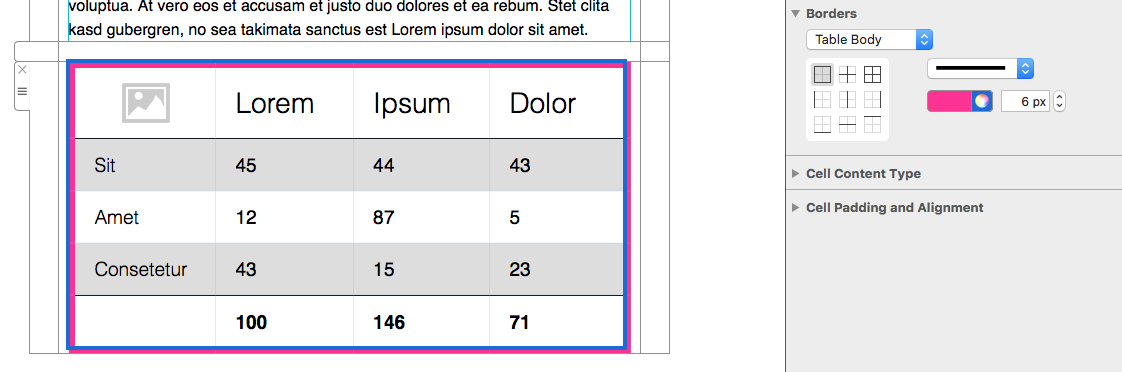
If you wish, you can change the color of your border using the color wheel.
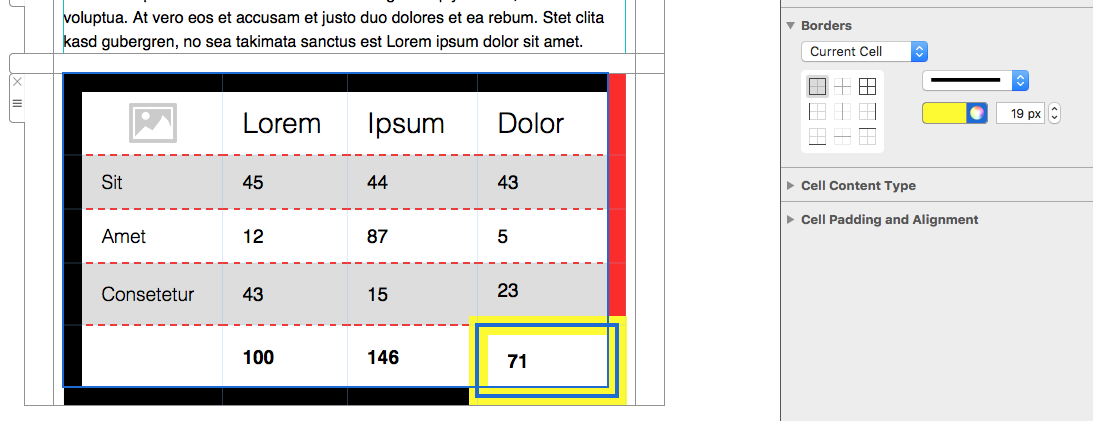
Use the control panel to apply style changes to a particular area of your table:
If you want to add a border to just one cell, click on this cell and make sure "Current Cell" is selected. Now you can adjust the border like in the previous step.
Find out how to add content to your tables in the next step...
How Can We Help?