The latest Mail Designer 365 version focuses on giving you more flexibility with your designs and a smoother workflow on the latest macOS. Here is a look at what’s new in Mail Designer 365.
New: Direct PNG Export
This update brings a handy PNG export option to Mail Designer 365, allowing you to export either the mobile or desktop version of your email designs directly as high-resolution PNG files.
This is a game-changer for anyone looking to repurpose their email layouts for:
- Social media posts (Instagram, LinkedIn, etc.)
- Website banners and blog headers
- High-quality printouts for internal meetings
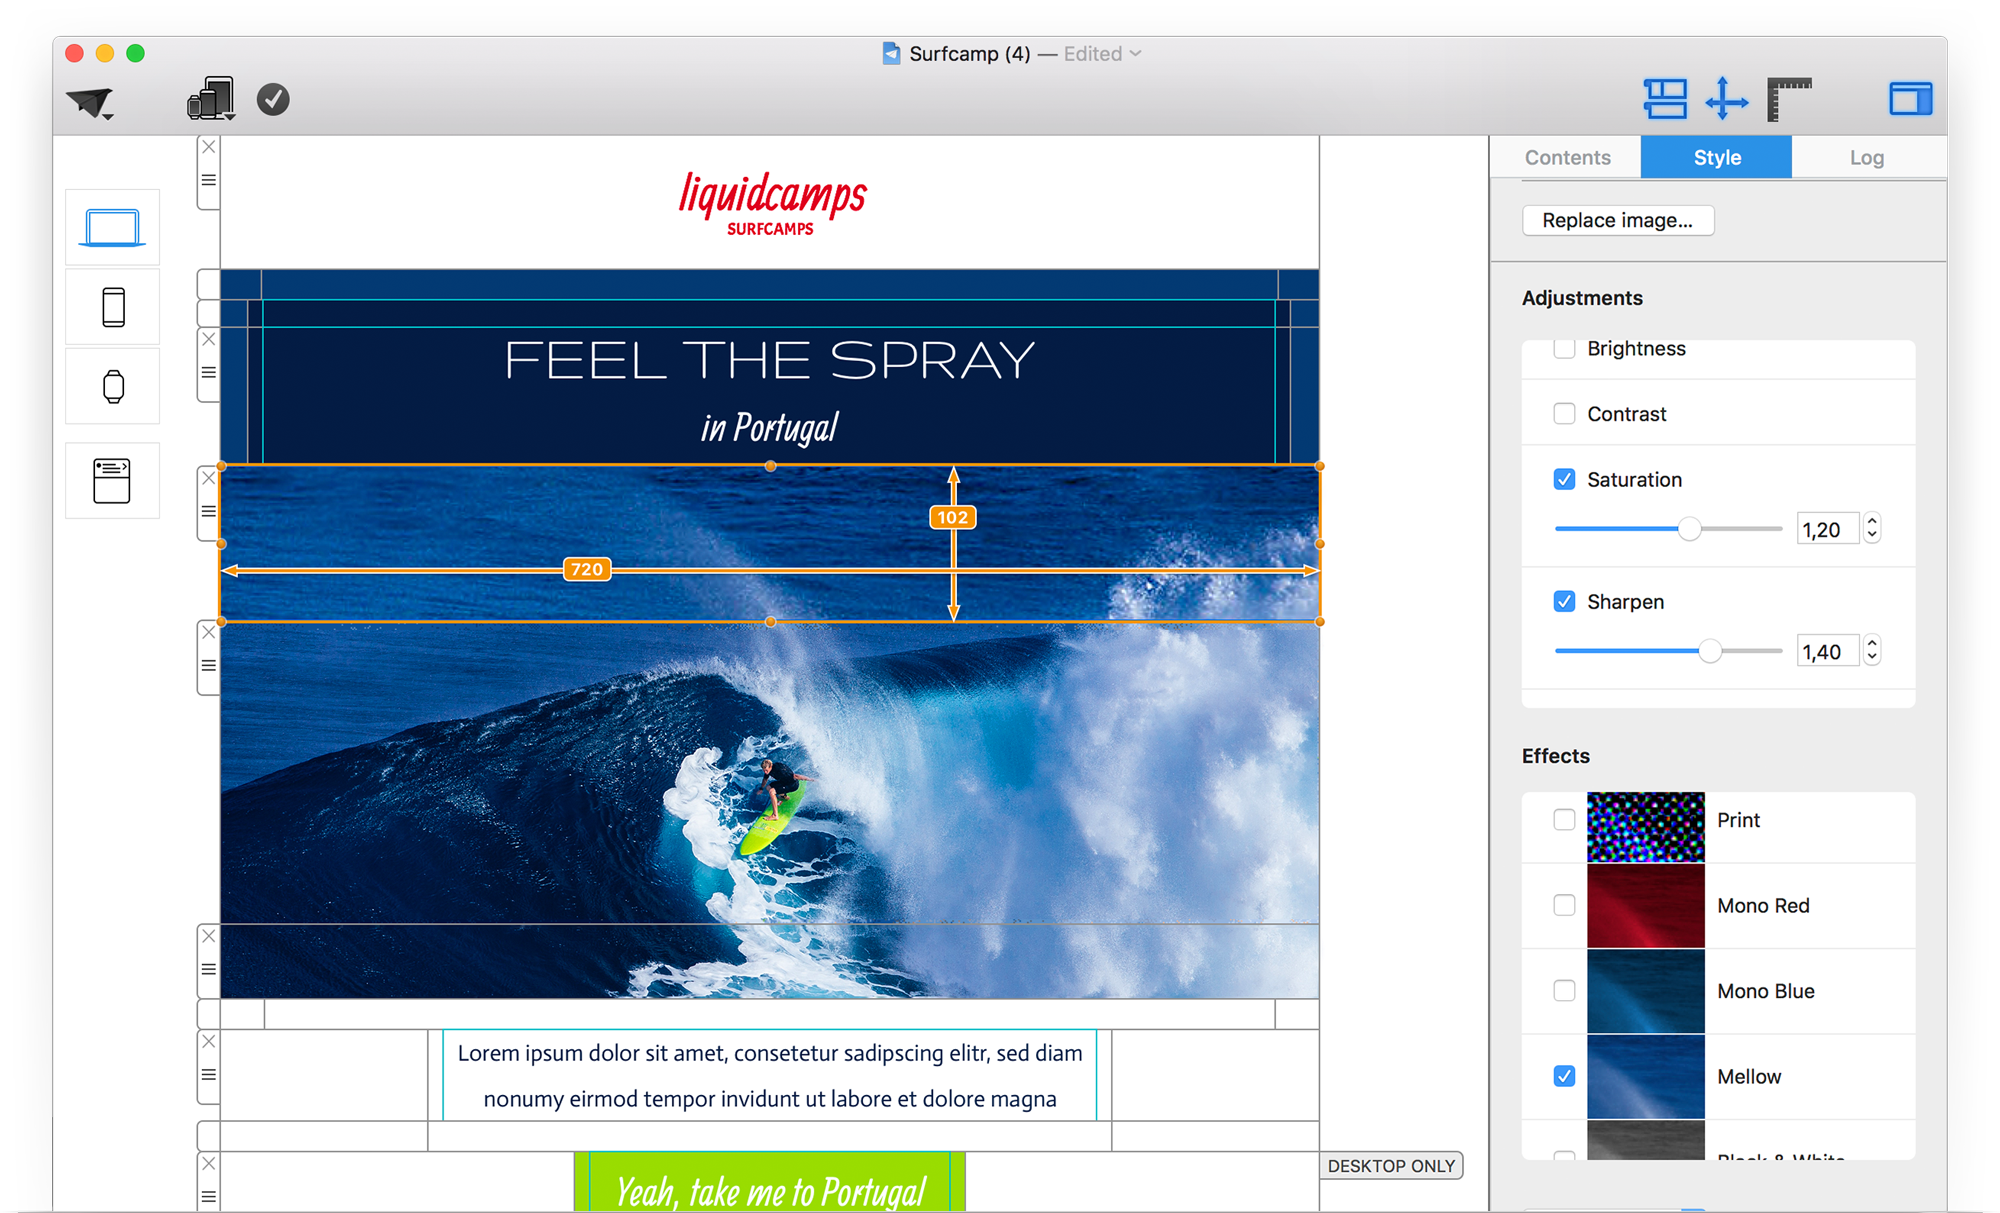
Find it under File > Export > PNG:
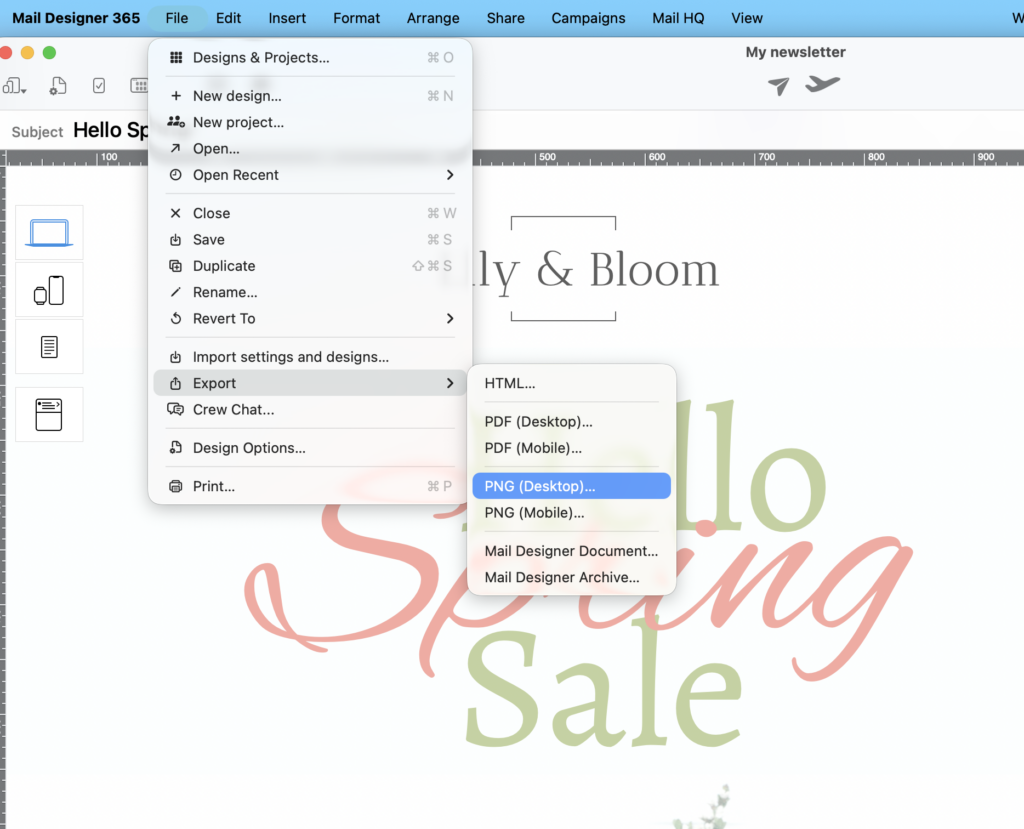
Select File > Export to export as a PNG
Exporting your designs for socials and more: Read the full guide →
Improved: Better Design Intelligence
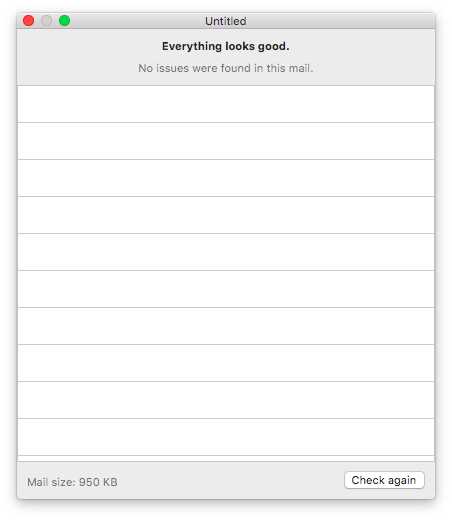
The Preflight Check tool is your copilot for successful email design. Before you hit send, the Preflight Check will run, making sure you've covered all bases.
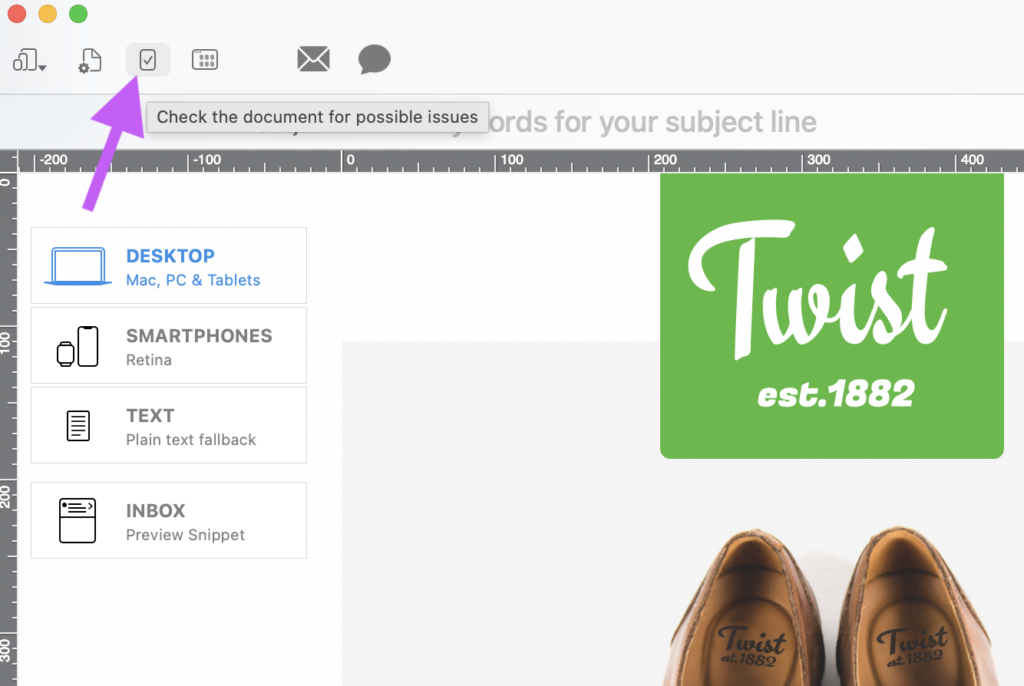
Click the check icon in the App toolbar to open the Preflight Check
This update brings two useful updates to the Preflight Check to give you even more peace of mind before sending:
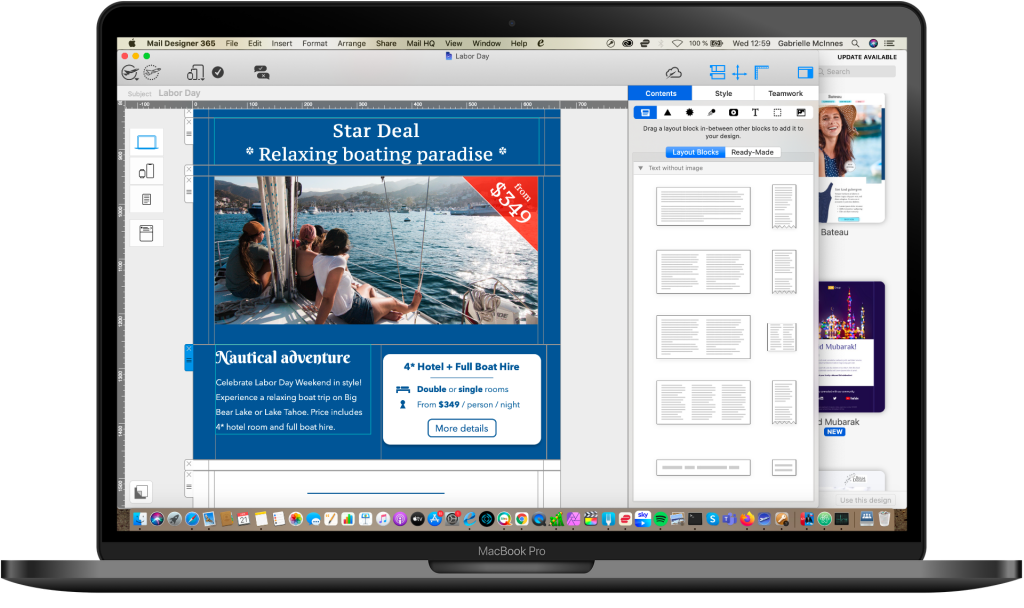
- Smarter Preflight for Mobile: Our Preflight Check now automatically alerts you if there are "detached" layout blocks in your mobile view. This ensures your responsive design stays perfectly aligned on every smartphone:
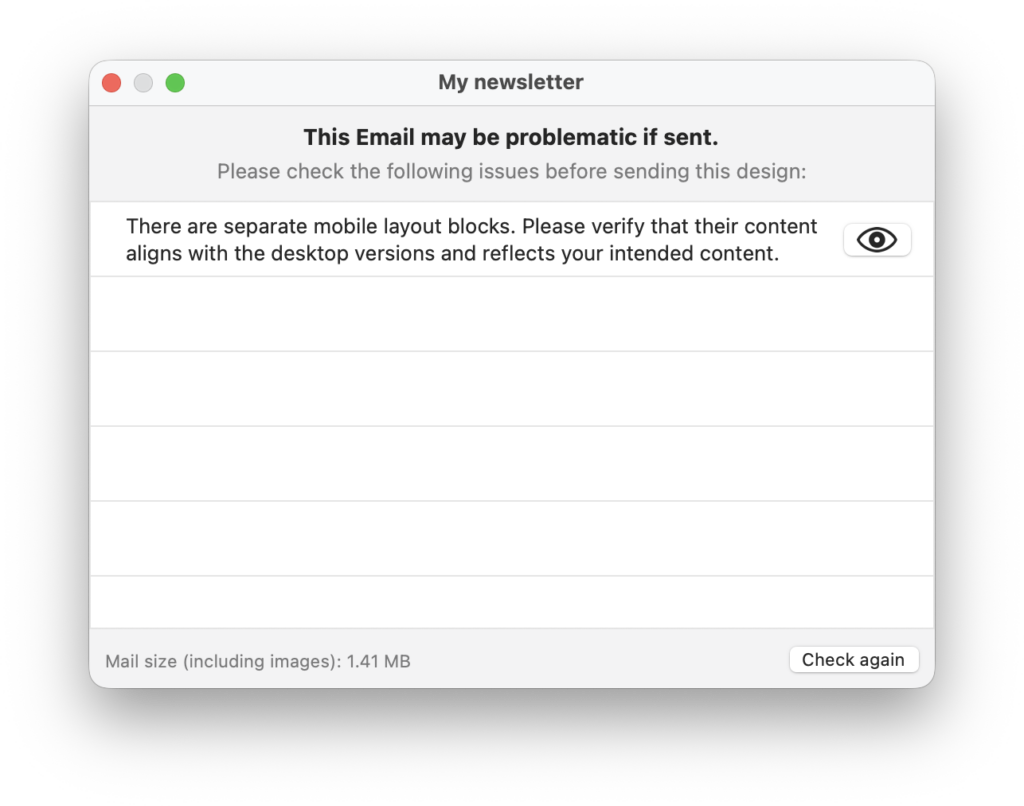
The Preflight Check provides a hint if you have separate mobile and desktop blocks
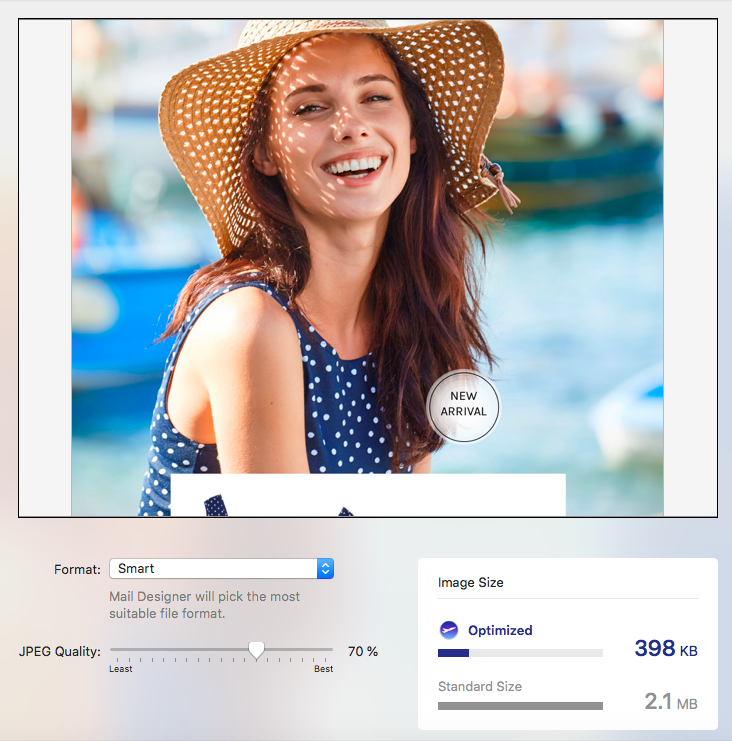
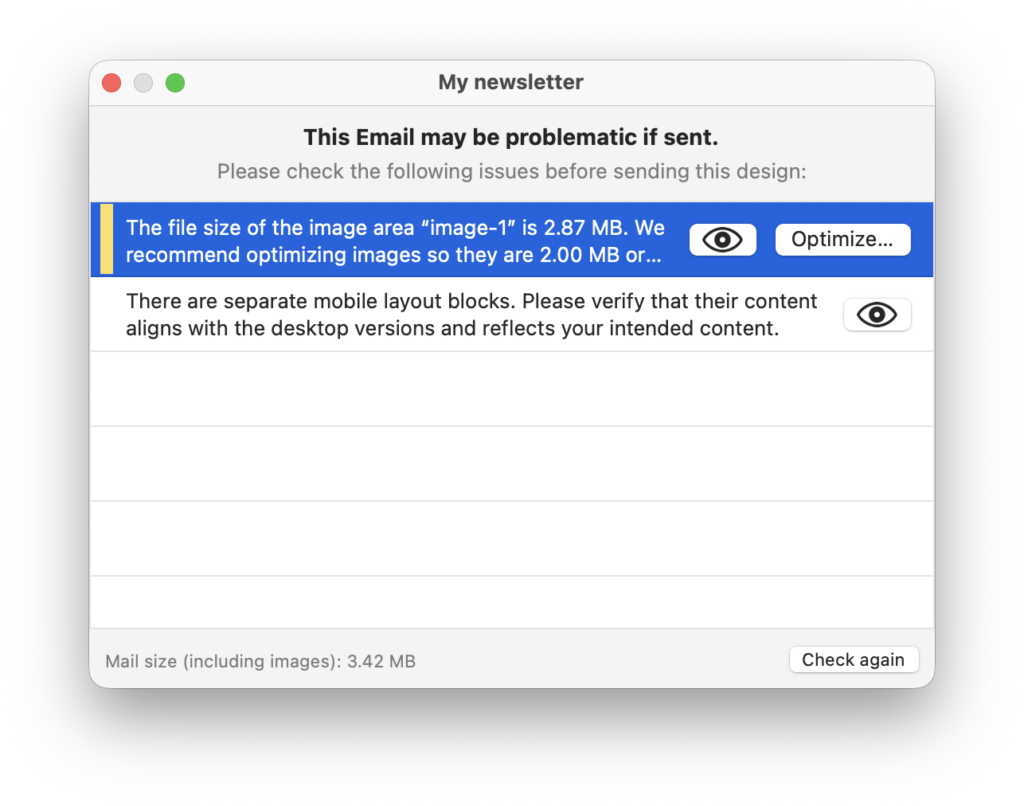
- Instant Image Optimization: If your email contains large images, Preflight Check now offers a direct shortcut to the image optimization tool, so you can crunch those kilobytes in one click:

Fixed: Further Improvements in this Version
As well as the new features added in this version, we’ve also been working hard under the hood to ensure Mail Designer is running smoothly:
- macOS 26 Tahoe Support: We fixed an issue where some images couldn't be imported via Drag & Drop on the newest macOS version. Drag away!
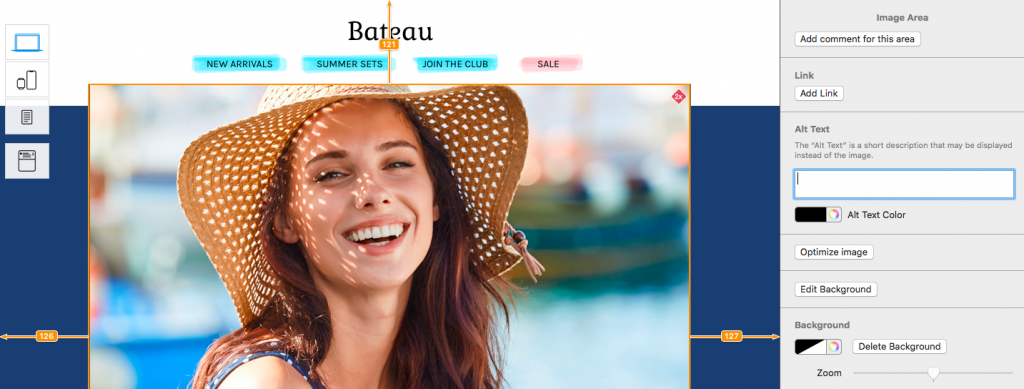
- Reliable Alt-Texts: Updates to image Alt-Texts are now saved instantly and reliably, ensuring your emails remain accessible.
- Perfect Spacing: We’ve corrected a bug that caused incorrect margins in some exported designs. Your final result will now match your editor view pixel-for-pixel.
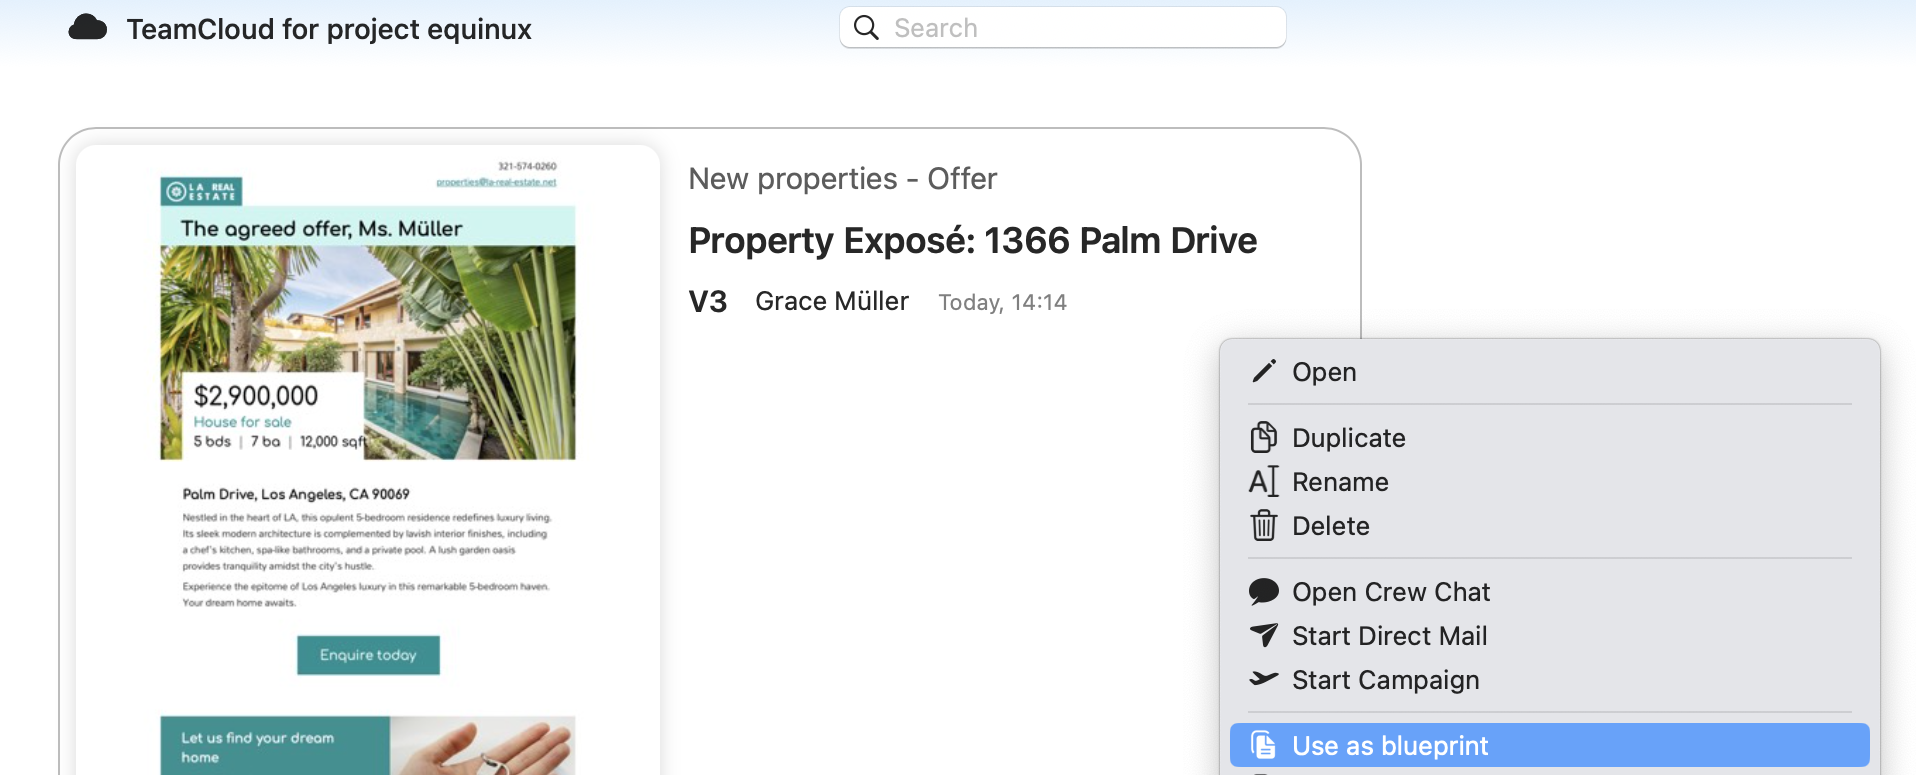
- Team Organization: The sorting order of Team Documents now stays exactly as you left it, even after refreshing the list.
As always, this update includes general stability improvements and small bug fixes to keep your creative process as smooth as possible.
Ready to try the new PNG export? Head to the App Store or use the in-app update tool to download the latest version of Mail Designer 365 today.
Start using Mail Designer 365 5.4 today
This is a completely free update for all existing Mail Designer 365 customers. To start using version 5.4, simply open the app and go to Mail Designer 365 > Check for updates.
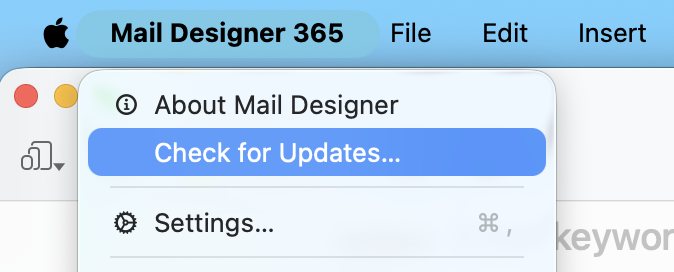
Tip: Activate automatic updates in your app preferences to make sure you never miss a new version of Mail Designer 365:
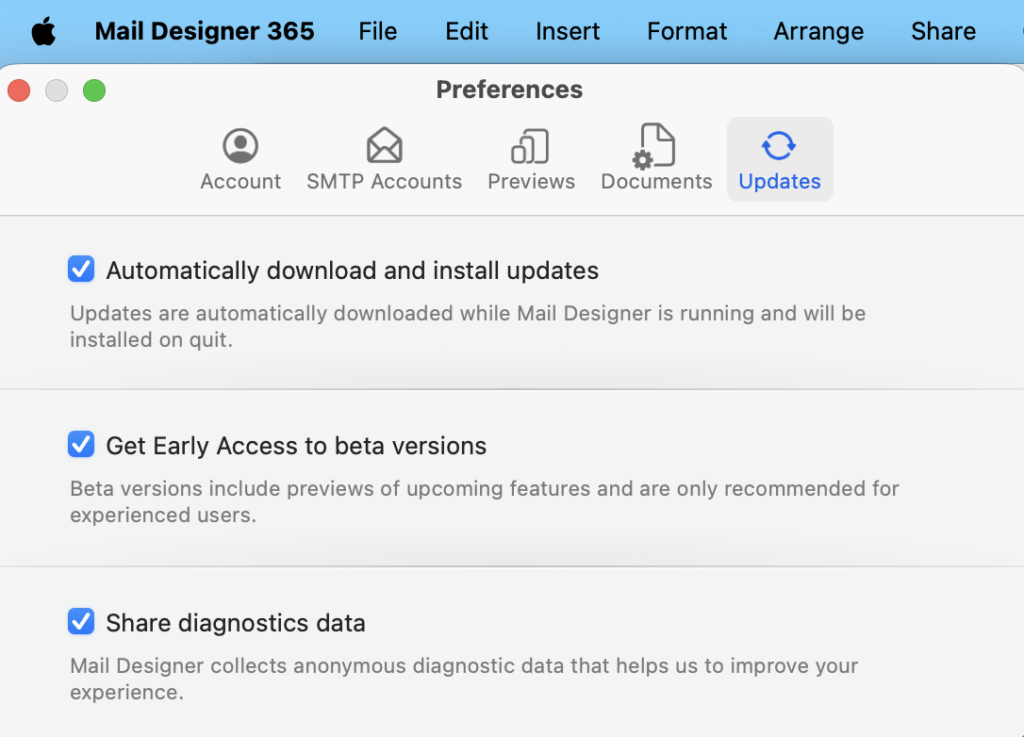
Check your update settings to receive automatic updates