Crisis has struck; calling for a massive change to your day to day operations. Email is the best way to to communicate these changes to your customers, but first you need to grasp the basics. Luckily, our beginner's guide to email makes this easier than ever.
In this guide, you'll find everything you need to know about using Mail Designer 365 to design and send your first email to communicate with your customers and keep them in the loop.
Note: To follow along with this guide, you first need to download the Mail Designer 365 app on to your Mac. Sign up here to test Mail Designer 365 for free.
Beginner's guide to email design
Choosing an email template
Mail Designer 365 has over 100 unique Design Ideas at your disposal. Select a ready-made template from the Design Chooser, or choose the blank template to create your own design from scratch.
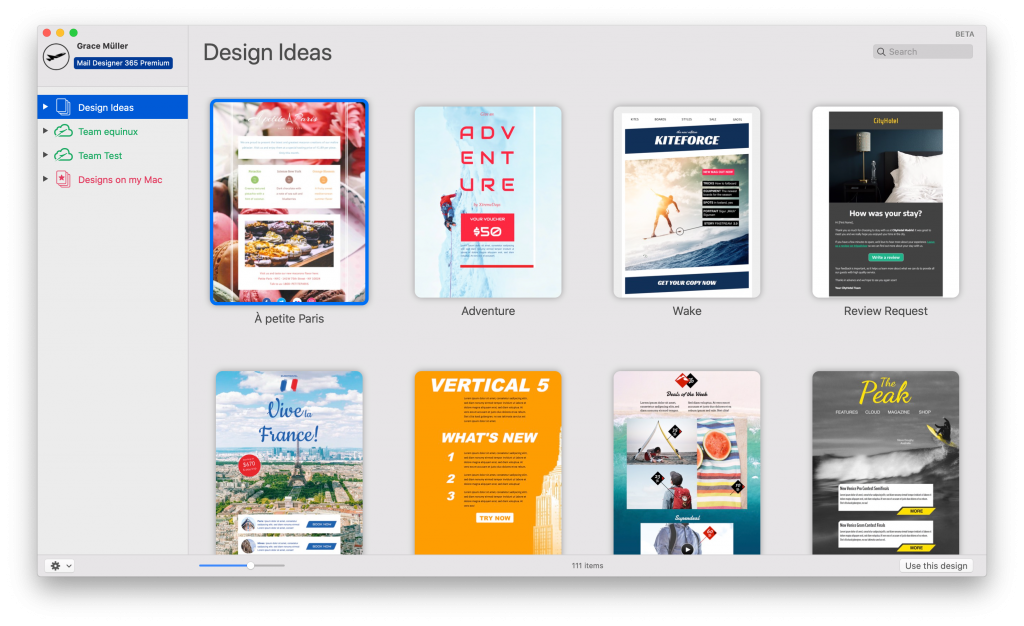
Choose a Design Idea from the Design Chooser to get started.
Adjusting the email layout
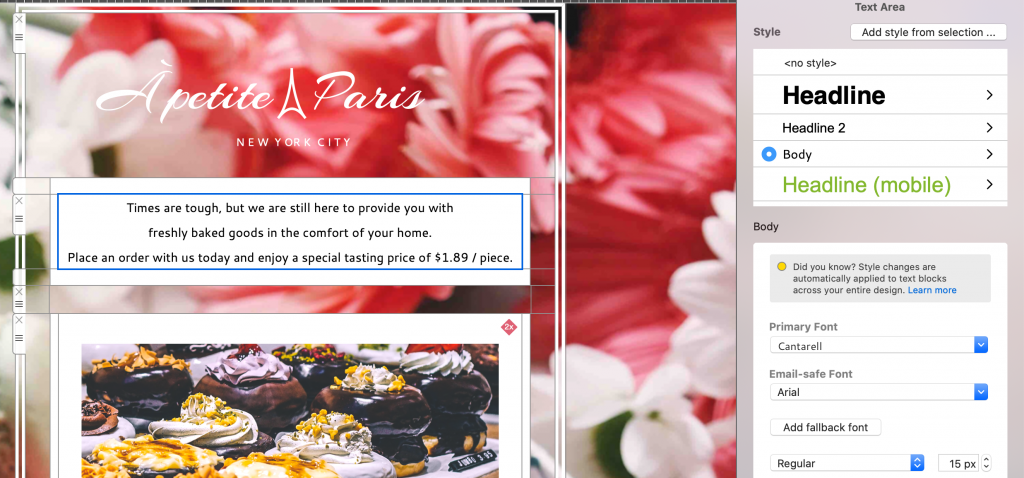
Now you've chosen a template, you can adjust the email layout to suit your business. Drag in extra layout blocks from the "Contents" menu and click the x to delete any blocks you don't want in your template.
Email copy: What to include?
Once your layout is sorted, you can get to work on your email copy. This is your main opportunity to get your message across to customers in your email.
Enter your text in a text block and use the text styling options to apply your chosen font, color, size, etc.
Here are some important things you may want to include in your copy:
- Information about updated opening hours
- Details of how to order
- Information about unavailable services
- Advertise new or adapted services
- Email address
Use your email copy to convey the most important information to your customers.
Graphic elements
The main thing which distinguishes a HTML email from a standard plain text email is that your business can put its own personal touch on the design.
This could be anything from changing up the color scheme to product photos, or simply adding your logo so customers know it's from you.
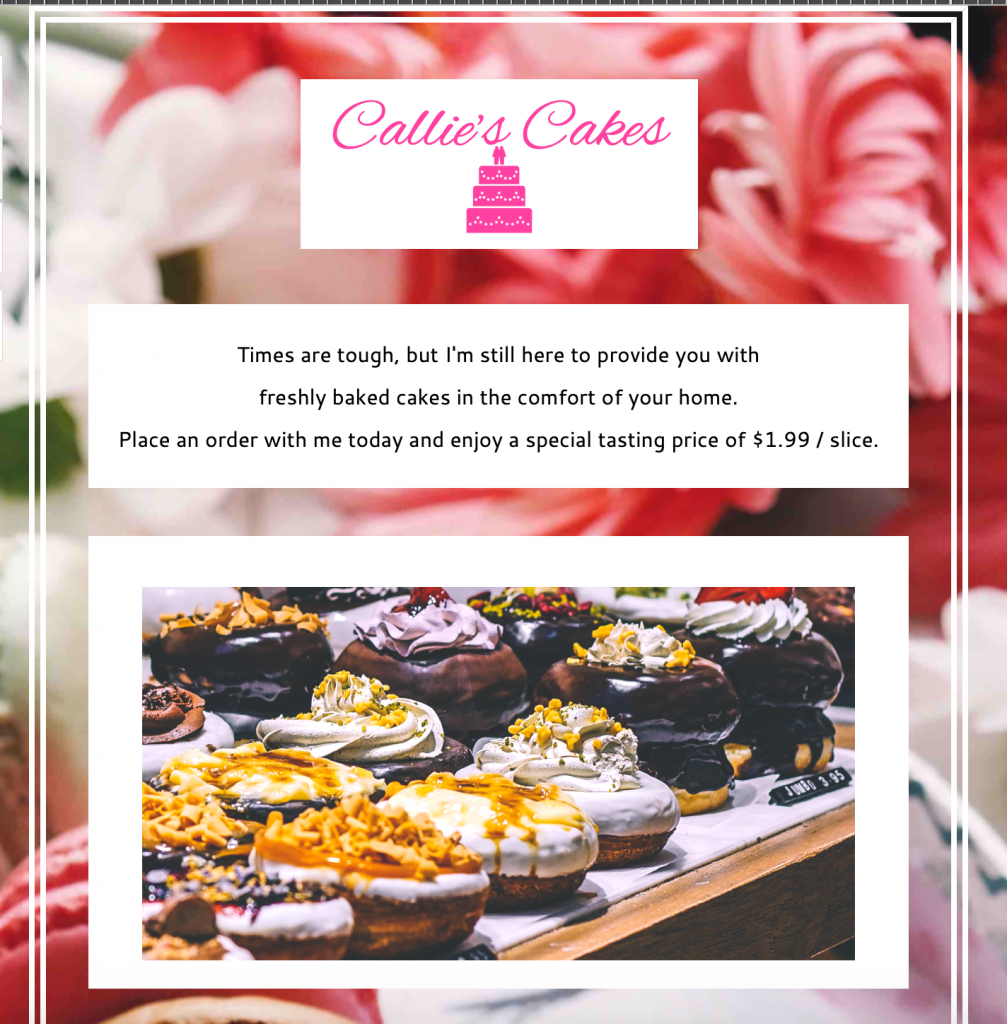
Add your logo to the design to give it a more personal touch.
Finishing touches
In the initial stages, there is no need to overcomplicate your designs. The main thing is that you are getting your message out to customers while also incorporating some elements of your brand into the design.
To improve the functionality of your email, it is a good idea to add some links - i.e. so customers can place an order. A call-to-action button is a nice way to do this. This quick tutorial shows you how to create a button.
Tip: Instead of a web link, you can also create a mailto link. This instantly opens a new email so customers can send their orders directly to you if you don't have an online ordering system set up.
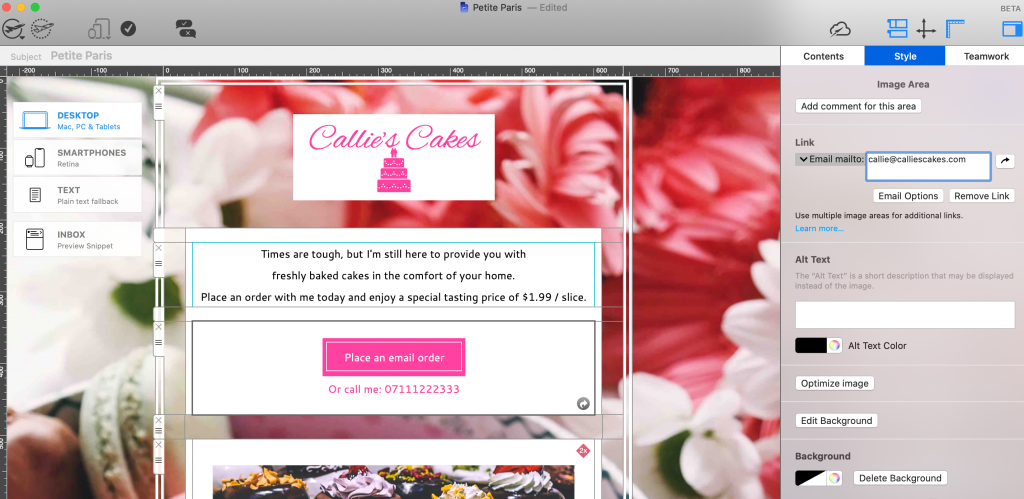
Add a call-to-action button so customers can place orders via email or online.
Subject line
With the inbox preview tool, you can also enter an eye-catching subject line and preview text to make sure your customers don't miss your email in their inbox:
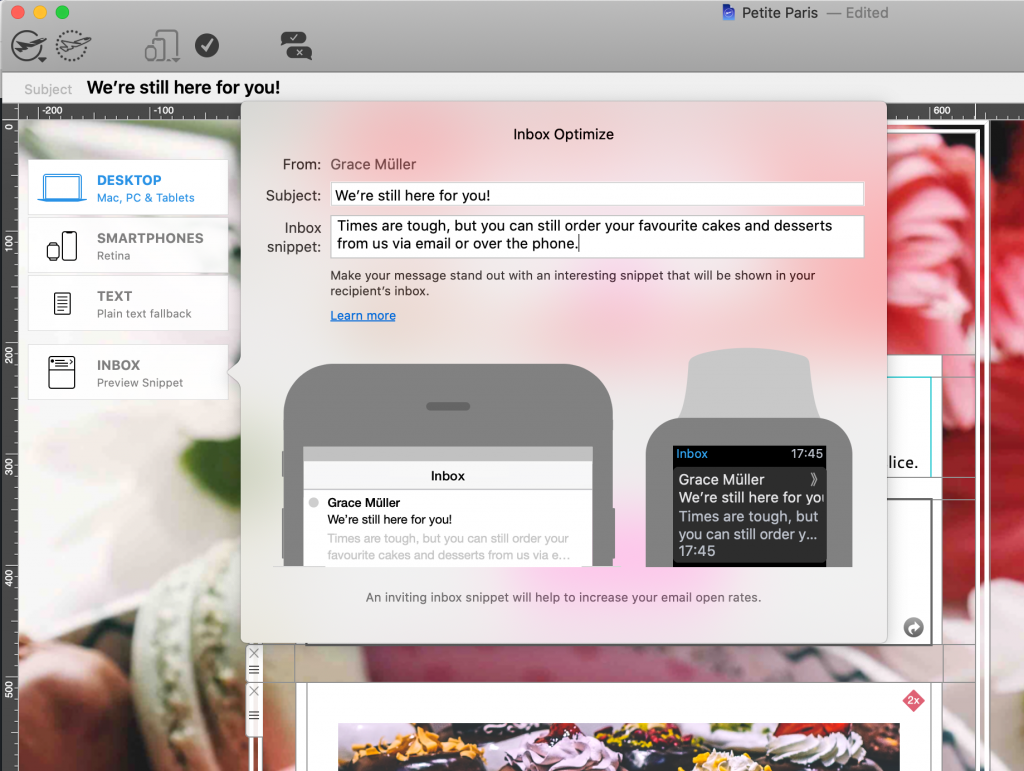
Write a compelling subject line to capture customers' attention.
Preview your email
Before you send it to your customers, it's a good idea to use the Mail Designer 365 Testmail service to check everything is looking as it should. Click the airplane icon, select "Test" and enter your email address to receive a preview of the design.
Note: You will be asked to verify your email address during this process.
You can also use the device preview tool to see what your email looks like on mobile devices. If something looks out of place here, you can edit it directly in the smartphone view.
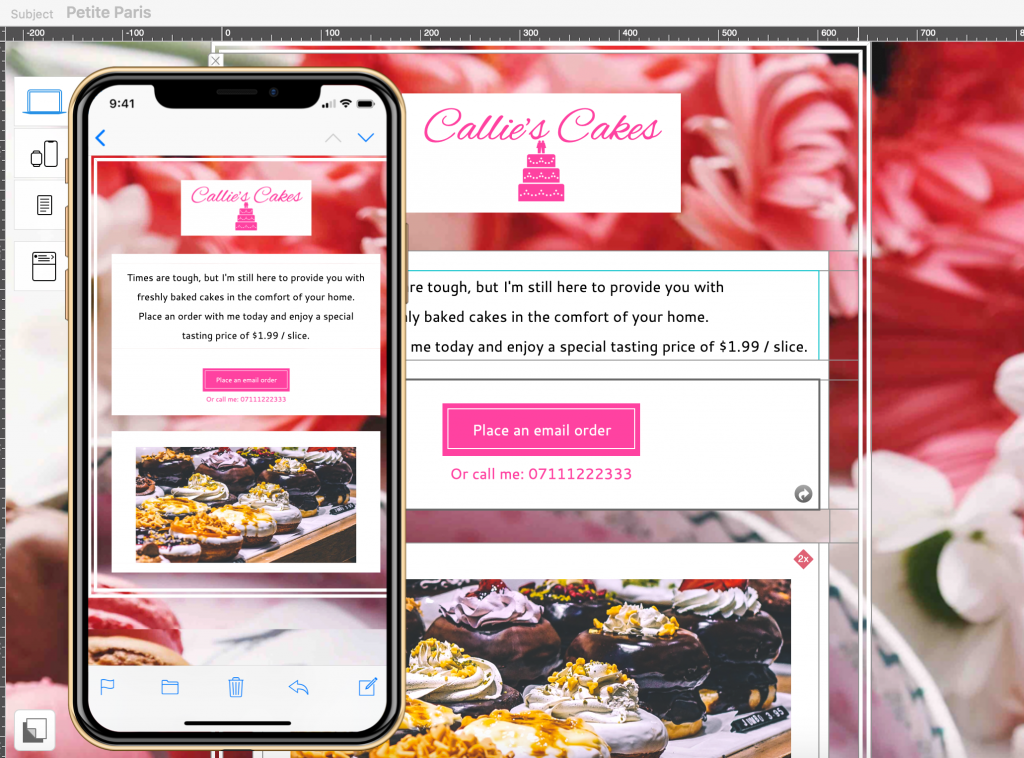
Preview your design on a mobile device before you send it.
Send your email
Once you're happy with your email design, you can go ahead and send it to your customers!
You can either send to customers directly from Mail Designer 365 using your own email address (please note this involves separately entering all customer email addresses) or, send via an ESP (email service provider) such as Mailchimp.
Here you can find a list of all of the ESPs which are compatible with Mail Designer 365 designs.
Email design made easy with Mail Designer 365
That was our beginner's guide to email design. Of course, there is a lot more to email marketing, but in terms of the basics, this guide has covered it all.
If you are interested in learning more about email marketing, be sure to check out the rest of our Newsletter Academy articles.
Here are a few more posts which you might also find relevant:
Best Small Business Tools to Help Your Business Survive the Coronavirus Crisis
Checkliste für E-Mail-Kampagnen: In 7 Schritten von der Idee zum Versand
Until next time,
Your Mail Designer 365 Team
Get started with the Mail Designer 365 service today for free...
Sign up free today to see what you can achieve.