
Drag & Drop-E-Mail-Builder für Mac.
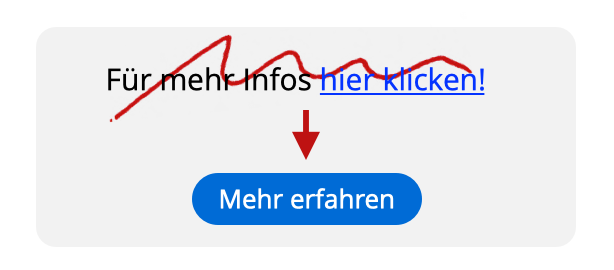
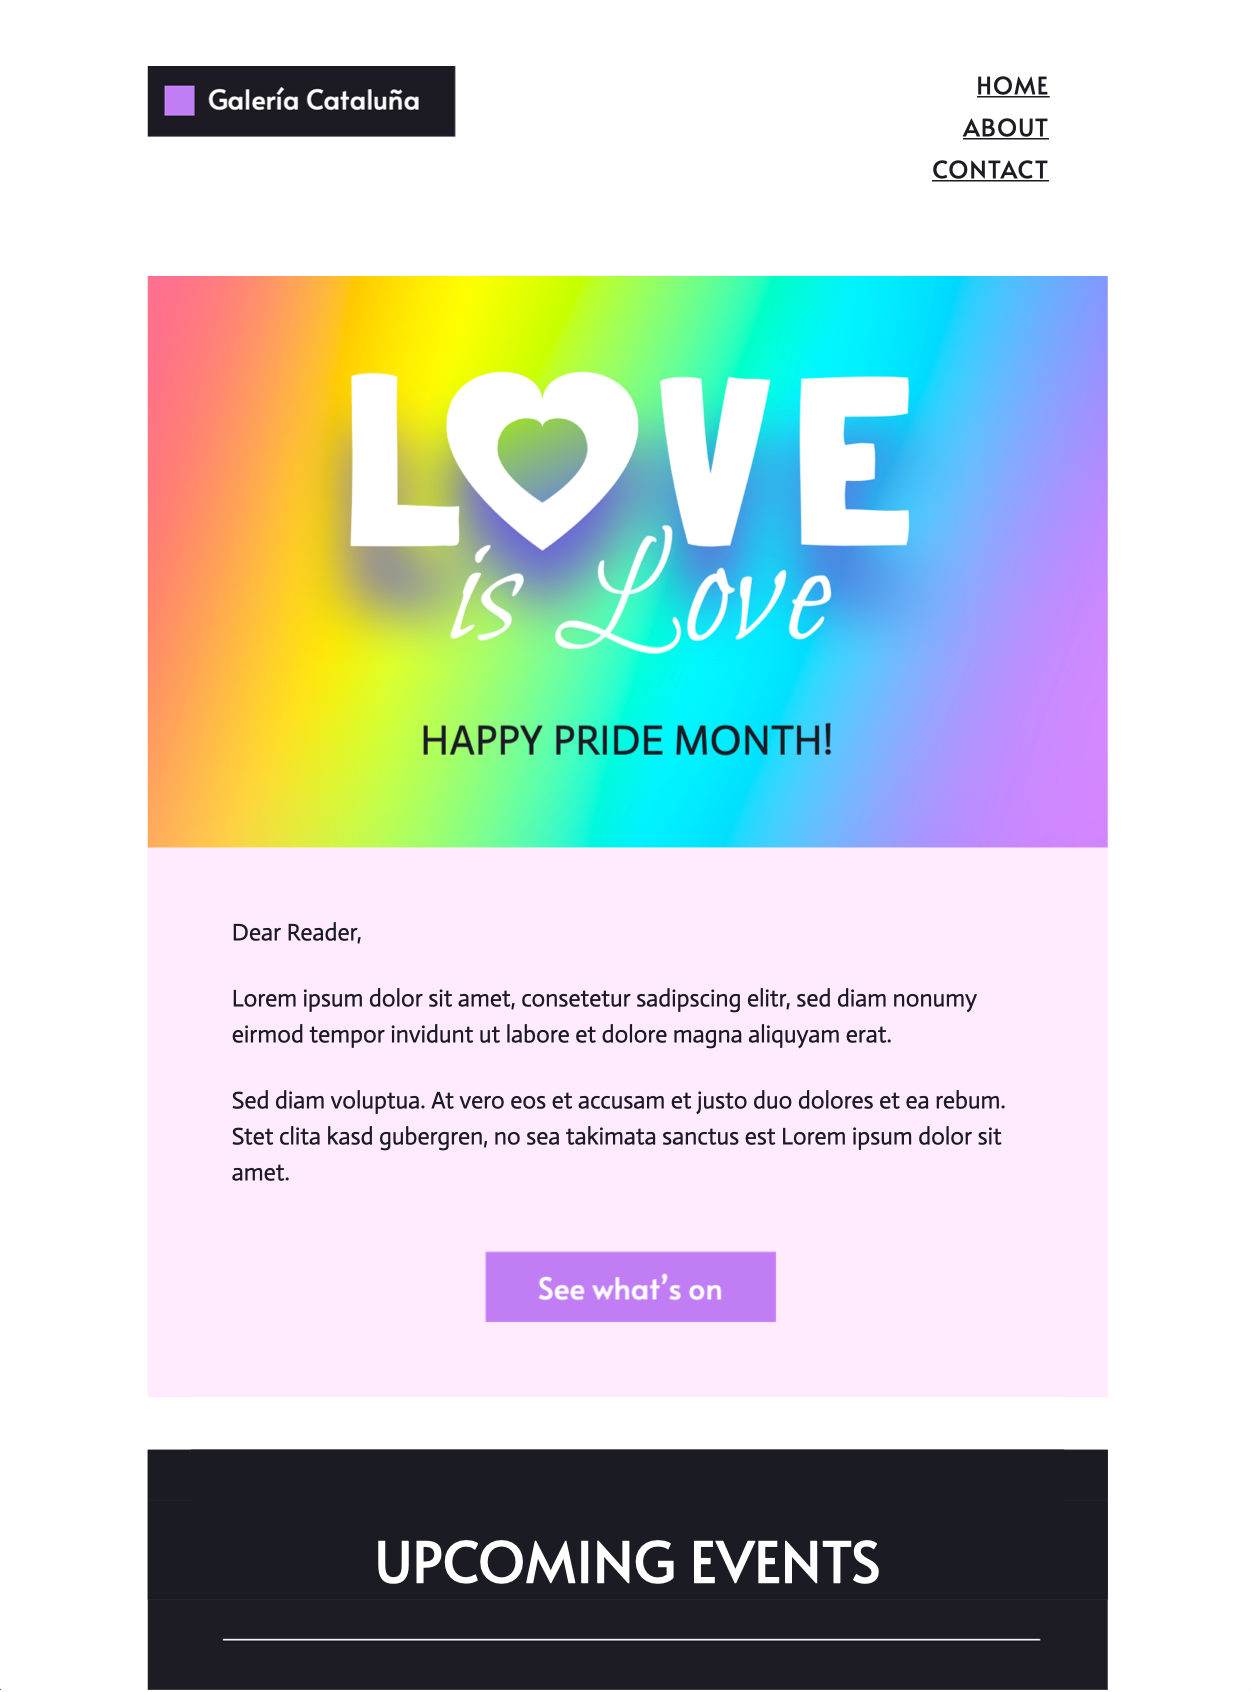
 Text-Buttons & Badges: Nie wieder schnöde, blaue Textlinks!
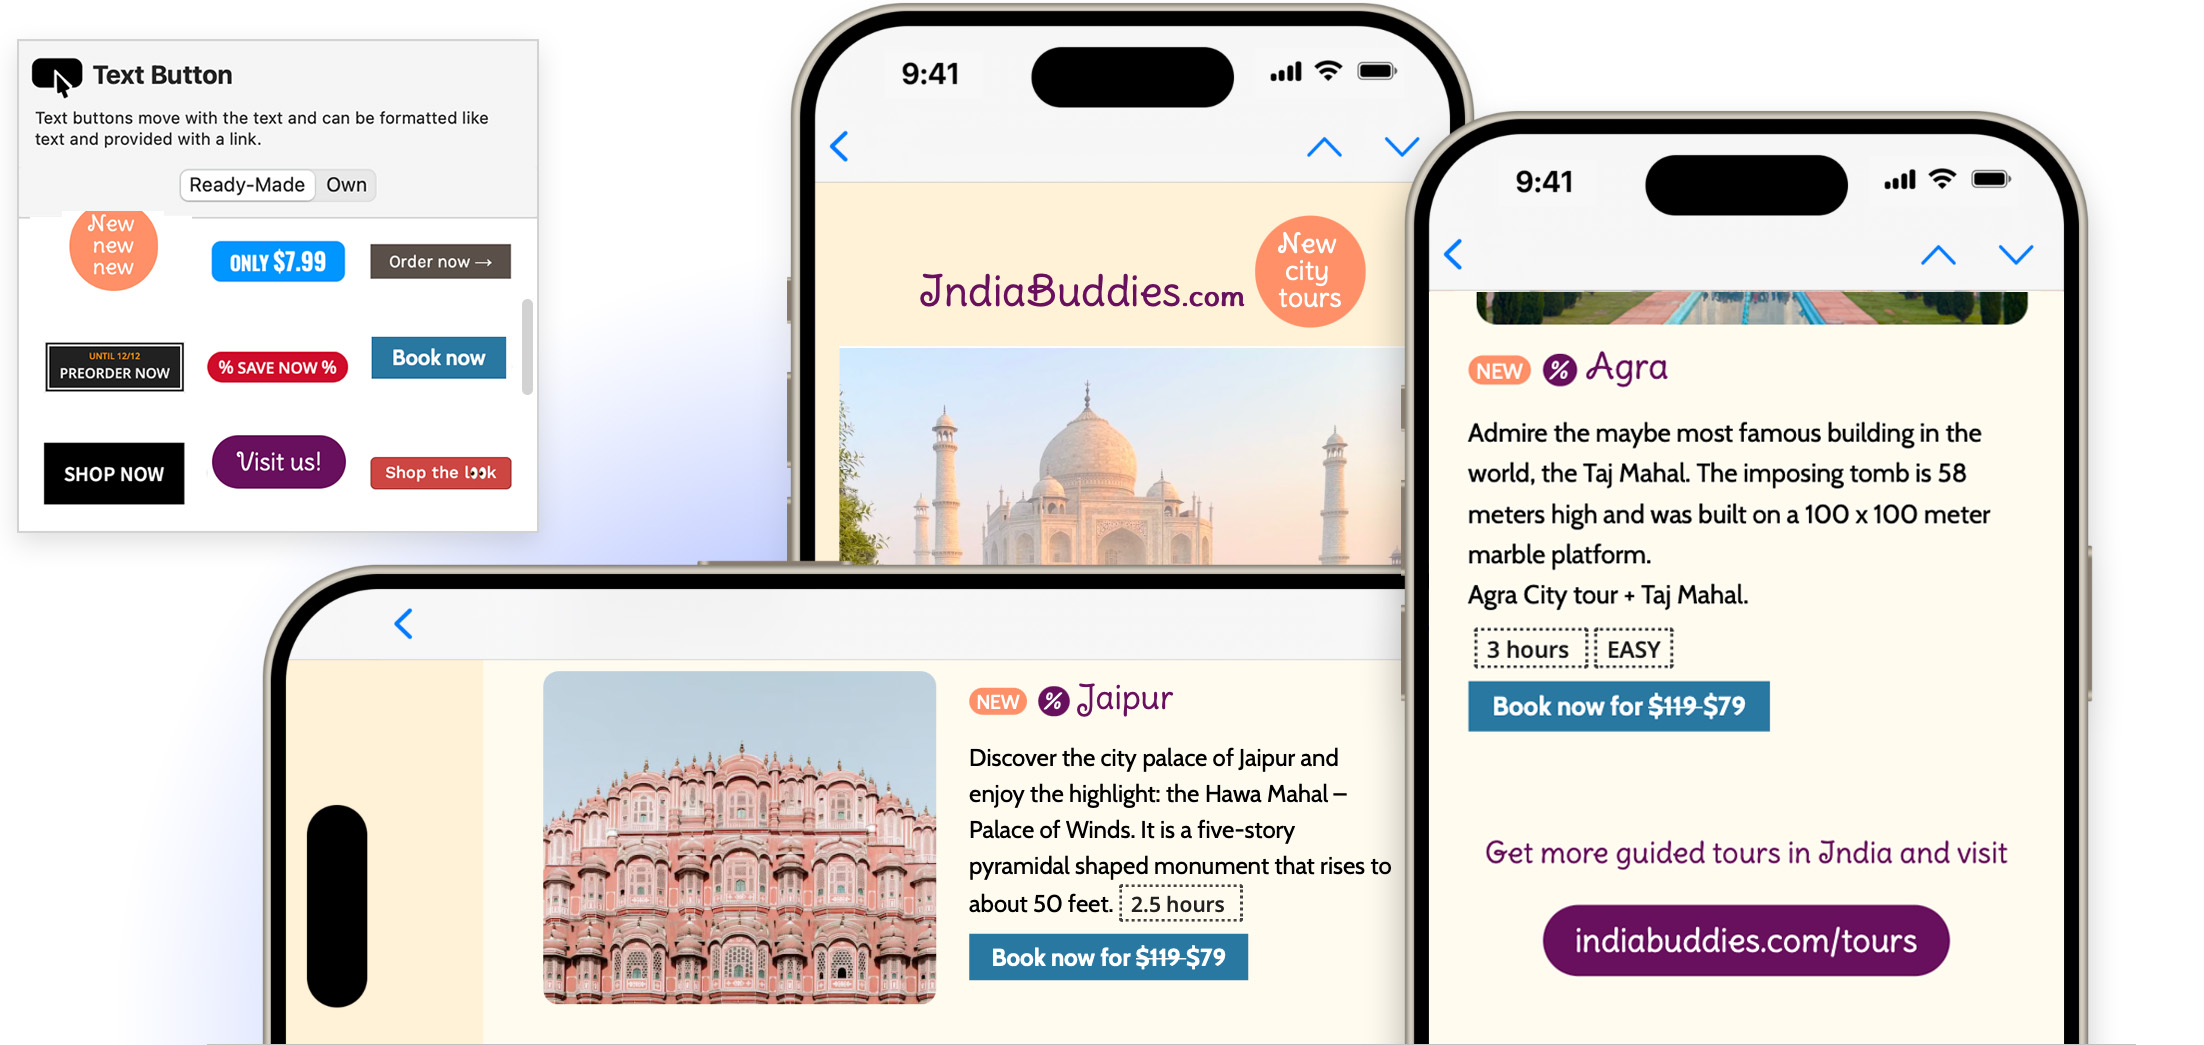
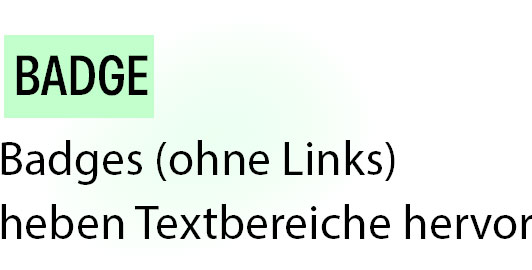
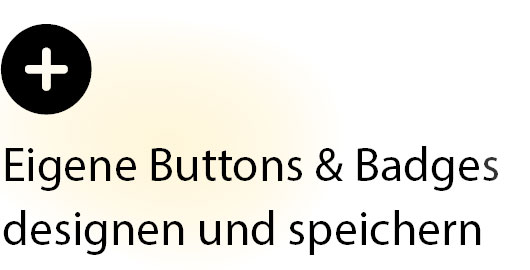
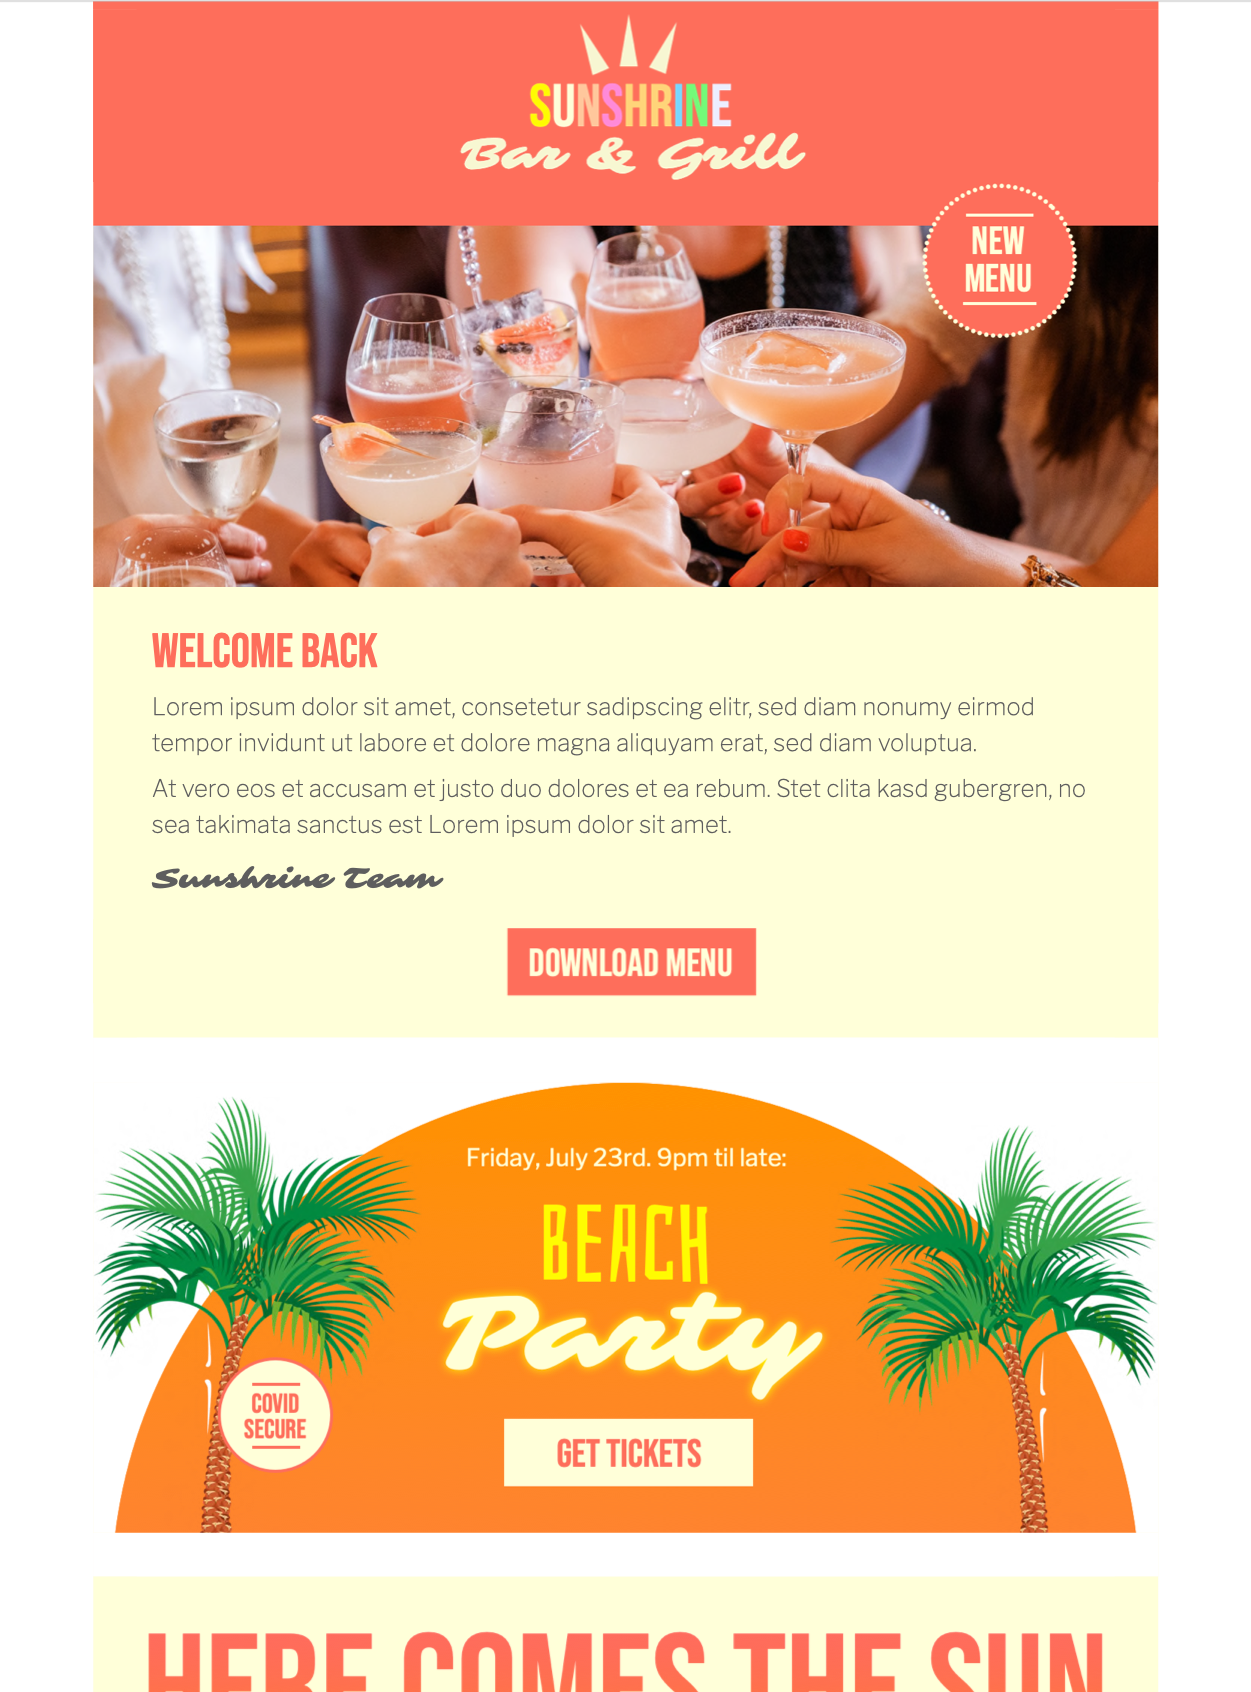
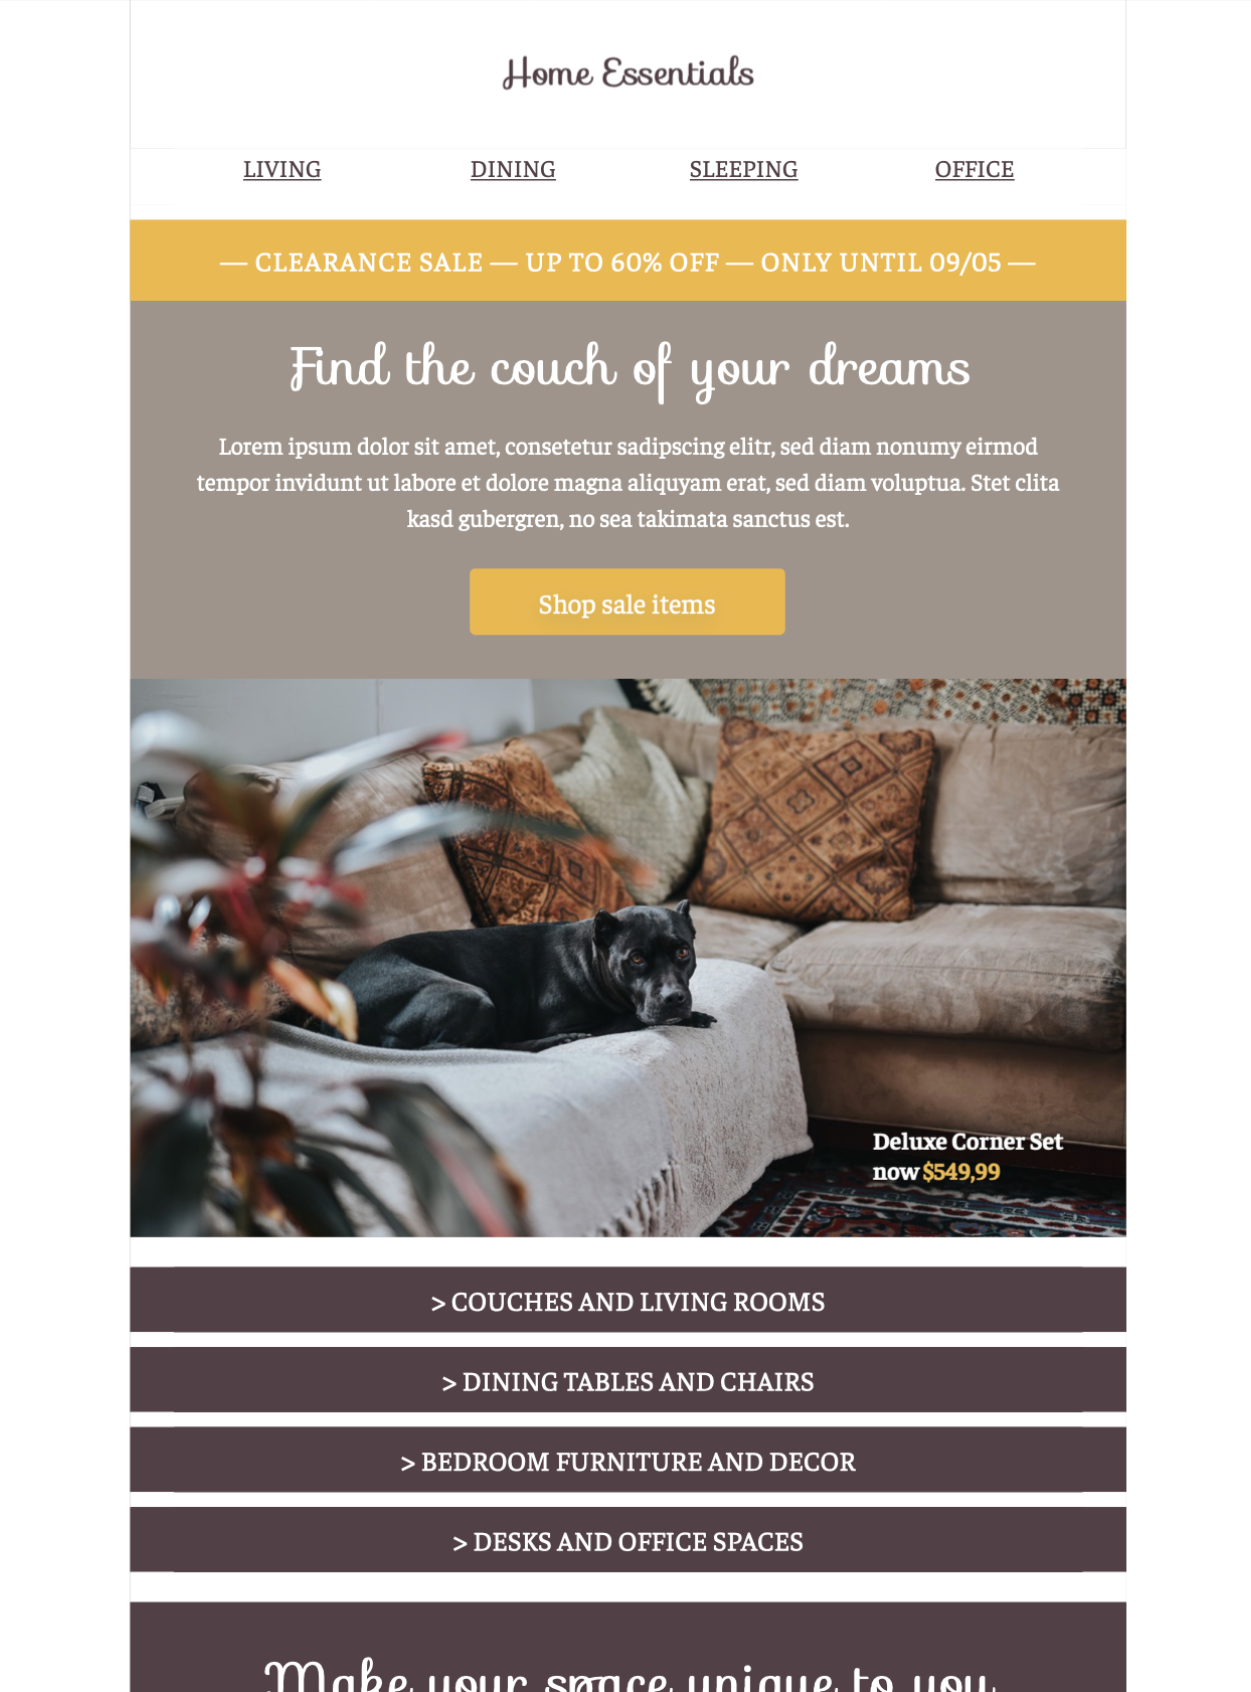
Gib deinen Texten einen professionellen Look
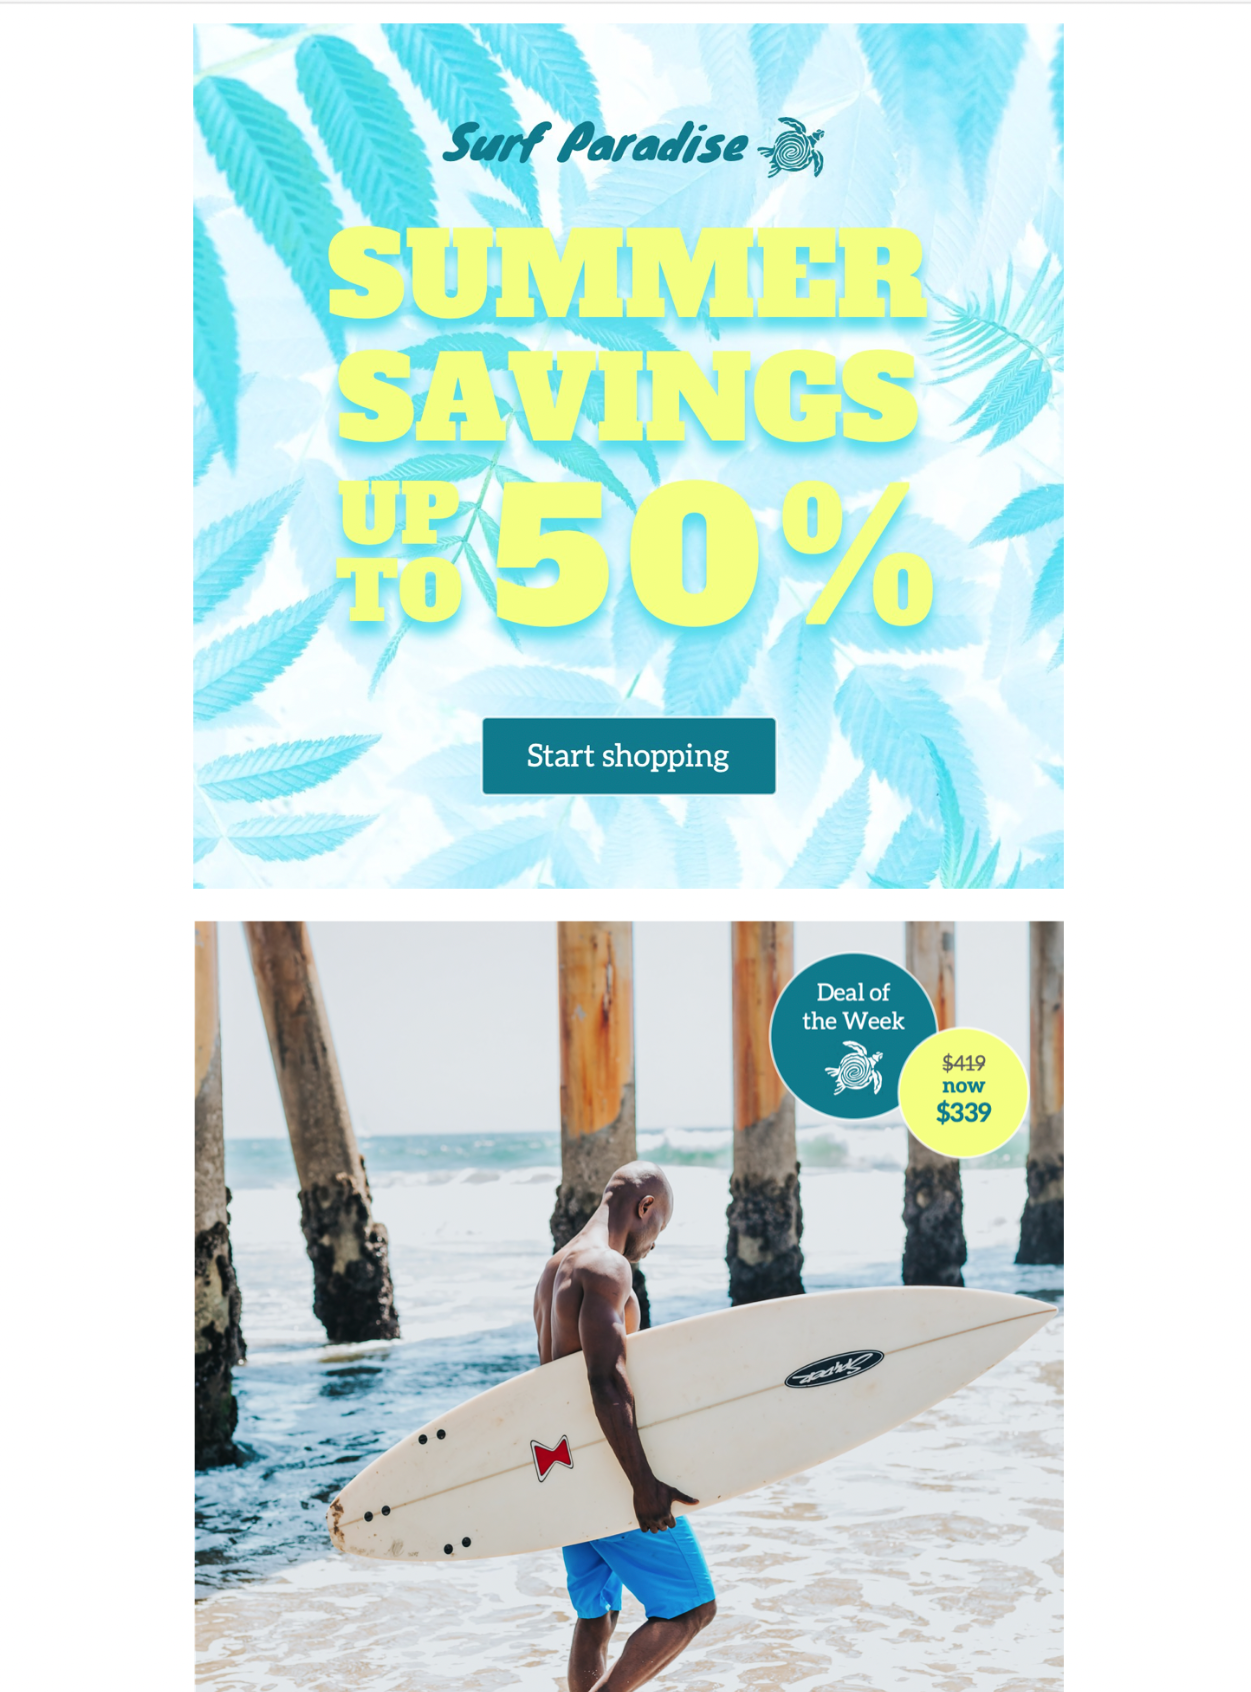
Blaue Textlinks? Unterstrichen? Du hast einen besseren Geschmack! Gestalte mühelos richtige Buttons und Badges.
Blaue Textlinks? Unterstrichen? Du hast einen besseren Geschmack! Gestalte mühelos richtige Buttons und Badges.
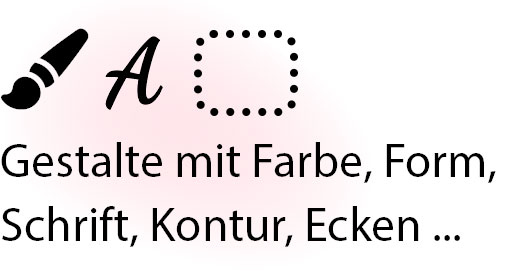
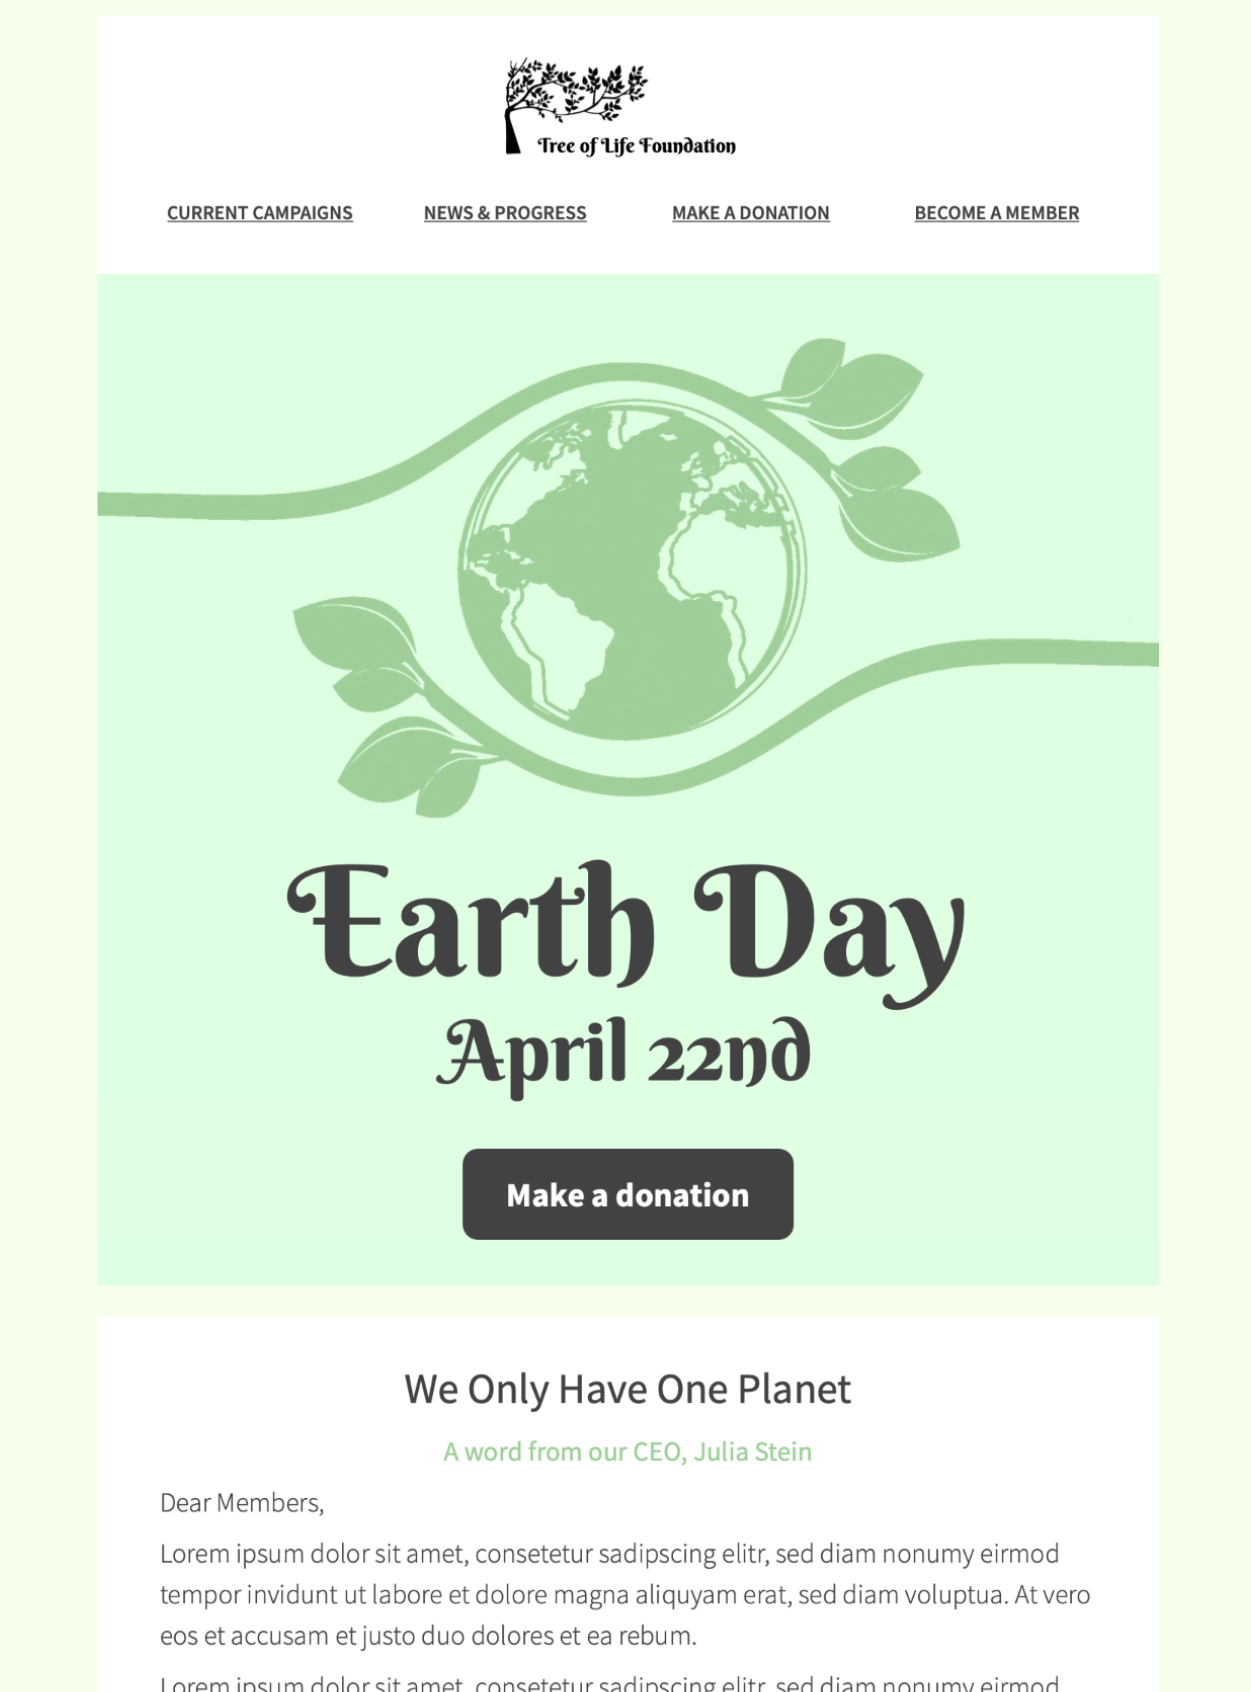
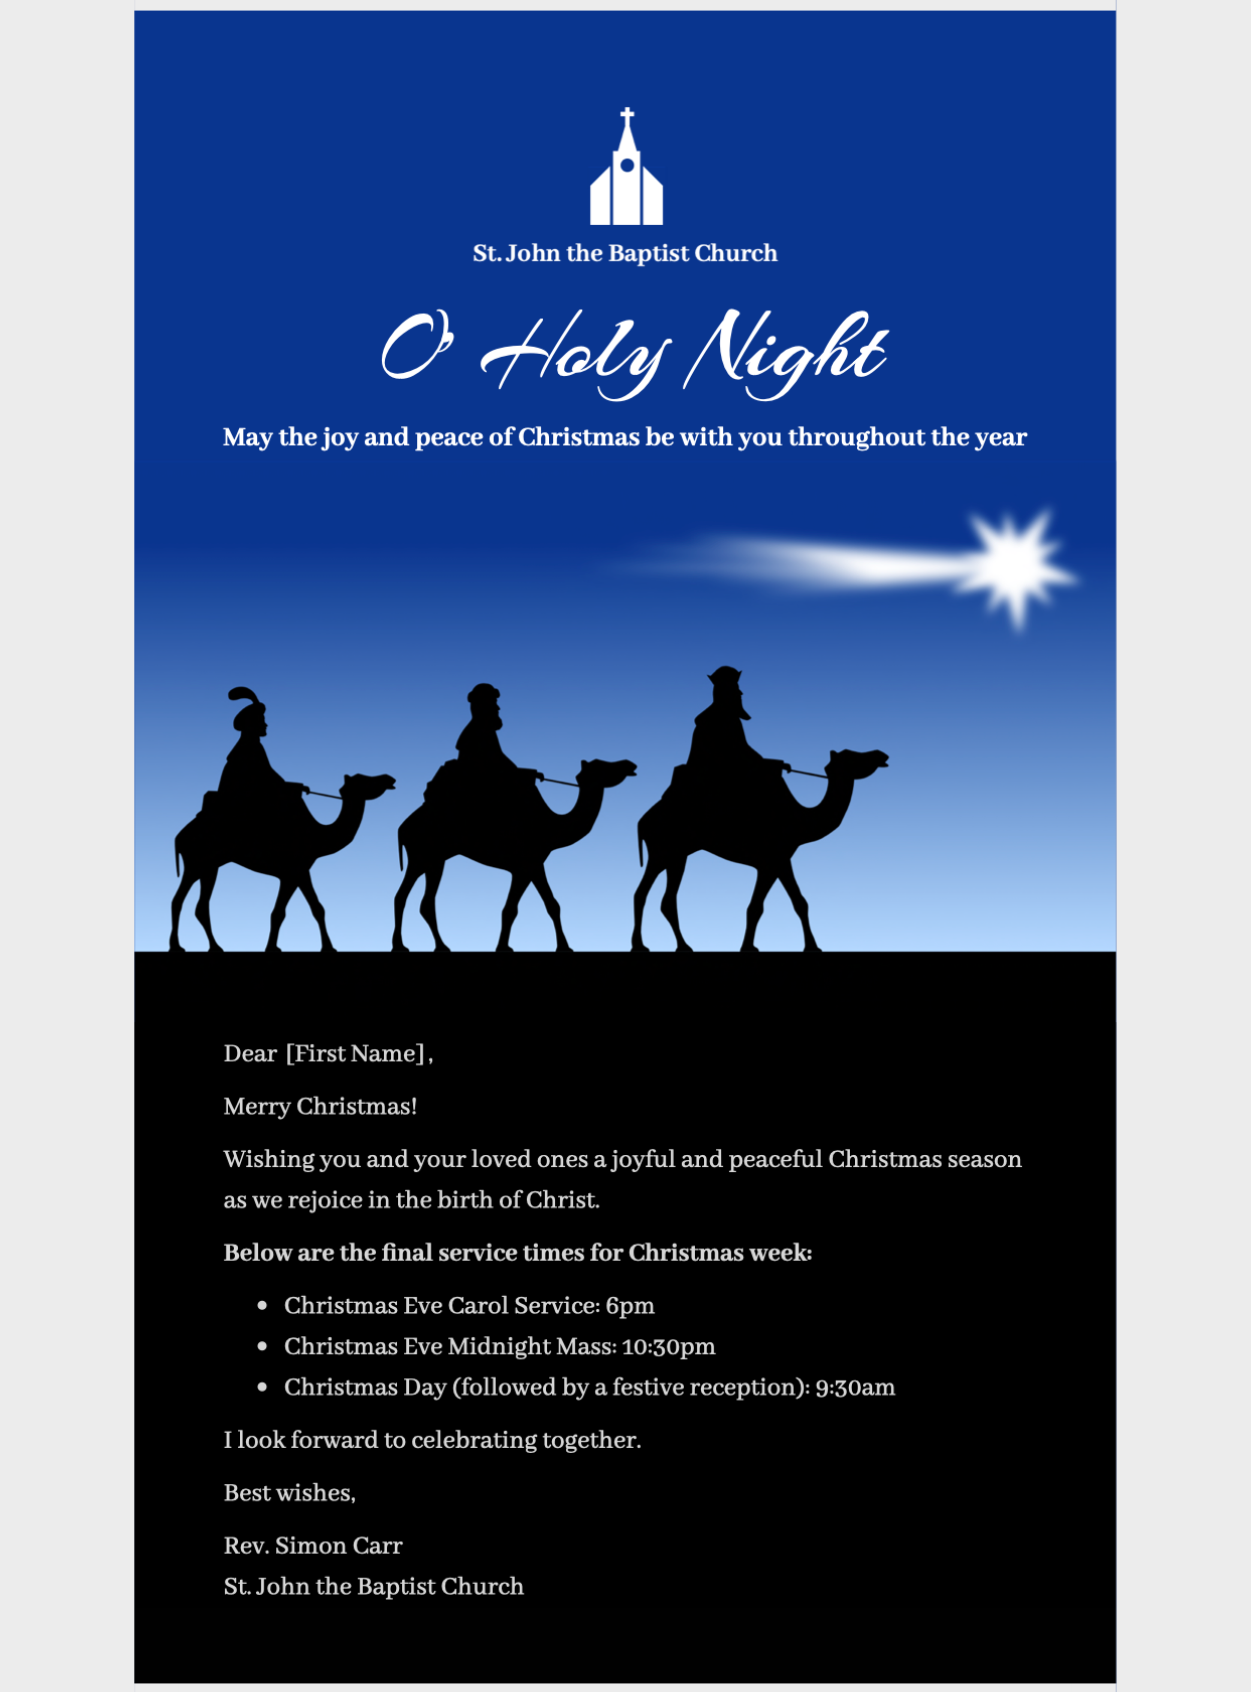
Immer im Flow
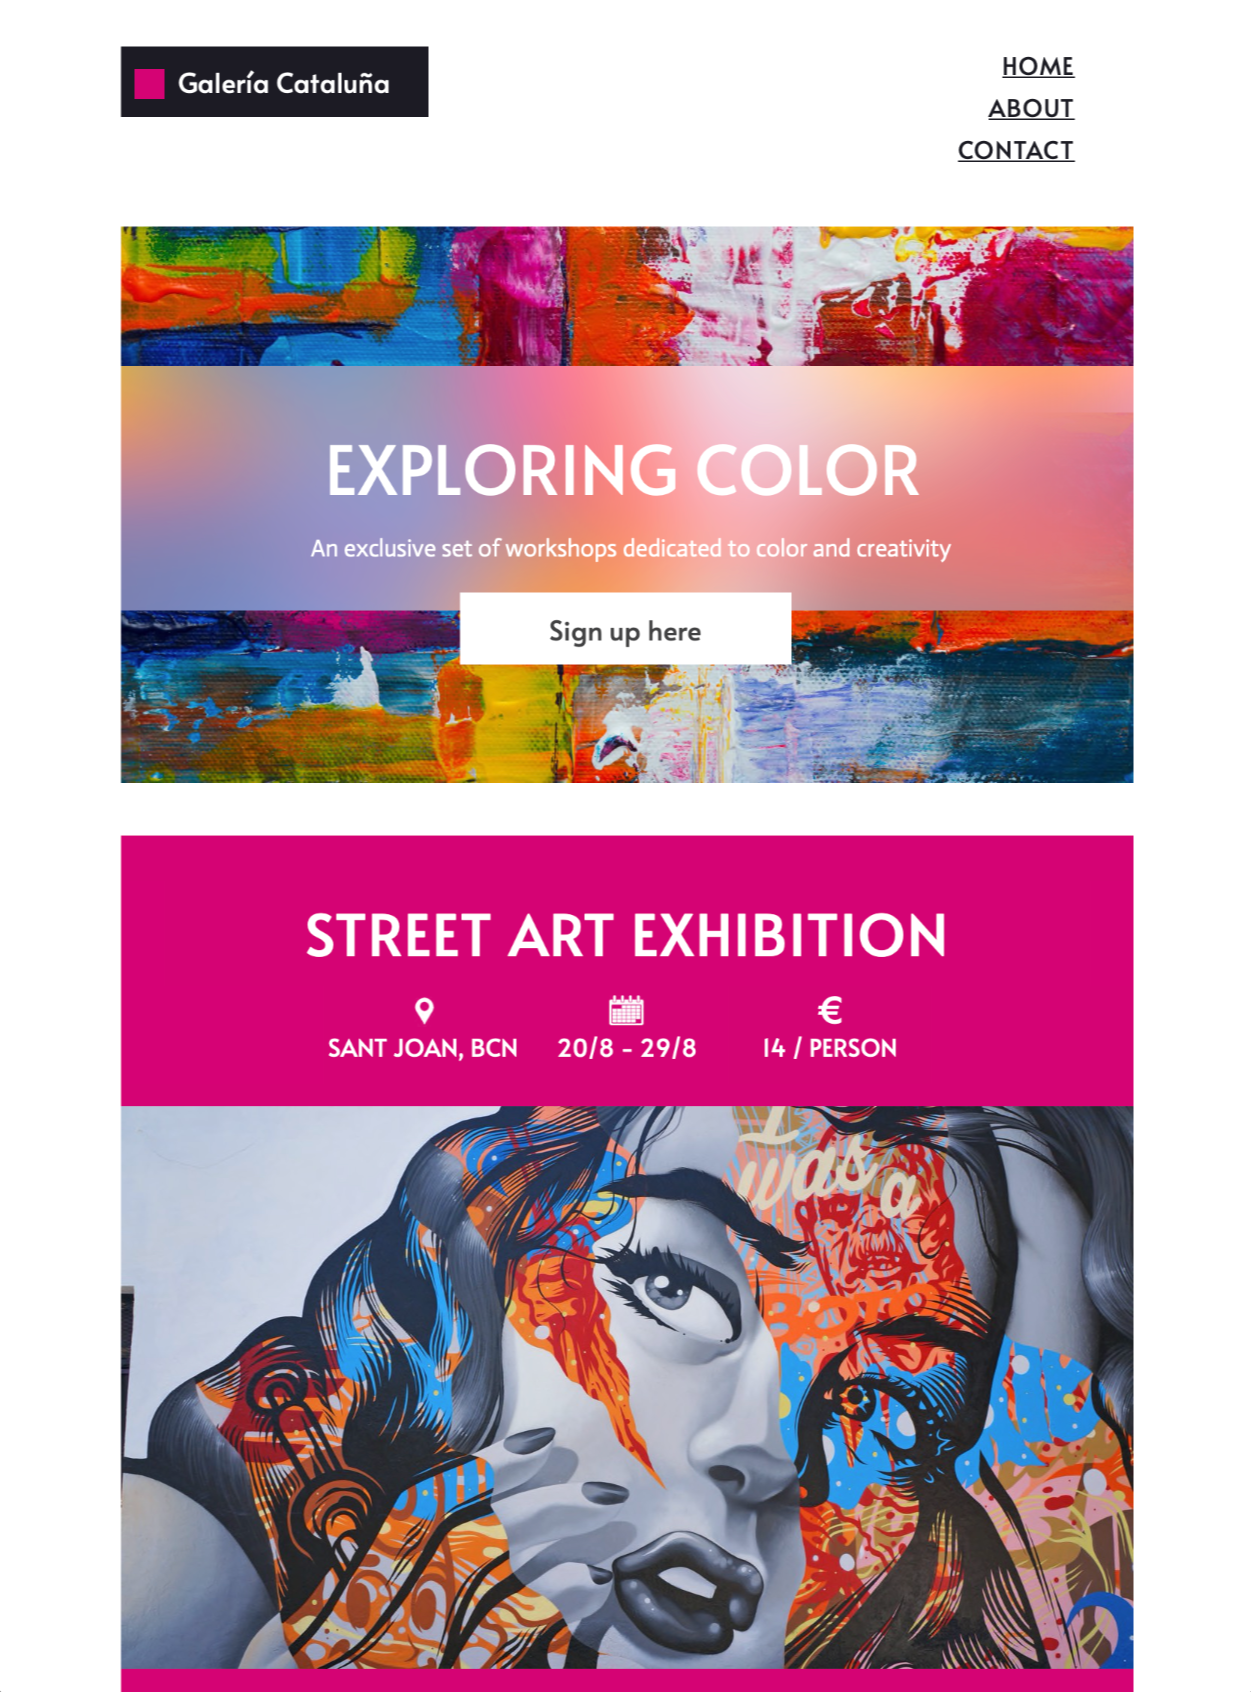
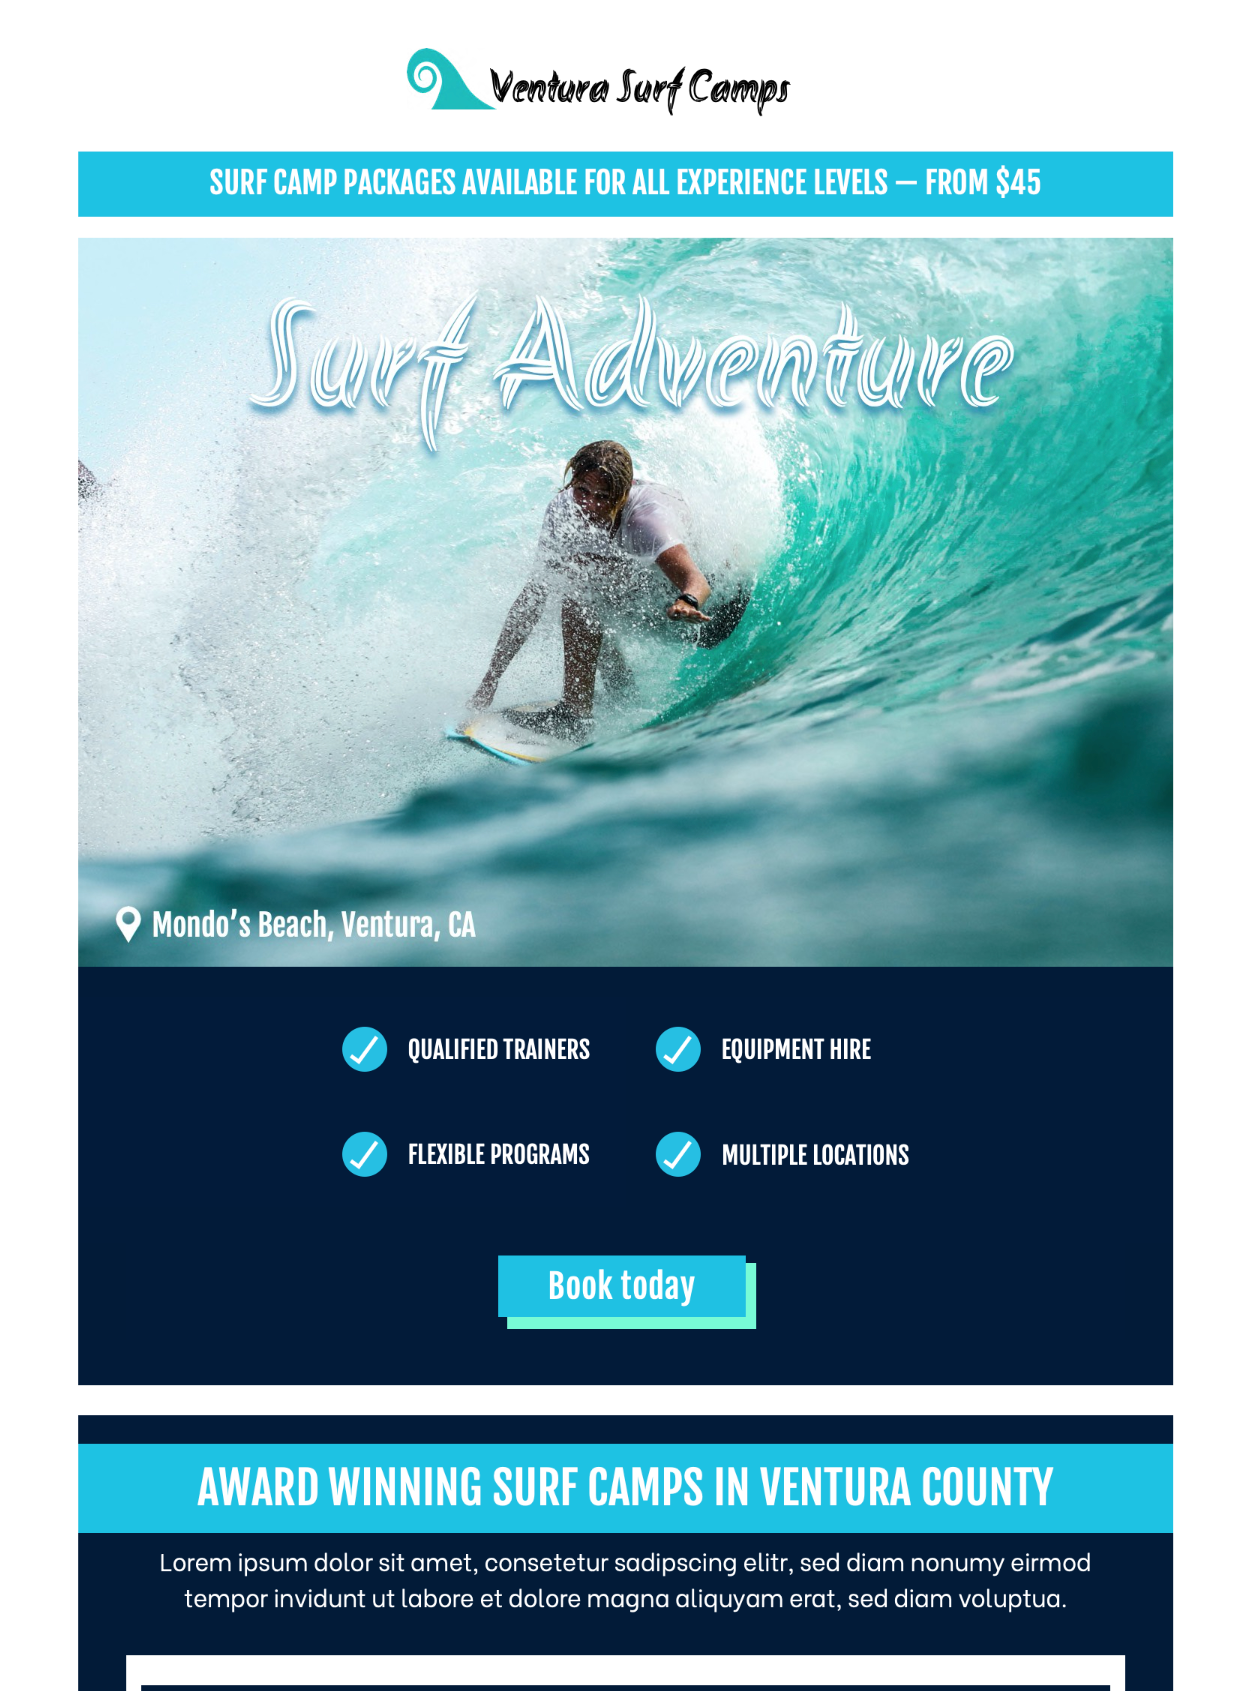
Im Unterschied zu grafischen Buttons in festen Bildbereichen, fließen deine Text-Buttons und Badges mit deinem Text.
Im Unterschied zu grafischen Buttons in festen Bildbereichen, fließen deine Text-Buttons und Badges mit deinem Text.

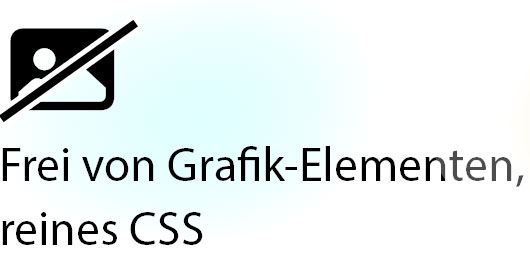
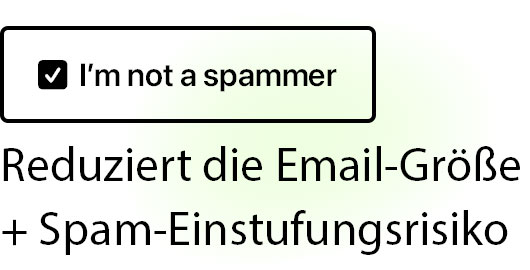
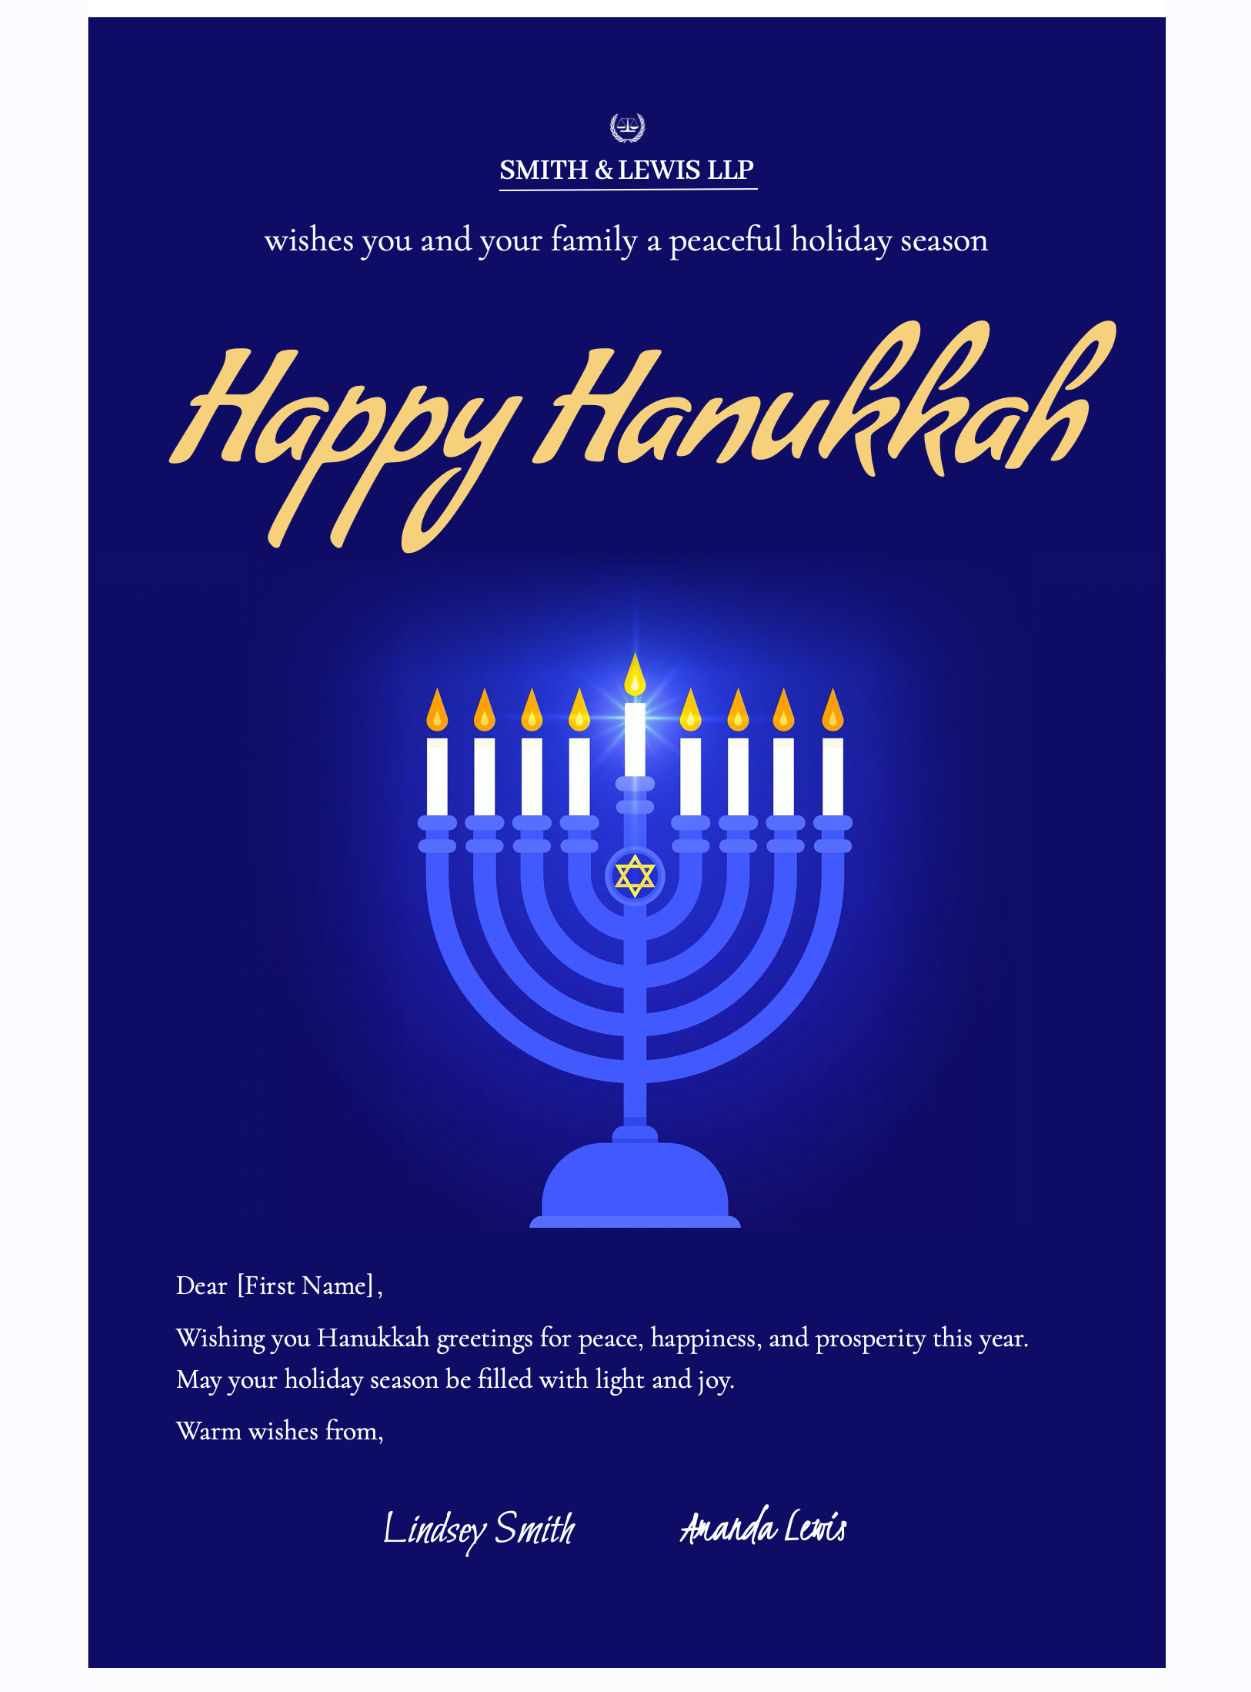
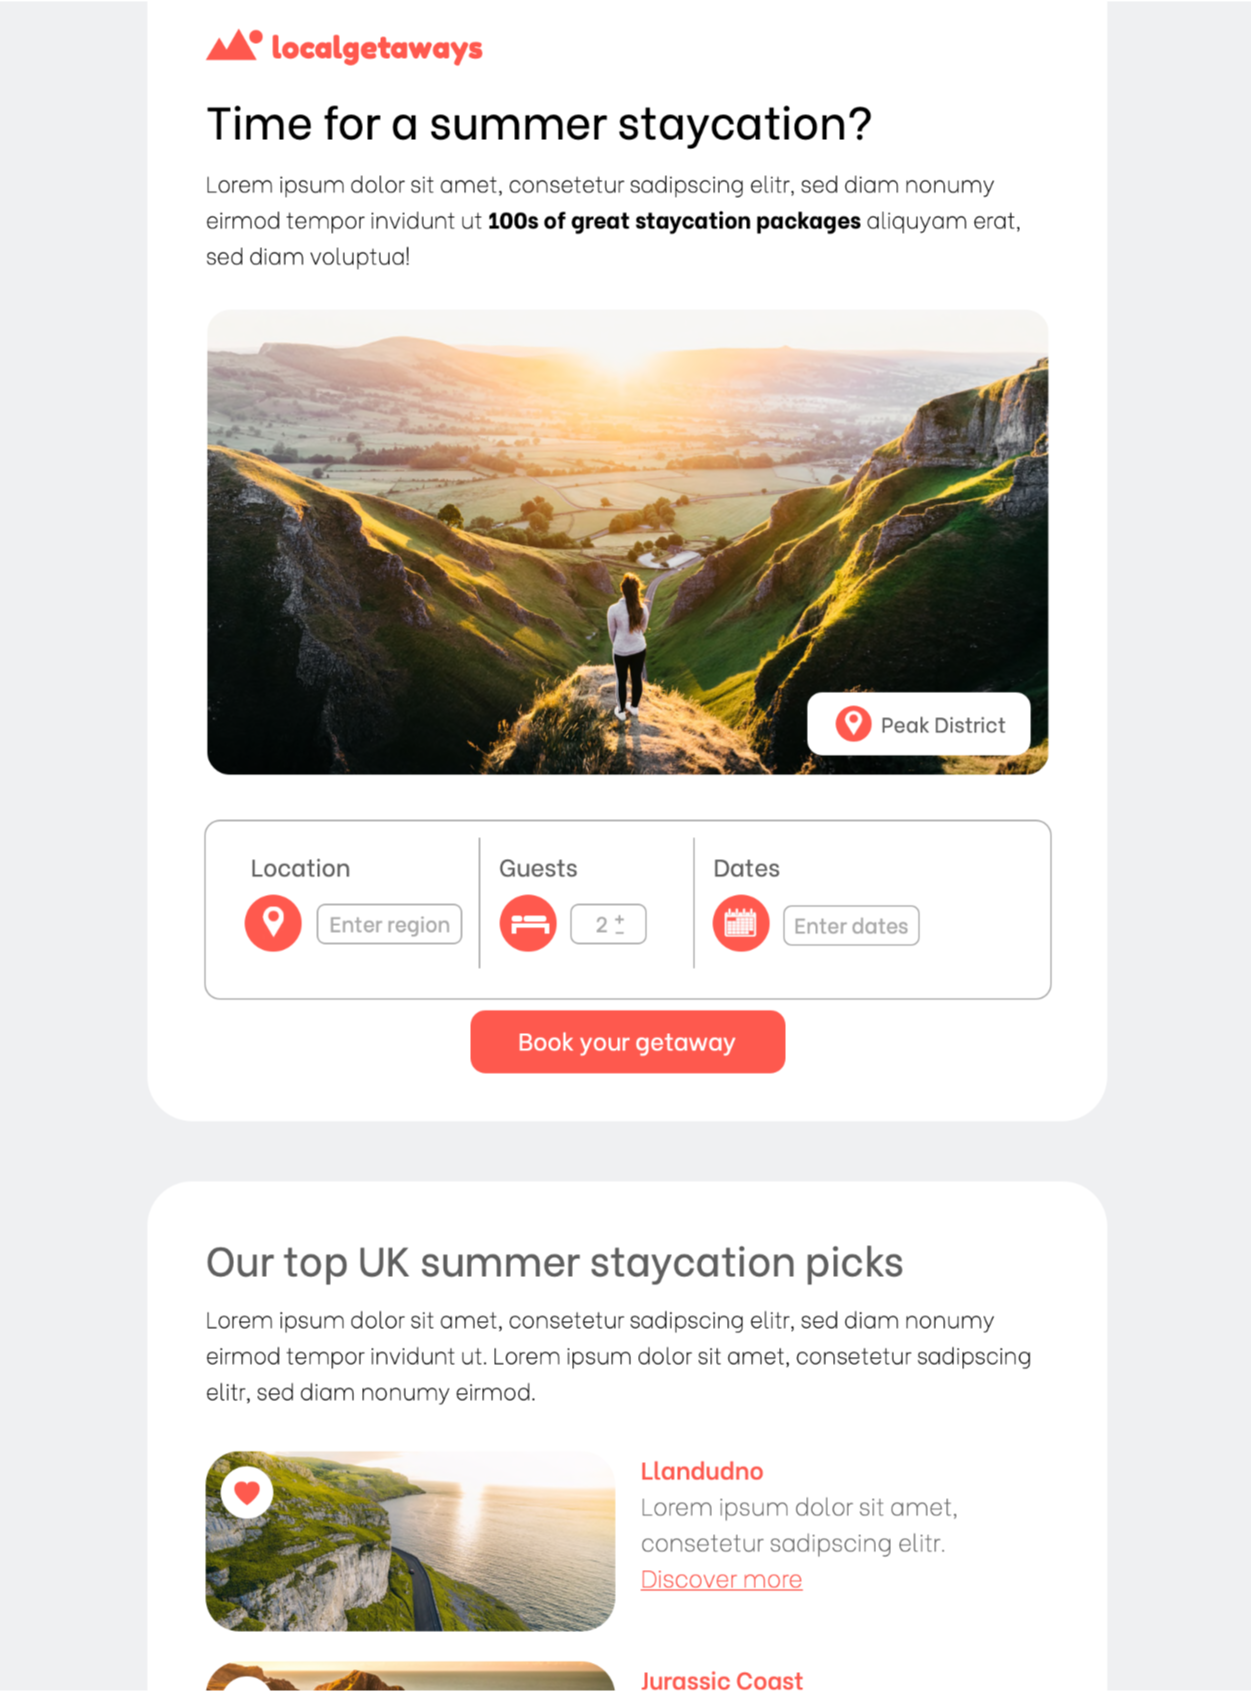
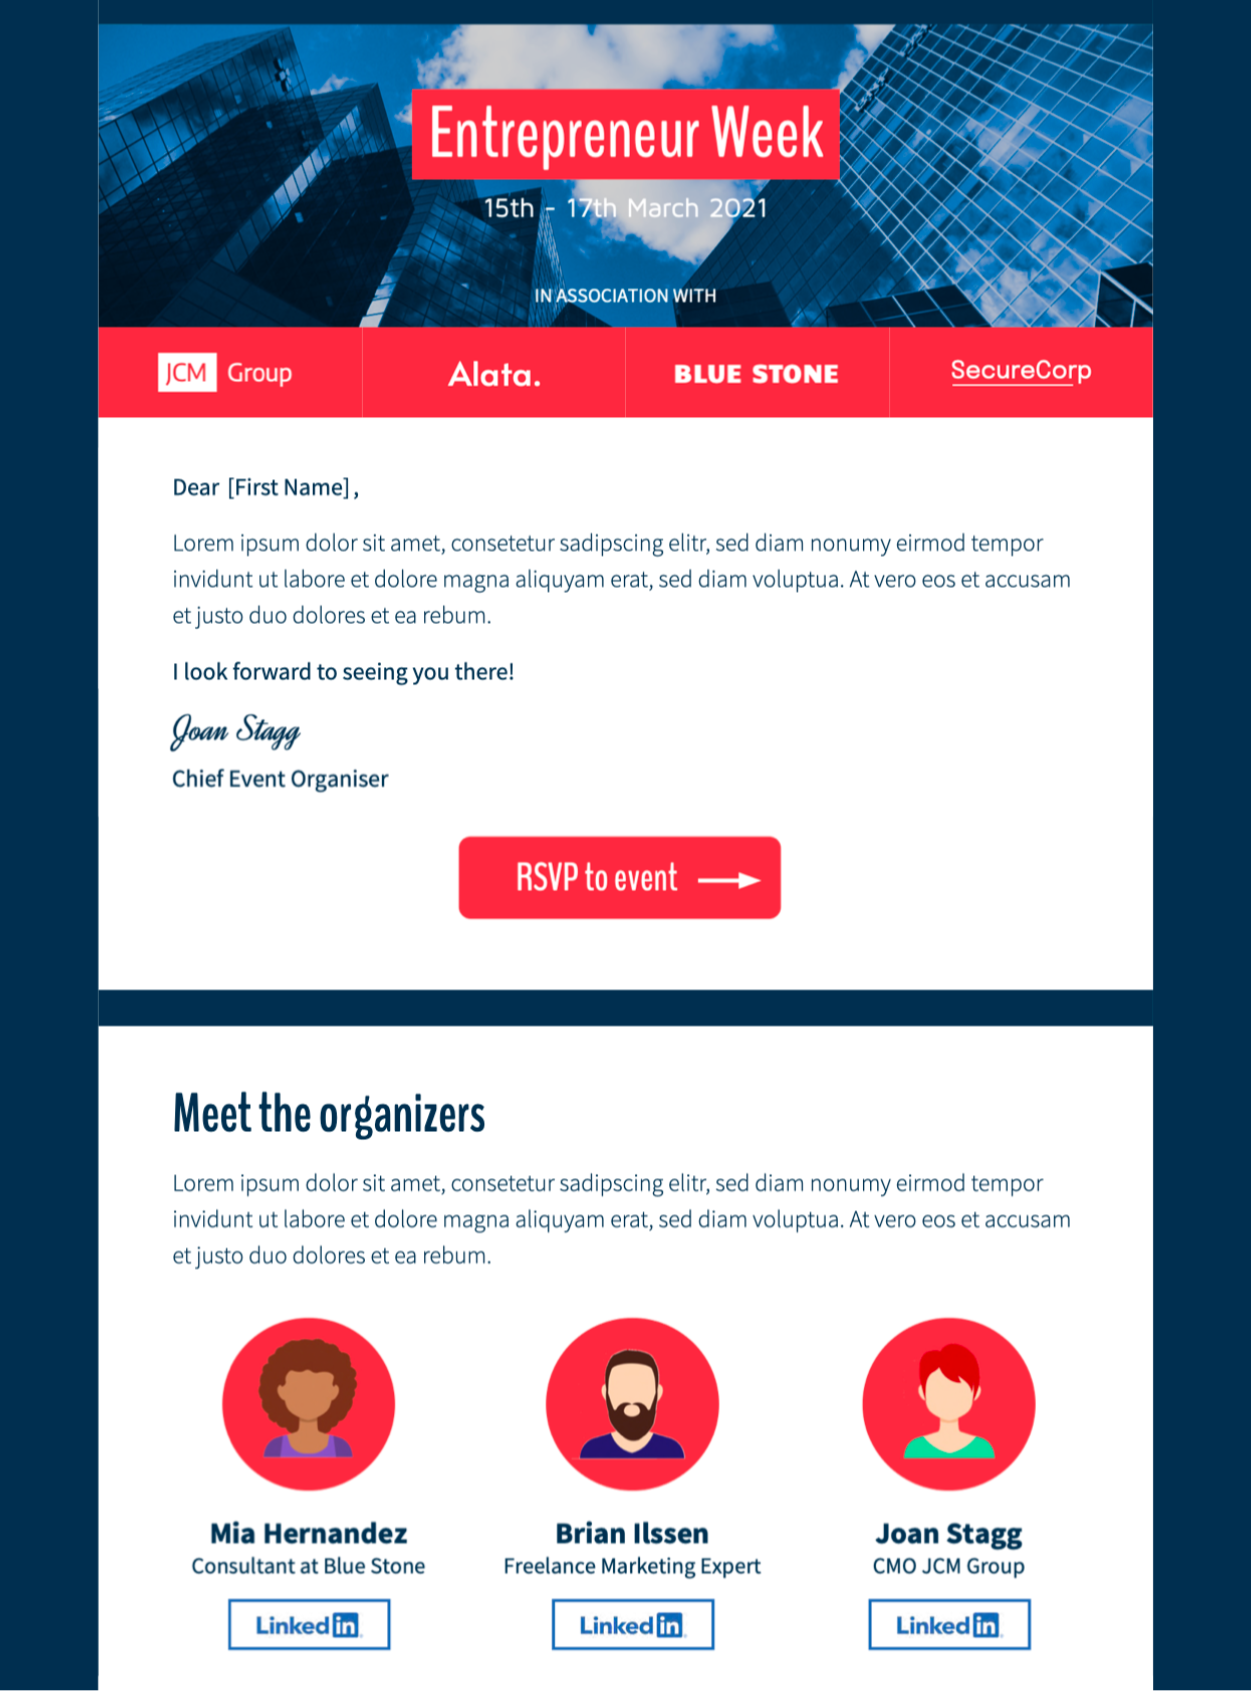
Kleinere E-Mails dank CSS statt Bildern
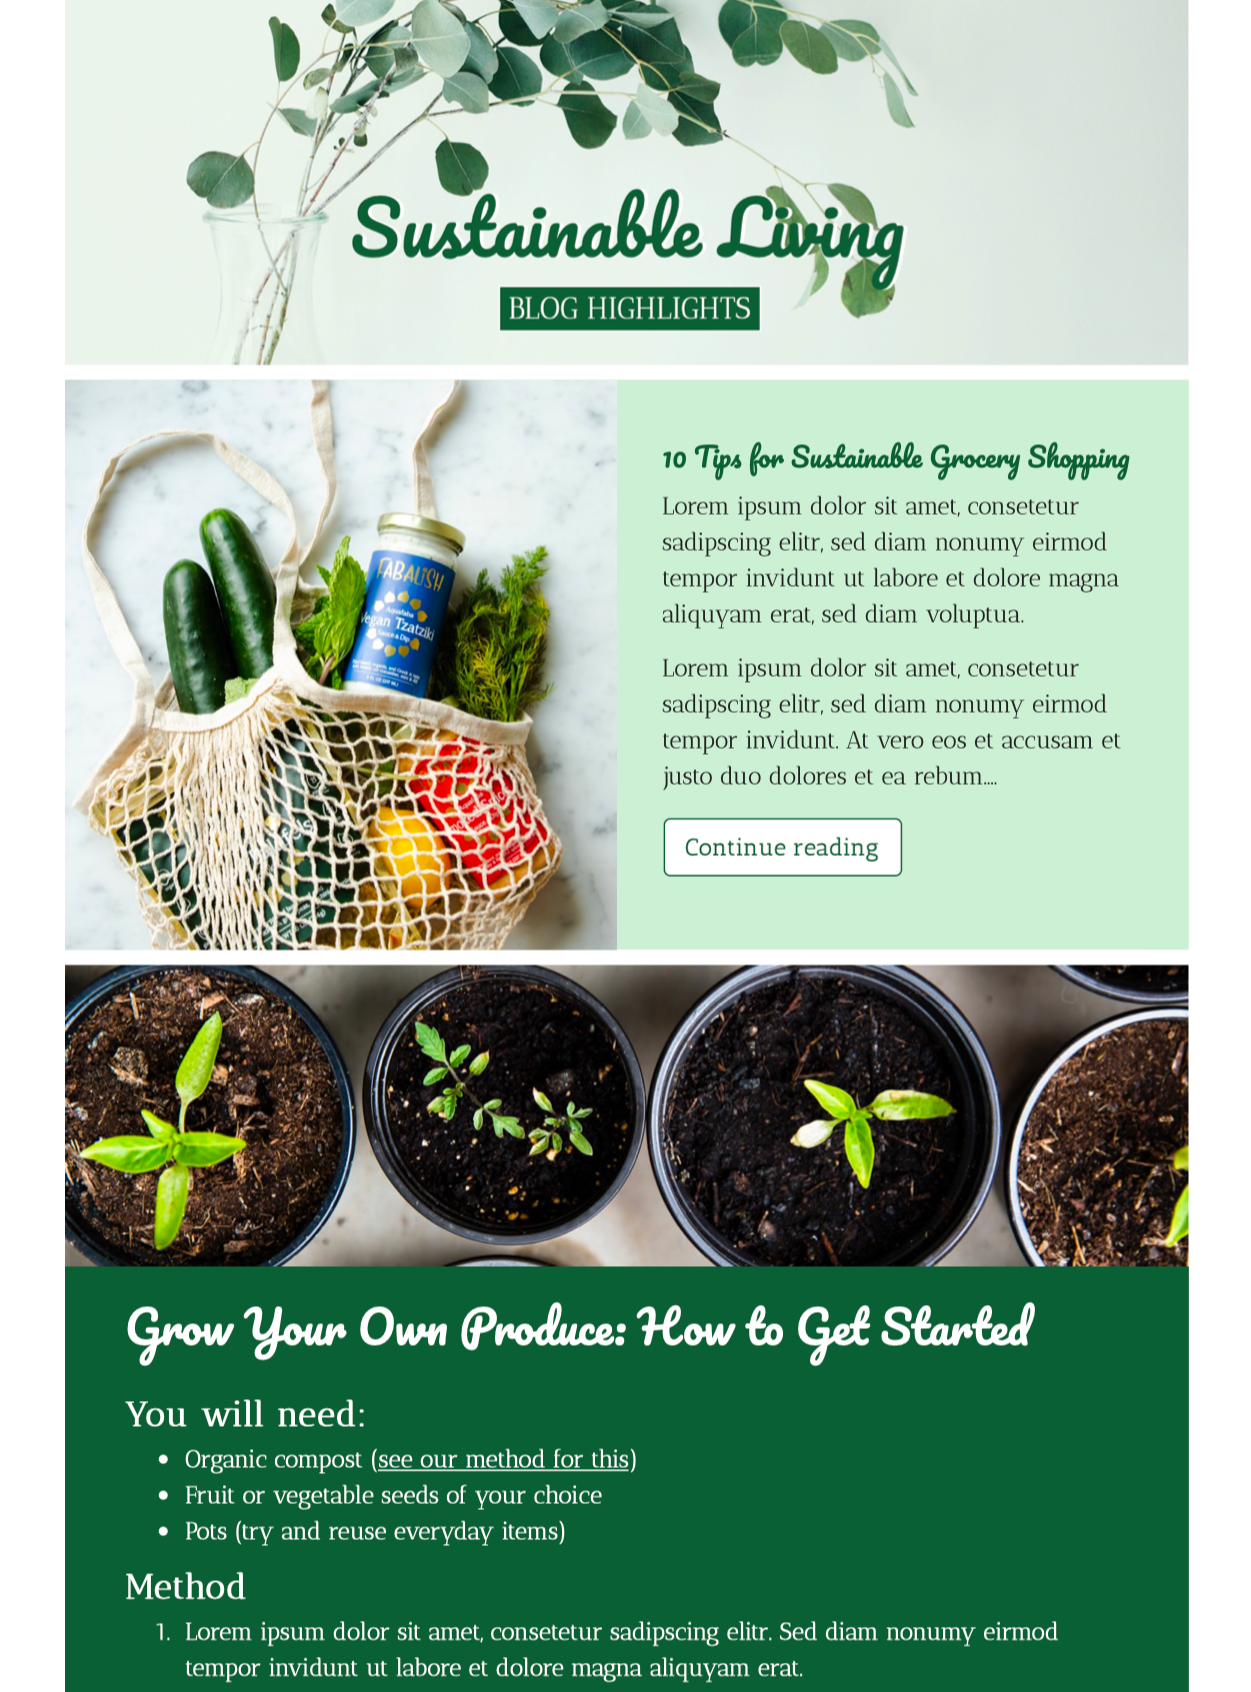
Deine Newsletter werden schneller gesendet und geladen. Darüber hinaus können E-Mails mit weniger Bildern das Risiko verringern, als Spam klassifiziert zu werden.
Deine Newsletter werden schneller gesendet und geladen. Darüber hinaus können E-Mails mit weniger Bildern das Risiko verringern, als Spam klassifiziert zu werden.
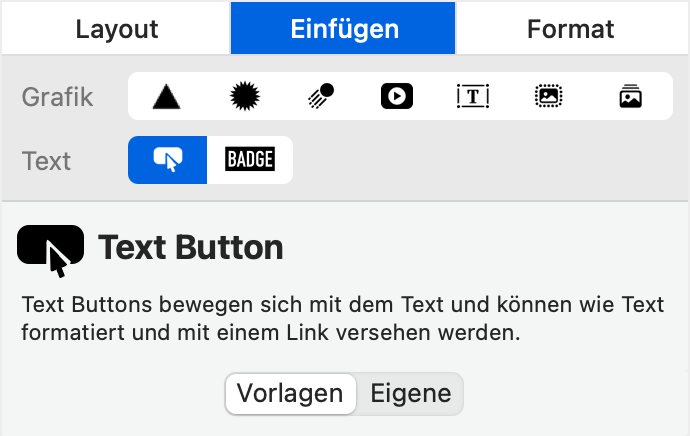
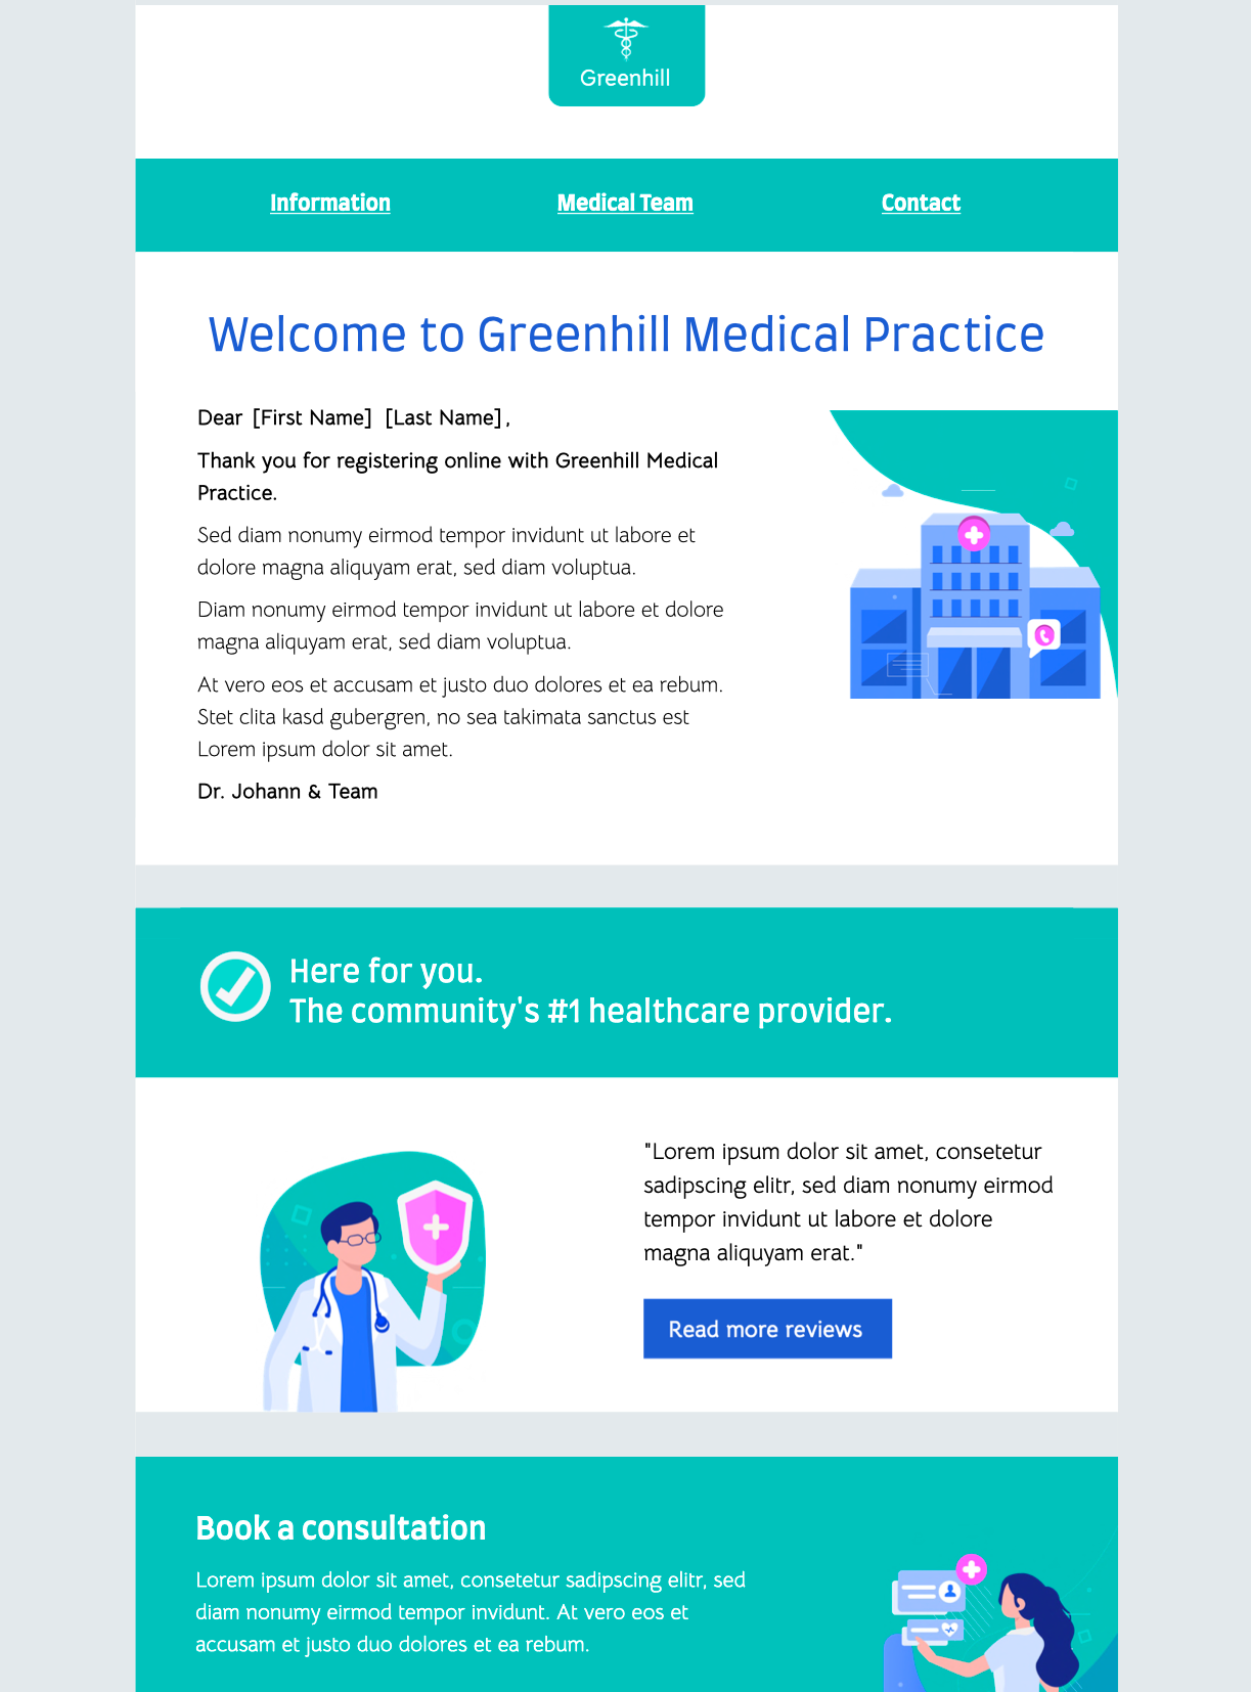
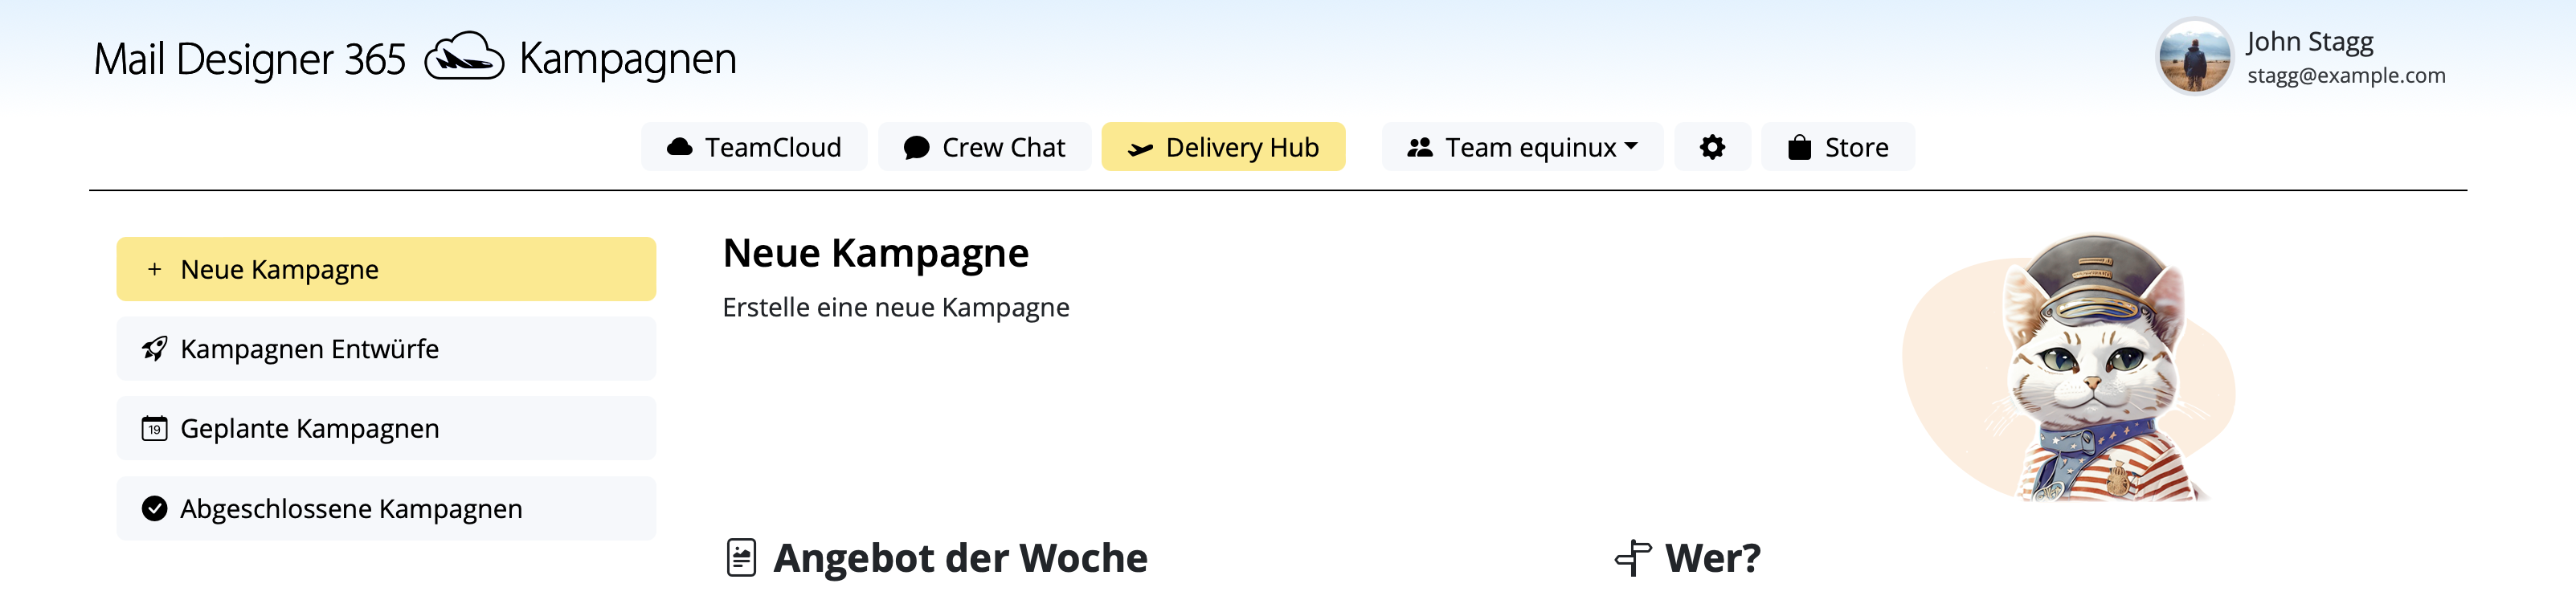
Wo du die Text-Buttons und Badges findest
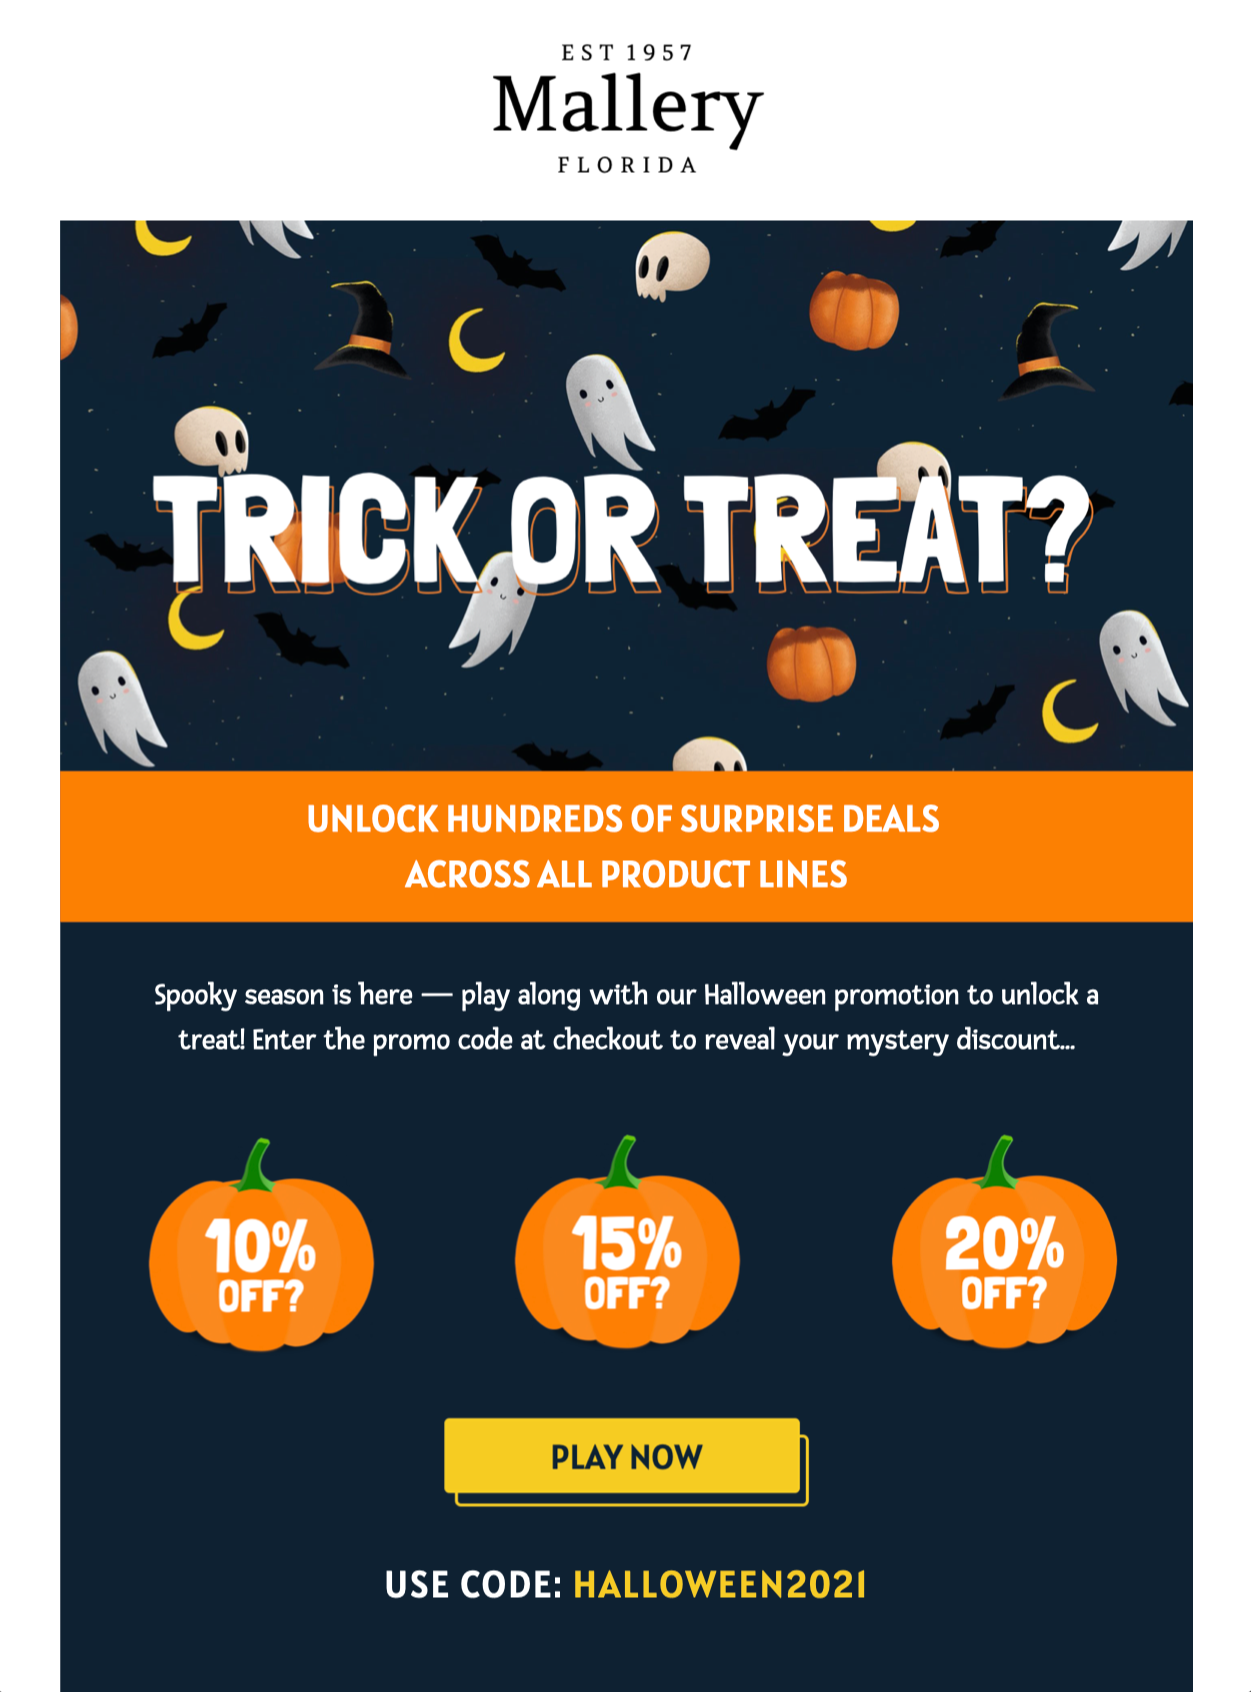
In der Seitenleiste unter "Einfügen" klickst du auf eine der beiden Optionen in der zweiten Reihe der Symbole. Viel Spaß!
In der Seitenleiste unter "Einfügen" klickst du auf eine der beiden Optionen in der zweiten Reihe der Symbole. Viel Spaß!
Starte mit fertigen HTML E-Mail-Vorlagen ...
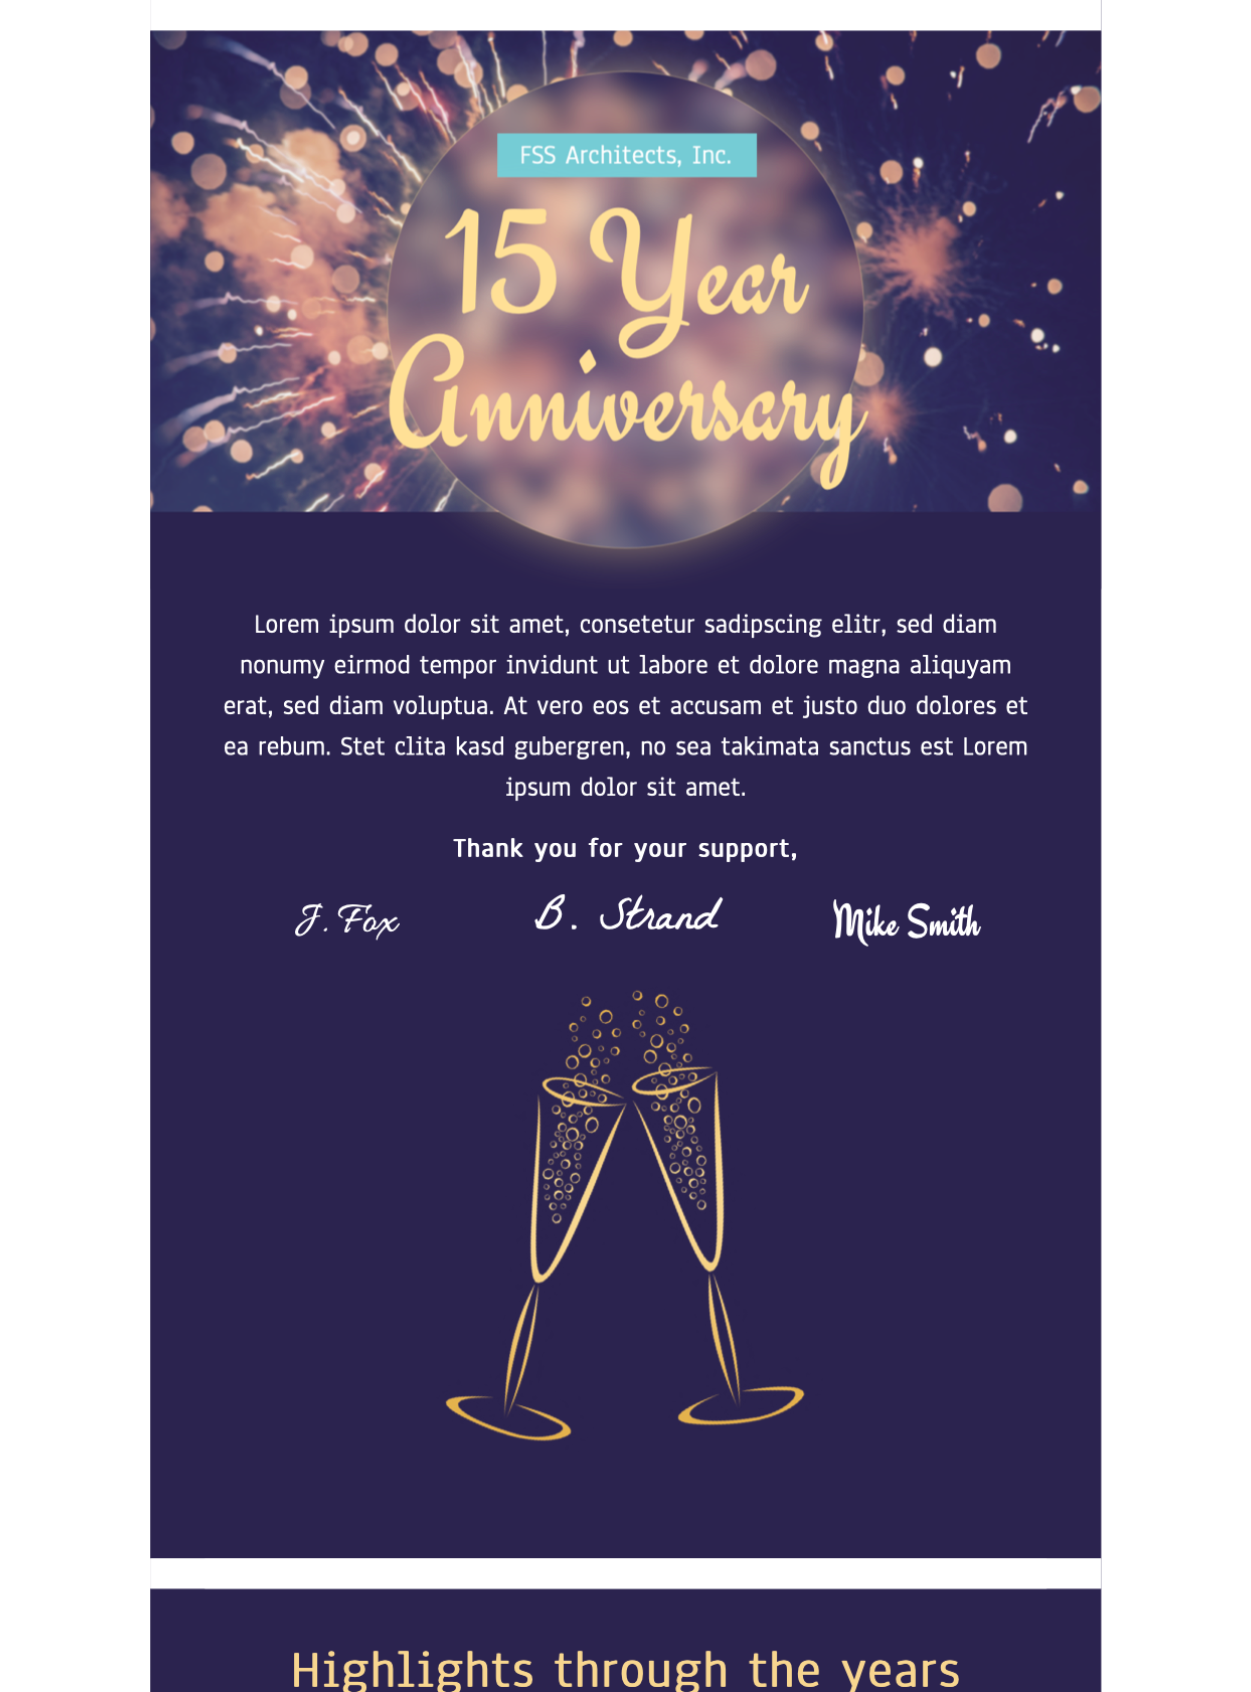
Öffne die Mail Designer 365 Designauswahl und durchsuche über 230 hochwertige E-Mail-Templates für jeden Use-Case – ob Sales-Kampagnen, saisonale Aktionen oder wichtige Ankündigungen.
Spare dir Zeit und verschicke die Vorlagen direkt oder nutze sie als Design-Inspiration für deine nächste große Kampagne.


... oder gestalte eigene E-Mails von Grund auf neu.
Du fühlst dich kreativ? Öffne Mail Designer 365 und drücke ⌘ + n, um mit einer leeren Leinwand zu beginnen!
Du bist bereit zu versenden?
Dein Design ist fertig, nun kannst du mit dem Versand loslegen! Diskutiere Designs mit deinem Team in Crew Chat und plane und versende E-Mails zusammen. Entdecke Mail Designer 365 Features für den Versand →
Gestalte überzeugende E-Mails am Mac.
Business
Aliquam euismod erat libero, eu condimentum nisl hendrerit vel.
per month $20
Business
Aliquam euismod erat libero, eu condimentum nisl hendrerit vel.
per month $20
Business Premium
Aliquam euismod erat libero, eu condimentum nisl hendrerit vel.
per month $20
Business Premium
Aliquam euismod erat libero, eu condimentum nisl hendrerit vel.
- €40,00monatlich
pro Person
für macOS 10.13 – macOS Sequoia,
unterstützt Intel- sowie M1 + M2-Macs- Support innerhalb von 24h (Mo-Fr)
- Für erfolgsrelevante Newsletter
- Neu: Gratis Kampagnen-Plan
inbegriffen für einen leichten Einstieg - 500 AI-Credits für TextScout AI
(pro Monat) - Zugang zu allen neuen Designideen
- Alle BUSINESS Funktionen
Tabellen im Newsletter erstellen- Überblend-Modi, Duoton, Vibrancy
- -
- Jetzt einloggen oder registrieren
per month $20
BUSINESS ENTERPRISE
Aliquam euismod erat libero, eu condimentum nisl hendrerit vel.
per month $20
Business ENTERPRISE
Aliquam euismod erat libero, eu condimentum nisl hendrerit vel.
per month $20
Einfaches HTML-E-Mail-Design
• 230+ HTML E-Mail-Templates
• WYSIWYG Design-Editor
• Ganz ohne Coding-Kenntnisse
• WYSIWYG Design-Editor
• Ganz ohne Coding-Kenntnisse
Responsive E-Mails
• Automatische mobile Layouts
• Designs für alle Geräte
• Exclusive Mobile-Inhalte
• Designs für alle Geräte
• Exclusive Mobile-Inhalte
Fü macOS entwickelt
• Optimiert für macOS 14 Sonoma
• Dark Mode & Touch Bar Support
• Für Intel & M1 + M2 Macs
• Dark Mode & Touch Bar Support
• Für Intel & M1 + M2 Macs
Kampagnen verschicken
• E-Mails planen und versenden
• Kontakte & Zielgruppen verwalten
• Auswertungen für Kampagnen
• Kontakte & Zielgruppen verwalten
• Auswertungen für Kampagnen
Jetzt Mail Designer 365 gratis testen
Gestalte und versende attraktive E-Mail-Kampagnen auf deinem Mac – ganz ohne HTML-Coding. Teste Mail Designer 365 7 Tage kostenlos und entdecke HTML-E-Mail-Design für alle.
Kompatibel ab macOS 10.13