Build custom made HTML email templates to use with Mailify
HOW IT WORKS
How to Export Your HTML Email to Mailify
- Build your HTML email design in Mail Designer 365 and select “Share” > “Website / HTML…
- Enter the image URL prefix for the online server where you will be hosting your images. You will need this later on so that your images can be located and displayed accurately in your design. (Learn more about this step here.)
- Following export, select the images in the folder and upload them to the server from the previous step.
- Sign in to your Mailify account and in the dashboard area, click on “Create a Campaign”.
- Choose "Email Campaign", give your campaign a name, and then select "Import a file." Here you can choose "File" from the dropdown menu.
- You will now be asked to upload the content.html file for the email template you exported earlier. You will find this in the export folder.
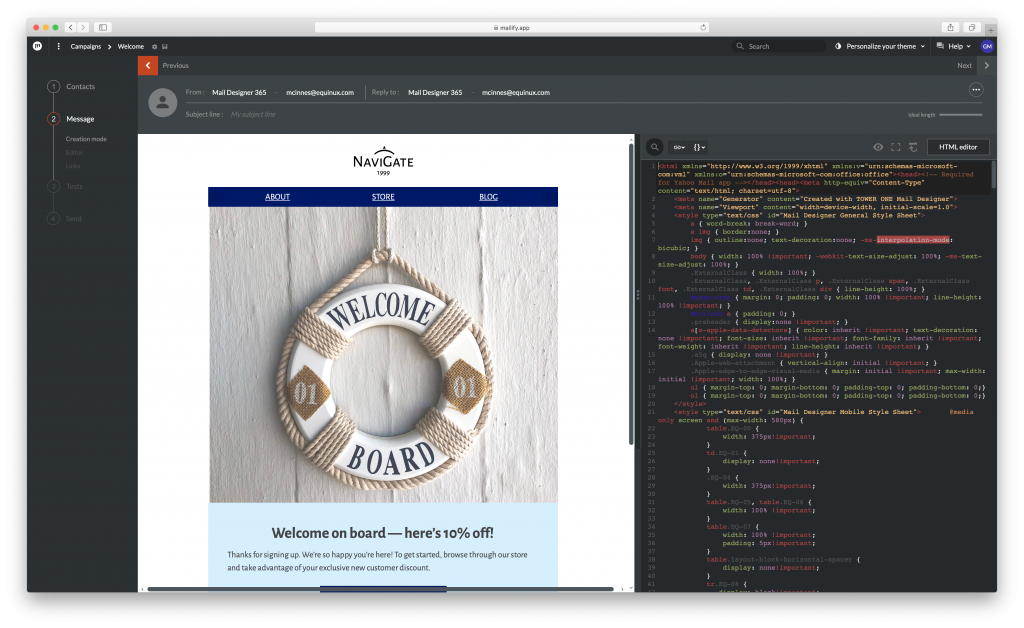
- Once your template has been uploaded, you will get an instant preview in the Mailify editor. Please do not edit the HTML following export, as this could affect the design. If you want to make changes, you can do them in Mail Designer 365 and re-export.
- When you are satisfied, you can save your template and use it with the marketing and automation tools provided by the Mailify platform.

Use your Mail Designer 365 email template with the automation tools provided by Mailify.
Need support?
Our team is always on hand ready to give you support. If you have specific questions regarding HTML export to Mailify, or just need some extra help getting set up, get in touch!
Mail Designer 365 works seamlessly with all leading email marketing services. If you're looking for a different service, check out our full range of integrations and compatible platforms on our integrations page.


