How to Create an Email Campaign: Our 7 Step Workflow

By 7. February 2020June 15th, 2020Mail Designer 365 Newsletter Academy

Just starting out with email marketing, or want to improve your existing strategy? Building an email campaign to be proud of is hard work, but having a solid workflow in place definitely makes things easier. In this guide, we're sharing our 7 step workflow on how to create an email campaign.

This is our tried and tested method for creating effective email campaigns. To help you follow along on your next campaign, we've included a free downloadable email campaign checklist. This way you'll be sure not to miss out on any key steps.

Download the PDF email campaign checklist here to follow along with this 7 step guide...

How to Create an Email Campaign

Step One: Idea Generation

Finding a concept for your campaign is where it all begins. There are plenty of places you can look to for inspiration; including your marketing calendar, Pinterest, Milled, Really Good Emails, etc. just to name a few. Find an idea you like and try to adapt it for your business.

It's also crucial to consult with your sales team and management for ideas. Do you have any new product releases coming up, or are you planning a sale or promotion? Is there a particular product which needs an extra sales boost? These could all be a great basis for a campaign.

Idea generation is the first step of how to create an email campaign

Researching ideas and sitting down with your team can help you come up with a concept for the campaign.

Remember during this stage it's also important to consider who you are planning on sending the email to. This helps you plan a segmented campaign around the needs of your target group. 

Step Two: Template Creation

Once you are clear on the concept of your campaign, you can start creating your template. Mail Designer 365 makes this super easy, as you have all the tools you need and don't require any extra coding knowledge.

The key to a good email design is pairing a healthy balance of image and text with a clear CTA (call-to-action) which takes readers directly to the appropriate landing page.

During the deign stage, you will also need to think about branding and legal requirements (i.e. logo, disclaimers, unsubscribe link, copyright text, etc.) It's also a good idea to set up Google Analytics tracking to help you evaluate the success of the campaign later on.

Step Three: Mobile Optimization

Making your design look good for mobile devices matters. Today, more and more of us use our smartphones to skim through our emails. If your template isn't mobile optimized, you are neglecting a large percentage of your readers.

Use this stage to test how your design looks and works on mobile devices. Mail Designer 365 automatically creates a mobile responsive version of all designs. Use the smartphone view to make any necessary adjustments and then preview your mobile optimized design on a range of devices.

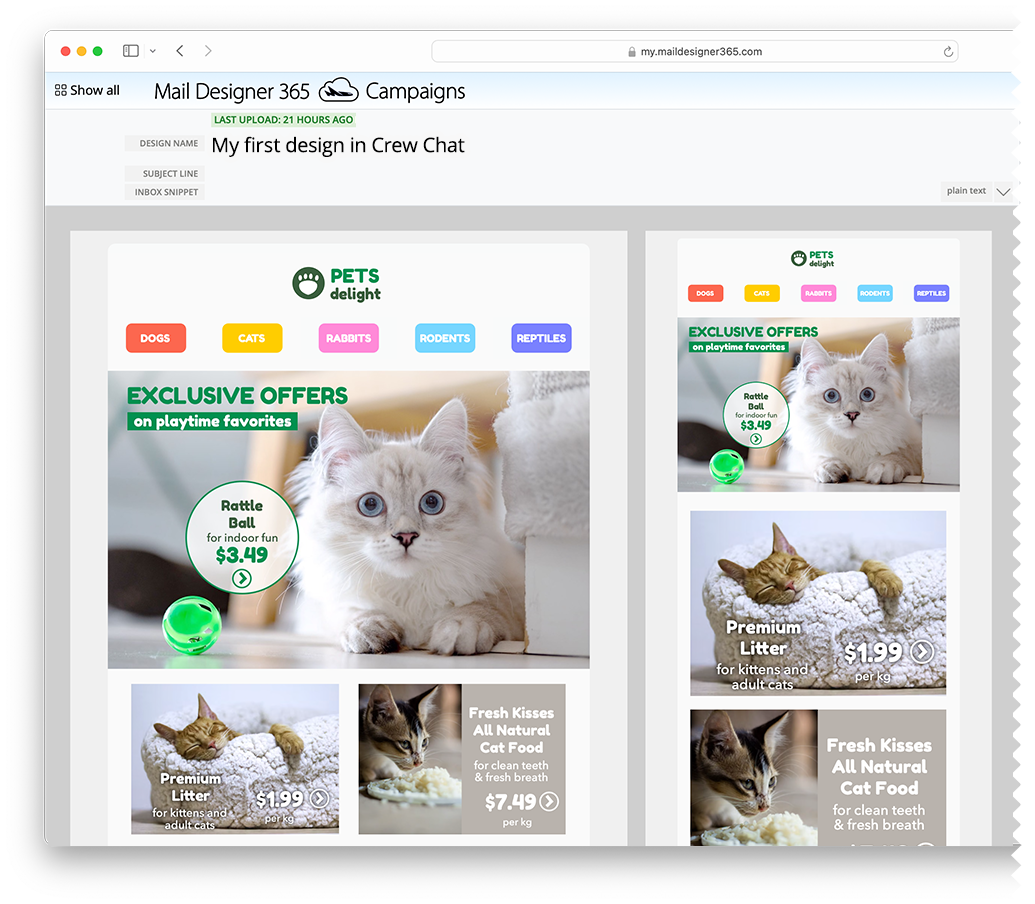
Mobile optimized template for an email campaign

Making sure your template also works on mobile is critical to the success of your campaign.

Step Four: Team Feedback 

Once you're happy with your first draft, it's time to get some input from your team. Consulting colleagues and team members is always a good idea, as often they will have constructive ideas of how to improve the template for the campaign.

Moreover, sharing your design with others is a good way to spot any minor errors which you may have missed yourself.

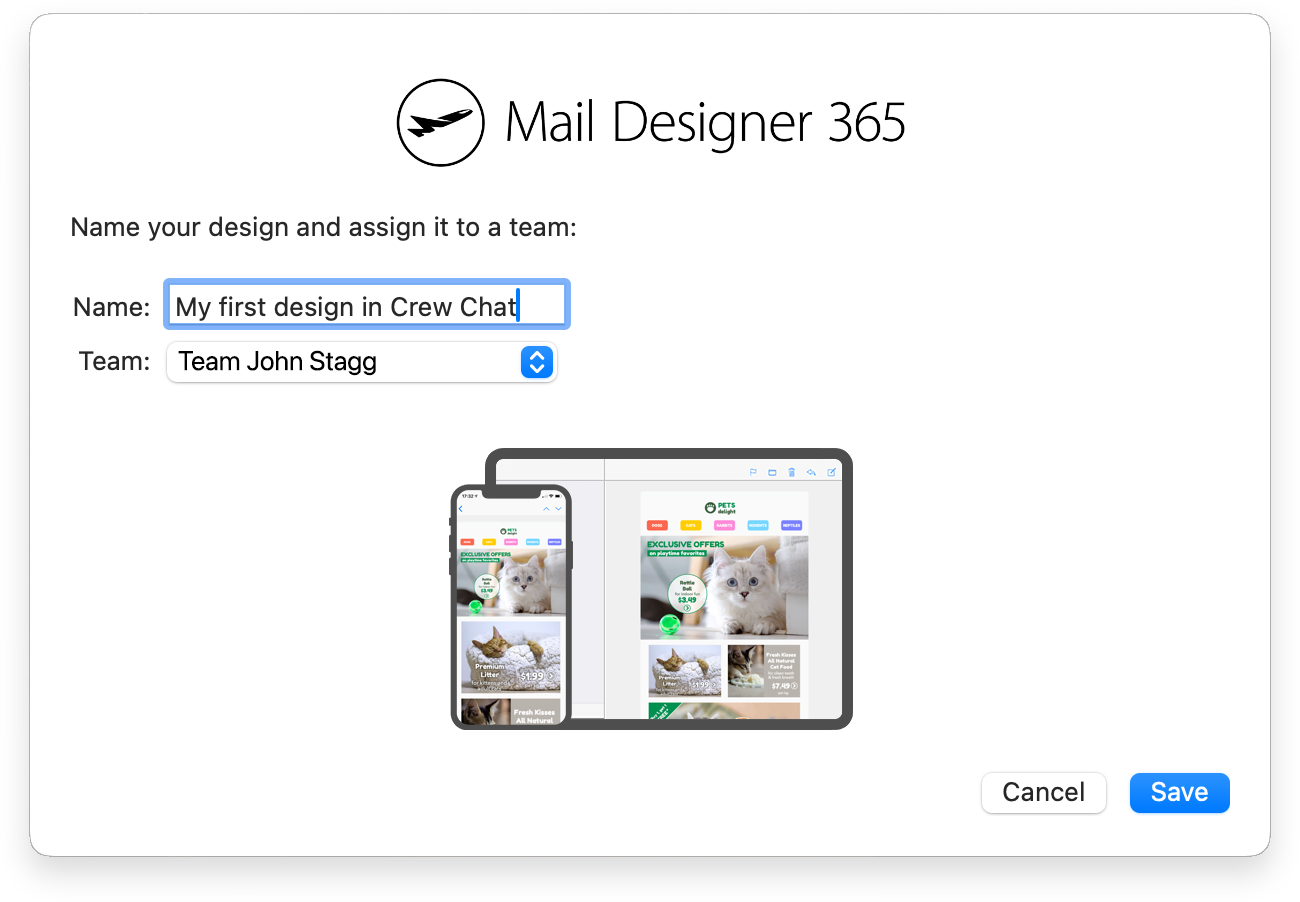
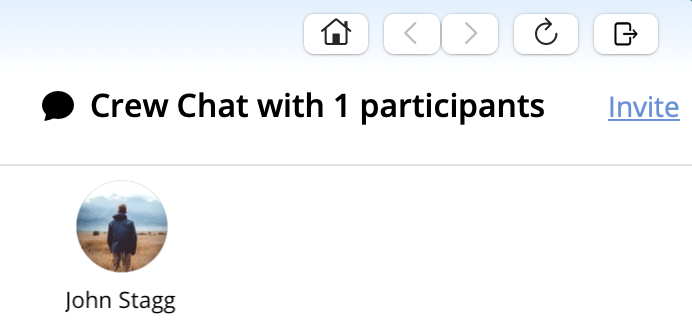
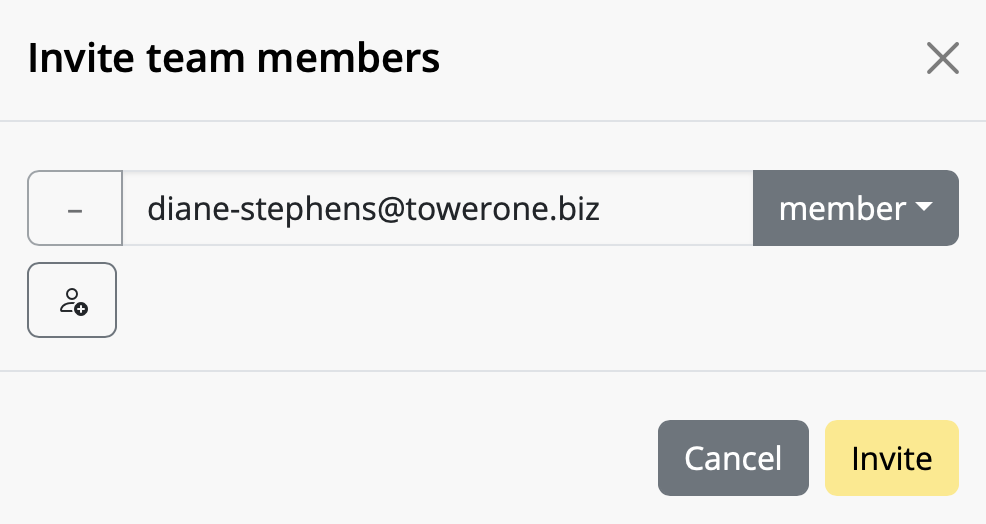
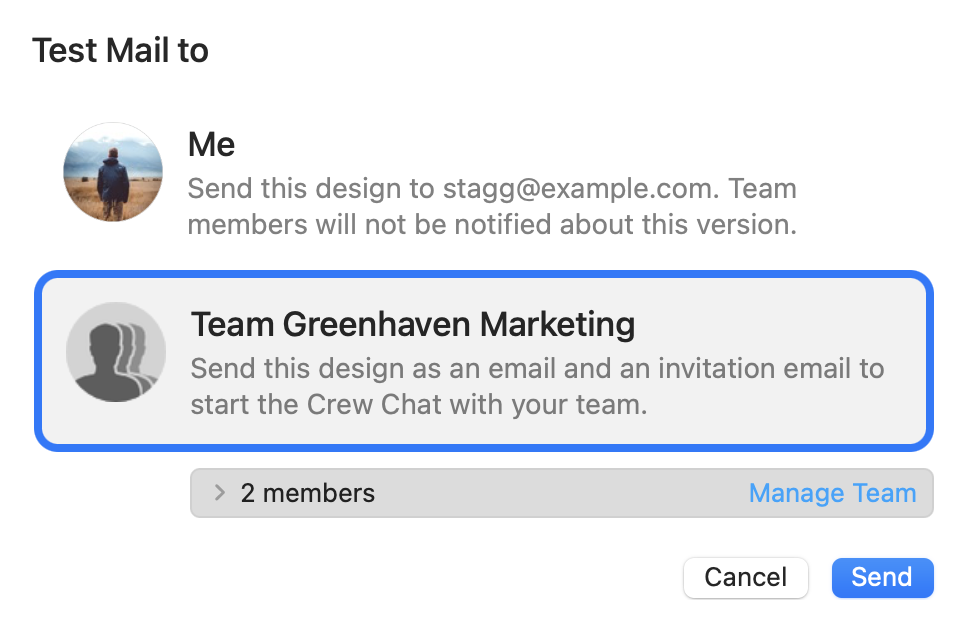
Use Mail Designer 365 Approval to get feedback from your team on your email campaign

Feedback and discussion is an important part of the email campaign workflow.

Tip: Mail Designer 365 Approval is a quick and efficient way to gather design feedback from your whole team.

Step Five: Final Checks

After everyone has given their feedback, you can carry out the final checks on your template. This stage is critical, as you need to be confident that there are no issues with your template before it is sent out to customers.

During this stage, you should check all links are working, as well as proofreading for syntax errors or spelling mistakes.

Step Six: Upload to ESP

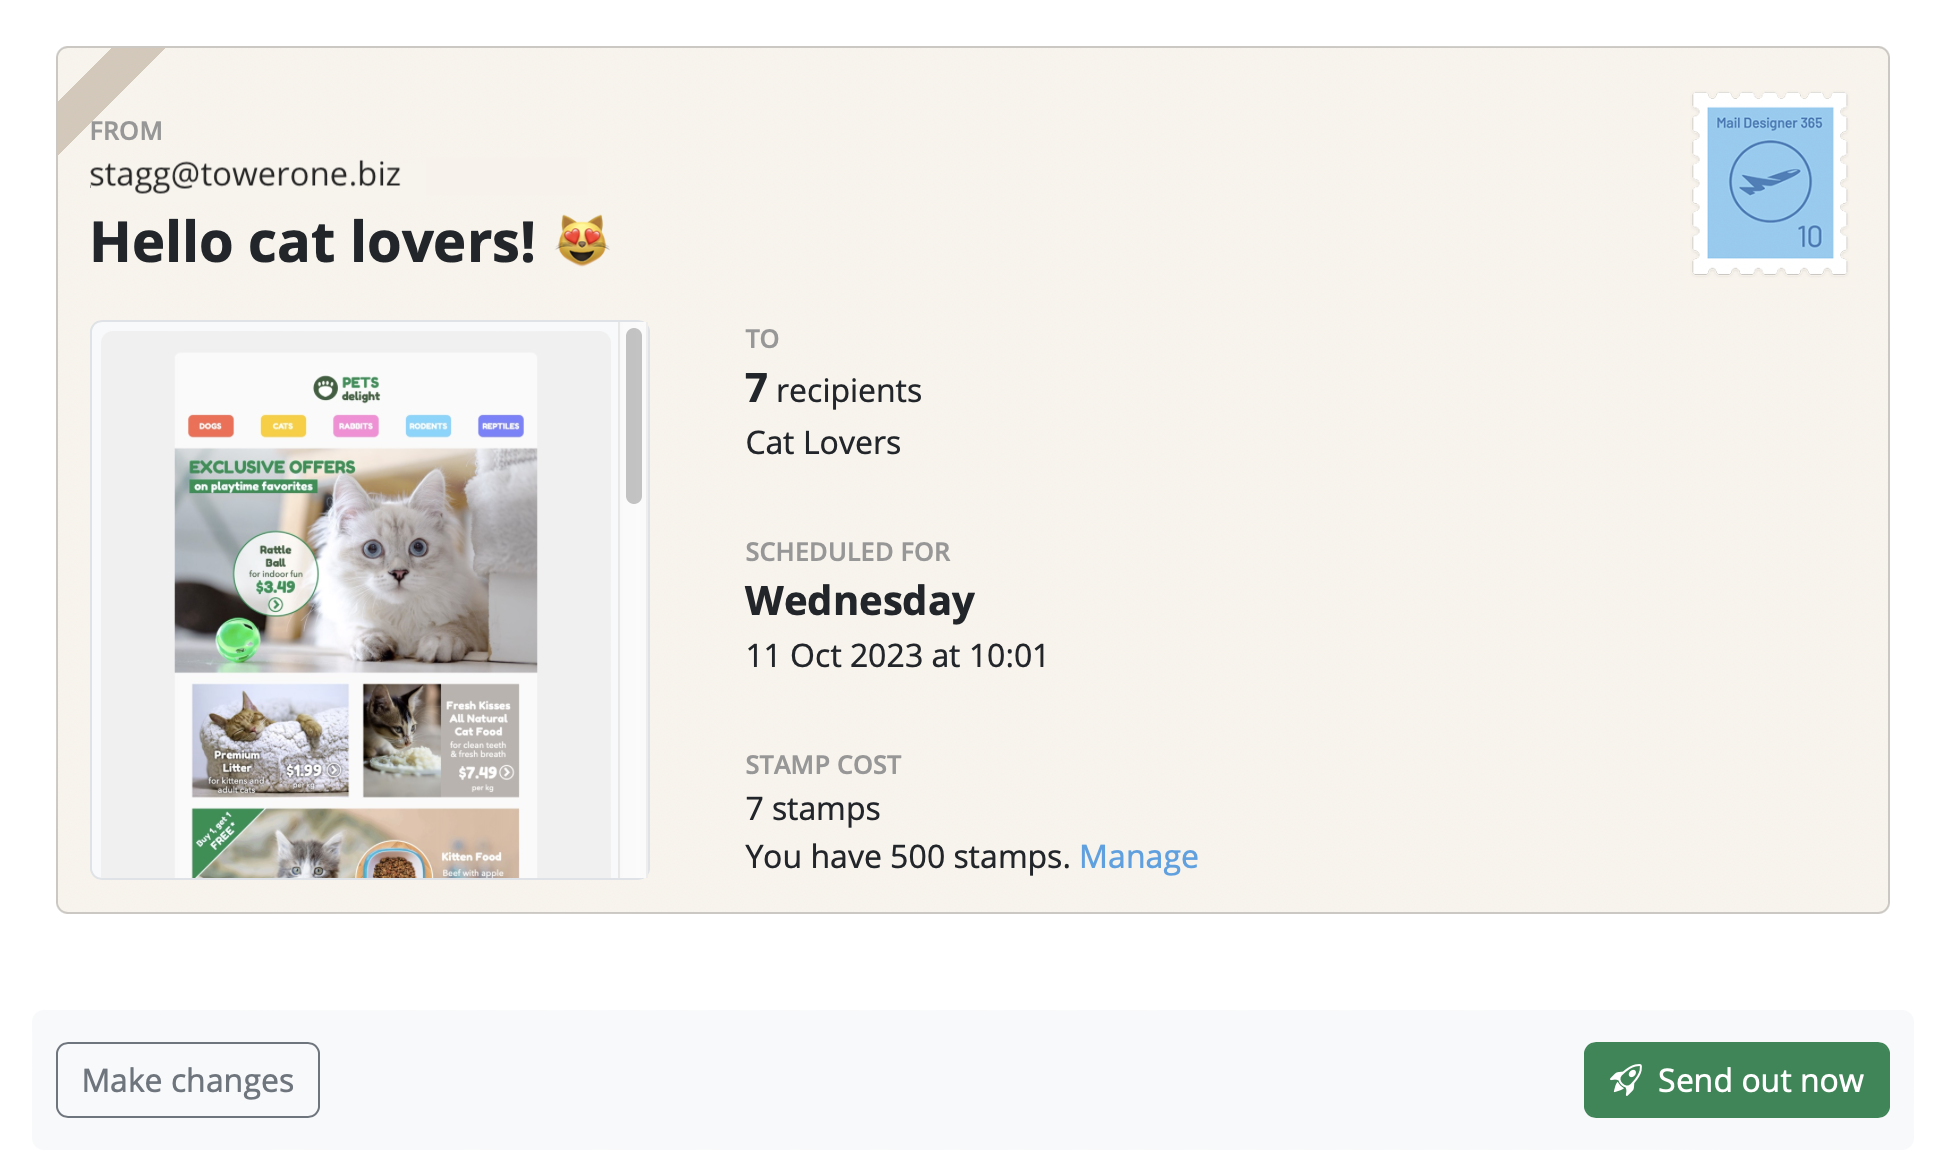
Now your design is ready, you can prepare the campaign in your ESP or chosen sending method. Here you will select your target group(s) and give your campaign a name for easy reference later on.

At this point, you will also have the chance to send yourself a test version of your campaign to make sure everything looks as it should. Be sure to check how your email looks on both desktop and mobile. You should also ensure the "from" address and subject line look good, as this is the first impression your customer will receive.

Built your design in Mail Designer 365? You can find all of our step-by-step integration guides here. These will show you exactly how to upload your template to use with your chosen ESP.

Uploading the template to Mailchimp to continue the email campaign

Upload or export your finished template to your ESP to use with your email campaign.

Step Seven: Performance Evaluation

You've built and sent your campaign, but the job isn't done just yet. Analysing your campaign's performance is crucial to improving your strategy for future email campaigns.

Use this opportunity to evaluate the success of your campaign. Take into account open rates, CTA clicks, sales/traffic generated, etc. to see what went well and what could be improved. Then, make a note of these findings for your next campaign.

Free Email Campaign Checklist

We hope you have found this workflow of how to create an email campaign useful.

We want to see you succeed, which is why we've put together a checklist of all the important things to remember during the seven step process. Download the checklist here and carry out all the steps in Mail Designer 365 and your ESP.

Don't have a Mail Designer 365 plan yet? Start your no-strings-attached free trial today to see how Mail Designer 365 can help your email campaign workflow.

Until next time,

Your Mail Designer 365 Team

Get started with the Mail Designer 365 service today for free...

Mail Designer 365 helps you and your team create stylish, professional HTML emails.
Sign up free today to see what you can achieve.
Sign up
Privacy Settings / Datenschutz-Einstellungen