Sendy email templates give you the freedom to run email campaigns through your own Sendy installation without settling for a generic design. Mail Designer 365 is a native Mac app that lets you create responsive HTML emails visually and export the finished code for Sendy.
Build the layout with drag-and-drop tools, add your own images, colors, buttons, and text styles, and adjust the mobile version separately when needed. You can save branded elements for future Sendy templates and preview the design before exporting it.
When the email is ready, export the HTML package and use it for newsletters, promotions, or Sendy transactional email campaigns. Download Mail Designer 365 and create your first Sendy email template, then follow the export steps below.
Why create custom Sendy email templates?
Custom Sendy email templates help each campaign look consistent across common email clients and screen sizes. Designing the email in Mail Designer 365 gives you more control over layout and branding, while Sendy handles list management and delivery through Amazon SES.
This combination works for regular newsletters, promotional campaigns, and transactional messages. You keep the flexibility of a visual email editor and can still use the self-hosted Sendy workflow that already fits your sending setup.
How to export your HTML email to Sendy
- Build your HTML email design in Mail Designer 365
- Save your Email Template to your Project
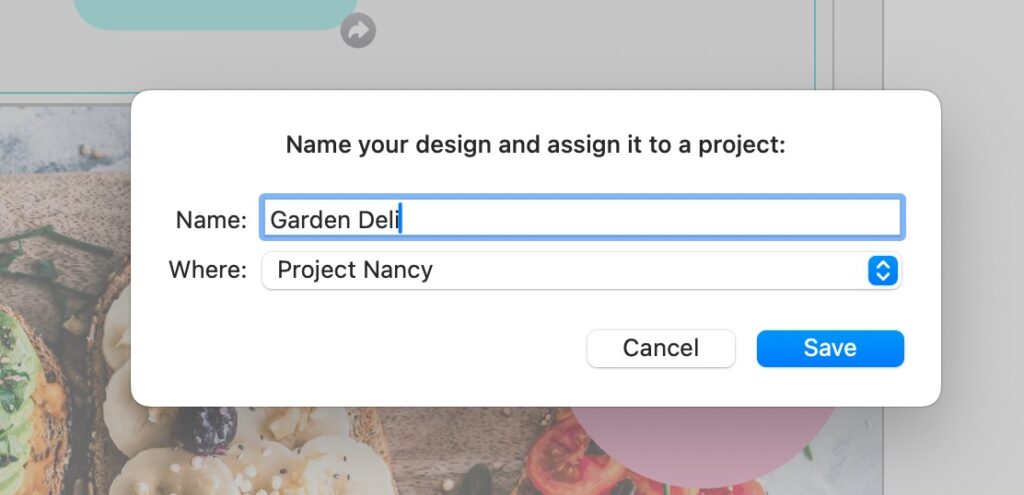
Save your Design to your Project
- Next, go to the File Menu and "Export as HTML…"
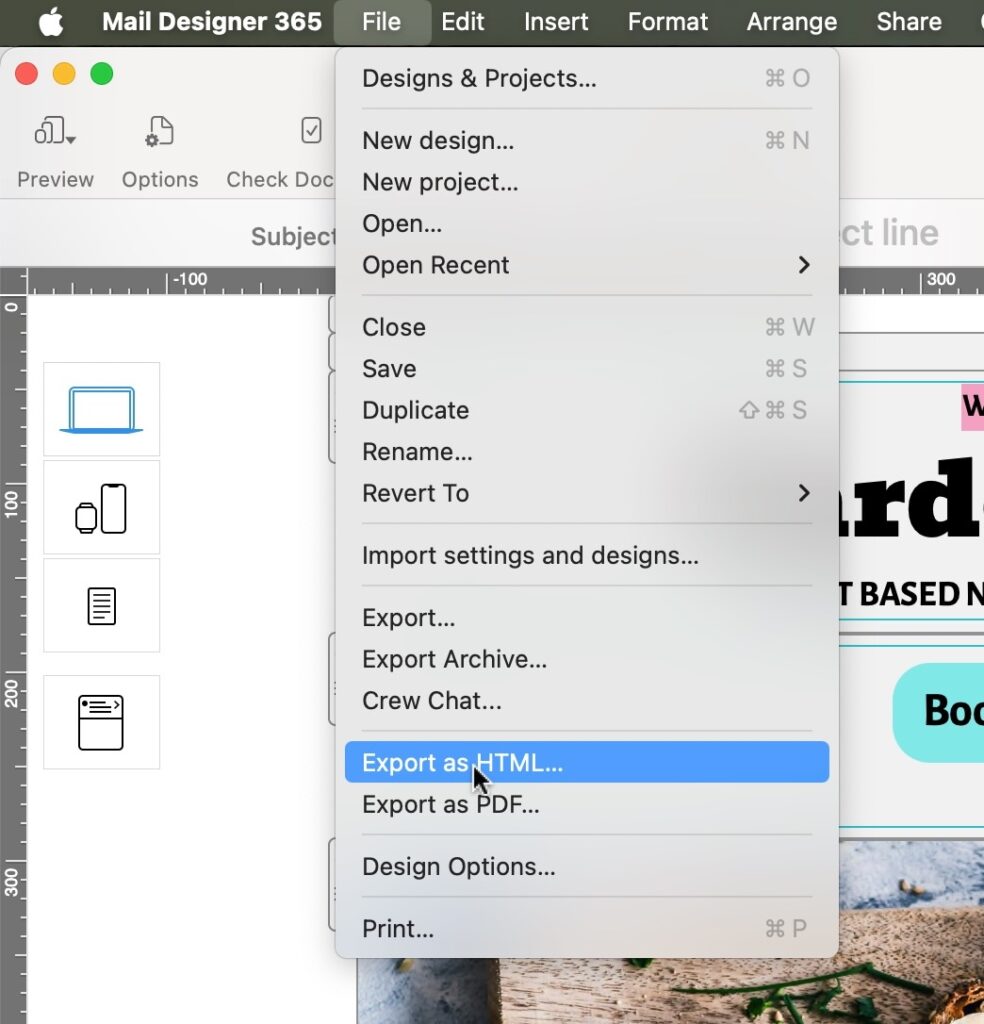
Export your Design as HTML
- In the Export Dialogue, set the Checkmark next to "Prefix image URLs with" and enter the storage location where you will store your pictures. For example https://YourAWSBucket.com/NewsletterFolder/2025-07_NewsletterEdition
We recommend making a unique folder for each newsletter edition. If using Cyberduck for Picture uploading, you can create the folder structure and then just right-click on the folder and select "Copy URL". You will need this later on so that your images can be located and displayed accurately in your design. (Learn more about this step here.)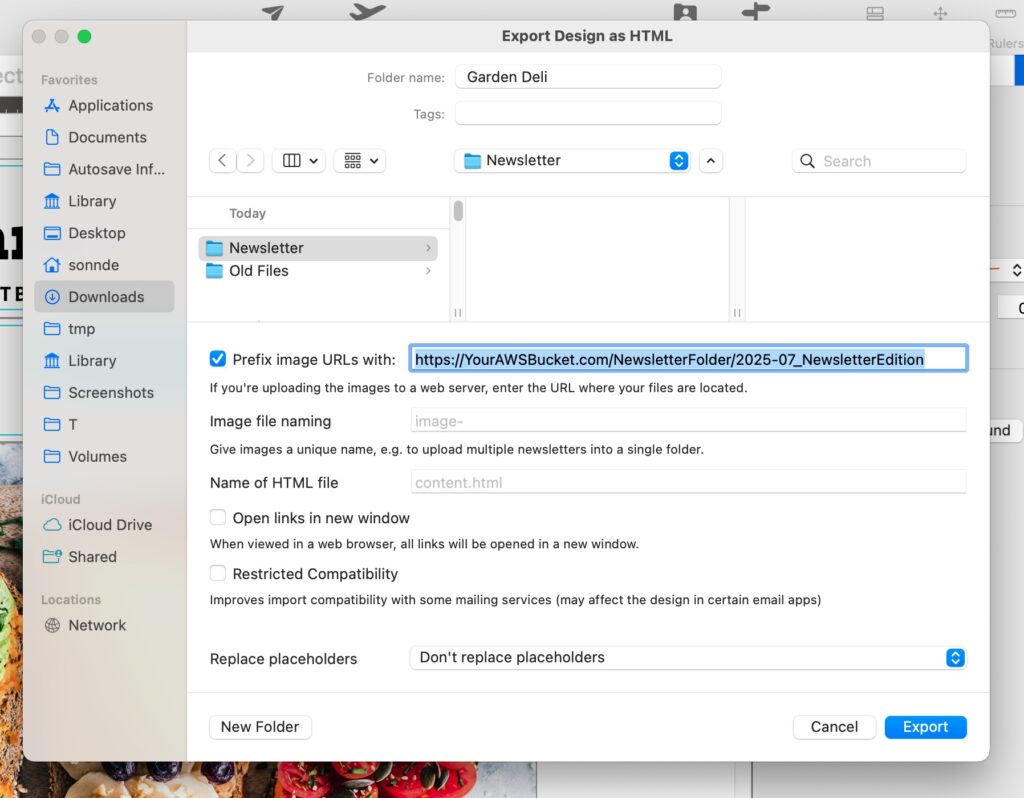
Enter your Image Storage location
- Press Export and your Sendy HTML email templates (content.html) plus all Images used in your design will be exported to the local Folder you specified.
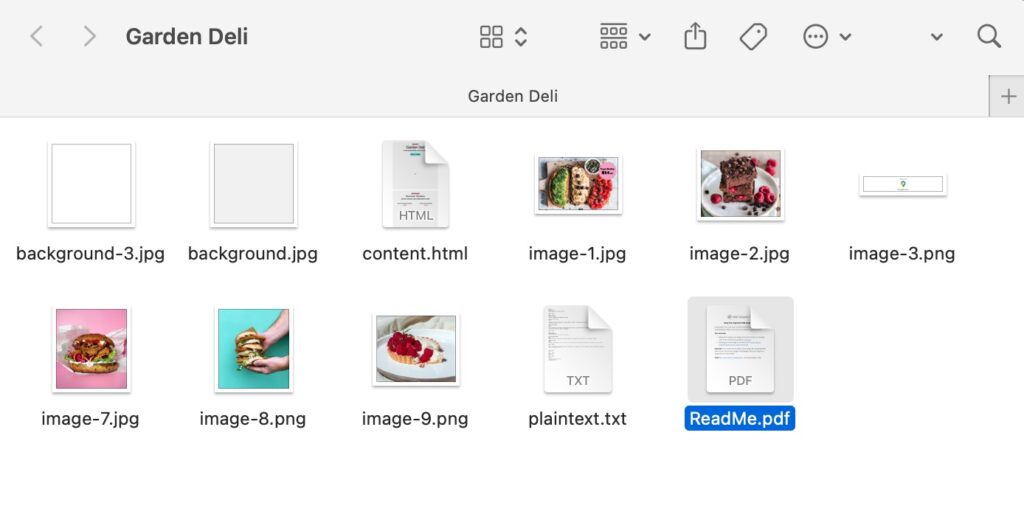
Folder with Exported Newsletter HTML and Pictures
- Following export, select the images in the folder and upload them to the server location you entered in the previous step.
- Sign in to your Sendy account.
- Choose your Brand in the main interface and click on it.
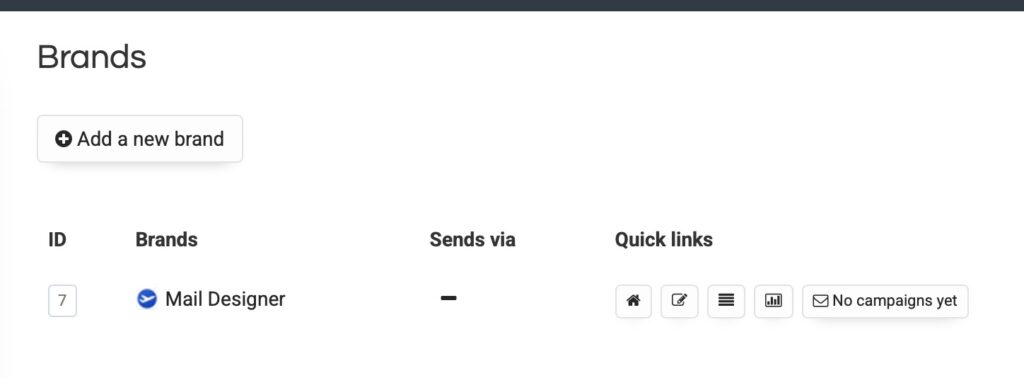
Choose your Brand in Sendy
- In the Sidebar Menu of Sendy, select New Campaign
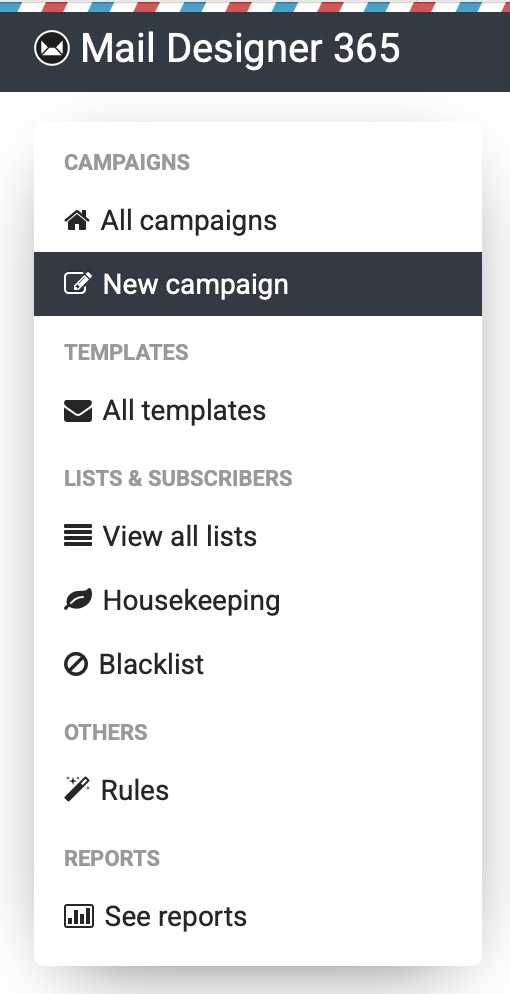
Select New Campaign in Sendy
- Enter your Subject and check the From Name and Email address.
- Next, go to your Mail Designer Export Folder and open up the document "plaintext.txt". Copy and paste the content from this file into the "Plain Text version" Field.
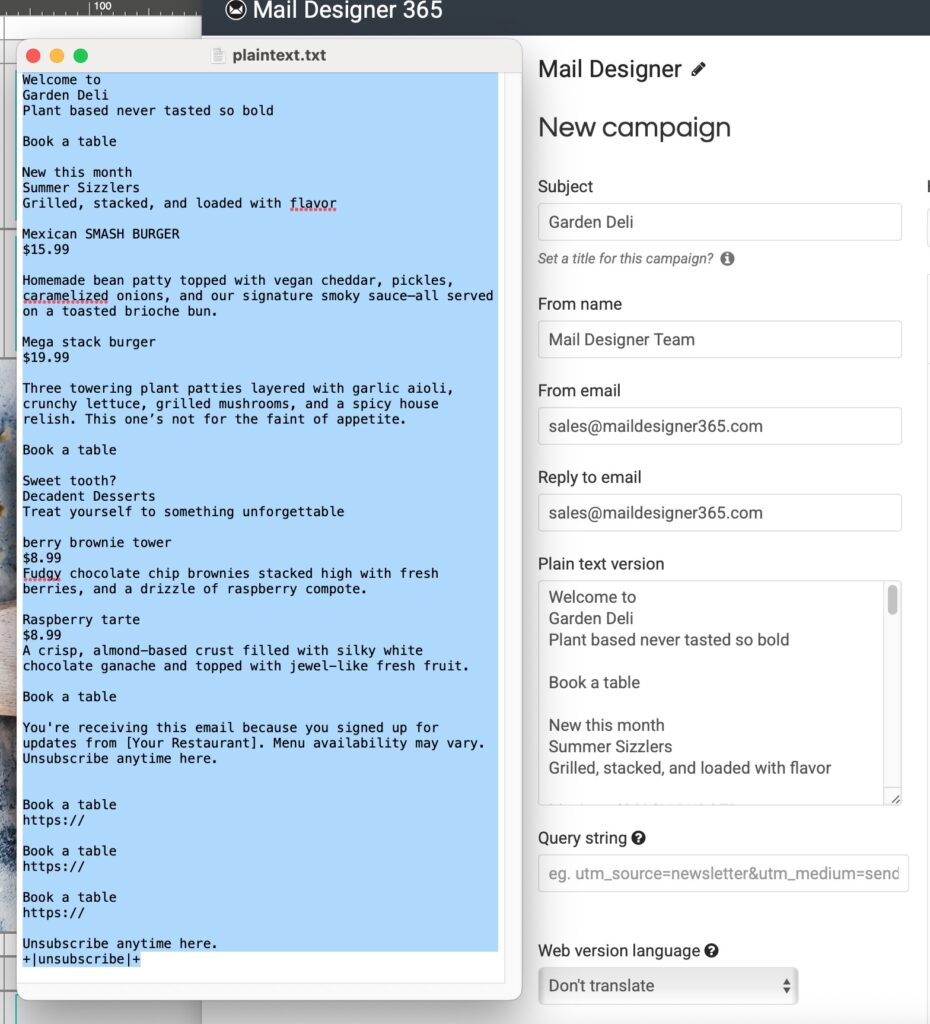
Copy your Plaintext Version into Send
- In the Main View of Sendy, click on the "Source" Button.
Enable Source View in Sendy
- Open Up TextEdit, Select "File">"Open". Click on "Show Options" and set the checkmark next to "Ignore rich text commands". Then select your content.html file from the Mail Designer Export folder and open it. Alternatively open up your content.html file in the HTML code editor of your choice.
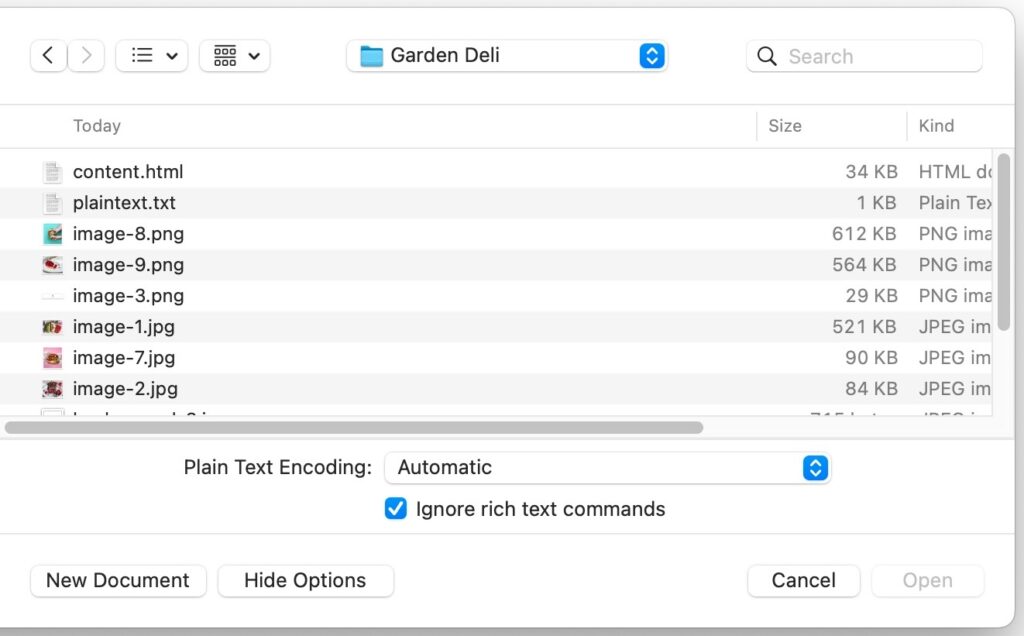
Ignore Rich Text in Text Edit to see the raw HTML
- Copy the entire HTML Template code into the Source Editor in Sendy.
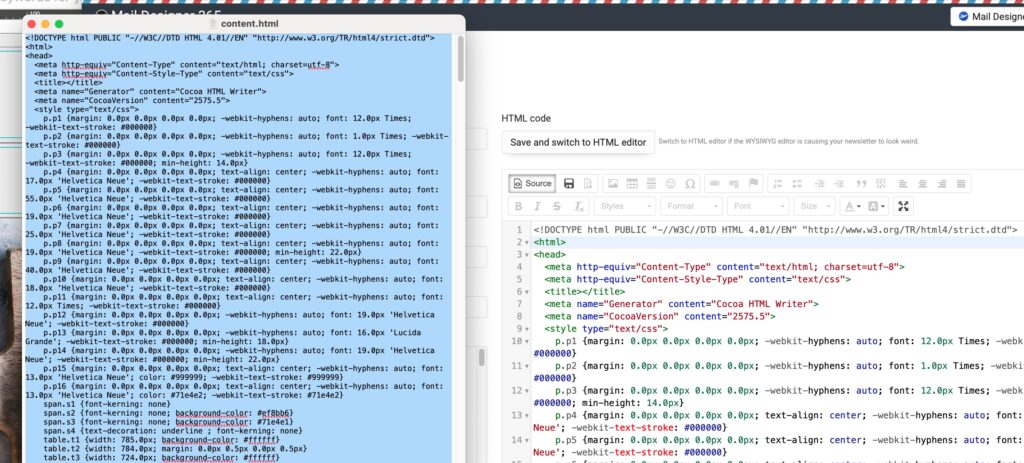
Add the HTML code generated by Mail Designer into Sendy
- Scroll down and press "-> Save & next". Important note: DO NOT press "Save and switch to HTML editor" at the top. You will be able to preview your newsletter on the following page.
- You can now preview your finished Sendy HTML Email Template, send a Test Email and Start your Sendy email sending process.
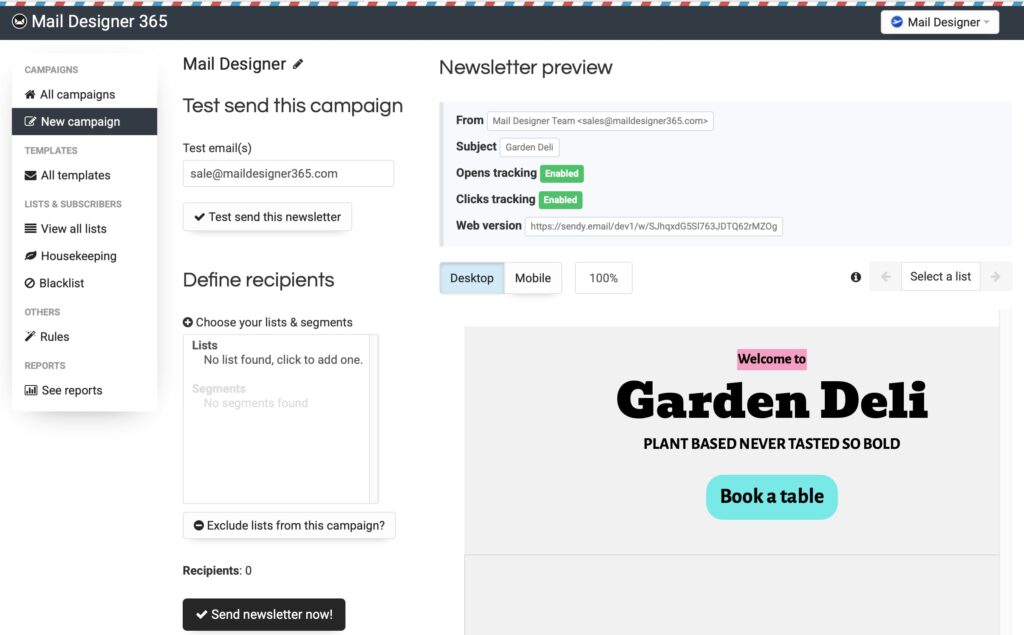
Preview of your finished Sendy HTML email template
Tips for better Sendy templates
A well-designed Sendy template still needs to perform reliably in the inbox. Keep image files small, test the exported email in the clients your audience uses, and check the mobile layout before sending.
- Use a clear hierarchy and one primary call to action.
- Write concise subject lines that match the email content.
- Add useful alt text to important images.
- Keep body text readable on smaller screens.
- Send a test campaign before using the template with your full list.
Need support?
Our team is always on hand ready to give you support. If you have specific questions regarding Sendy HTML email templates export or just need some extra help getting set up, get in touch!
Disclosure: This guide contains Sendy affiliate links. Using them may support Mail Designer 365 at no additional cost to you.
That's not all!
Mail Designer 365 works seamlessly with all leading email marketing services. You can check out our full range of integrations and compatible platforms on our integrations page.
Start using Mail Designer 365 with Sendy...
Mail Designer 365 makes it easy to create stylish, professional Sendy HTML email templates on your Mac. Try it free today and start designing beautiful Sendy HTML email templates that work perfectly with Sendy!