
A Quick Introduction to Placeholders
Placeholders in Mail Designer Campaigns are basically advanced tags on contacts, that allow you to filter your subscribers based on their profiles.
Placeholders are completely flexible and you can assign an unlimited amount of placeholders and values to a single contact.
Let's look at some examples for easier understanding.
Let's assume you have the following contacts in your subscriber list
As you can see from this list you already have a bunch of information on these contacts based on their interests. How amazing would it be to be able to use this information for targeting your subscribers in your Newsletters? Now let's look into how you would do this in Mail Designer Campaigns.
What are Placeholders?
You are probably familiar with Tags. Placeholders are basically an advanced version of tags and they work like this. Based on the above list let's say we want to be able to filter the user group by Language. So we would create a placeholder called language and values for English, German and French.
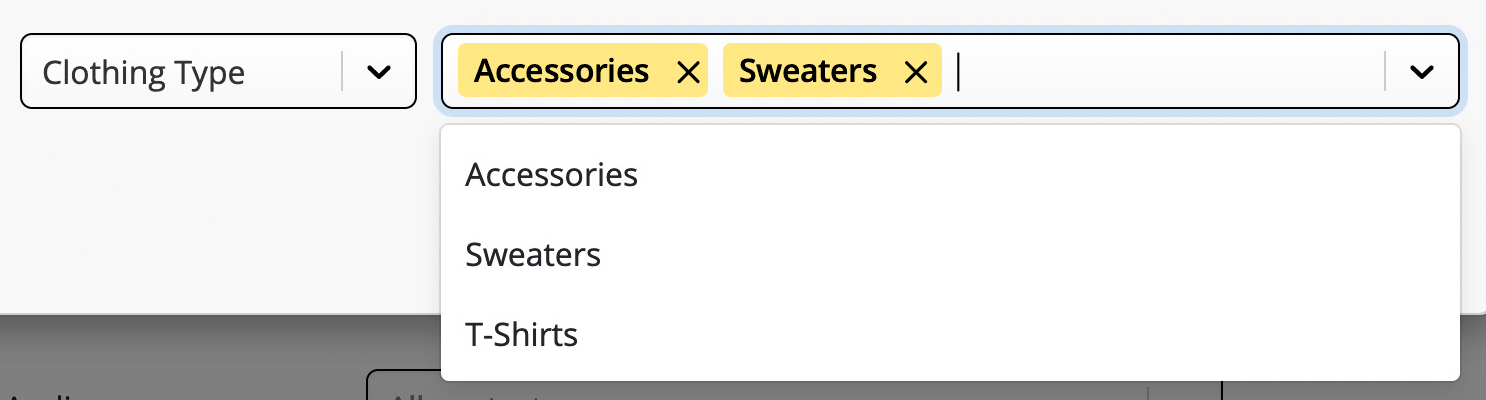
Next we could create a placeholder for clothing type containing the following example values: T-Shirts, Sweaters, Accessories
You could then add an additional placeholder for Gender or Interest groups, etc. You get the idea.
Placeholders and values are 100% customisable in Mail Designer 365 Campaigns, so you have full flexibility and you can target your subscribers leveraging all information you have about your users.
Adding placeholders to your contacts
Once you have imported contacts into your Mail Designer Campaigns you can assign attributes to them. Let's walk through it step by step.
- Log into your my.maildesigner365.com account
- Navigate to the Delivery Hub Menu at the top

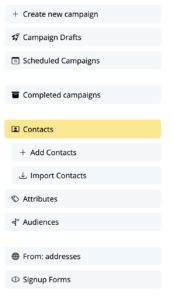
- In the sidebar on the left choose Contacts
- In the main window you will now see your existing contact list
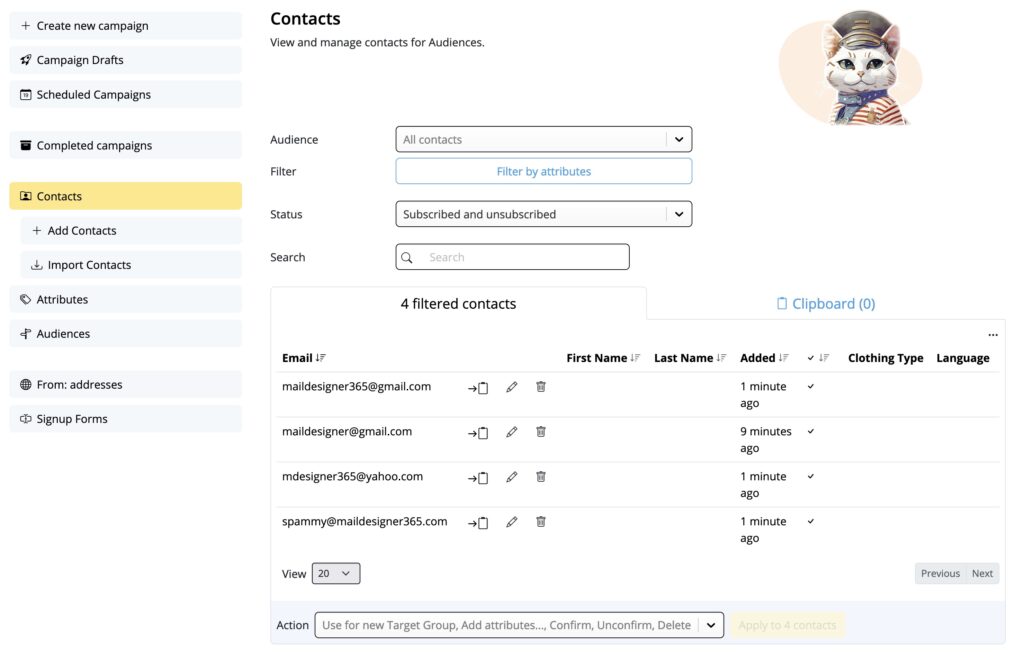
- Now there are two ways to filter existing contacts to assign placeholders to them
- You can filter your list based on the parameters of your import. To do this, press the Filter by attributes button
System attributes are for example:- created_at
- import_origin (set to MailChimp for contacts imported from MailChimp)
- import_info (set to MailChimp list name for contacts imported from MailChimp)
- You can manually add contacts from your list to your clipboard and assign attributes to several contacts at the same time.
- Use the Clipboard button next to the email address to add the contact to your clipboard

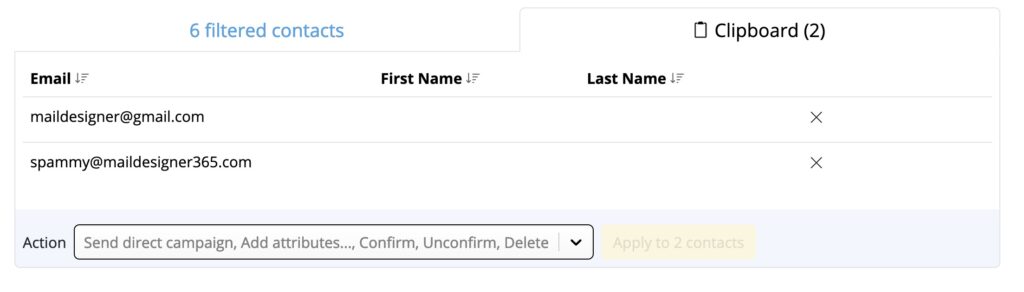
- To view the list of contacts on your Clipboard, select the blue Clipboard text at the top
- Use the Clipboard button next to the email address to add the contact to your clipboard
- You can filter your list based on the parameters of your import. To do this, press the Filter by attributes button
- Next you want to go to the bottom of your list and click on the dropdown menu next to Action
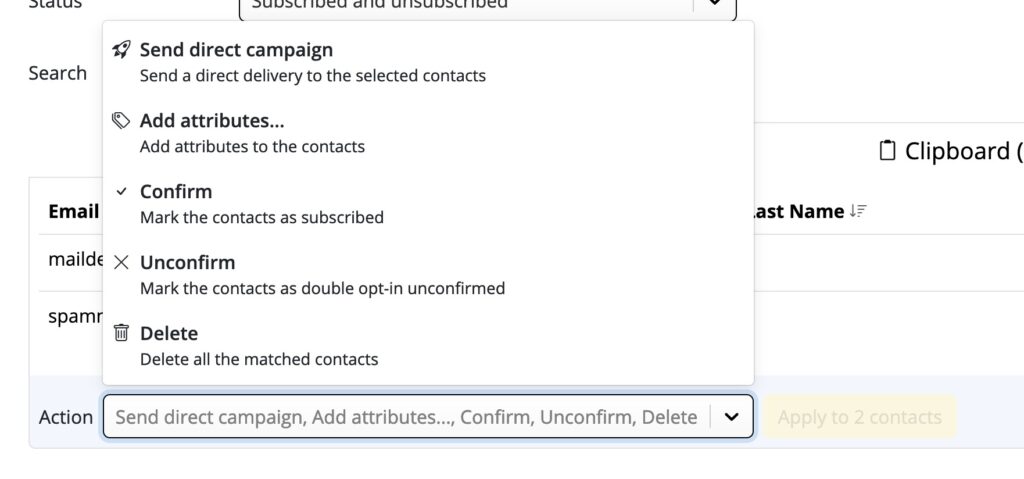
- Choose Add Placeholders from the Action Dropdown Menu and press the Button Add placeholders to contacts

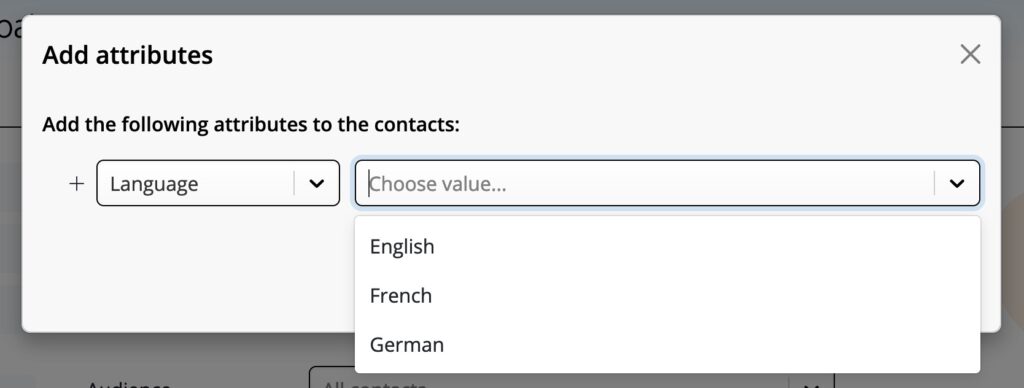
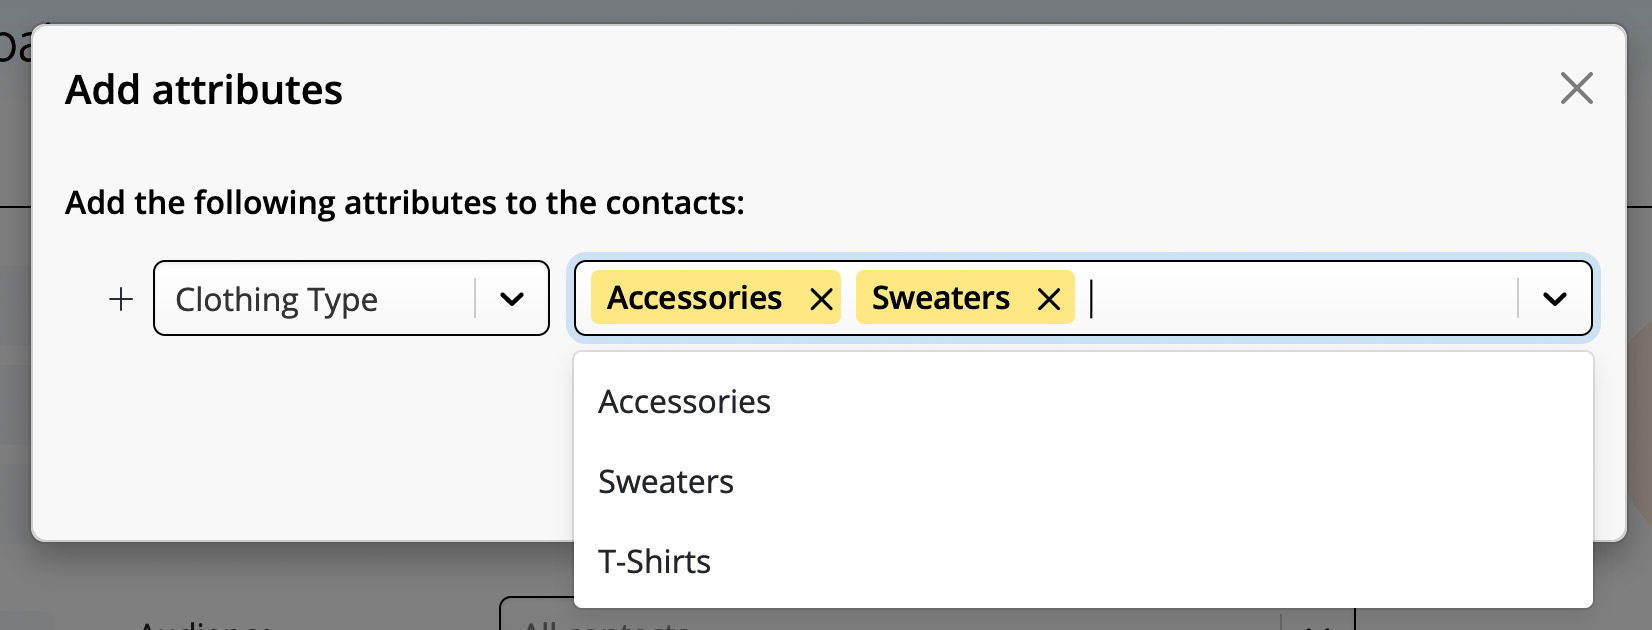
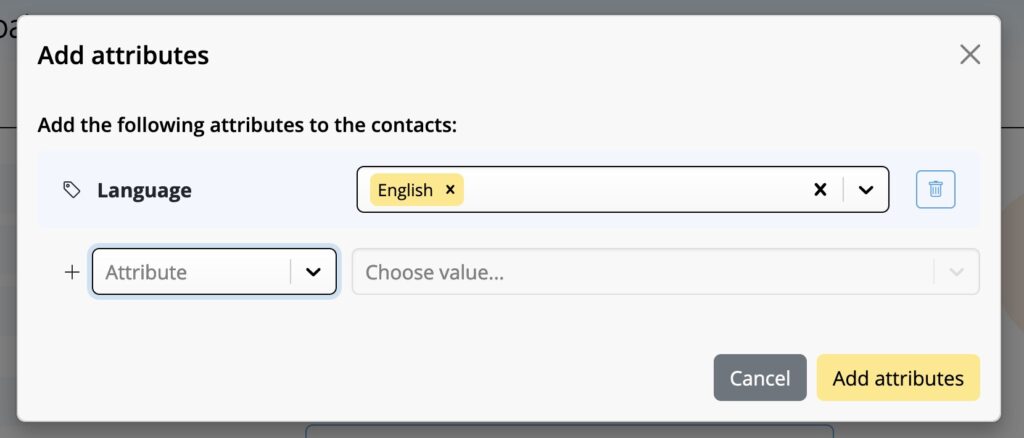
- You will now see the Add placeholders window
- Click on the dropdown menu

- If you already have placeholders defined, you can select one from the dropdown. Otherwise select + Create New
- Now please create a name for your placeholder and the value this placeholder should have for your selected contacts. Based on the above example we are choosing Language as the placeholder and English as the value. You can use the "+" Button to add multiple values. Press Add when you are finished.

- Add as many additional placeholders as you like and once you are done press the yellow Add placeholders button
- Repeat this process for other placeholders you would like to assign to your contacts.
Once you have assigned placeholders to your contacts, let's look into creating audiences for your campaigns