
Frequently Asked Questions
How to Create a Signup Form for Your Website
Want to offer your customers an easy way to subscribe to your email newsletters?
Mail Designer Delivery Hub can be conveniently connected to your website, offering your website visitors a direct way to sign up to your email list. Here's how it works!
Create a signup form
The signup form builder in Delivery Hub is easy to use and a great way to grow your email list.
Good to know: Signup forms are available in all Mail Designer 365 Campaigns plans. The number of forms you can create depends on your plan tier.
Setting up your form
To get started, go to https://my.maildesigner365.com/team/deliveries/contacts/signupForms to set up your new signup form.
You can begin by giving your form a name, e.g. Website Signups. This helps you identify where the contacts came from and is not visible to customers.
Additionally, you can add a catchy title which will be visible on your site.
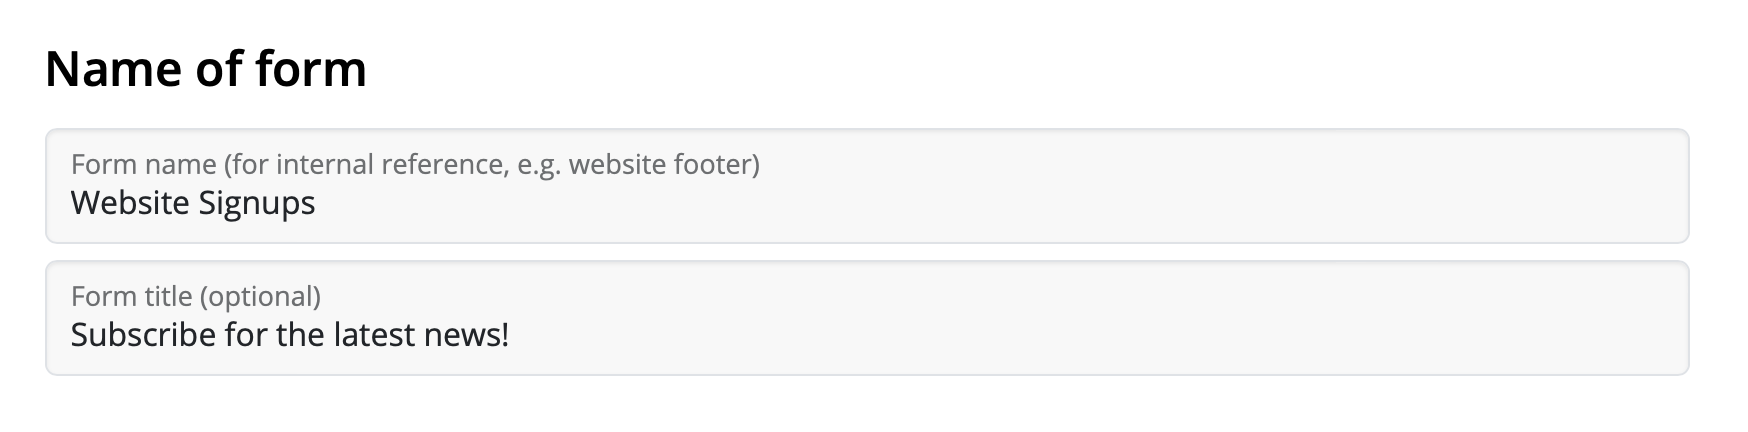
Form fields
The next step is setting up the fields of your form. This is an important step, as it determines how contacts will be categorized later in Delivery Hub.
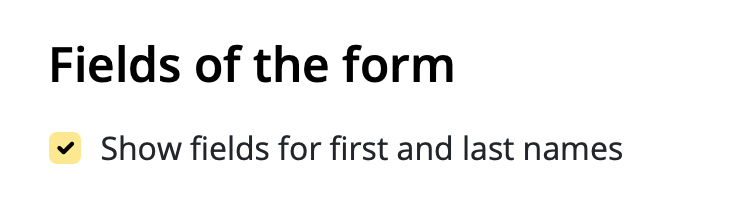
First and last name
You have the option to allow subscribers to enter a first and last name into your form. This can be helpful if you wish to send personalized emails, but also adds an extra step to the signup process.
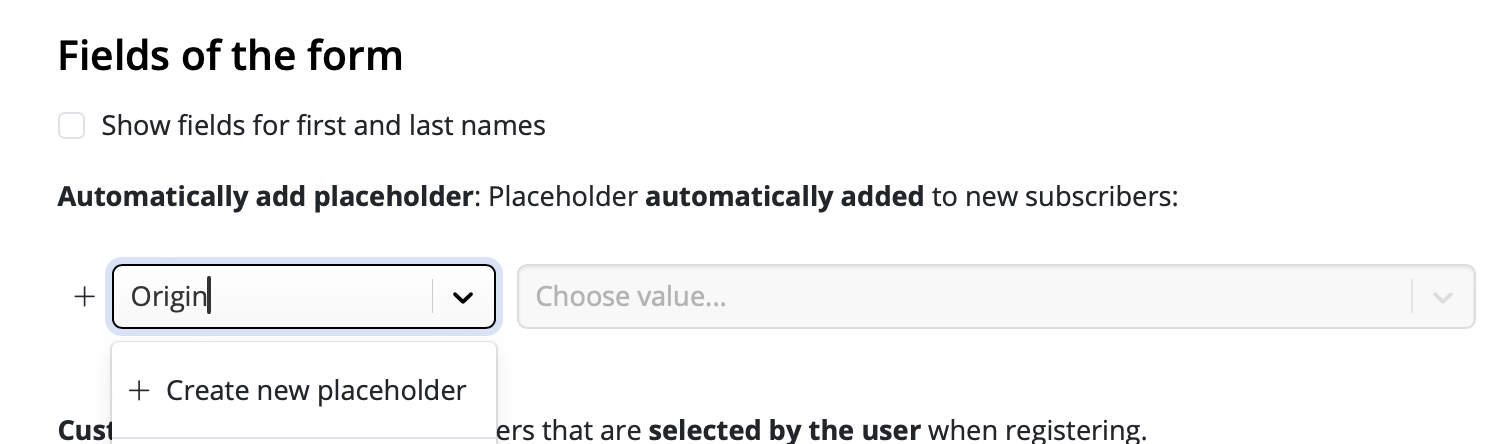
Automatic placeholders
These placeholders will be automatically assigned to new contacts who sign up via this form. Subscribers will not be able to see the placeholder name when they sign up.
Choose an existing placeholder from the list or enter a new one, for example "Origin", then click "Create new placeholder...":
Following this, enter a placeholder value. For example, "Website", then click "Click to create new value...":
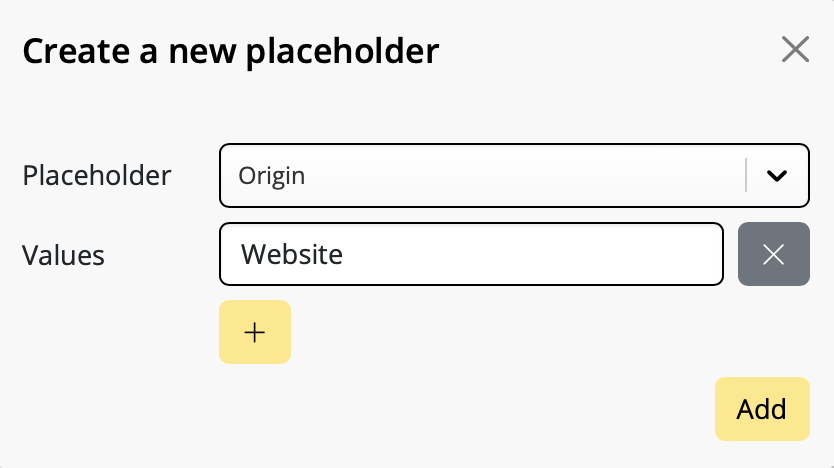
New signups via this form will now be automatically assigned this placeholder, meaning you can see how many contacts came via your website and even create tailored content for them.
Customer placeholders
In many cases, it's helpful for customers to self assign placeholders to help show you what type of content they are interested in.
Let's say you are a clothing store and regularly create newsletters with news and offers on women's, children's and men's fashion. You can include these as options in your signup form to let your subscribers determine which newsletters they want to receive.
This is a great way to make sure your email content stays relevant and reduces the risk of contacts unsubscribing later.
Again, you can choose an existing placeholder from your list, or enter a new one as described in the previous step. Here, we are using the placeholder "Newsletter Type" with the values "Women", "Children", and "Men". These will be the options your website visitors can choose from.

As soon as you've specified these placeholders, you can also customize how they are displayed to users.
Check the box "Show placeholder label" to enter a text which best describes the choices shown to users – e.g. "I'm interested in offers for"

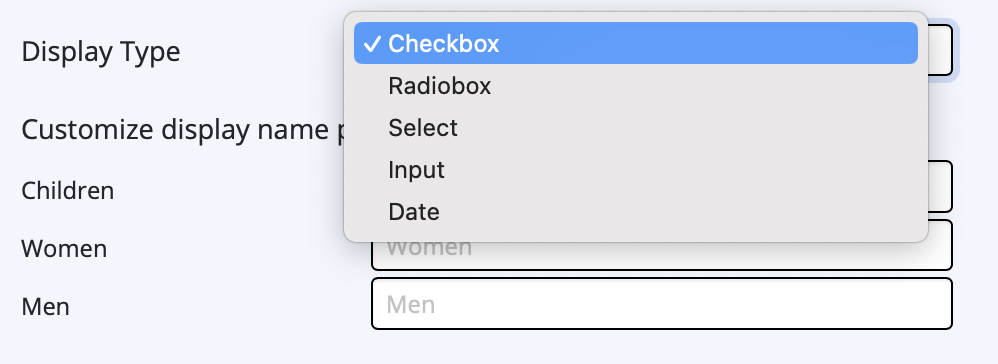
You can now choose a display type. In most cases, "Checkbox" makes sense, i.e. if you want to offer multi selection. However, if users should only choose one option (e.g. location) or can input their own values (e.g. birthday), you can select the appropriate option from the dropdown menu.
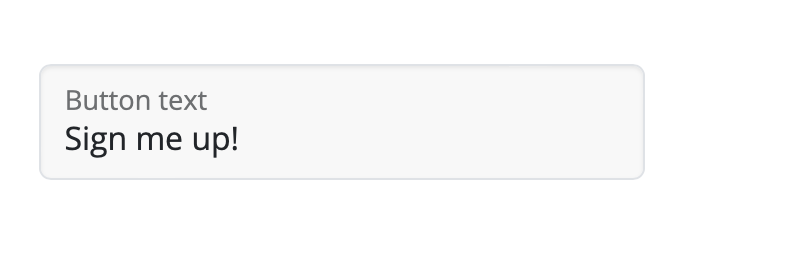
Finally, you can enter a custom button text for your signup form in the field provided:
Double Opt-In
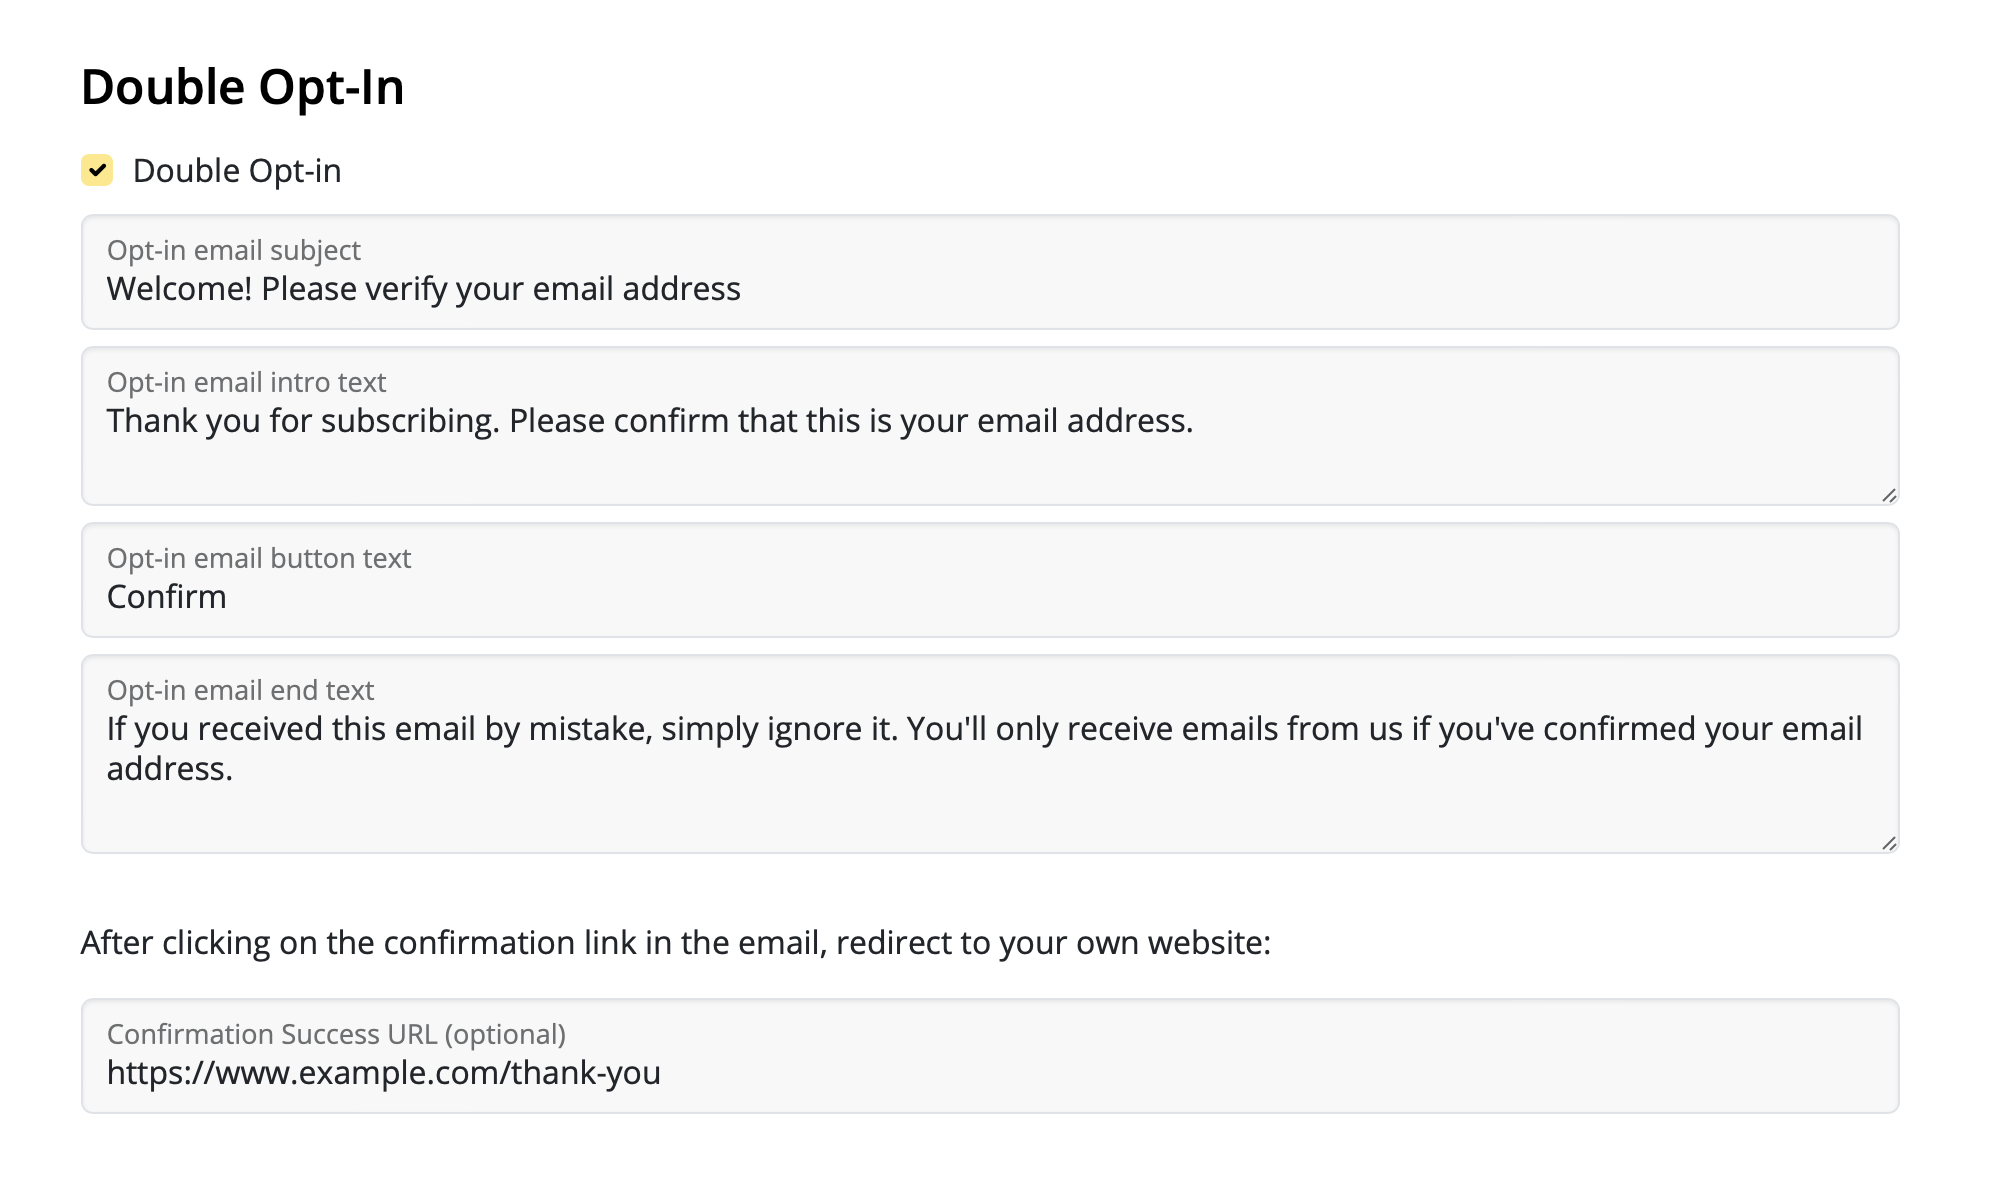
A double opt-in email is essential for all new sign ups, as it helps ensure your newly obtained email addresses are genuine – a good measure for preventing email bounces later on. Therefore we recommend keeping this option active.
The Delivery Hub signup form generator allows you to customize your double opt-in emails. Fill out the fields for email subject line, body text, and button.
In this section, you can also specify a custom landing page (e.g. a thank you page) for new subscribers.
Layout & Preview
In the final setup step, you can choose between different layout options for your signup form. For example, light or dark design.
To preview a design option, select your design settings, then click the refresh icon to see the latest version of your form. This also includes a preview of all the form fields selected in the previous step:
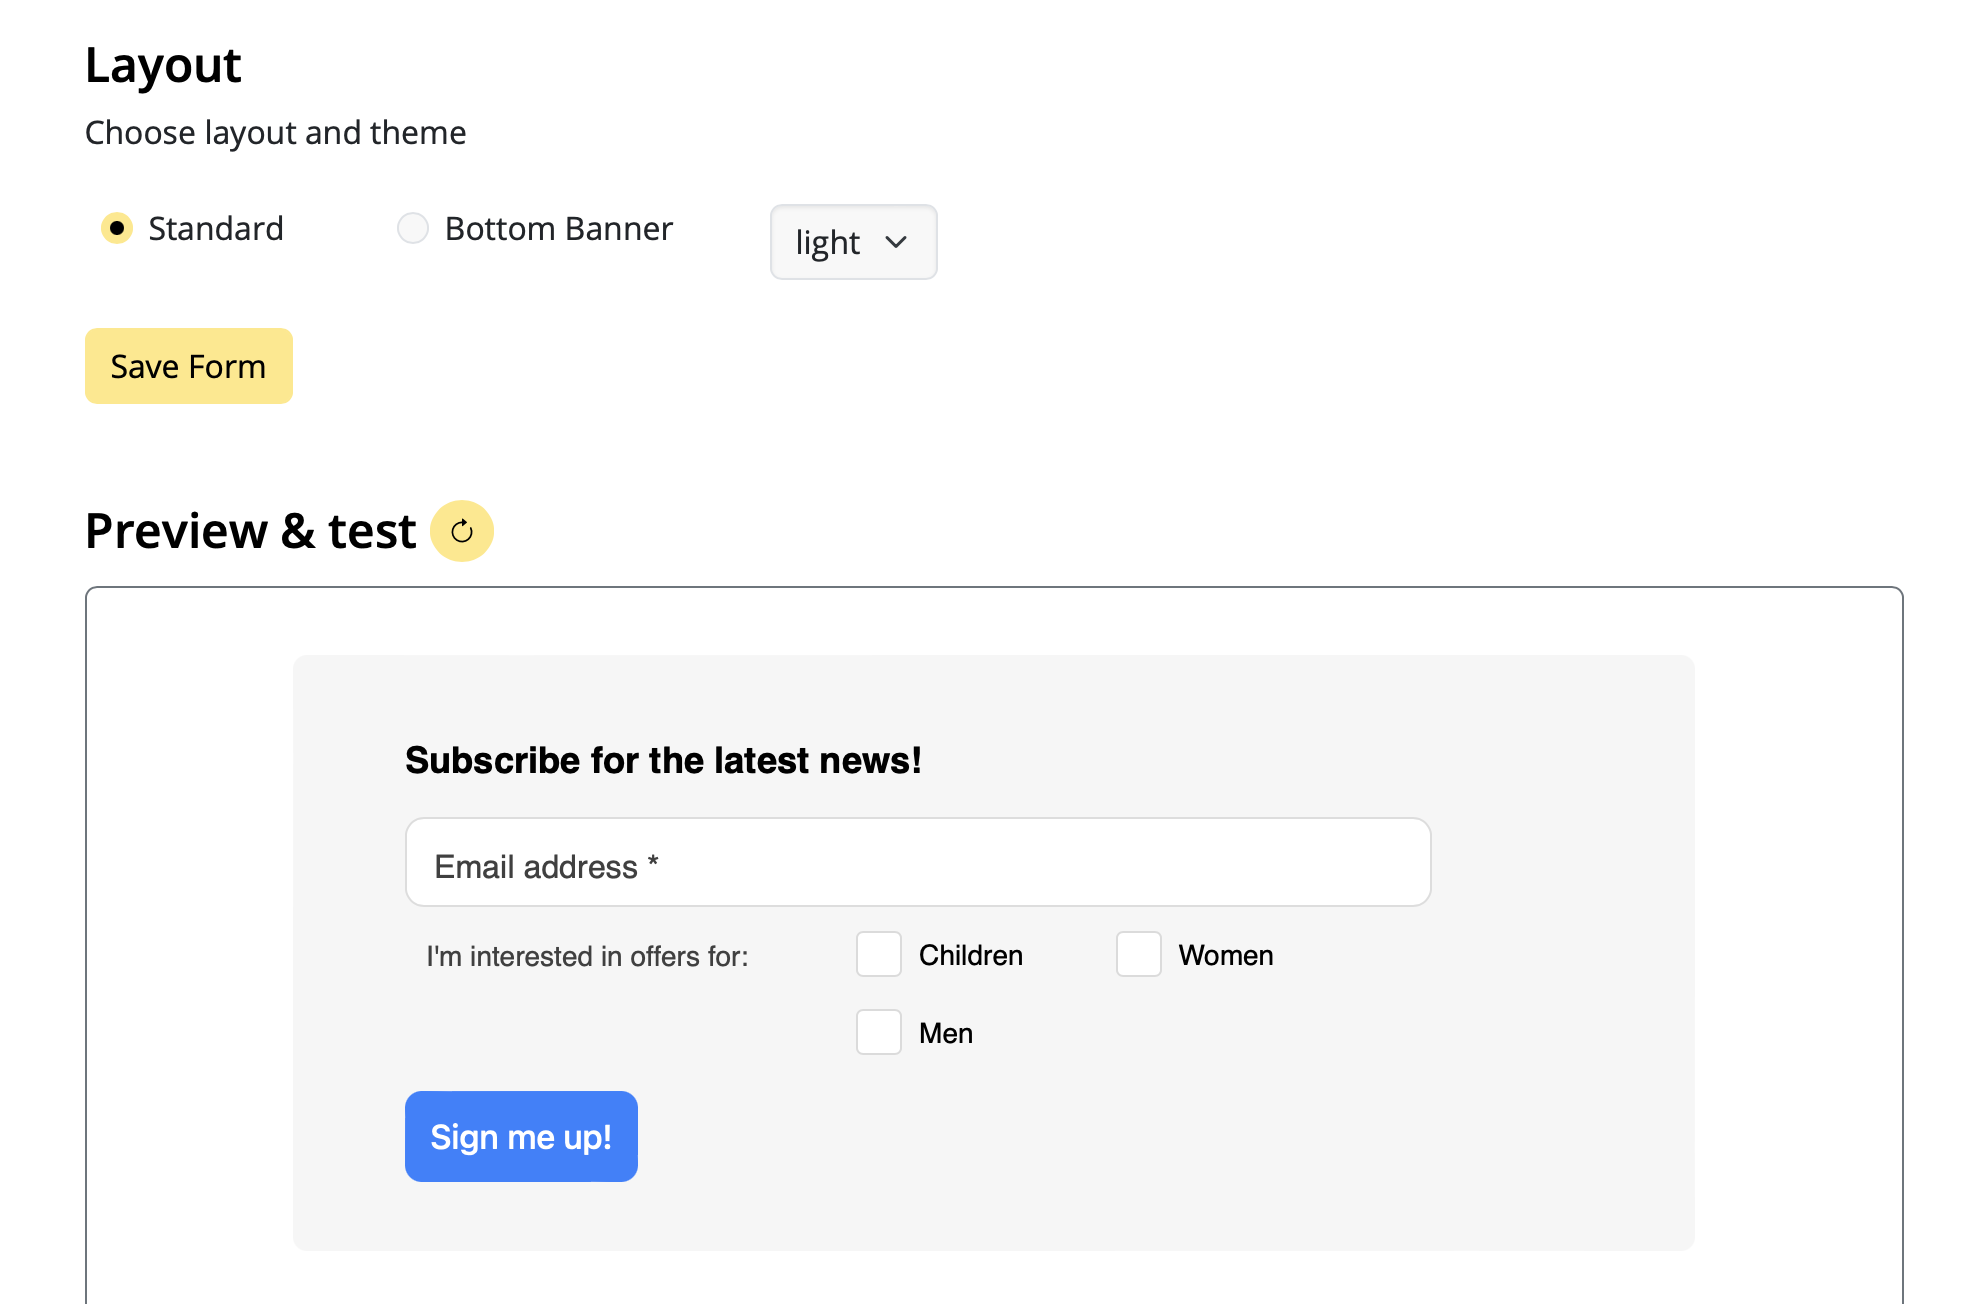
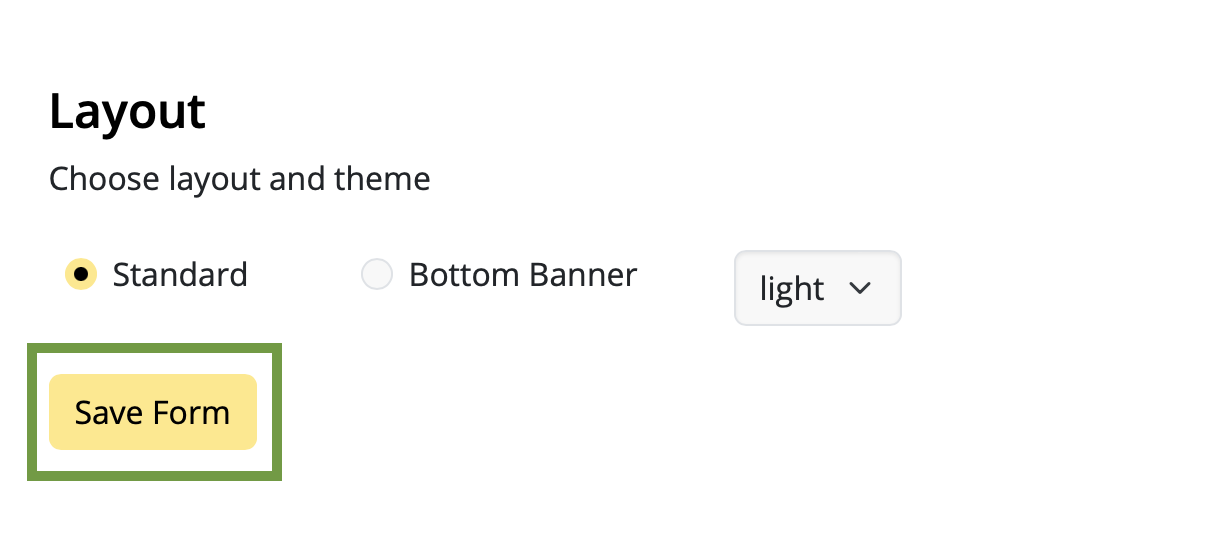
Once you're happy with the design, remember to save the form by clicking "Save Form":
Adding a signup form to your website
Adding your finished form to your website is super easy, thanks to Delivery Hub's code generator.
- Click on "Generate code" to create the code needed for your form
- Click "Copy code" to copy the form code to your clipboard
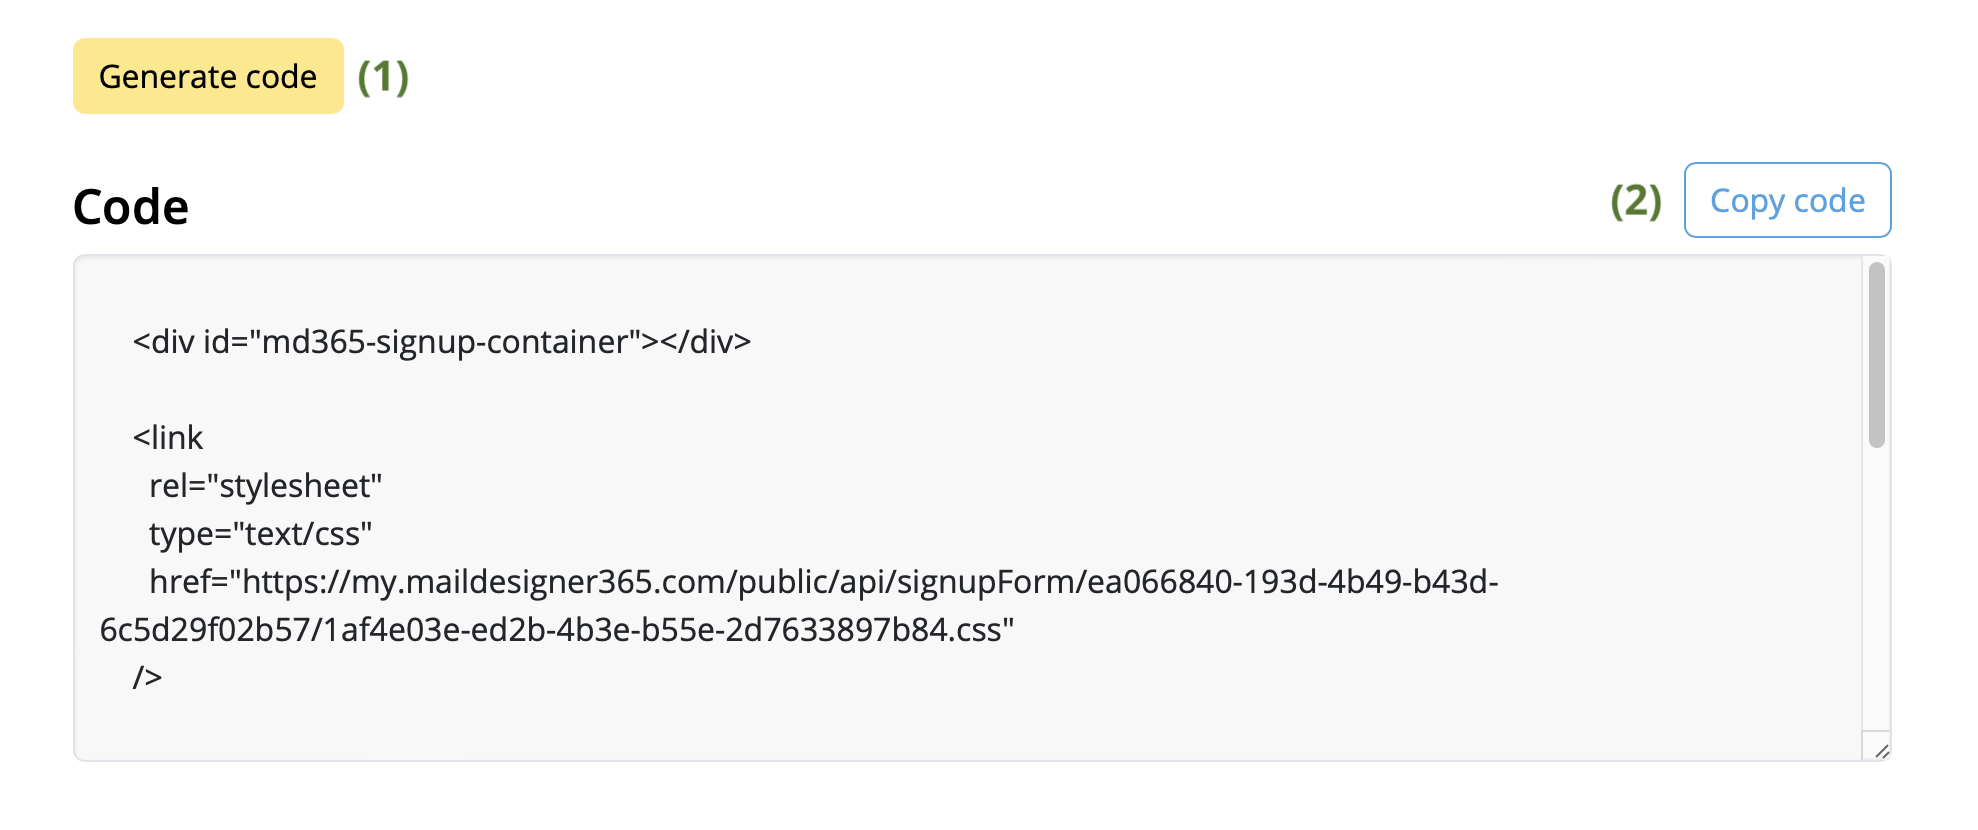
You can then paste this code into the desired area of your website and start collecting new subscribers!
Your next step - creating an audience
If you have not done so already, now is a good time to set up your email list(s). We call these audiences.
You can base your audiences on certain criteria, known as placeholders i.e. the placeholders you specified in your signup form. For example, our clothing store needs at least three audiences for their newsletters: for women's, children's, and men's fashion.
Audiences can be created at: https://my.maildesigner365.com/team/deliveries/contacts/targetgroups
Creating a new audience
We will start off with the newsletter for women's fashion. Create a new audience and give it a name (i.e. "Women".)
Now, select the placeholder (i.e. “Newsletter Type”) that you created during form setup.
Next, select the corresponding value (e.g. "Women"):
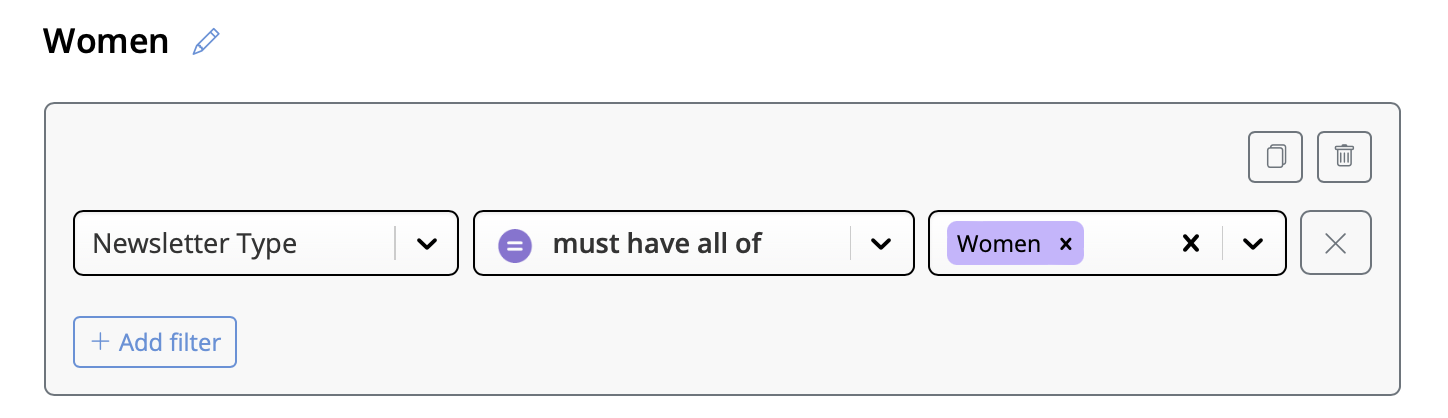
Now all contacts with the placeholder value "Newsletter Type = Women" will be displayed below. Click to save your new audience.
Create additional audiences
These steps can also be carried out for the “Men” and “Children” lists by selecting the appropriate placeholder values, providing you with dynamic audiences for each newsletter type.
Whenever a subscriber signs up via your website form, they will be automatically added to the respective audience(s) based on the categories they select.
If you want to create one audience with all your website signups, follow the steps above using the placeholder and value that you specified during form setup, i.e. "Source" and "Website". All new subscribers will be automatically added to this list – even if they don't select one of your optional fields.