
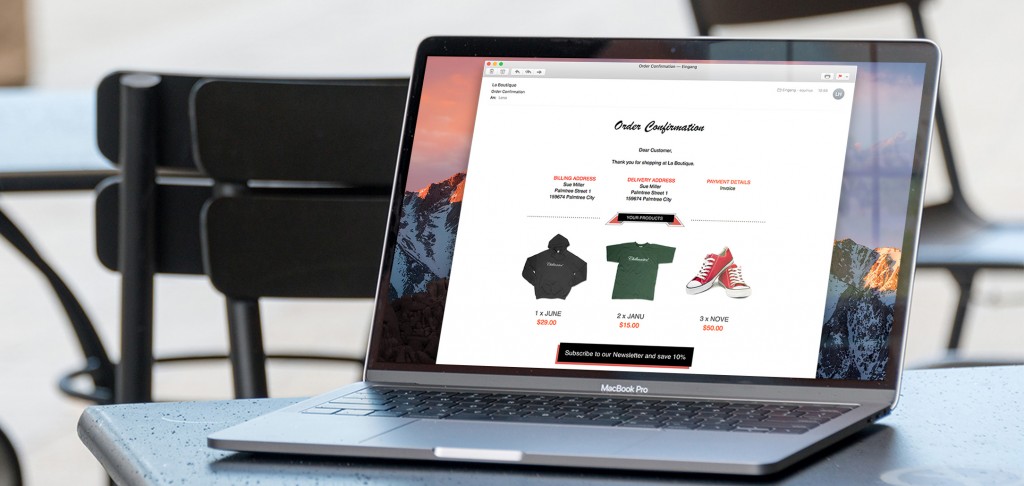
Build an email list at checkout by giving customers a clear, voluntary way to subscribe while they are already engaging with your store. The same consent-first approach works at a physical point of sale and in an online checkout.
This guide explains where to place the opt-in, what to communicate, and how receipts and shipping confirmations can support list growth without confusing a purchase email with marketing consent.
- Add a clear checkout opt-in
- Collect emails at the point of sale
- Use receipts and confirmations responsibly
Why build an email list at checkout?
Have you ever headed towards the checkout counter and the cashier asks for your email address? Most likely, the answer is yes. You will find this process true for many retail stores across the globe. It's a smart marketing move. Even though someone is purchasing the products in-store, carrying the conversation to another medium has the potential to increase sales.
Whether people are shopping online or in-store, you can make email acquisition part of the checkout process. Like with in-store shoppers, you can also ask online shoppers for their permission to receive commercial emails from your business.
But remember, only send promotional emails to people who do grant you their permission.
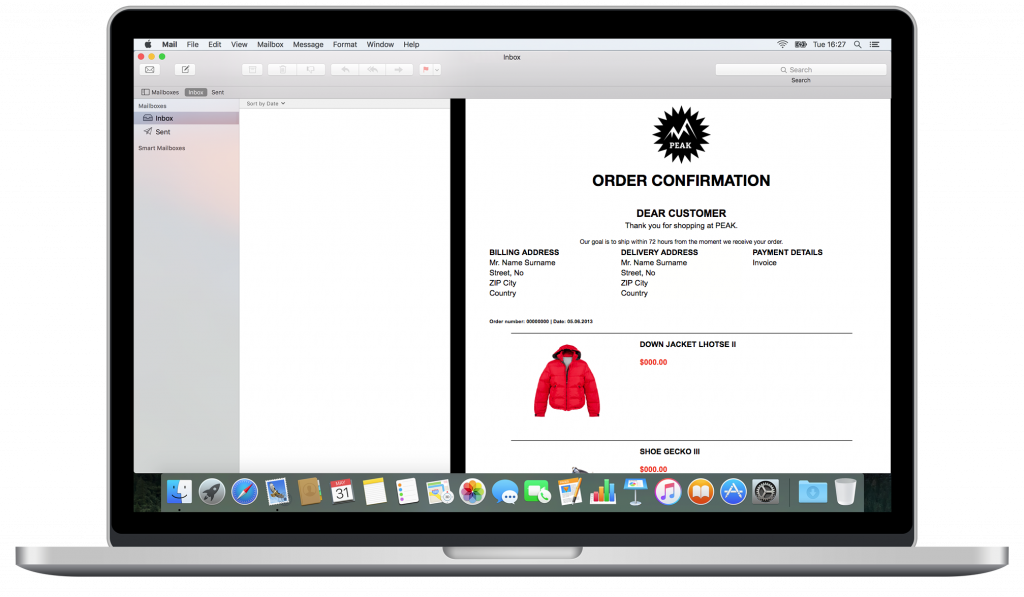
Collect emails at the point of sale and online
You can build your email list with both online shoppers and in-store shoppers. Just apply a similar technique to online shoppers. Ask online shoppers for their permission to receive emails from your business. The main difference is that you are not asking in person.
The con: Online may feel less personable because it's not a one-on-one human interaction.
The pro: Online opt-in forms & links are subtle and sensible. You can ask multiple times for shoppers to opt-in without looking desperate.
Ask for clear consent during checkout
When they are checking out, you will need their information like shipping address, billing address, etc. Make sure to add a place to include an email address in the form. Don’t forget to add a checkbox that they have to tick to agree to receive emails from you.
Best practice recommendation: Although some stores will automatically have the checkbox already checked, we actually do not recommend this practice. Instead, leave the checkbox unchecked. This way, people will need to check the box on their own if they want to receive your newsletters.

Why keep it unchecked?
When people have to manually check the box, they are knowingly opting-in. This helps reaffirm that yes - they do want to receive your emails.
If you were to automatically have the box checked, sometimes people do not see it. Other times, people do see the checked box, but it doesn't register in their minds. These can include people who do not want your emails.
The bad: People who do not want to receive your emails may end up on your subscribers list.
The ugly: When they receive your emails, they may mark your newsletters as spam.
Three moments for checkout email list building
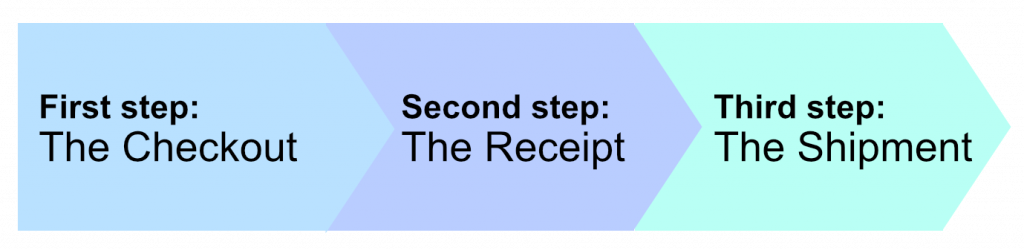
You can apply a 3-step strategy that opens up 3 opportunities to build your list:
Step 1: Checkout Form
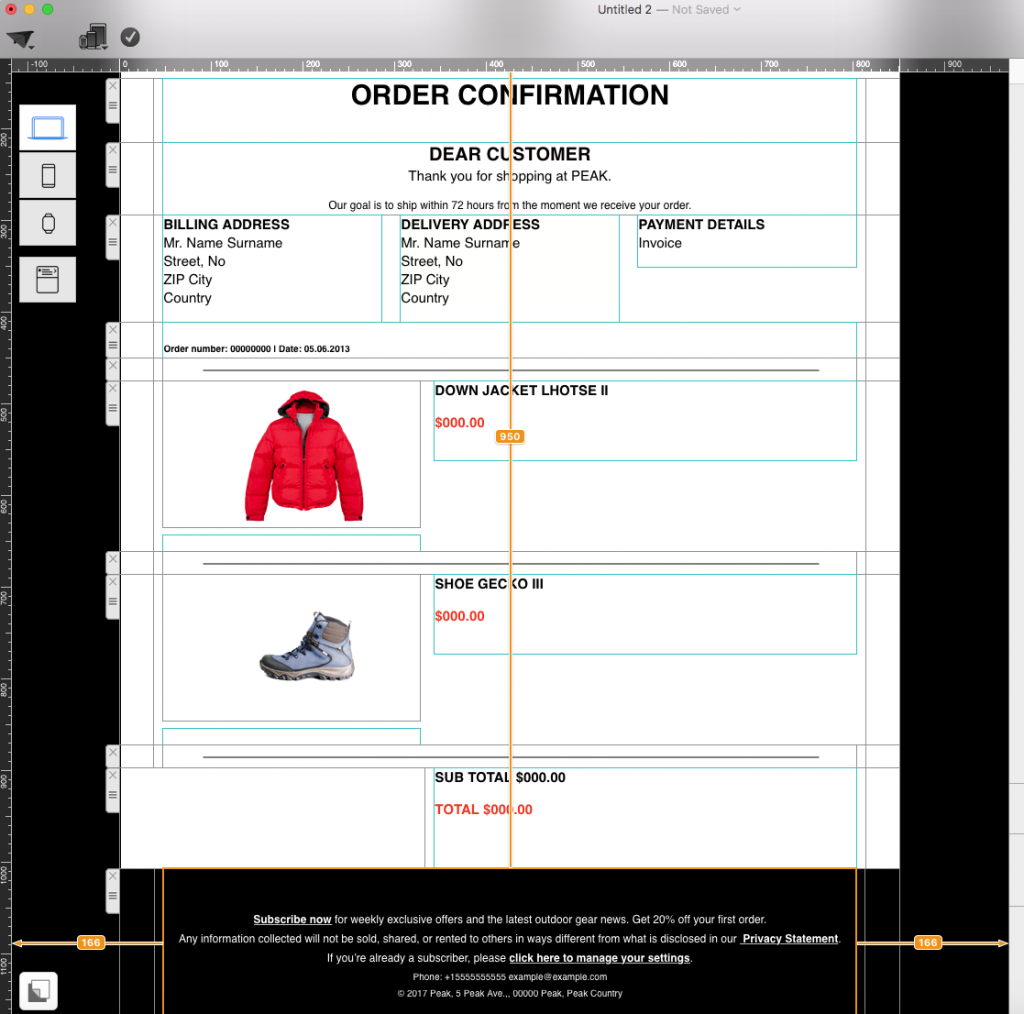
Step 2: Online Receipt
Step 3: Shipment Confirmation
Step 1: The checkout form
Tip #1:
We recommend making the step "creating an account" optional. Give potential leads a choice - whether they want to create an account or to checkout as a guest. Some people do not necessarily want to create an account in order to buy an item. For some, it may be a deal breaker. Some people will back away from making a purchase if they see that it's mandatory to create an account.
So it’s a great business practice to give your customers options. They can choose which method is more convenient for them.

Tip #2:
Always ask for their email address. You will need it to email their receipt.
Tip #3:
Make sure to add a place where people can choose if they want to subscribe to your email newsletters. As mentioned earlier, this can be done by adding a checkbox in the form that they have to tick to receive promotional emails, discounts, etc. Try to add this option right under where you asked for the email address.

Step 2: The receipt
Tip # 1: Thank you
Make sure to start with a thank you. Thank them for shopping at your store. These simple two words can make a difference when it comes to retaining customer loyalty. It shows that you appreciate doing business with them. Remember, you have a higher chance of making a sale to an existing customer than to a new one.
Tip # 2: Add another opportunity to opt-in
Sometimes, they may not initially check the opt-in box during checkout. This is why you should also include a subscribe link within the receipts. When you design your receipt template, do not forget to add:
Option A: A subscribe CTA button:
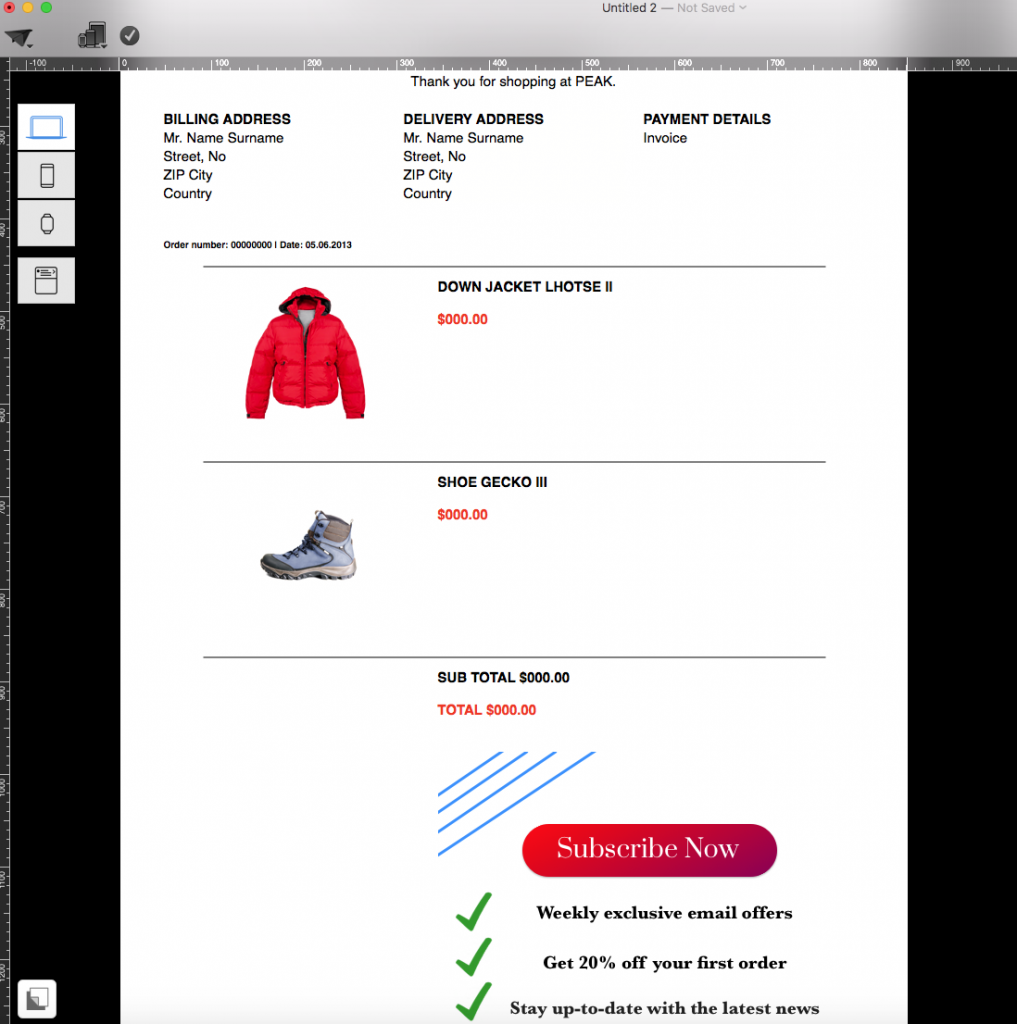
Why a CTA button? It can be big and prominent that is sure to catch the reader's attention. It can also be easy-to-click for mobile users.
Option B: A subscribe text link:
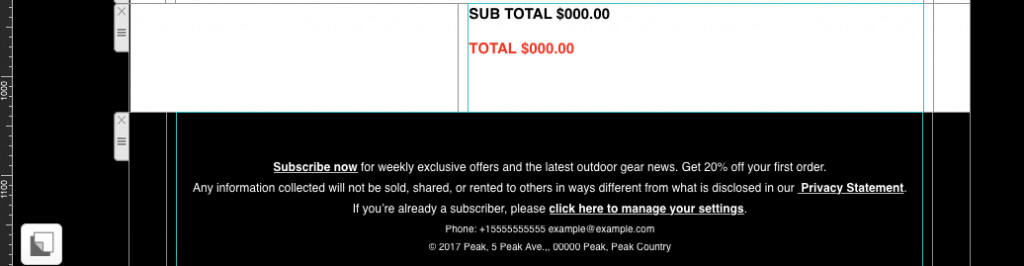
Why a subscribe text link? It's quite subtle and blends in with the content. You can also easily add other links that relate to it within the same line or paragraph such as a link to your privacy statement.
Option C: Add both
Sometimes, they miss or overlook the first occasion where they can subscribe. Adding both a CTA button and a text hyperlink gives them another chance to subscribe. After all, repetition can be quite convincing.
Tip #3: Include a link to manage the subscription settings
This is another way to get people to opt-in. When you add a landing page where they can choose what types of emails they receive and how often they receive the emails, you are giving your readers the power of choice. This may be a link to a different landing page than the one you have to opt-in or it could be the same. Think of it as a different but more subtle way to ask them to subscribe. Of course, this is also convenient in cases when the shopper is already a subscriber. They can also use the link to manage their subscription settings.
What to include beside the subscribe link
- Incentive for the initial subscription (extra discount for first-time buyers)
- Explain the benefits of receiving your email newsletters (try exclusive coupons).
- What should they expect (talk about email frequency and type of content)
- Add an unsubscribe link too (in case they are already subscribers)
- Reassure them you’ll protect their information.
Example opt-in copy
Step 3: The shipment confirmation
For many cases, you will need to send an email to tell them that you have shipped the items that they bought. This email typically comes with a tracking information and a link to customer service in case there's a problem.
But what some fail to realize is that you can also use the shipment confirmation email as an opportunity to build your subscribers list.
Like with the order confirmation or email receipt, you can add a subscription CTA link and/or CTA button. Don't be afraid to also include a link to manage their subscription settings.
Checkout email list building checklist
- Add an opt-in option within your online checkout form
- Make creating an account for checkout optional
- Add an opt-in CTA link and/or button in every email receipt and shipment confirmation you send out
- Add a link where recipients can manage their subscription settings
Design the emails that follow the checkout
Once customers opt in, keep the experience consistent with a clear welcome email and readable promotional messages. Mail Designer 365 can help you create the receipt-adjacent newsletters and follow-up campaigns described in this guide. You can also create an email signup form for other parts of the customer journey.
Until next time,
Your Mail Designer 365 team