
Skip to main content
To import Apple Contacts to Mail Designer 365, first move the selected contacts into Numbers and export Apple Contacts to CSV. You can then upload the CSV to Delivery Hub, assign useful attributes, and build an audience for your Mail Designer 365 campaign.

Follow these steps to move contacts from the Apple Contacts app into Mail Designer 365 Delivery Hub.
Here's how to do it:
- Open up your Apple Contacts App
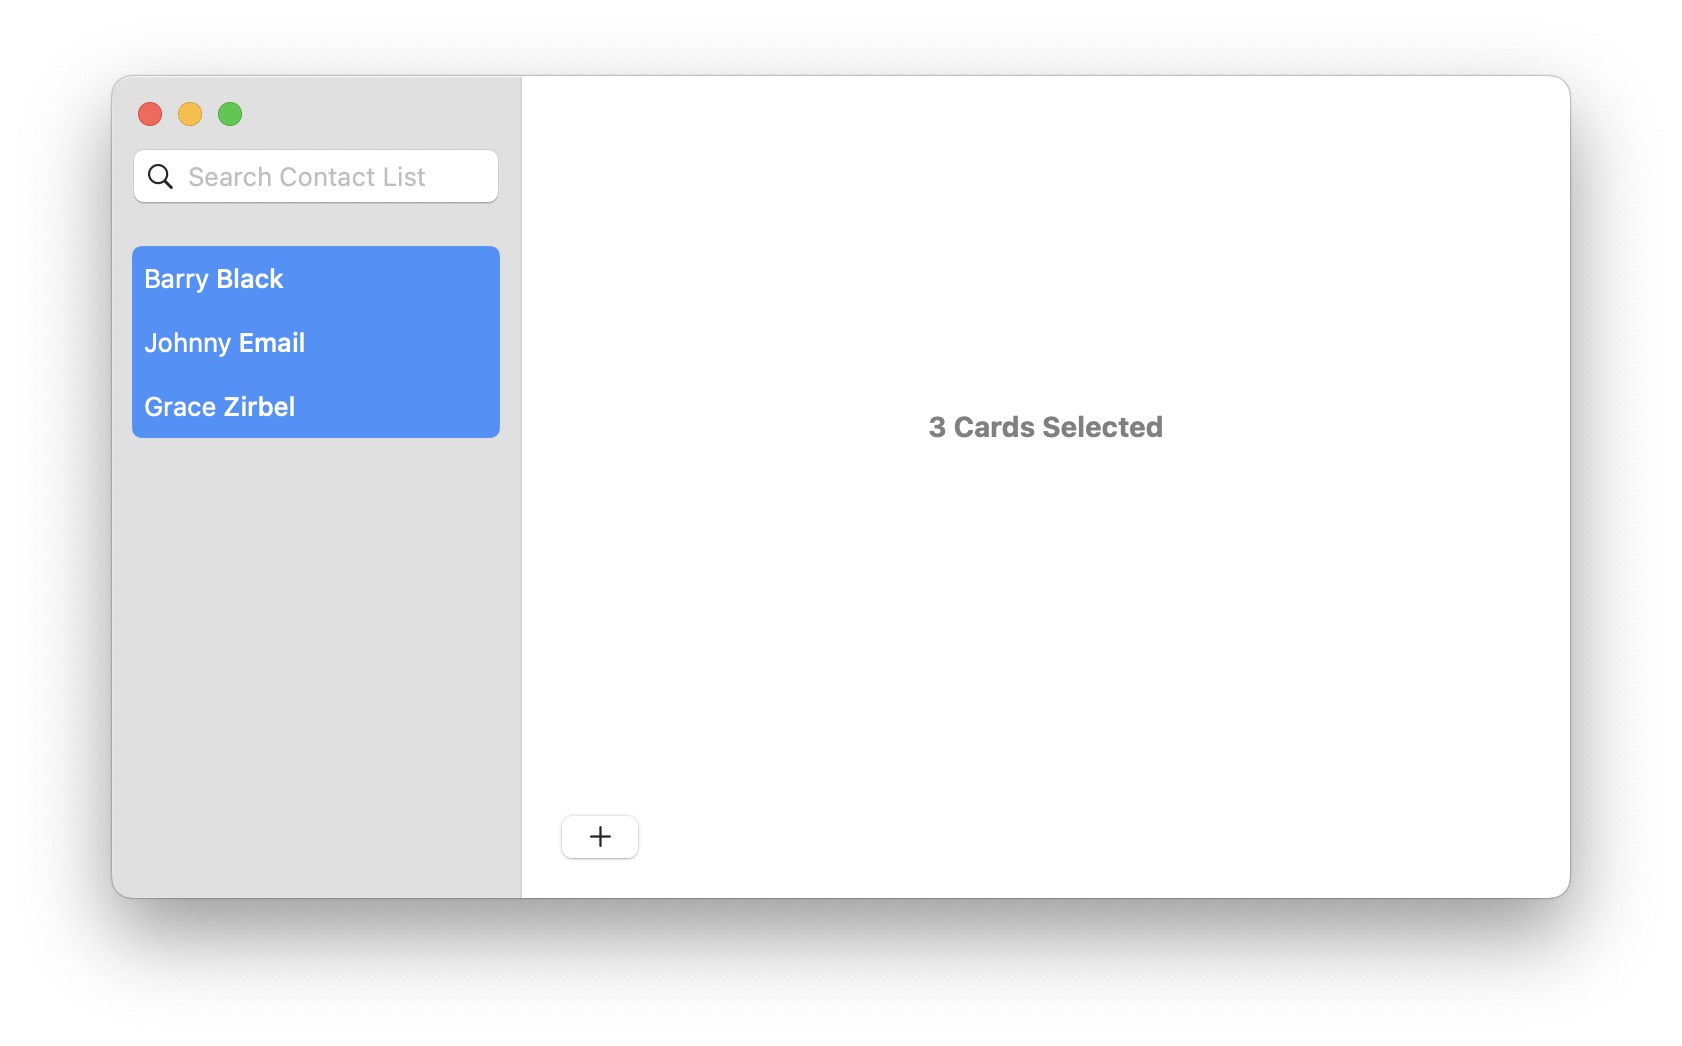
- Select the contacts you would like to import
- If you want to select all, press Cmd + A
- To select specific contacts, hold down Cmd while choosing them
- To select a range of contacts hold down the Shift button
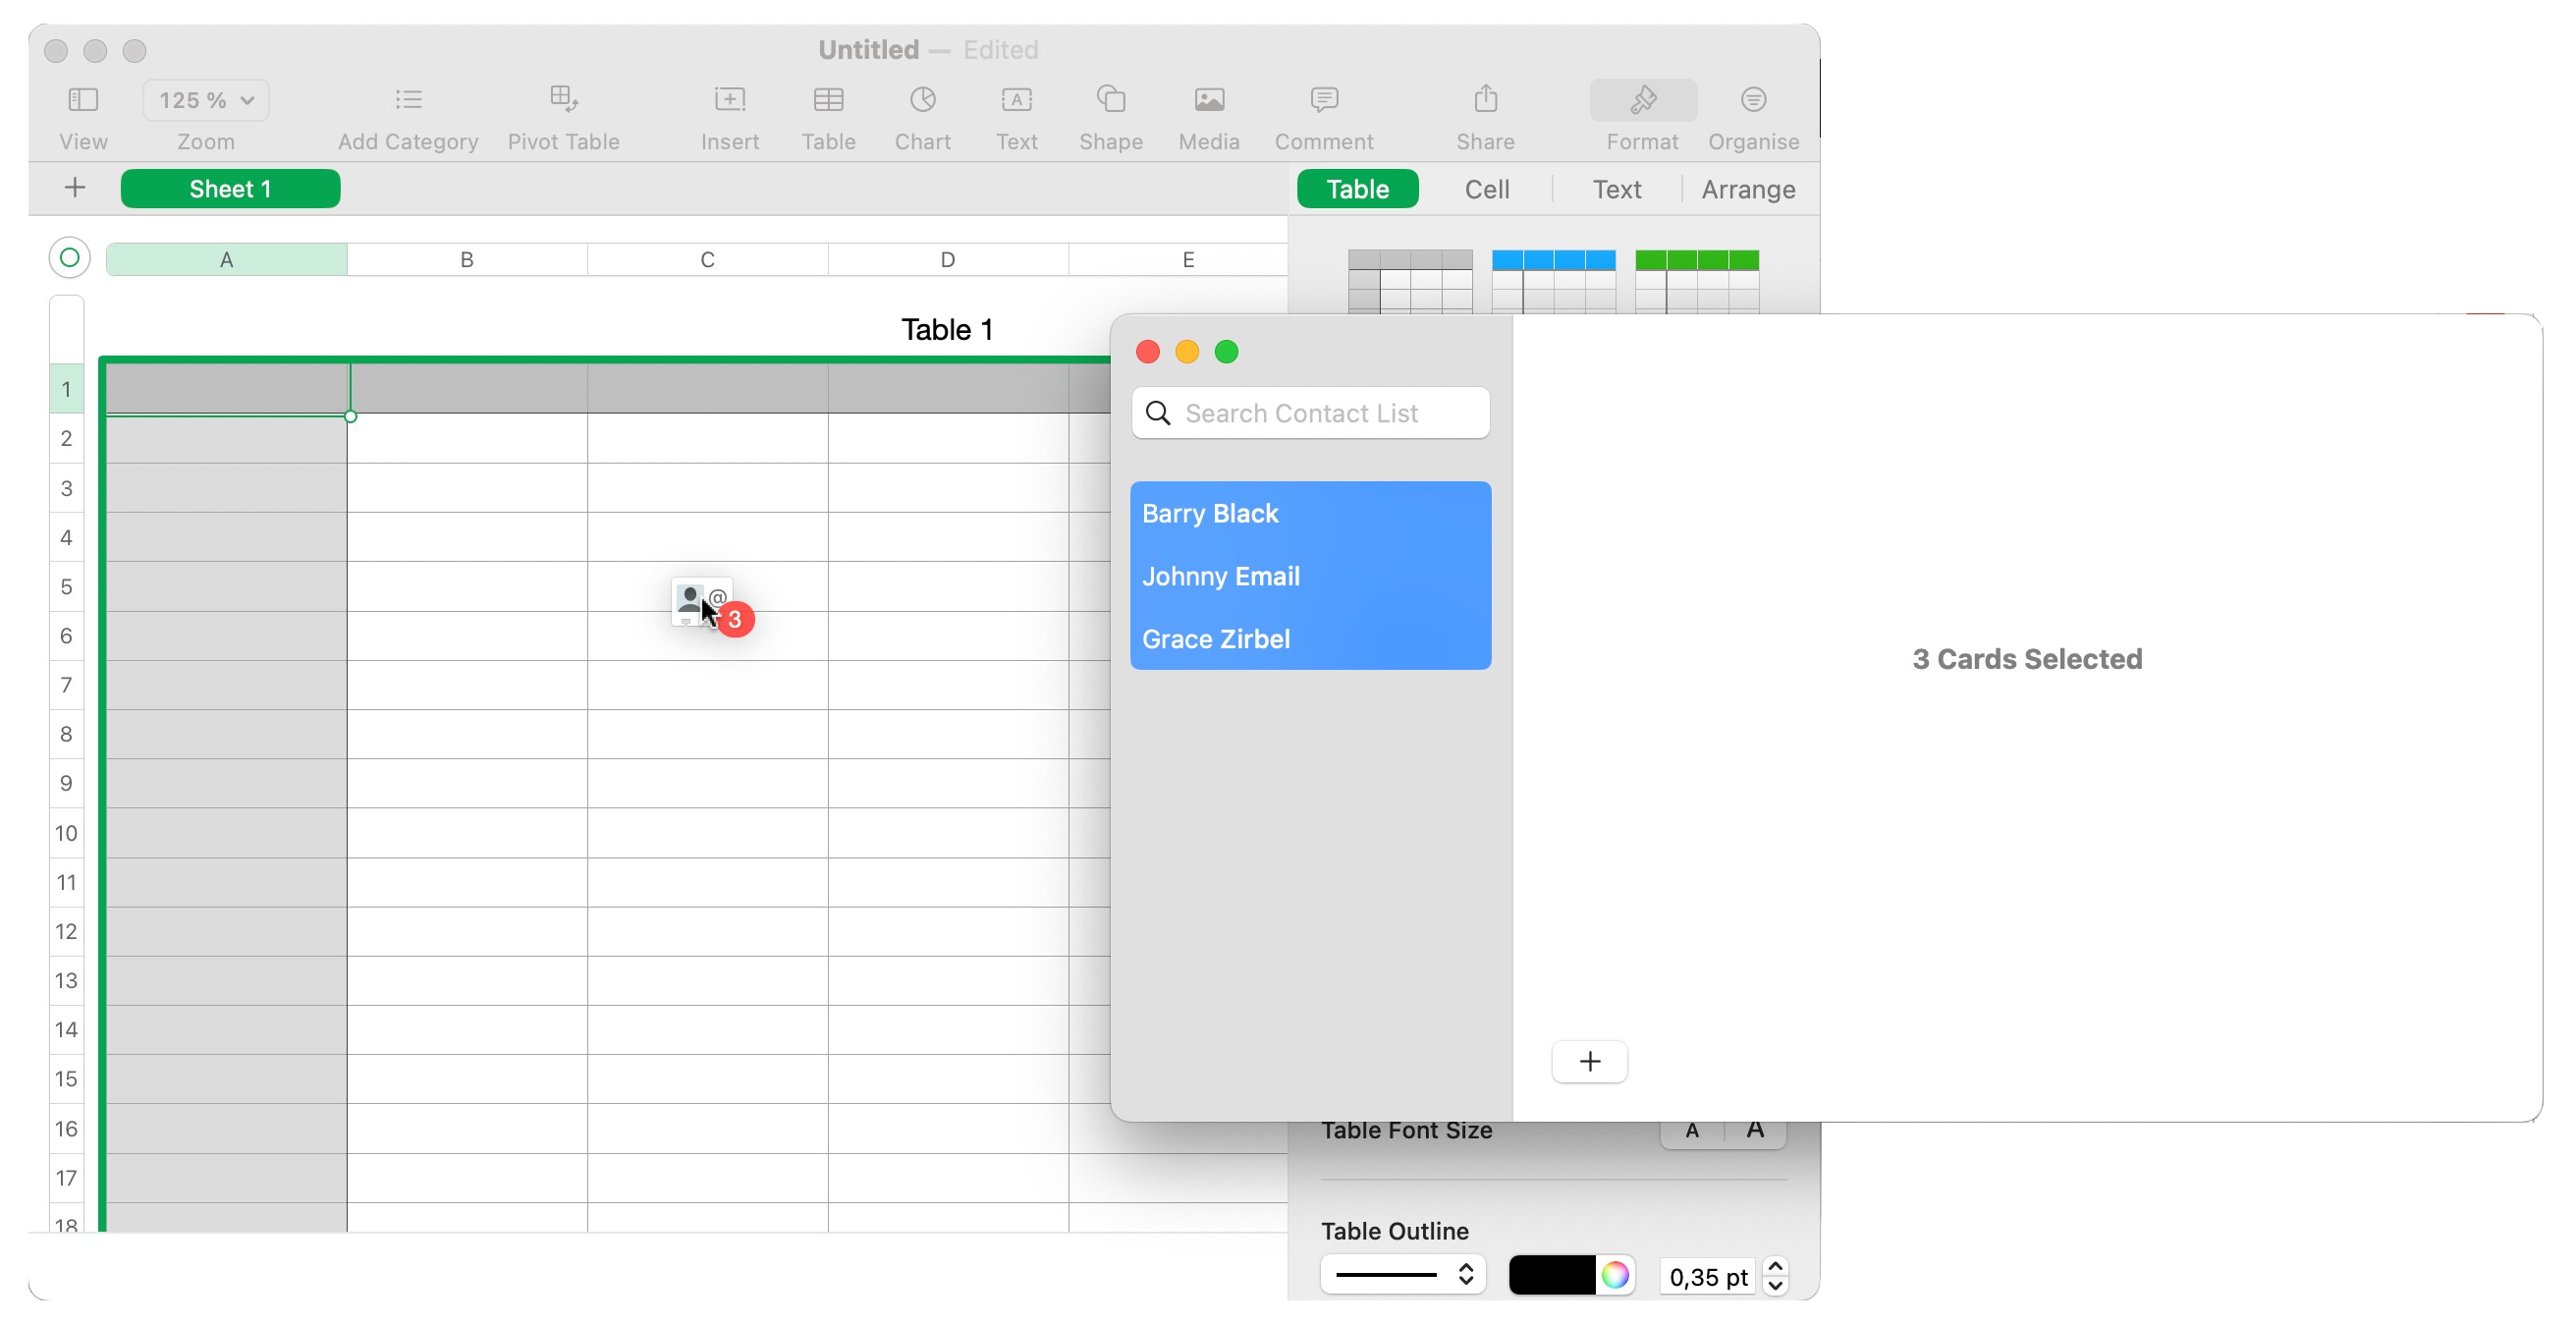
- Next, open up Numbers to a blank document
- Drag your selected Contacts into the Numbers Document
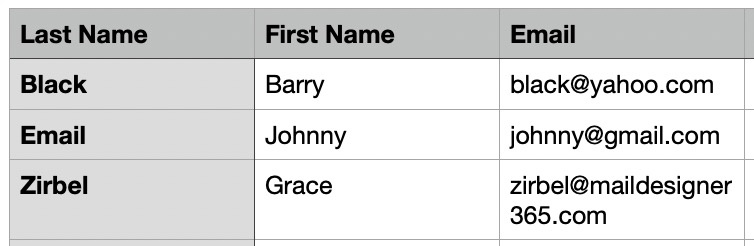
- Make sure your column titles are listed as follows:
- Last Name
- First Name
- You can keep other columns such as phone number in the document or remove them if you wish. If you keep them in the document they will also be imported into Mail Designer Campaigns as custom Attributes for the contact.
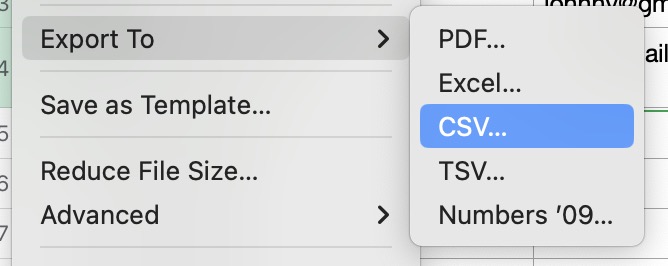
- In the File Menu of Numbers select Export to > CSV...
- Next: Log into your my.maildesigner365.com account
- Navigate to the Delivery Hub Menu at the top

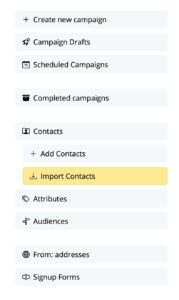
- In the sidebar on the left choose "Import Contacts"
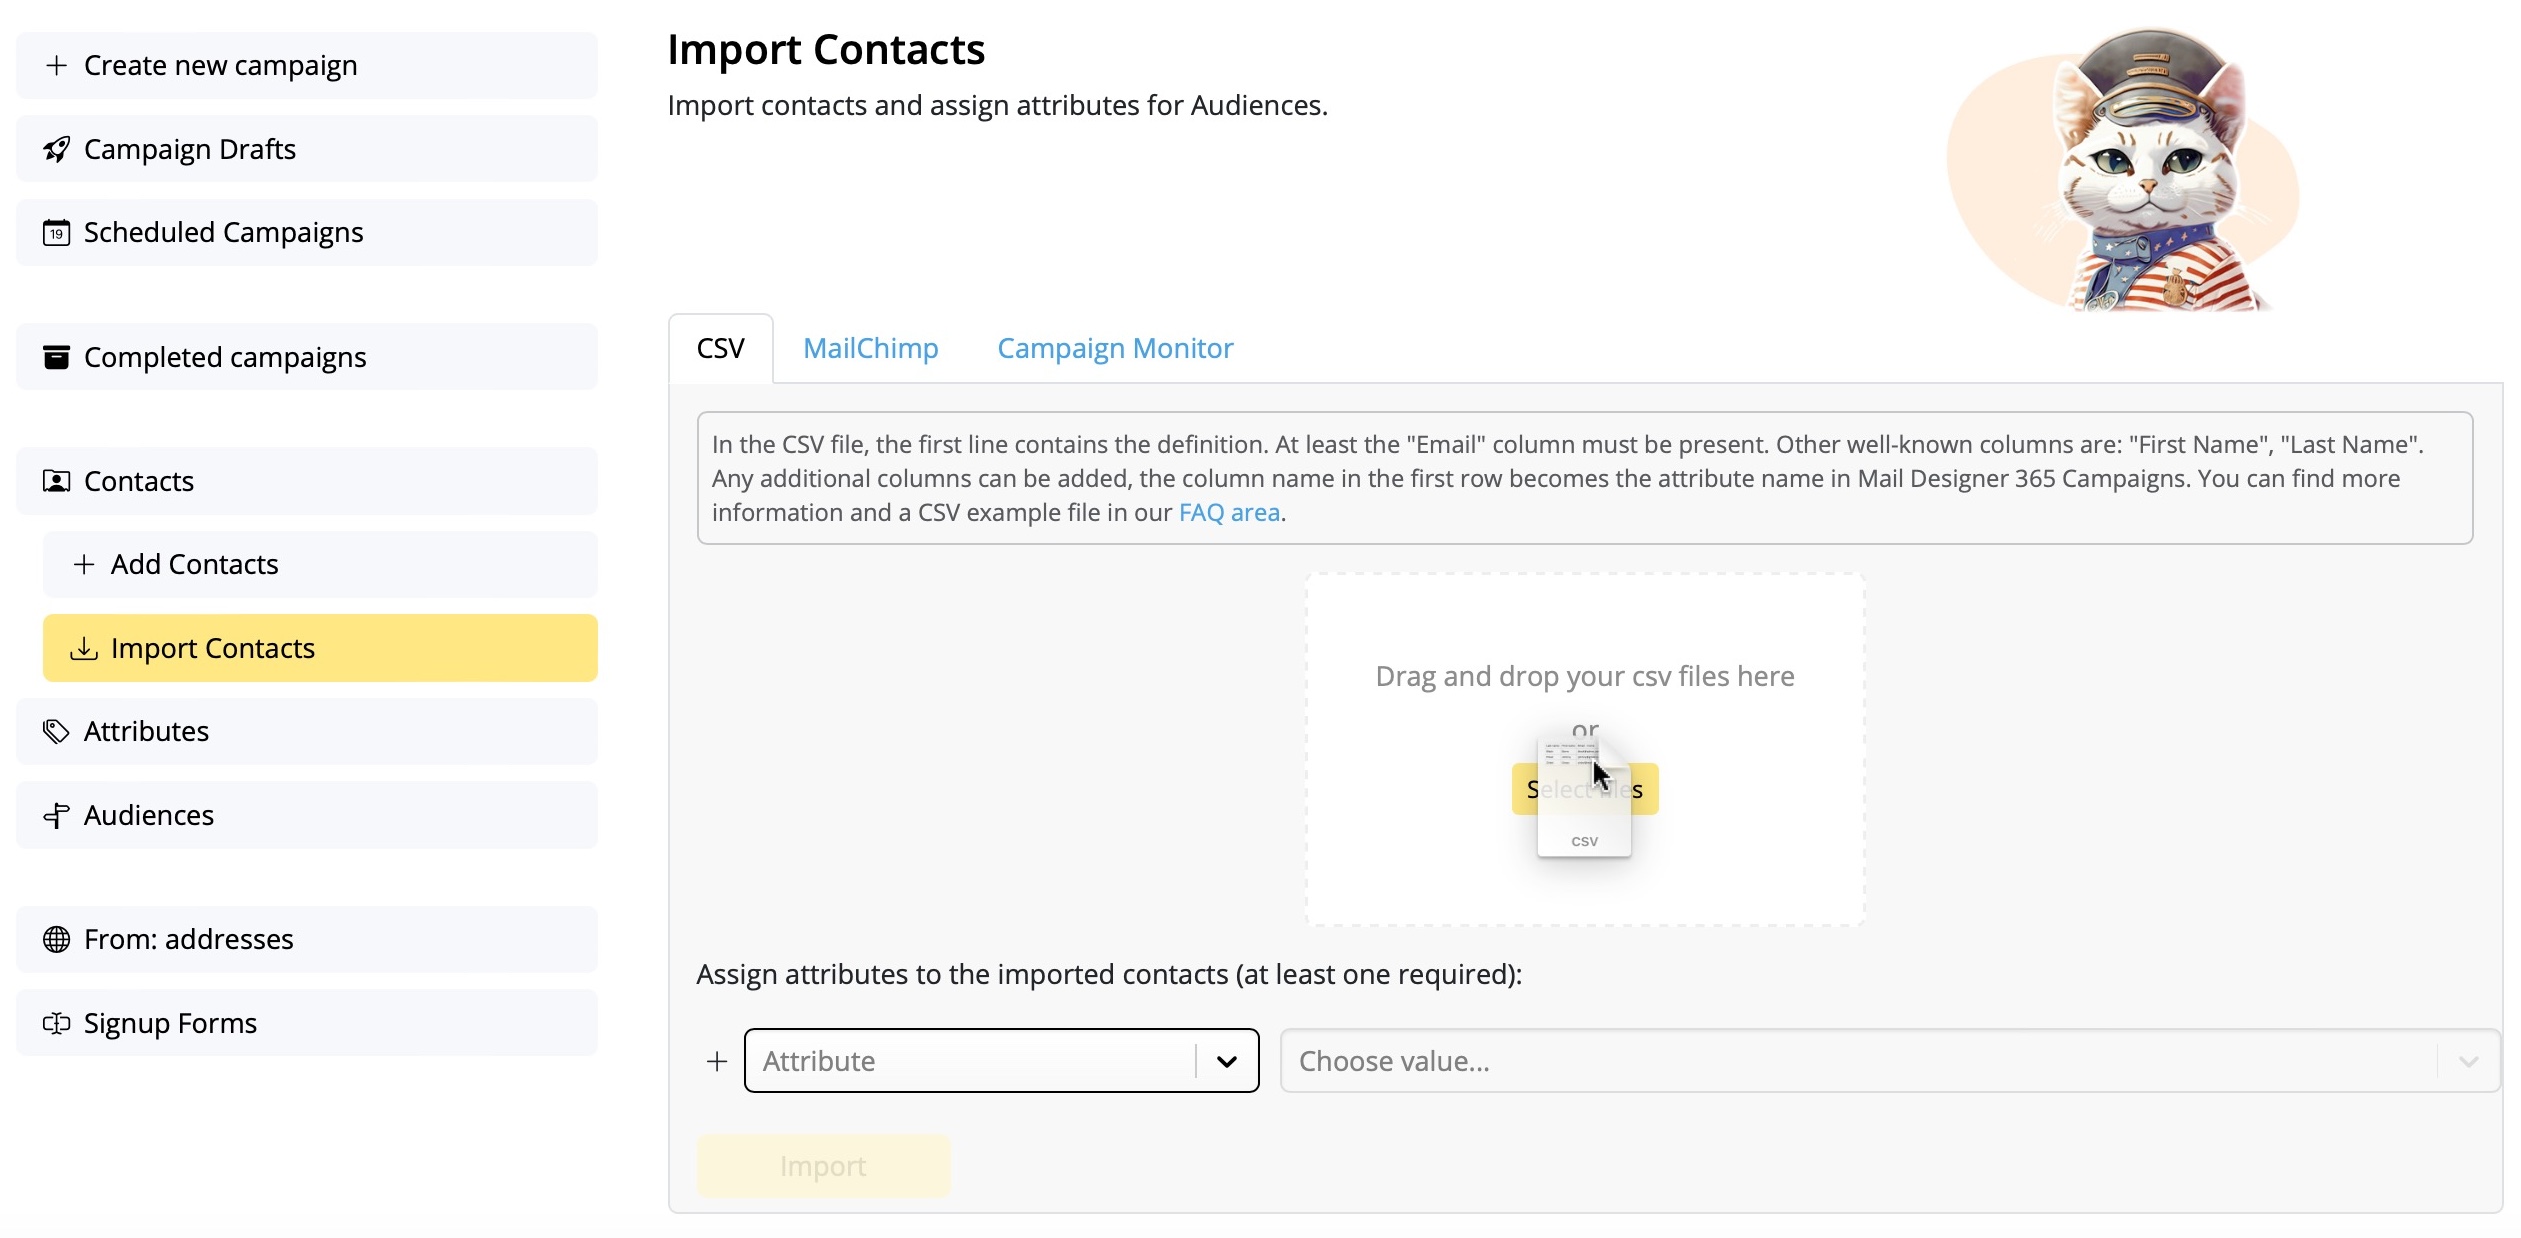
- Choose "CSV" in the main Window
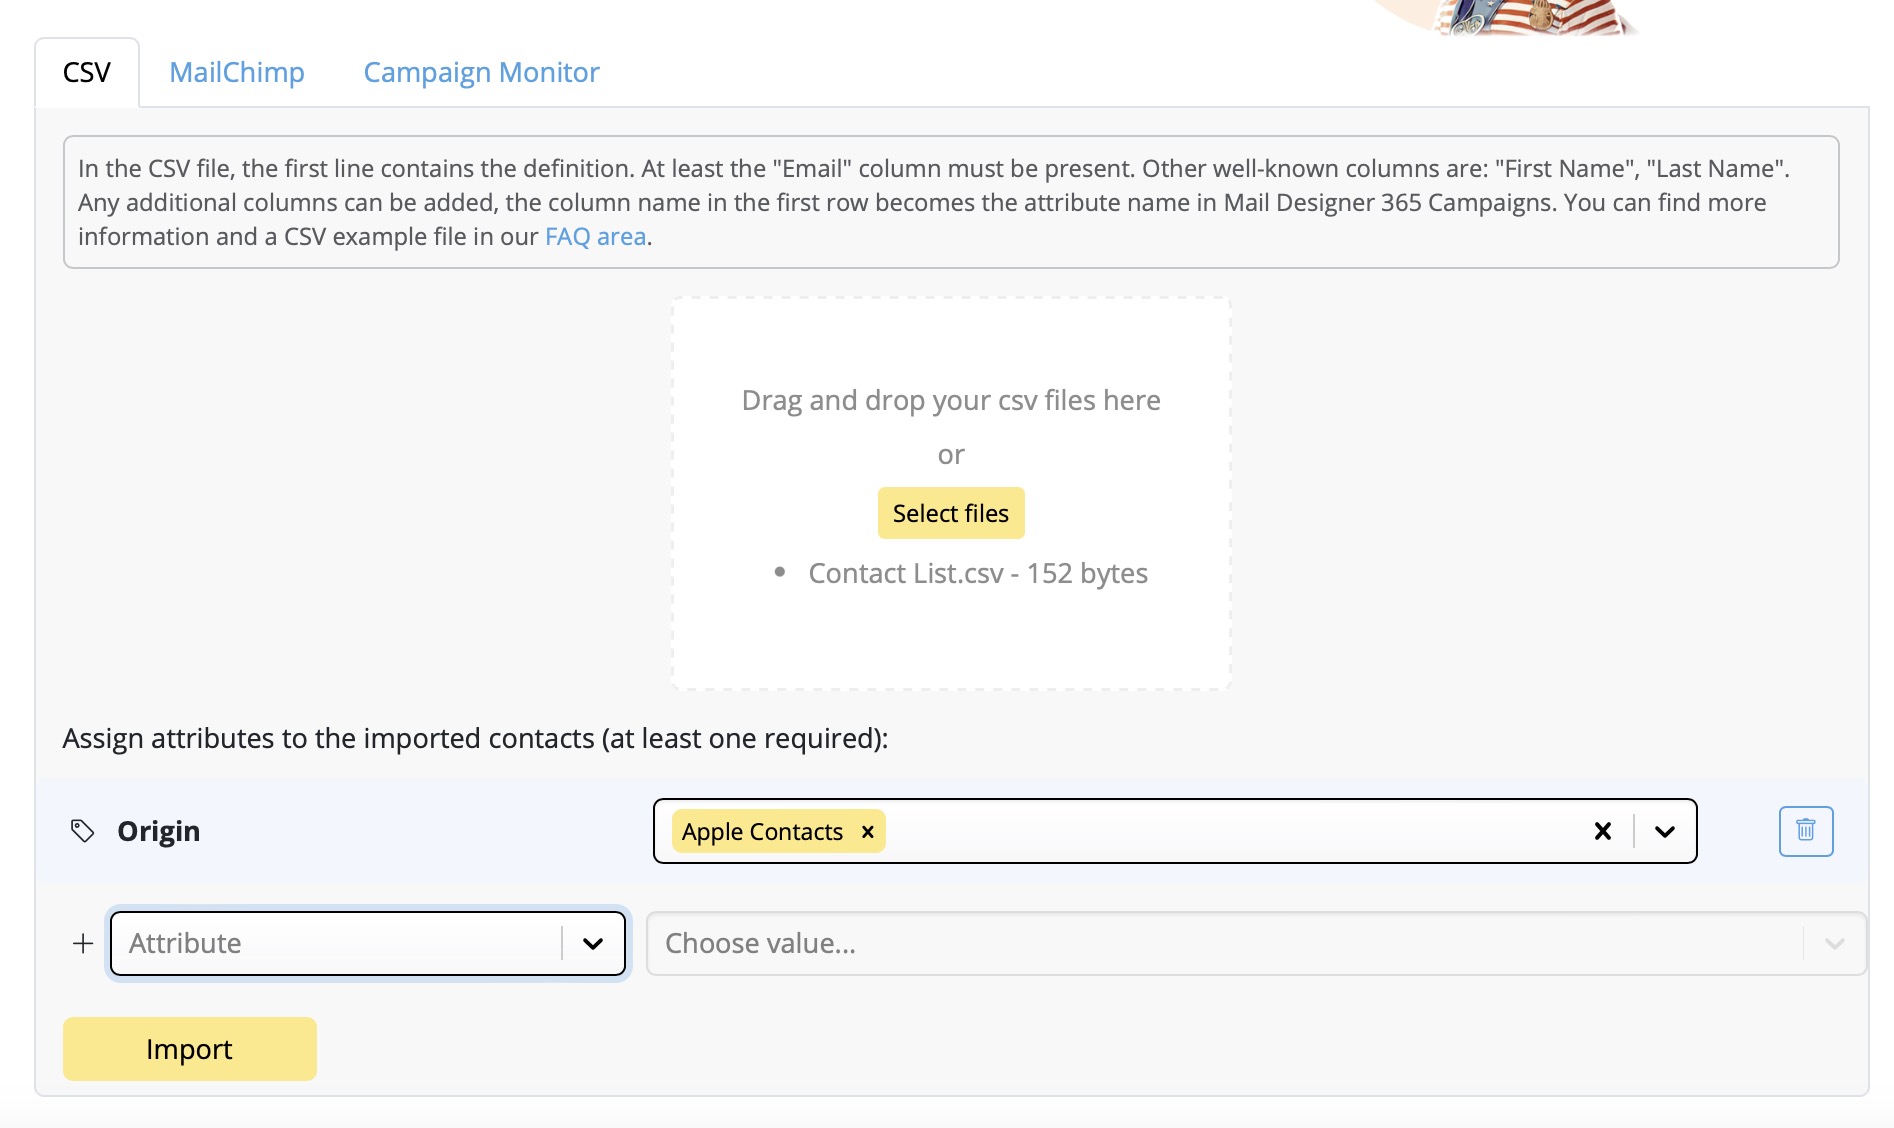
- Drag your Exported CSV List to the CSV Import Portal
Please note: If the list you are importing has over 200 contacts, you will need to upgrade to a Mail Designer 365 Campaigns plan that supports this number of contacts
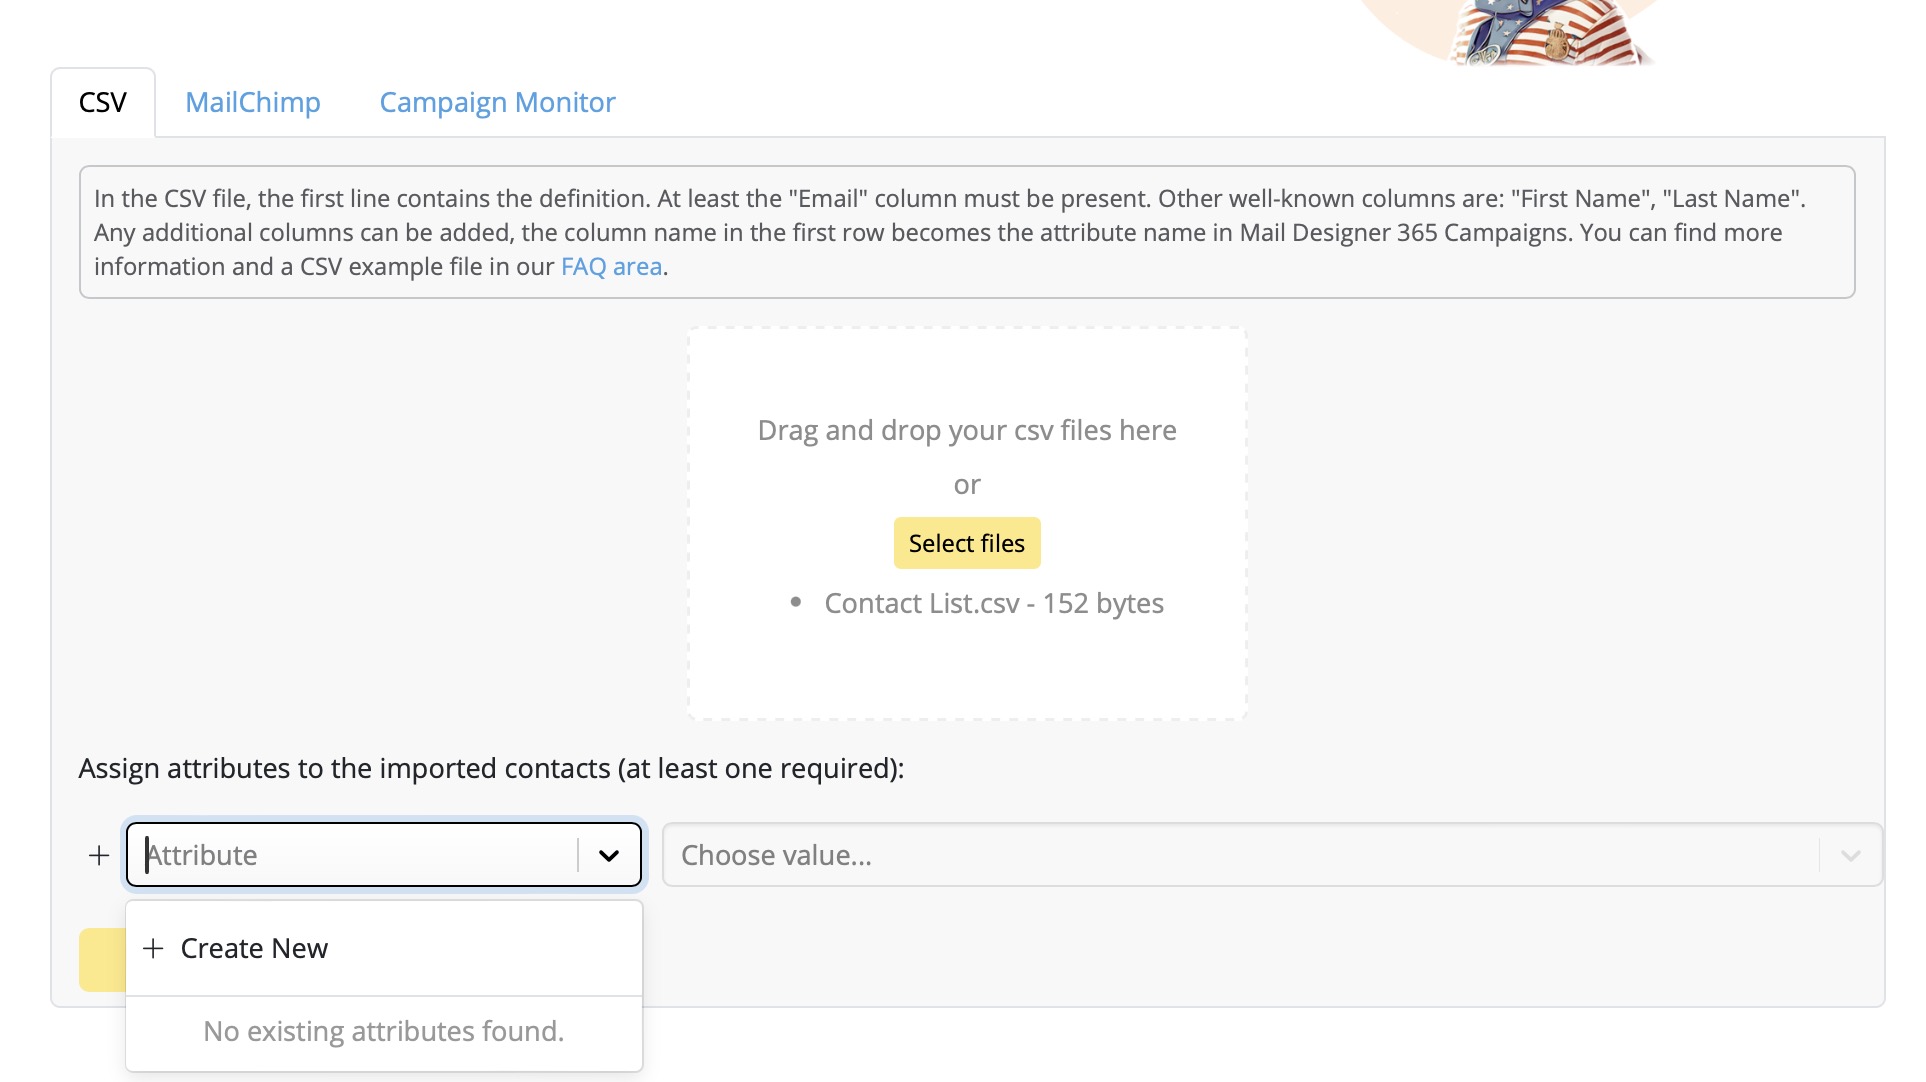
- Next you have the option to assign attributes to your new contacts. Attributes represent different characteristics (e.g. language, interest, country, etc.) and tell you more about the contacts you are adding. This step is important for setting up an audience later.
- In the Attribute Dropdown click on "Create New"
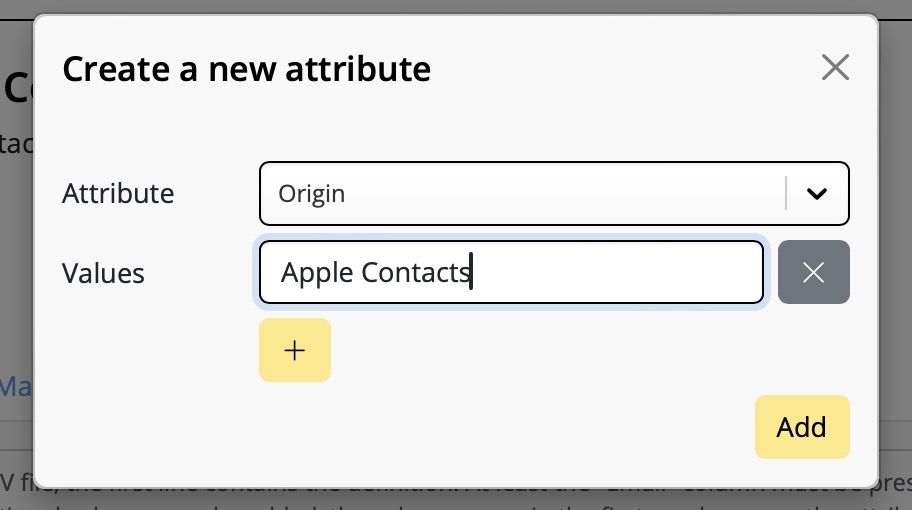
- Then in the New Attribute Window Choose a name for your Attribute. An example for this import could be
- Attribute: Origin
- Value: Apple Contacts
- Press "Add" to confirm
- You can add as many attributes and values as you like before importing your contacts. Once you are ready press "Import".
- Success! Your contacts were imported!
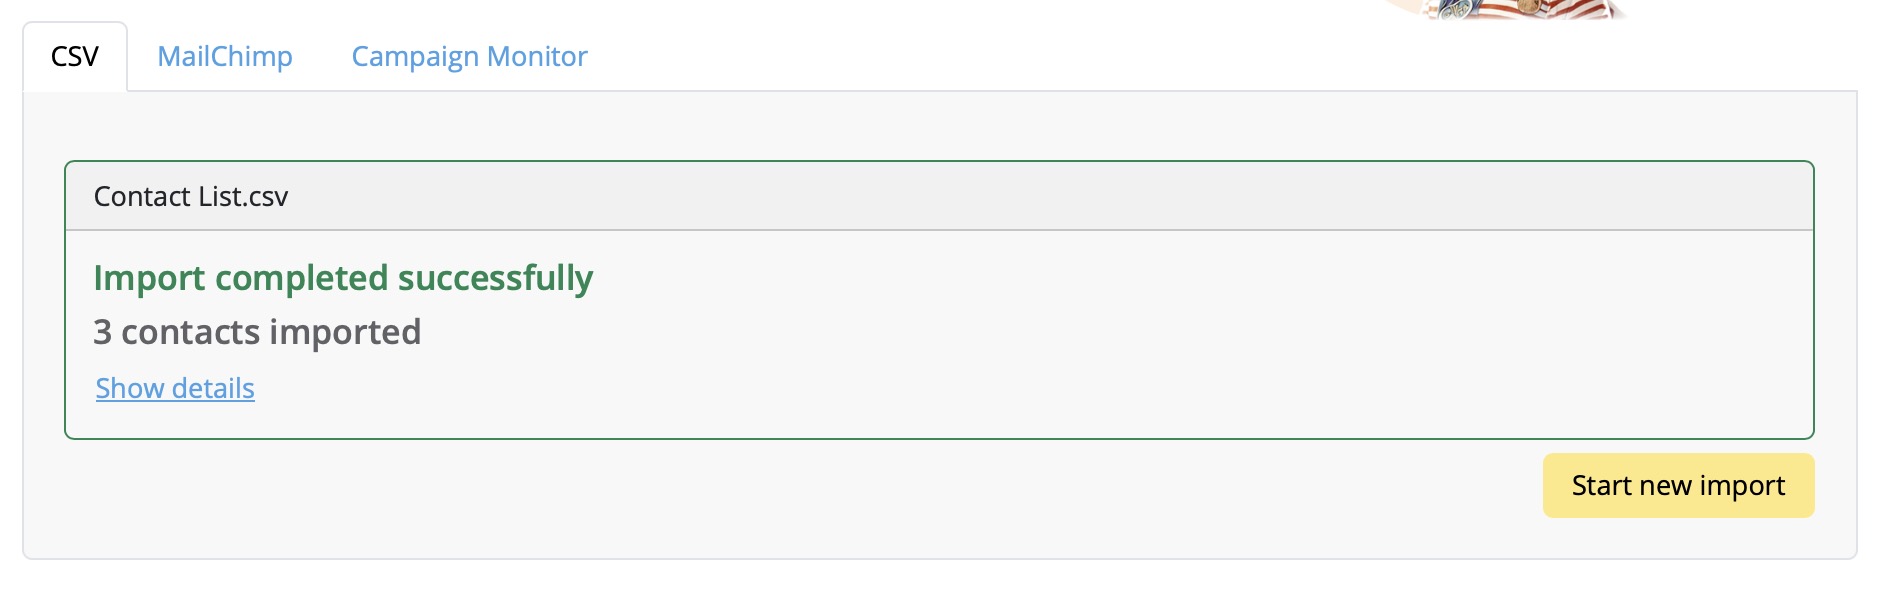
- Now you can proceed to assign additional attributes to your contacts as described in this guide, alternatively set up an audience List, or directly start sending your campaign.